lanciahf
True Classic
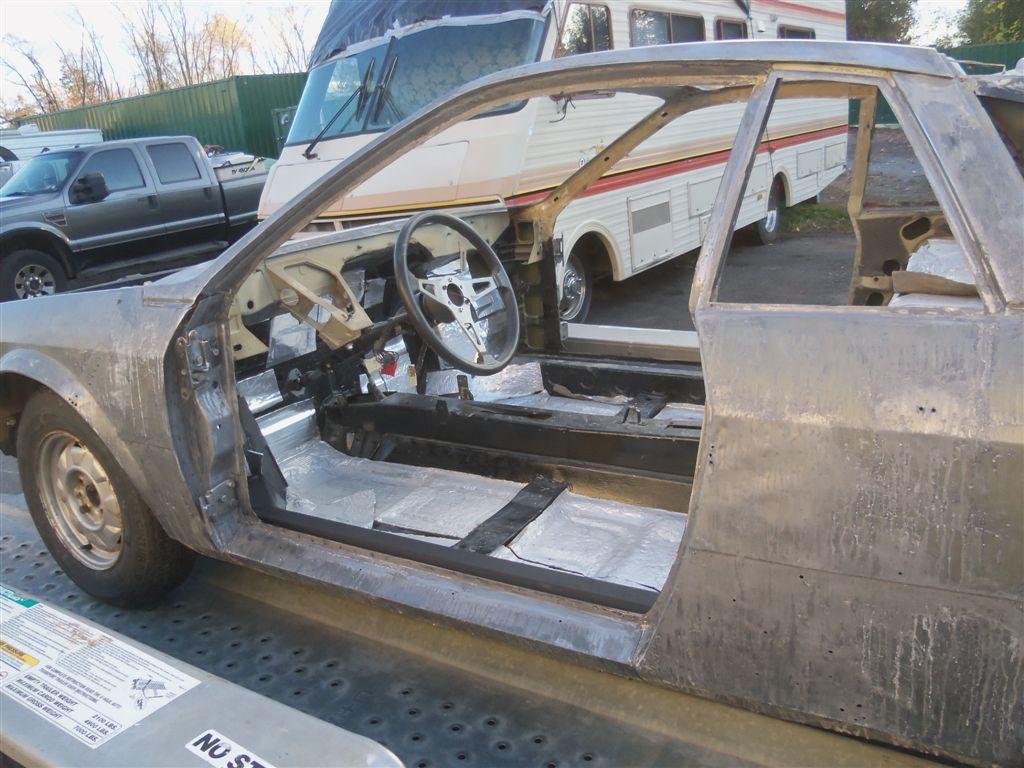
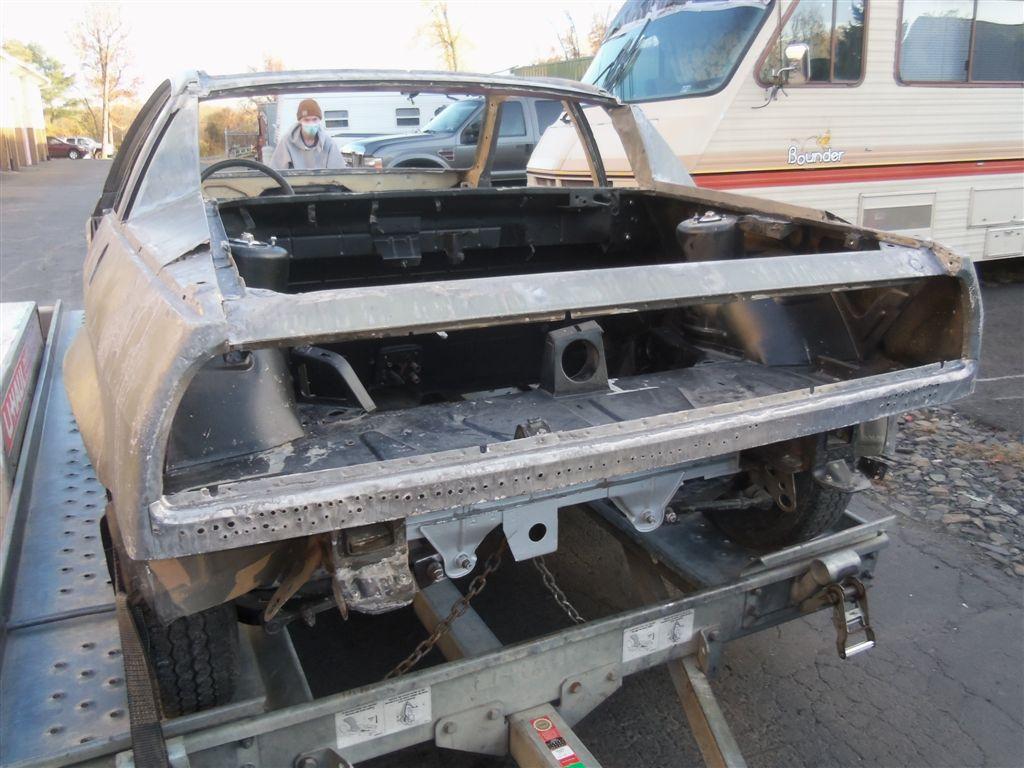
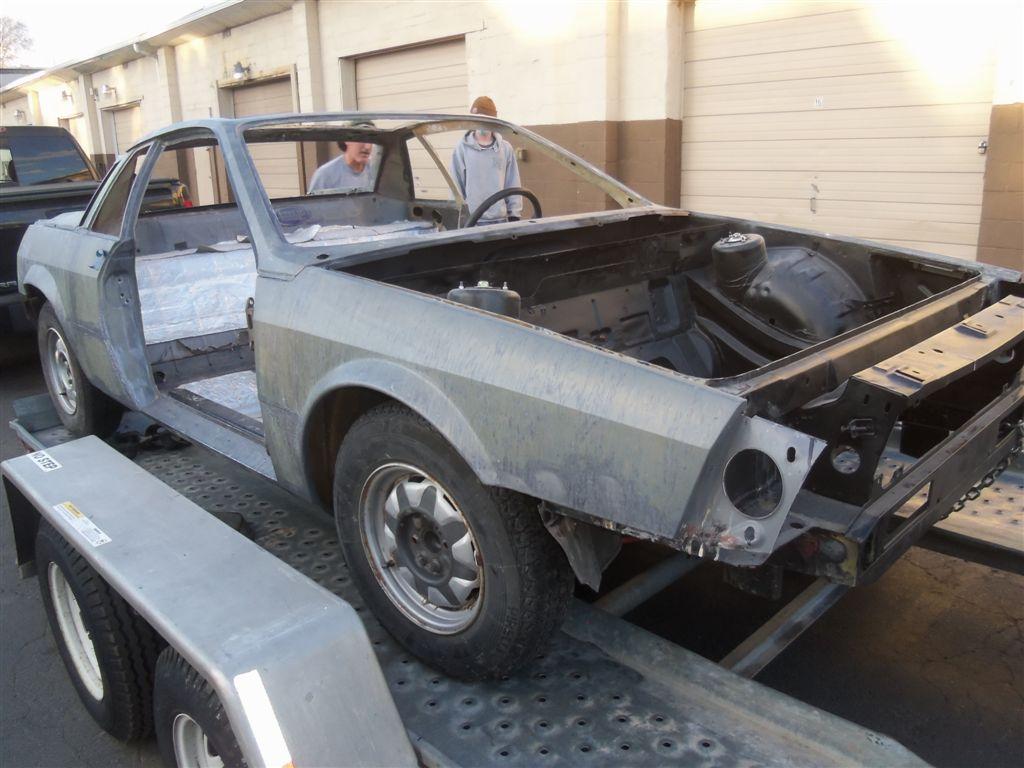
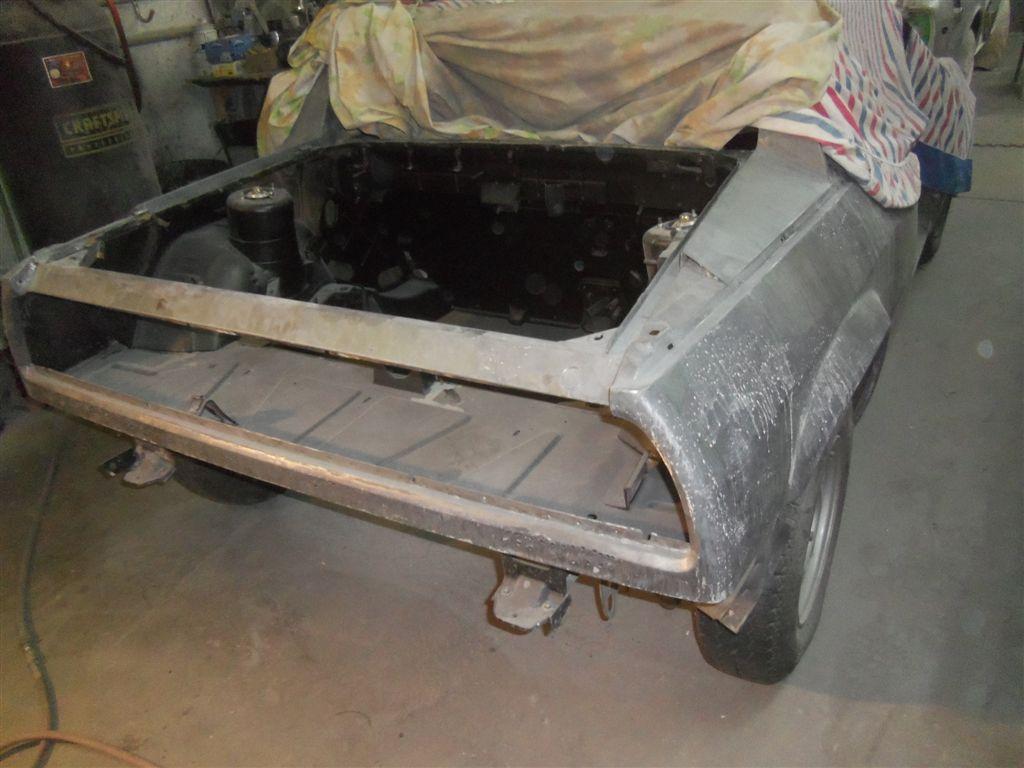
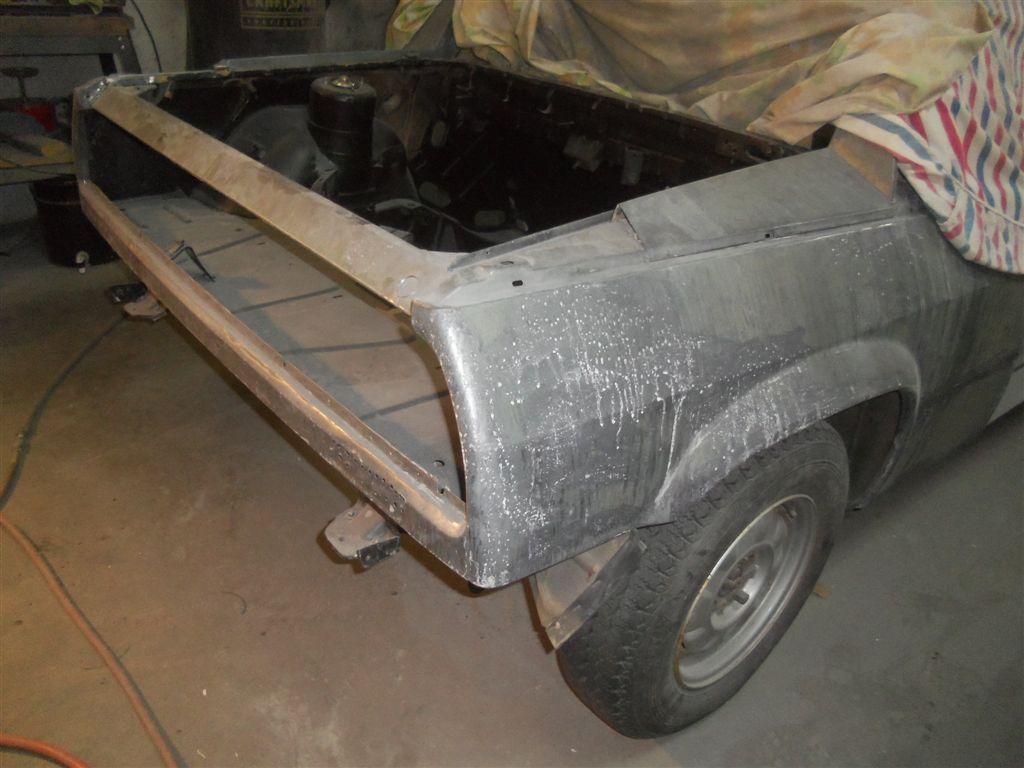
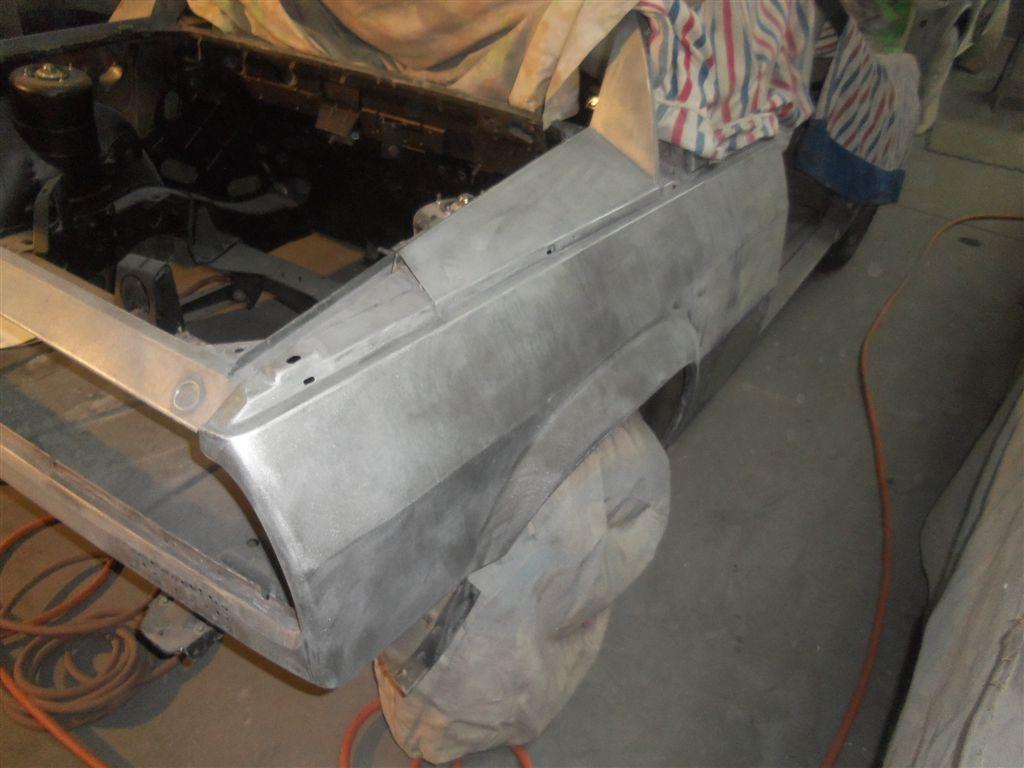
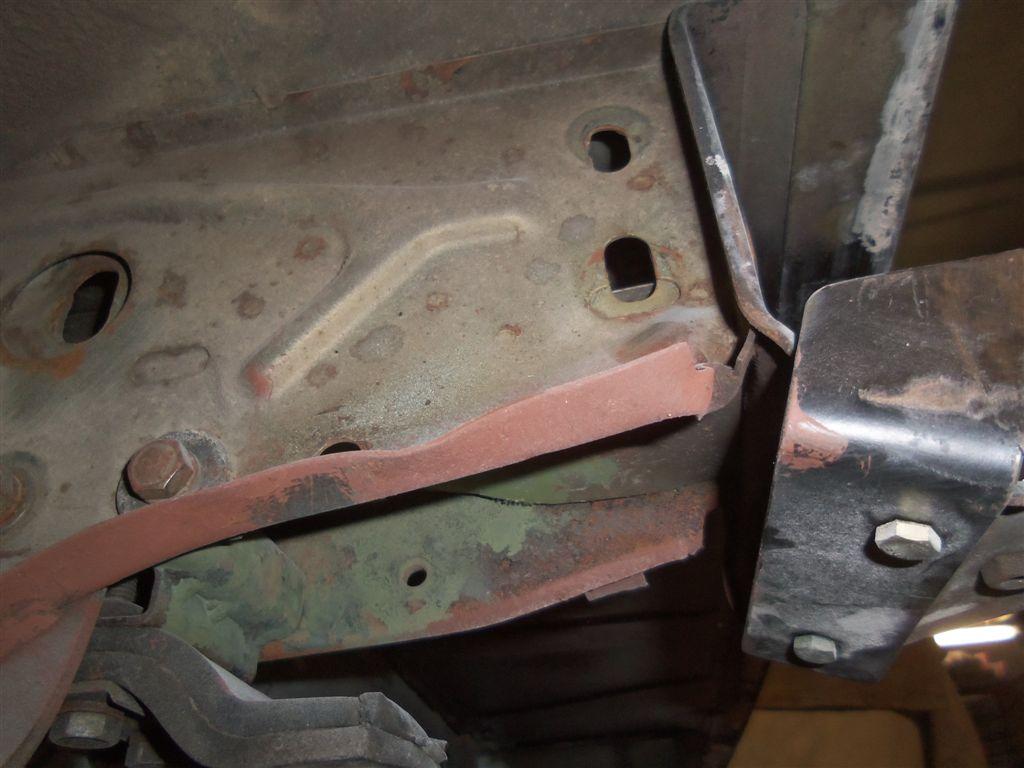
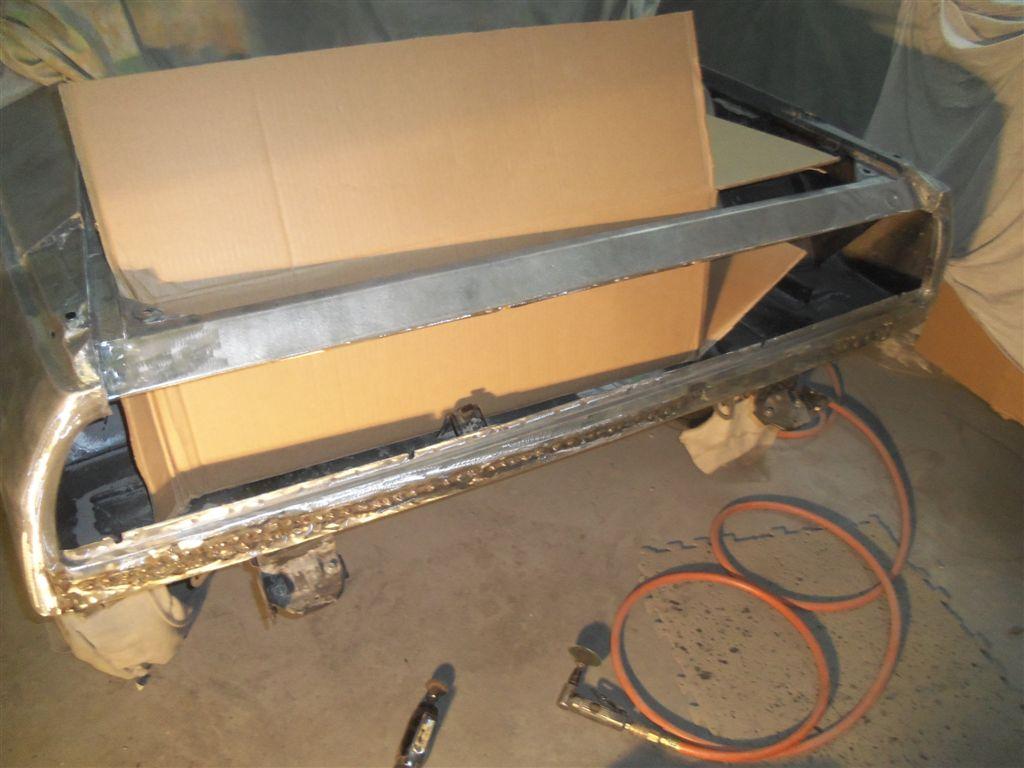
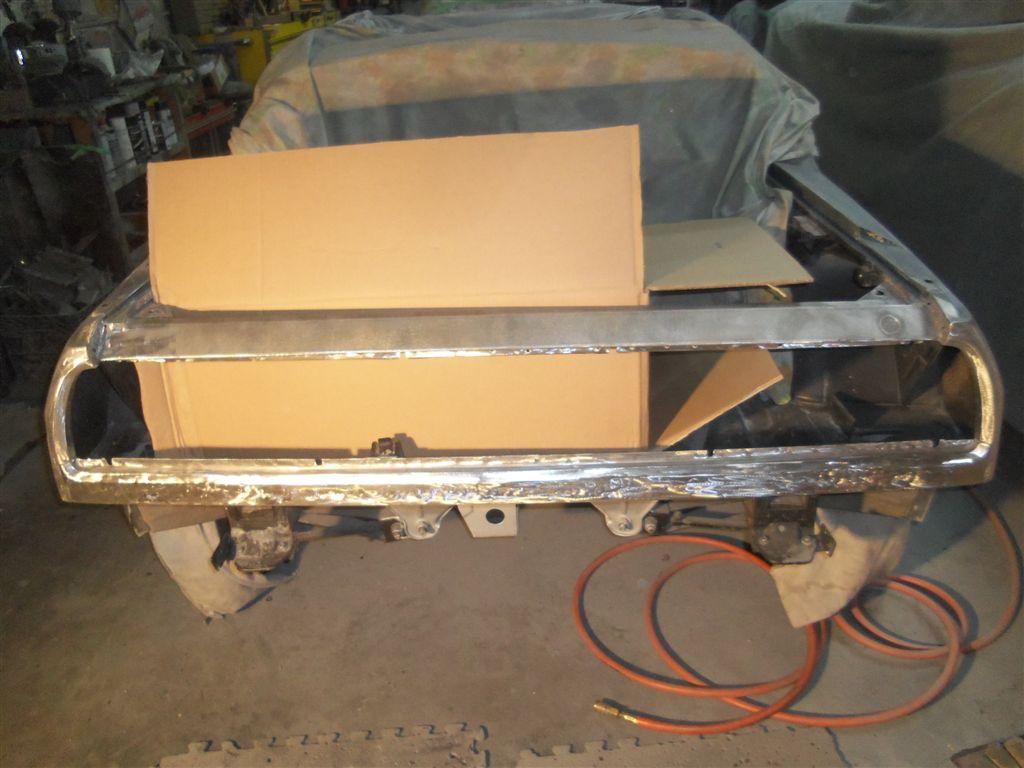
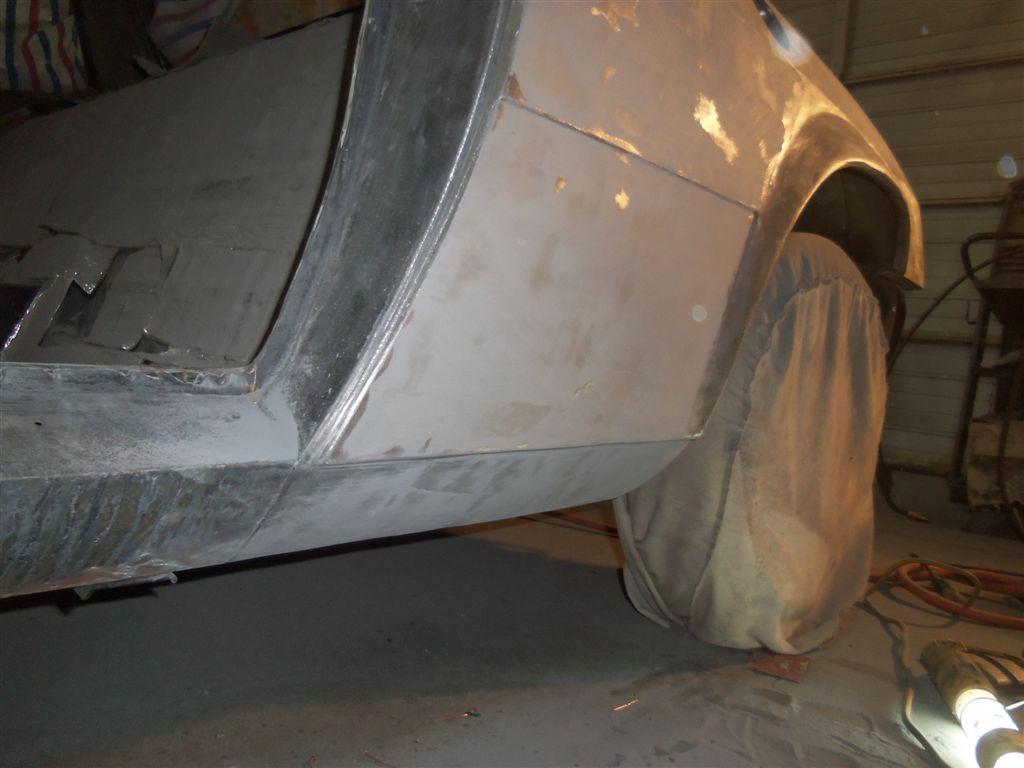
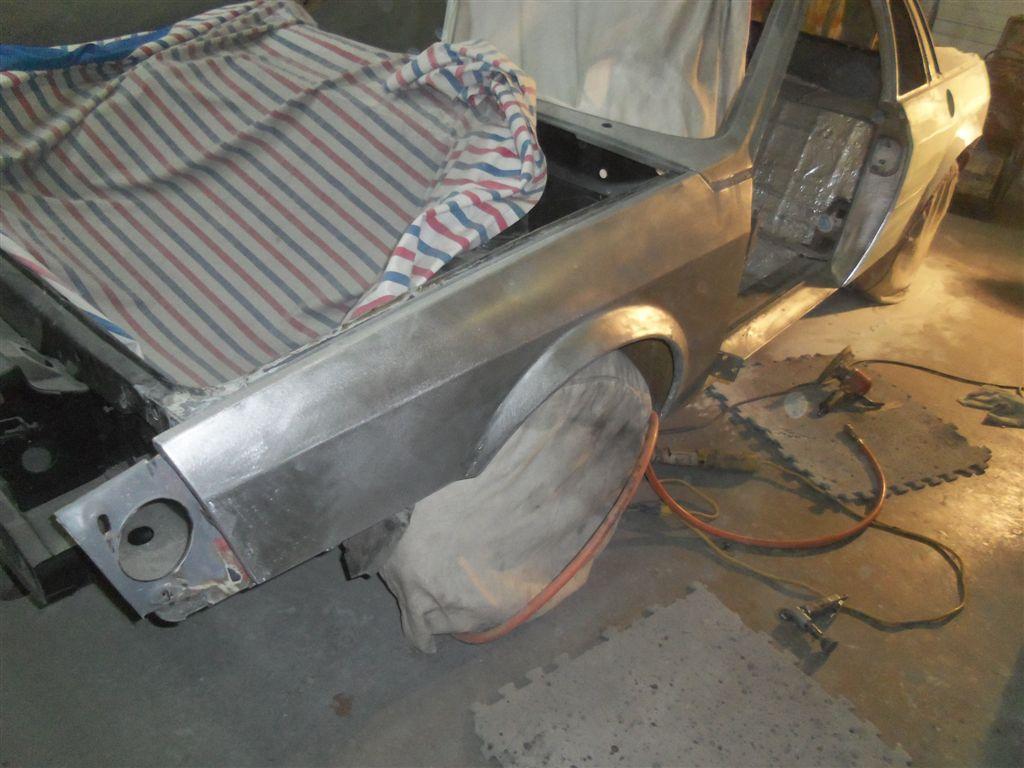
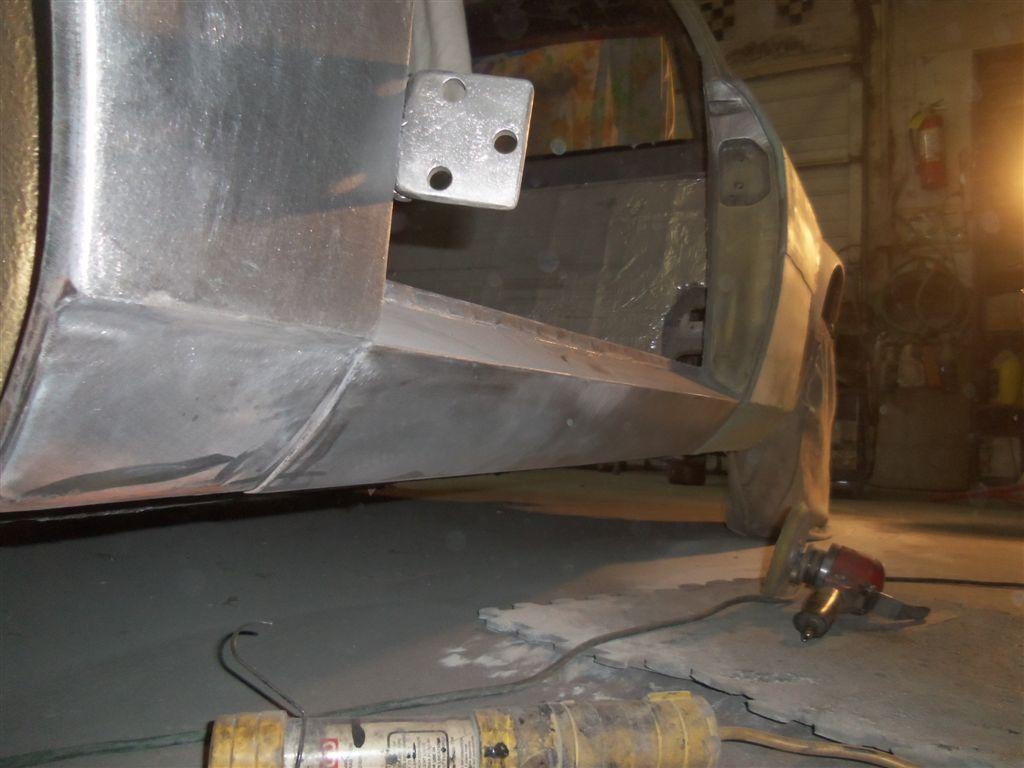
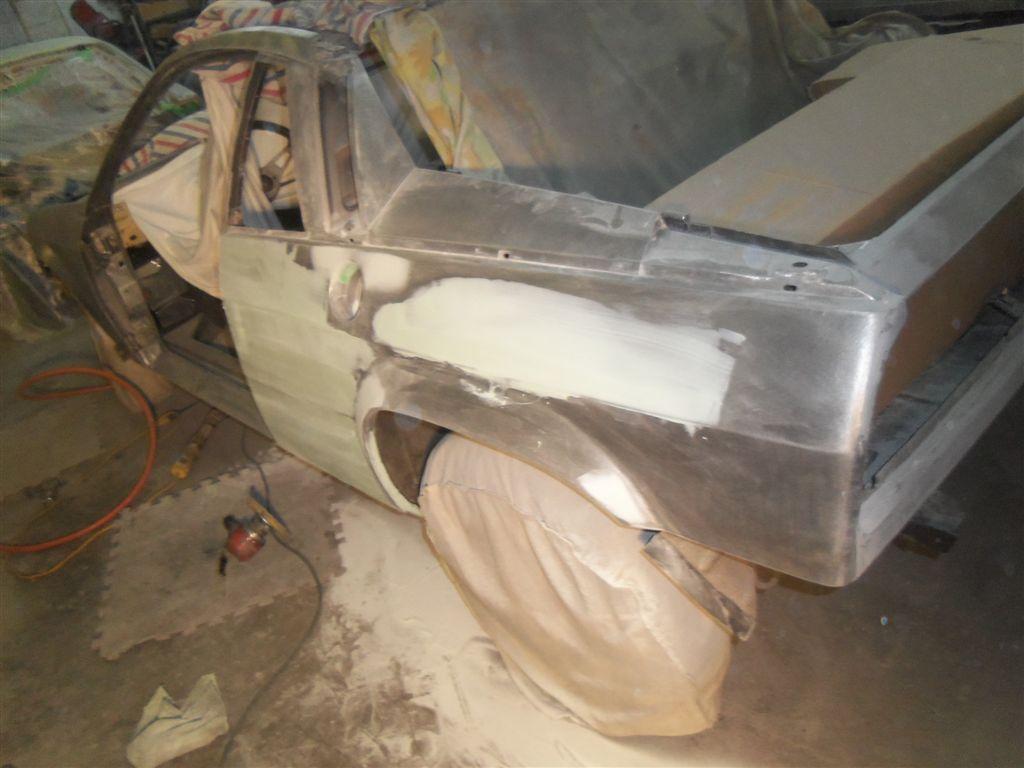
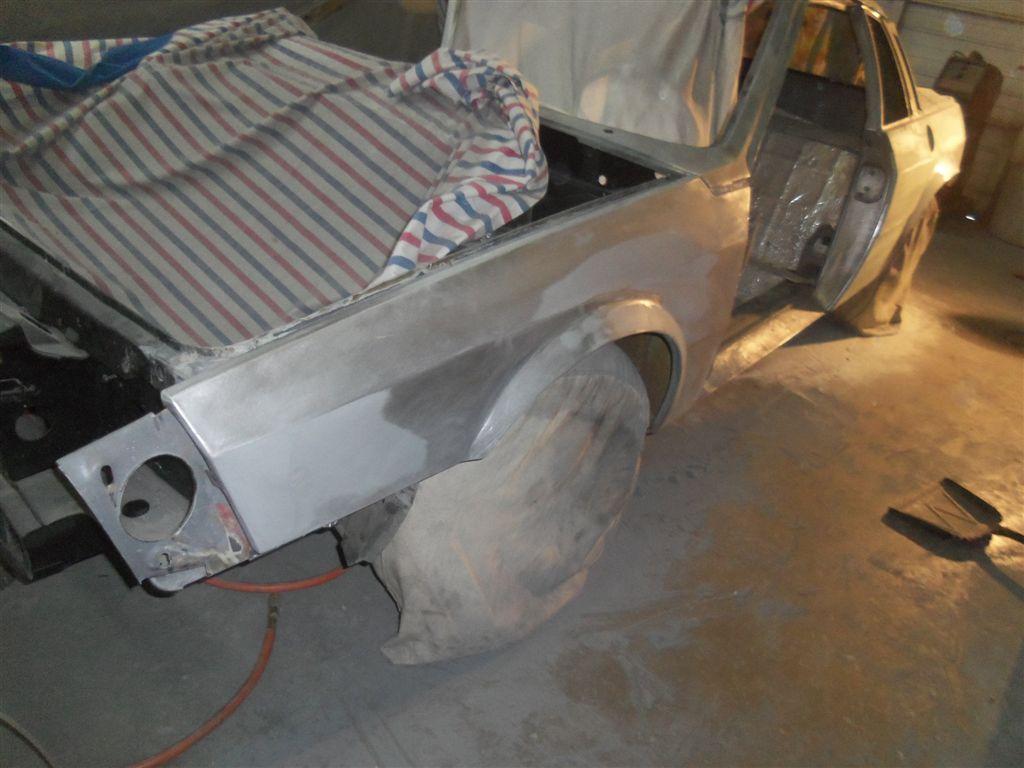
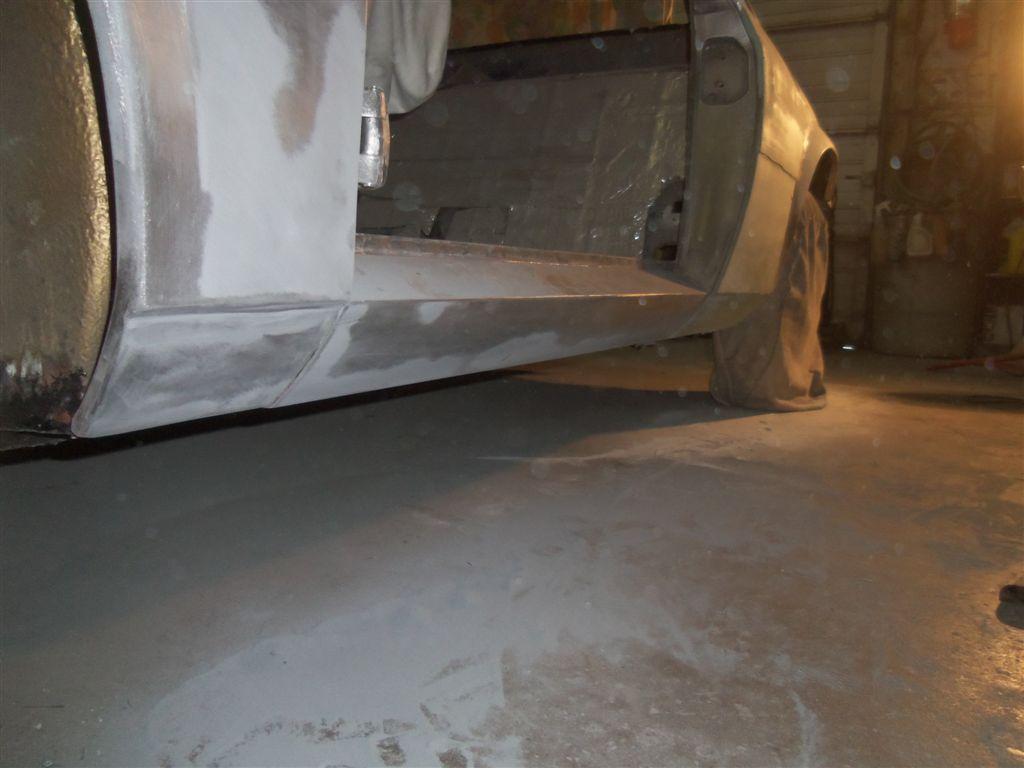
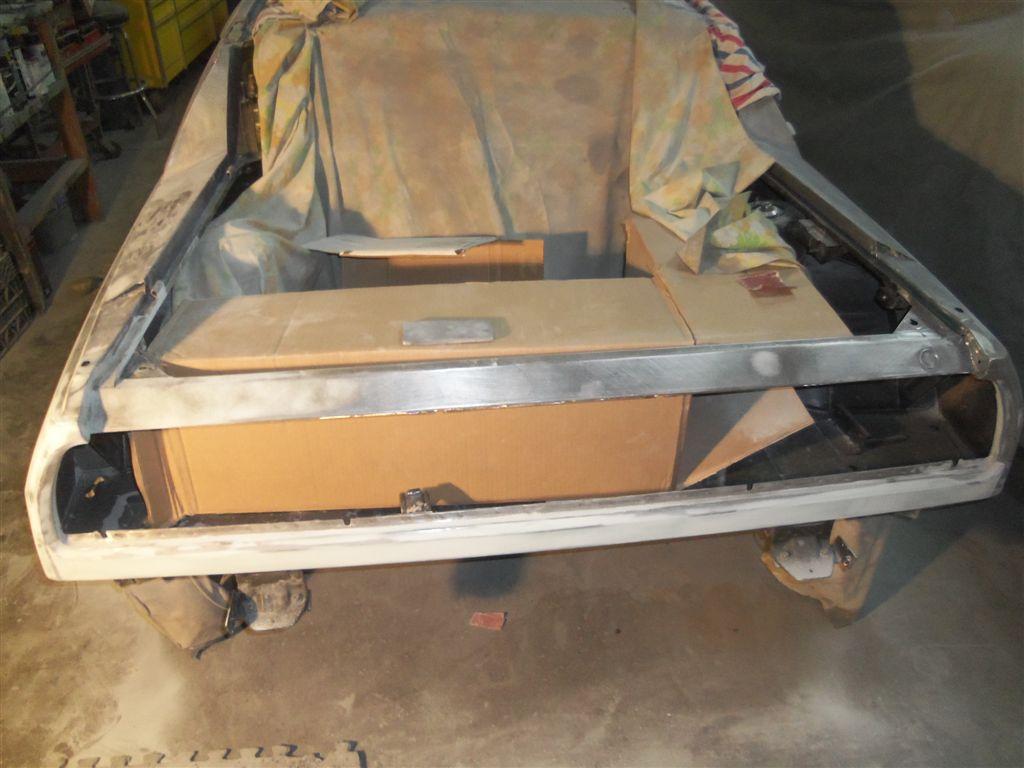
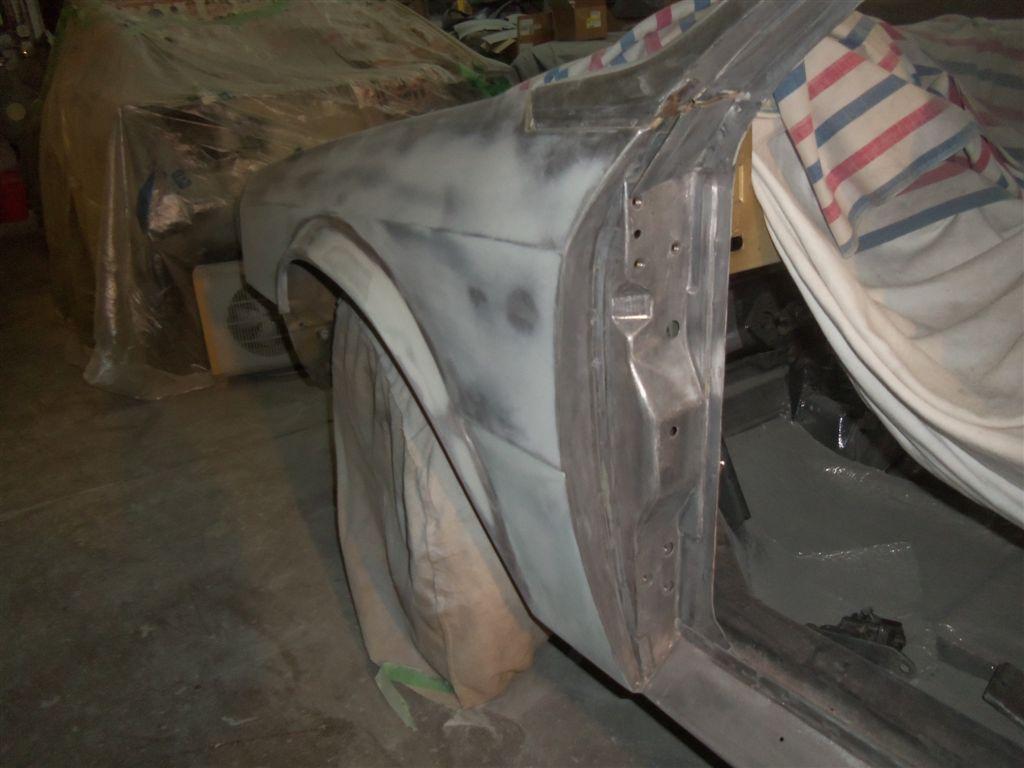
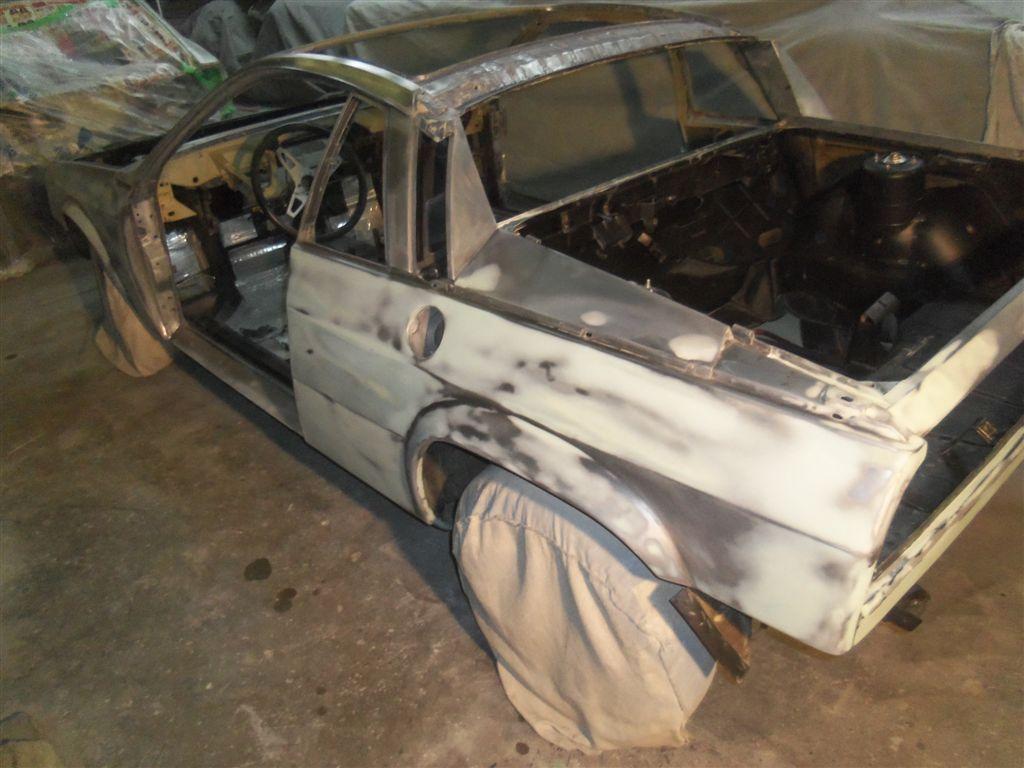
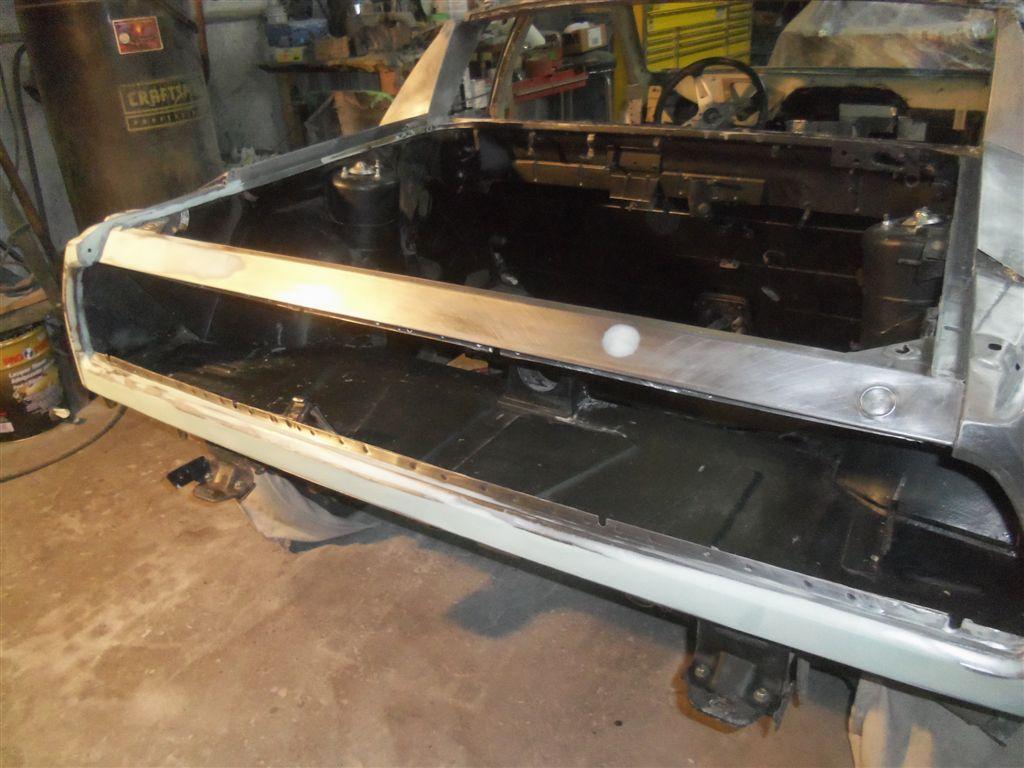
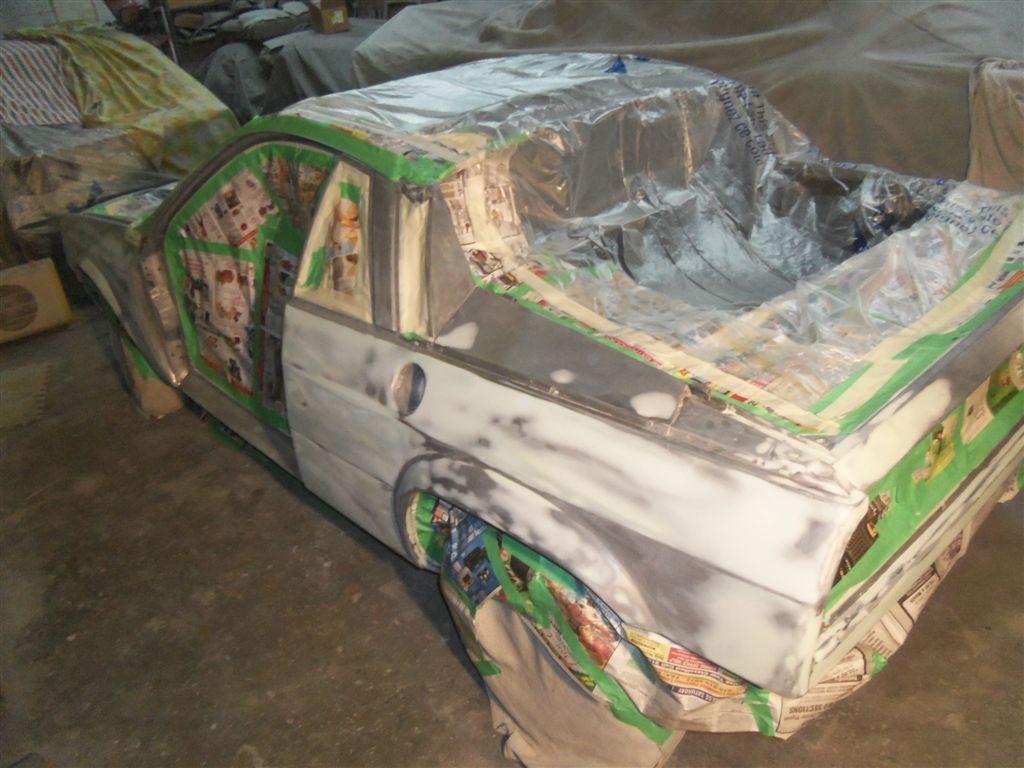
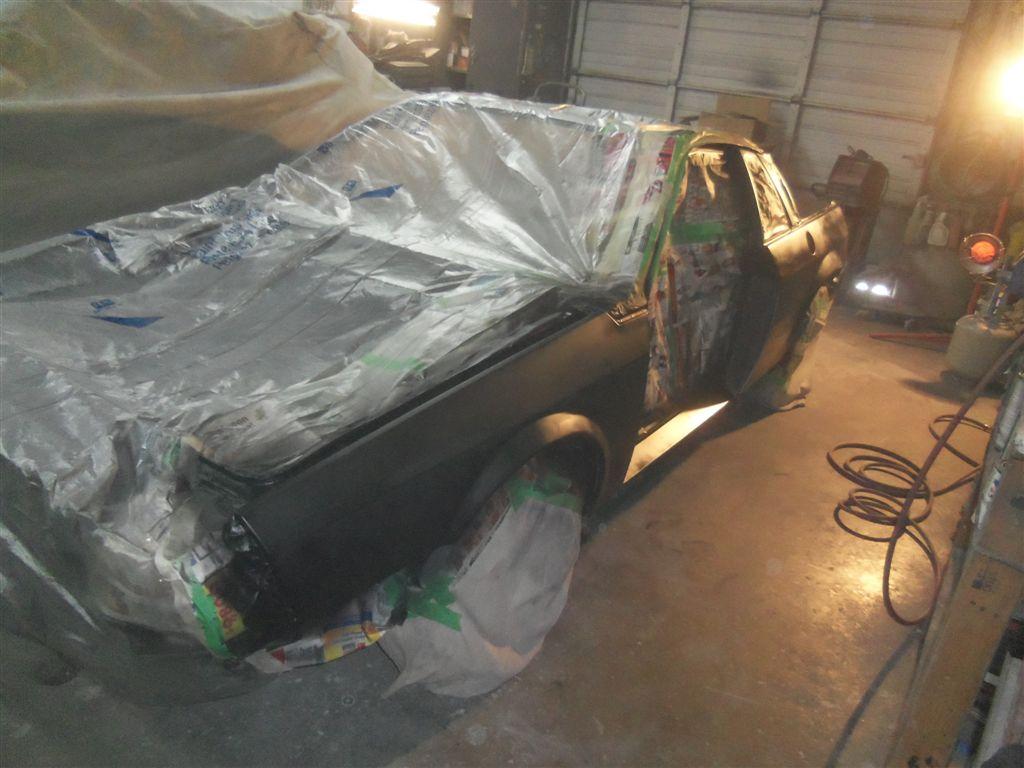
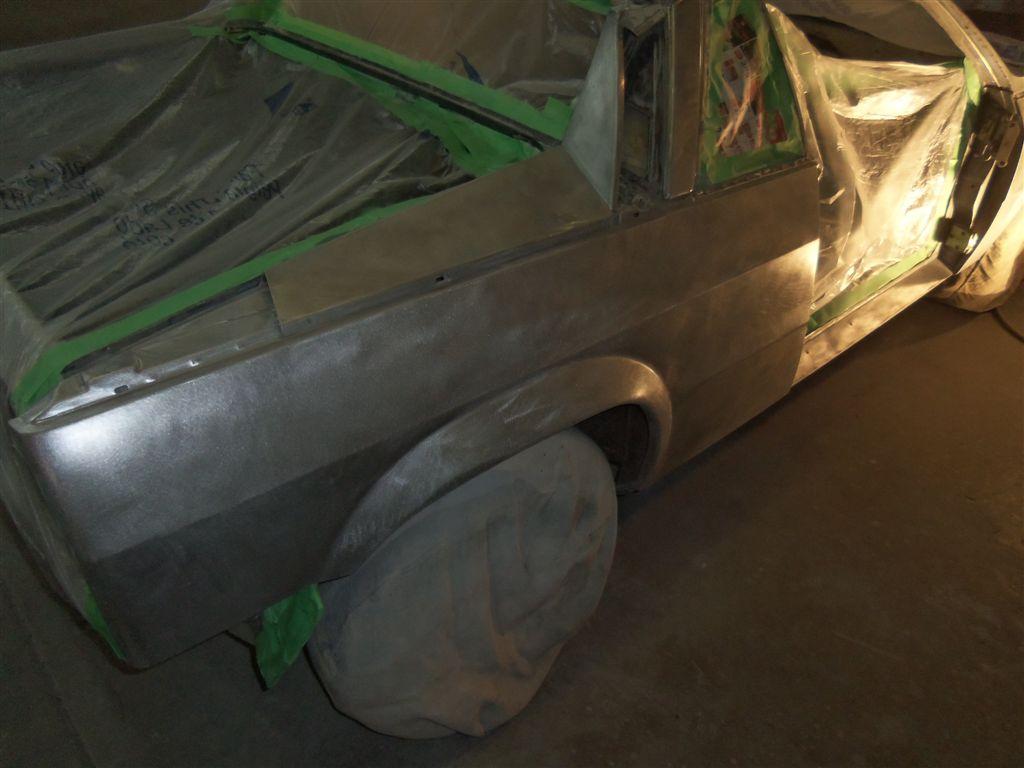
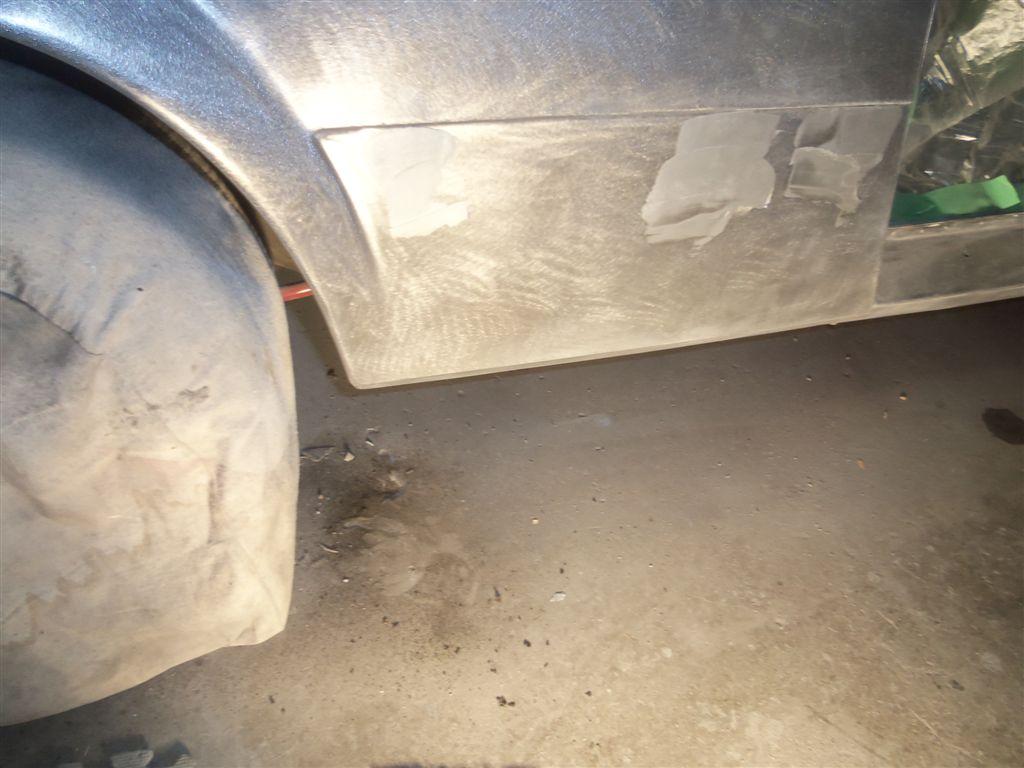
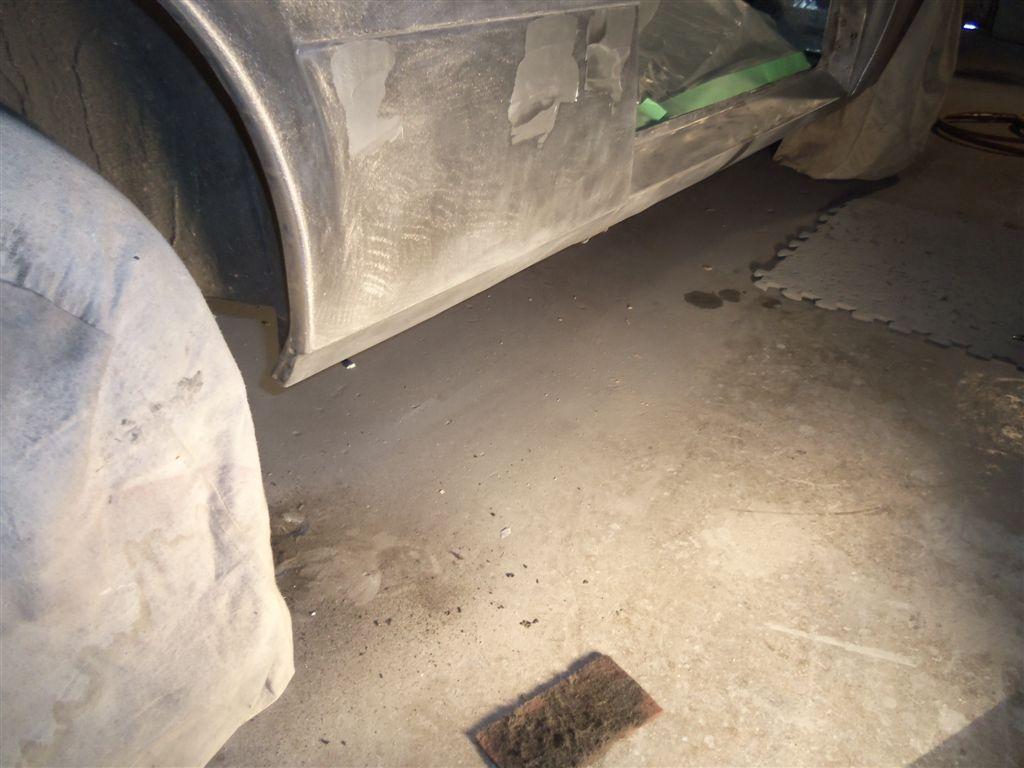
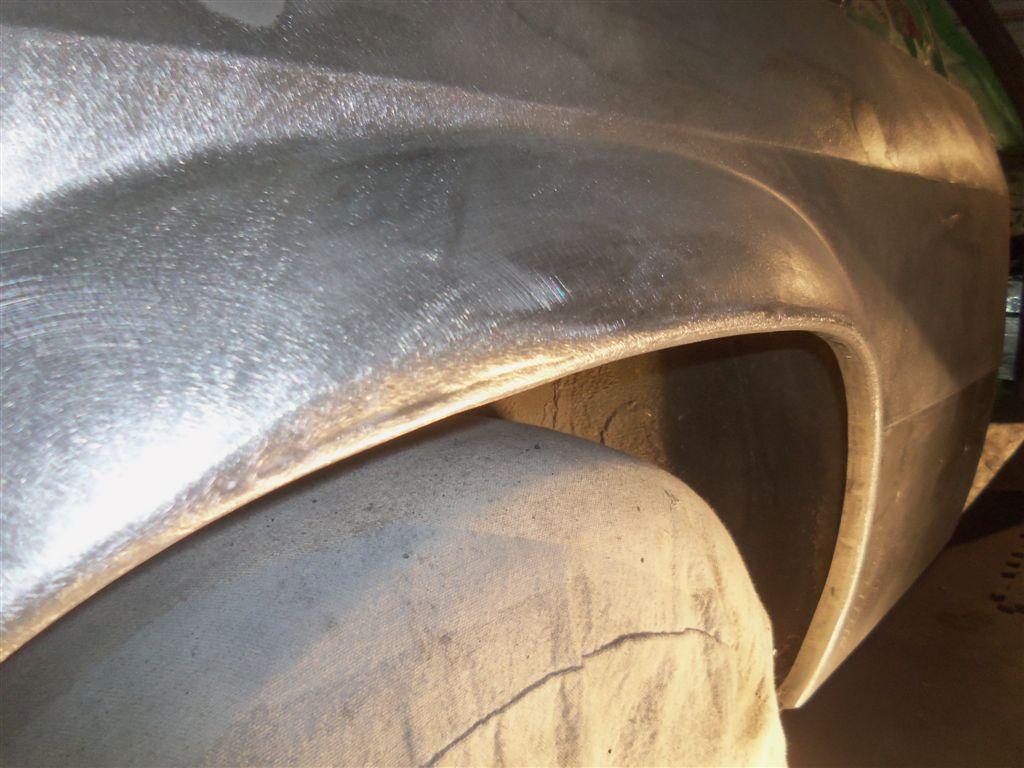
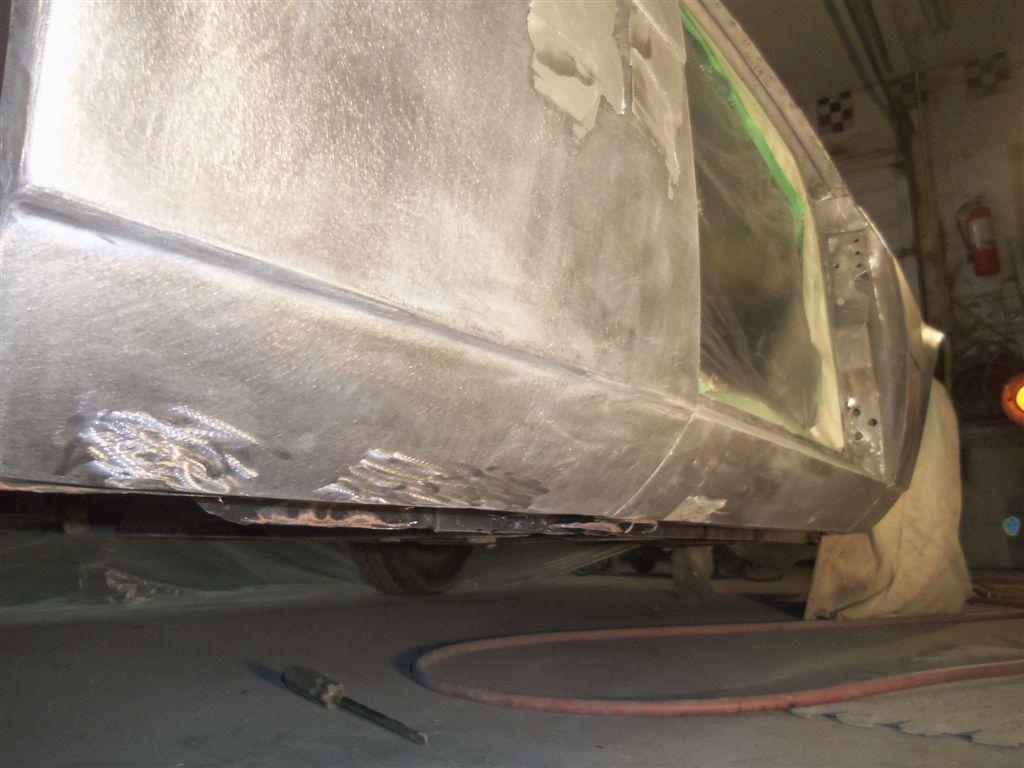
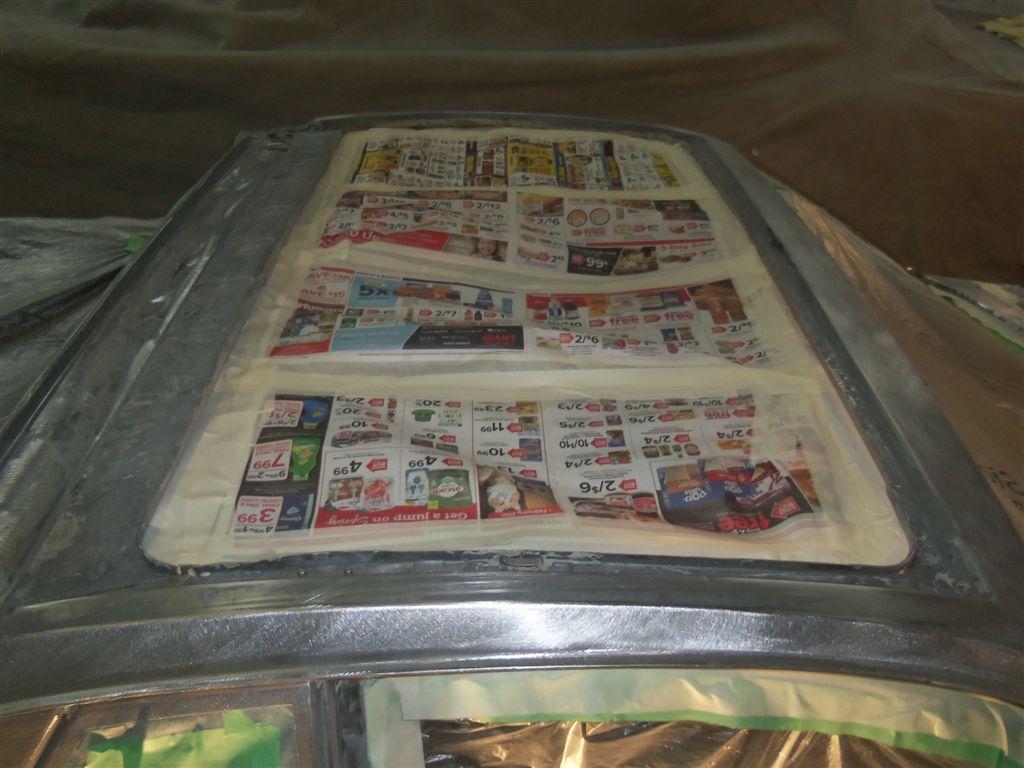
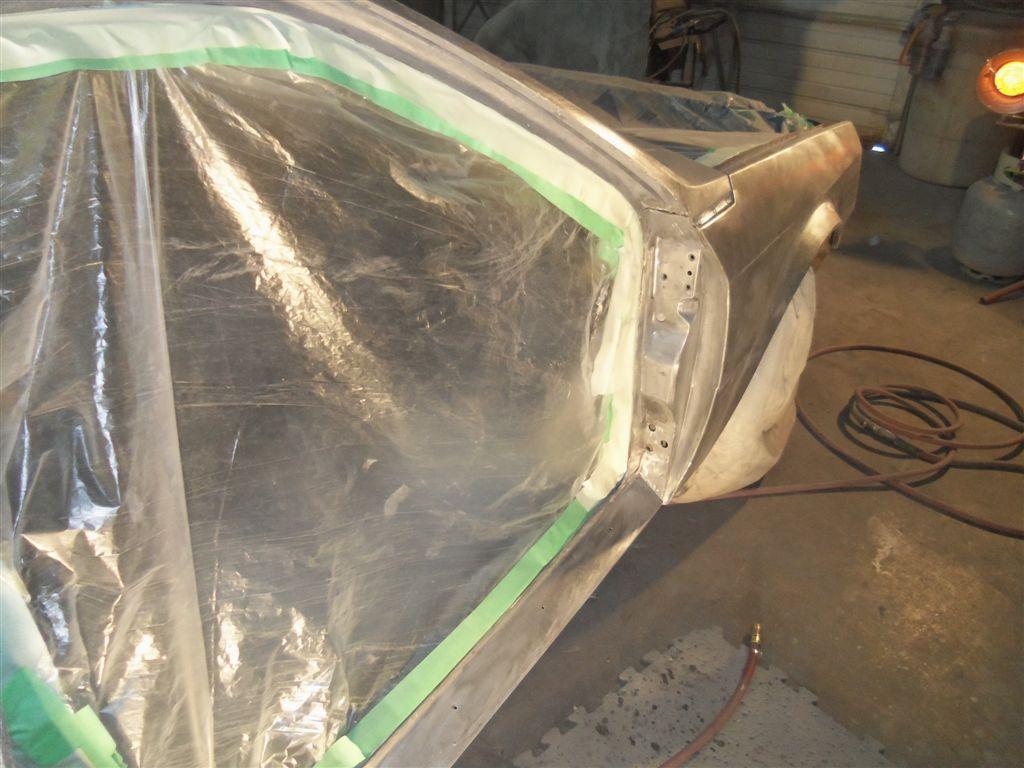
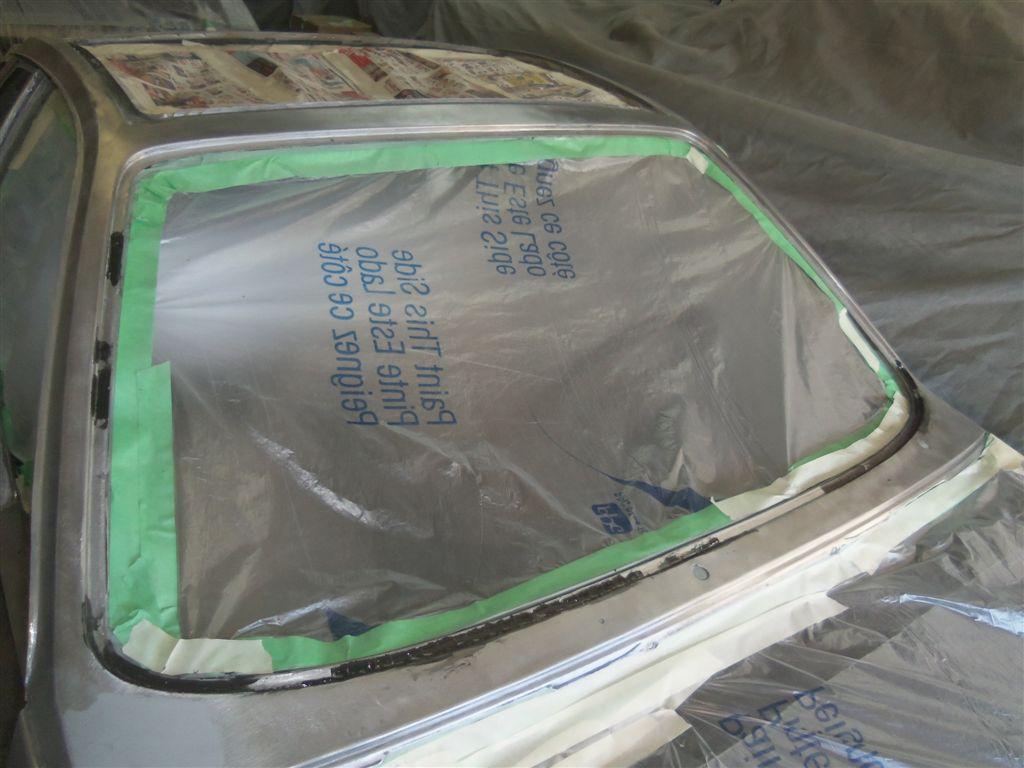
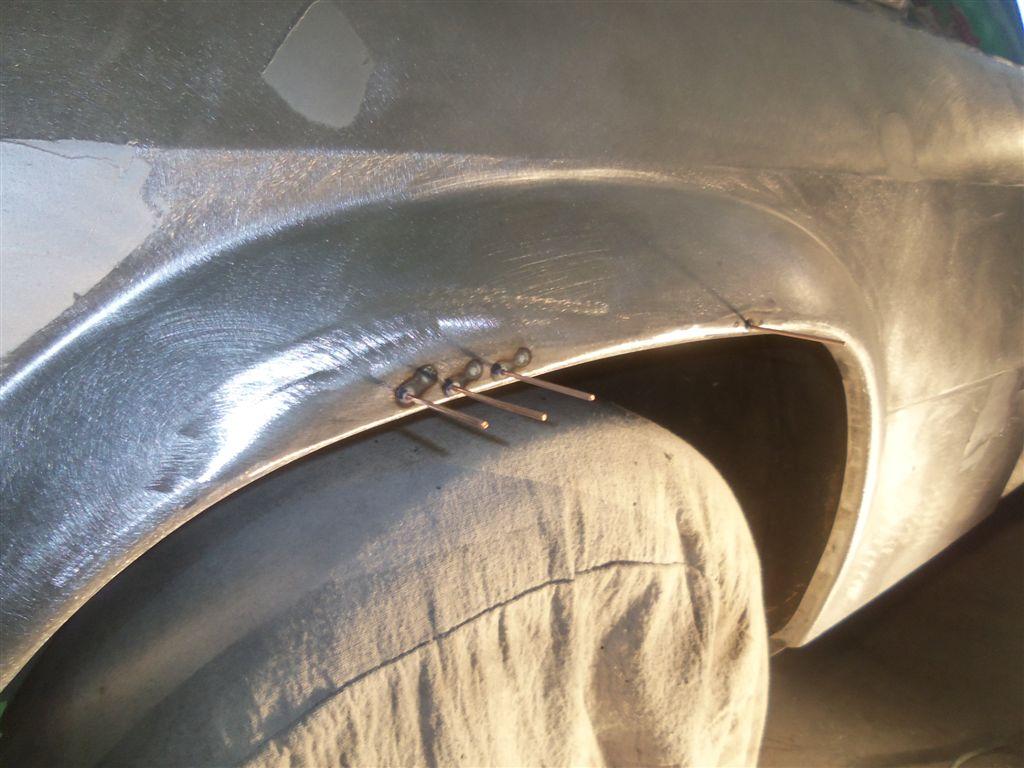
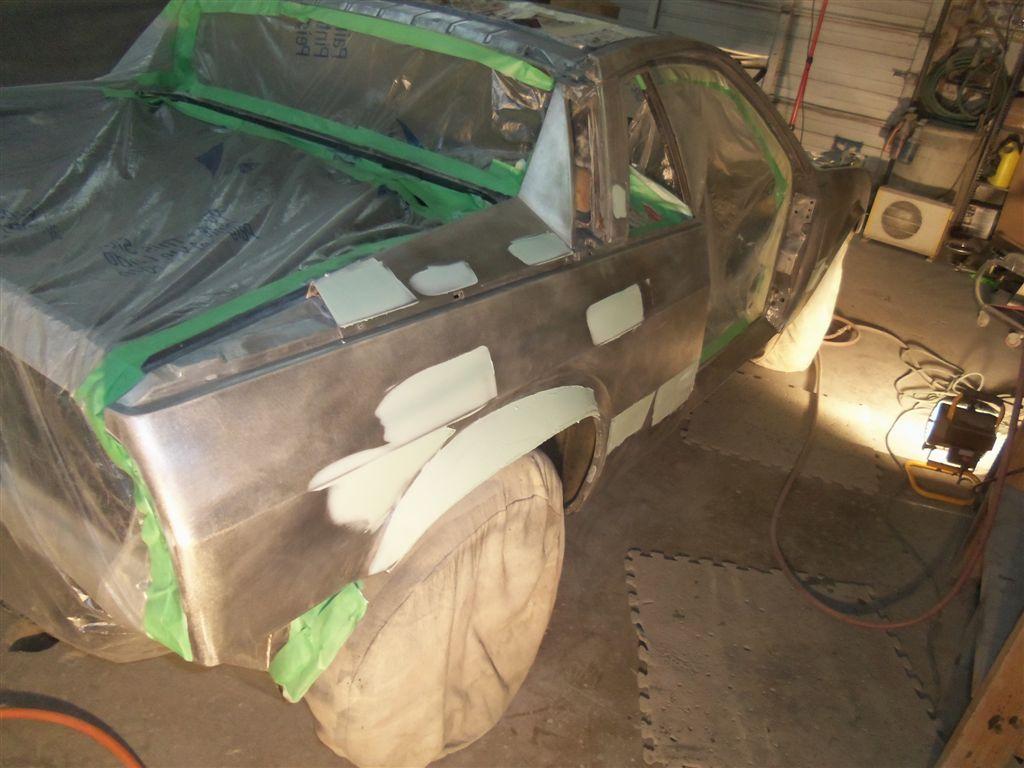
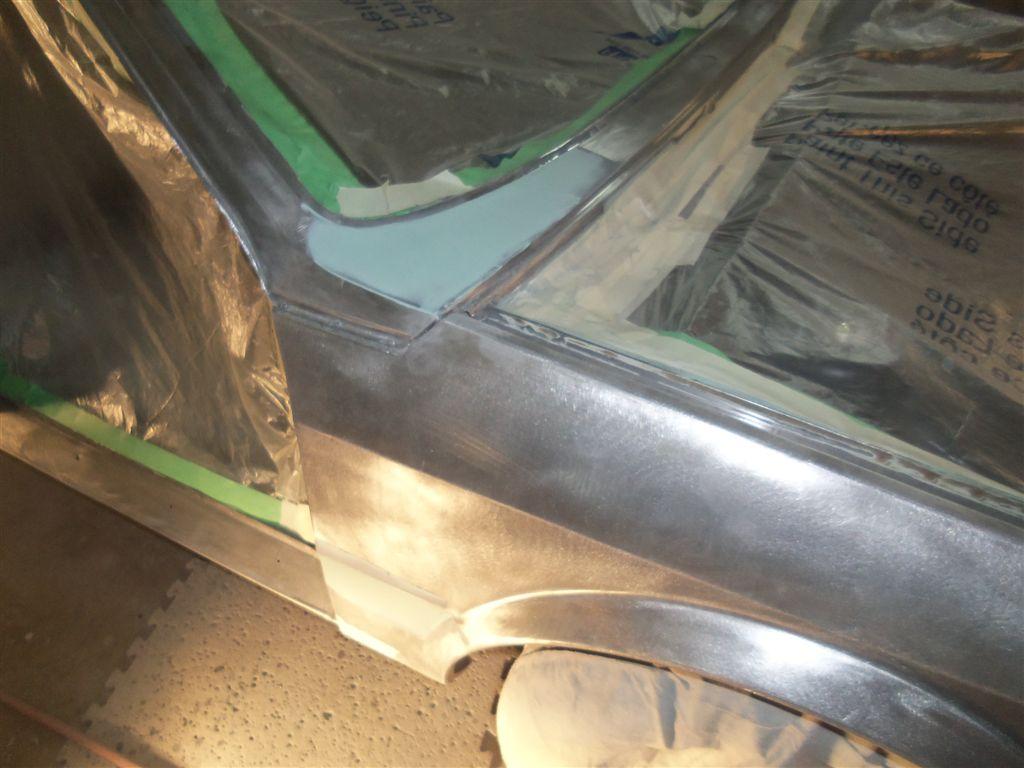
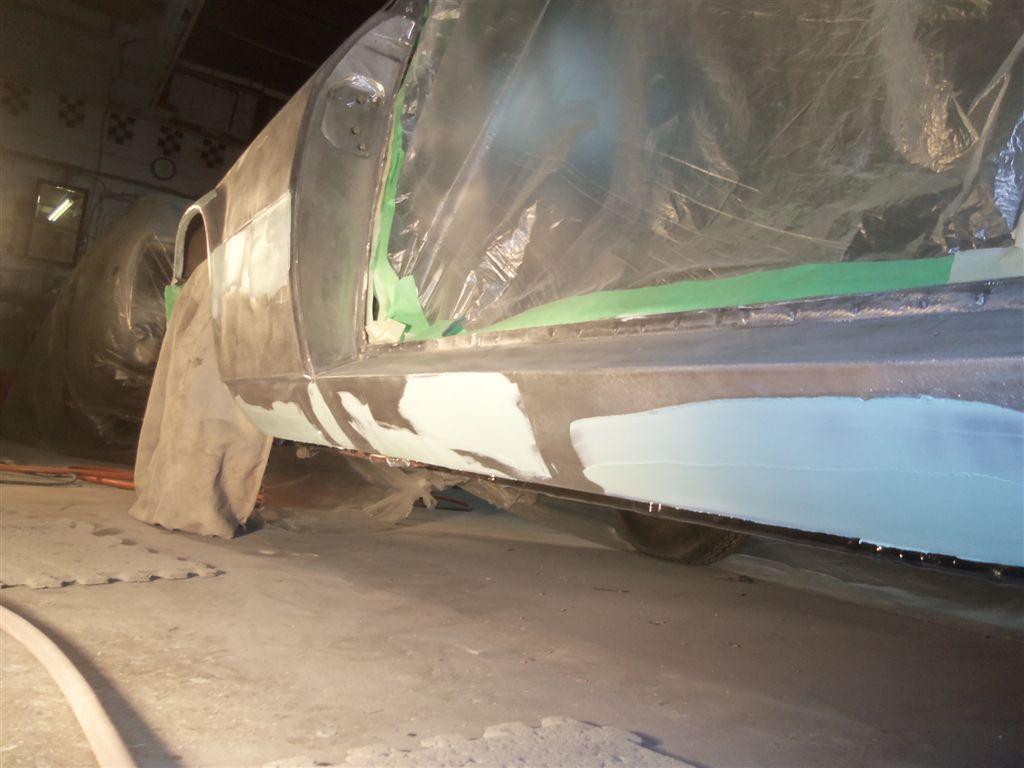
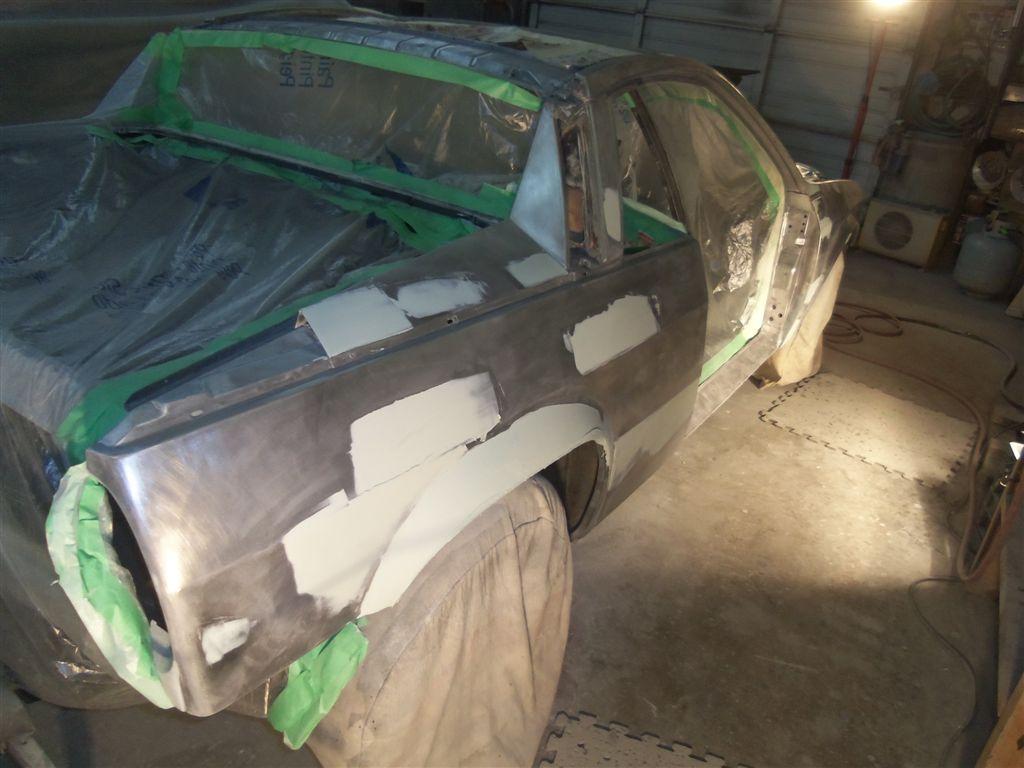
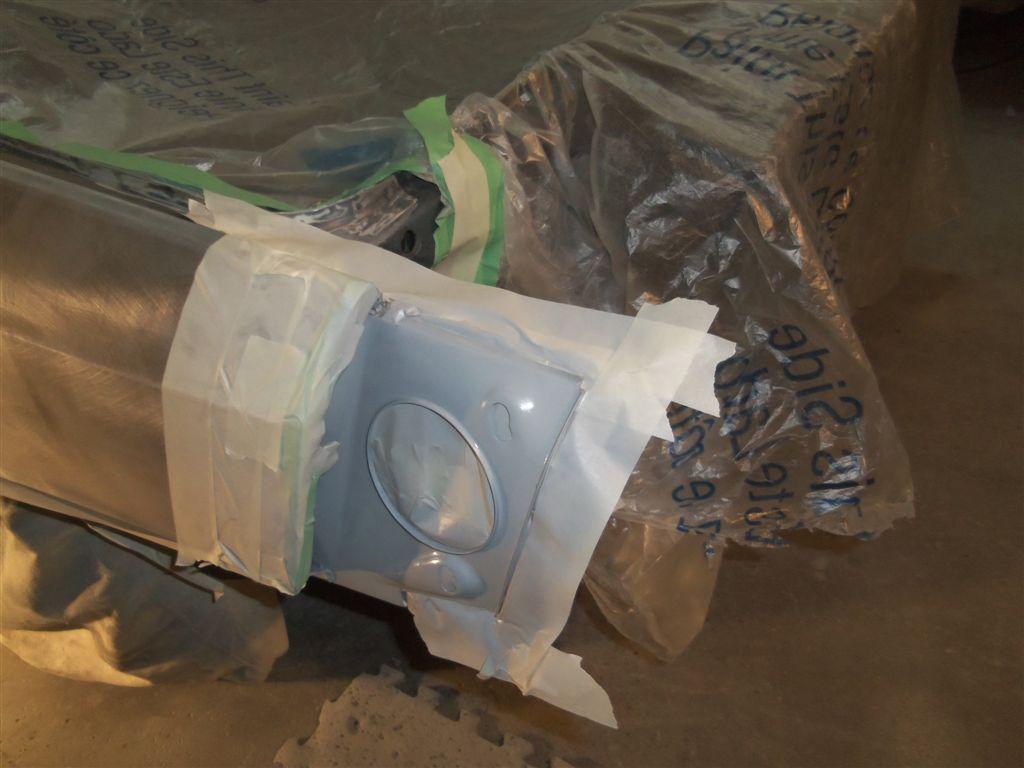
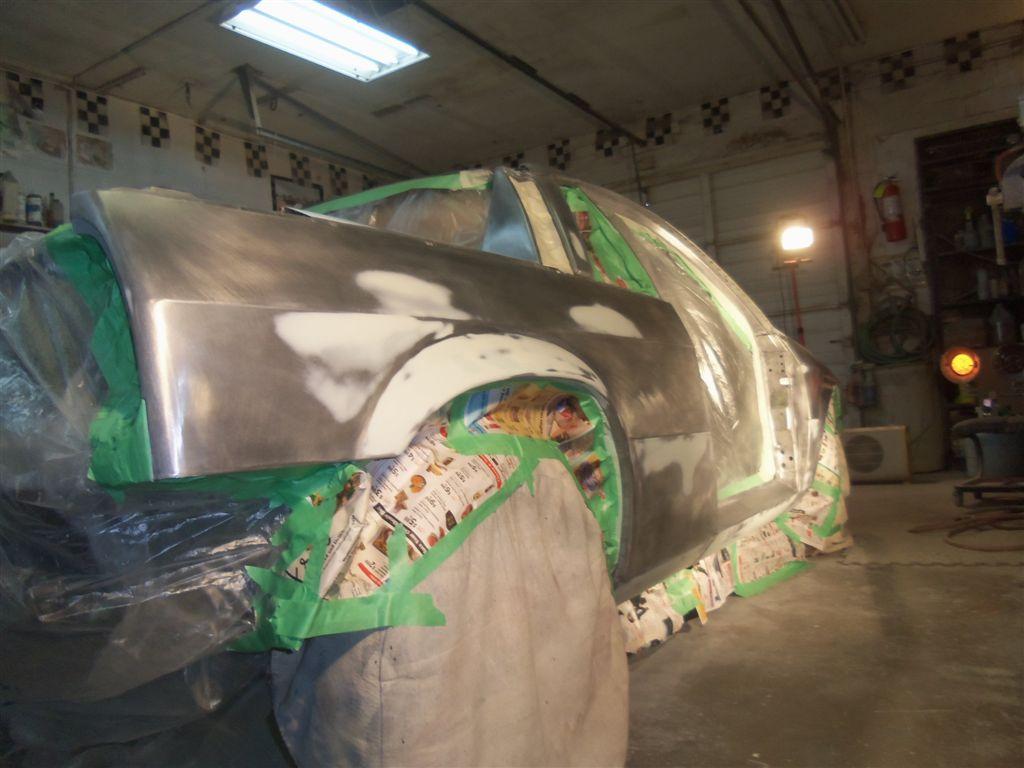
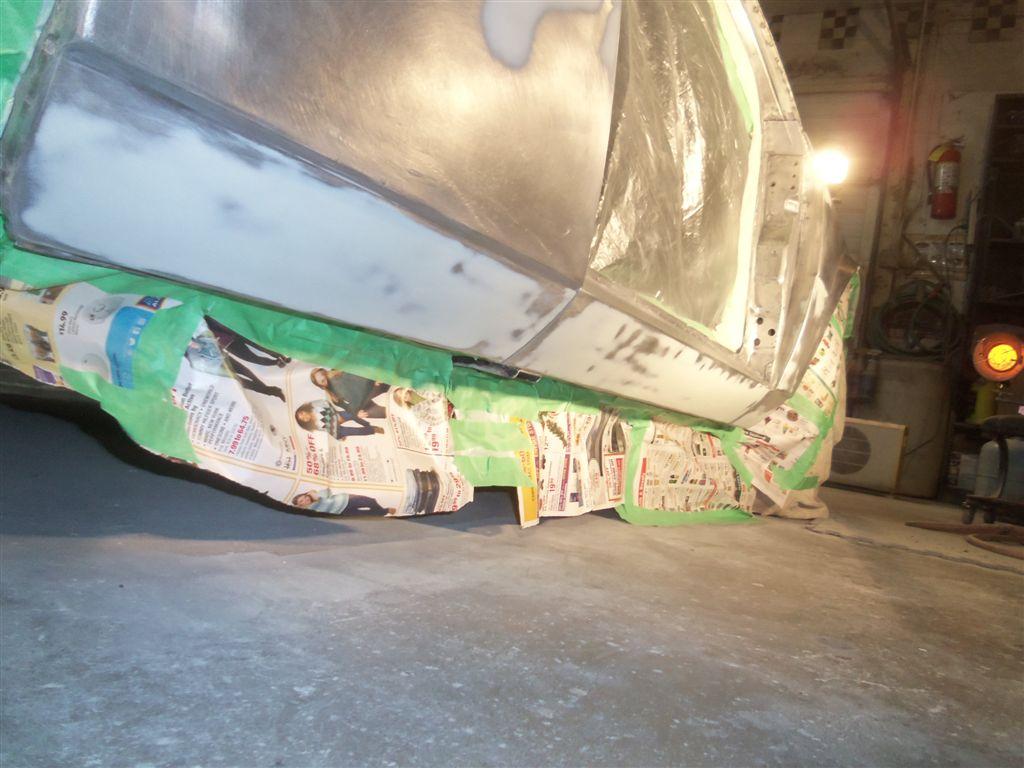
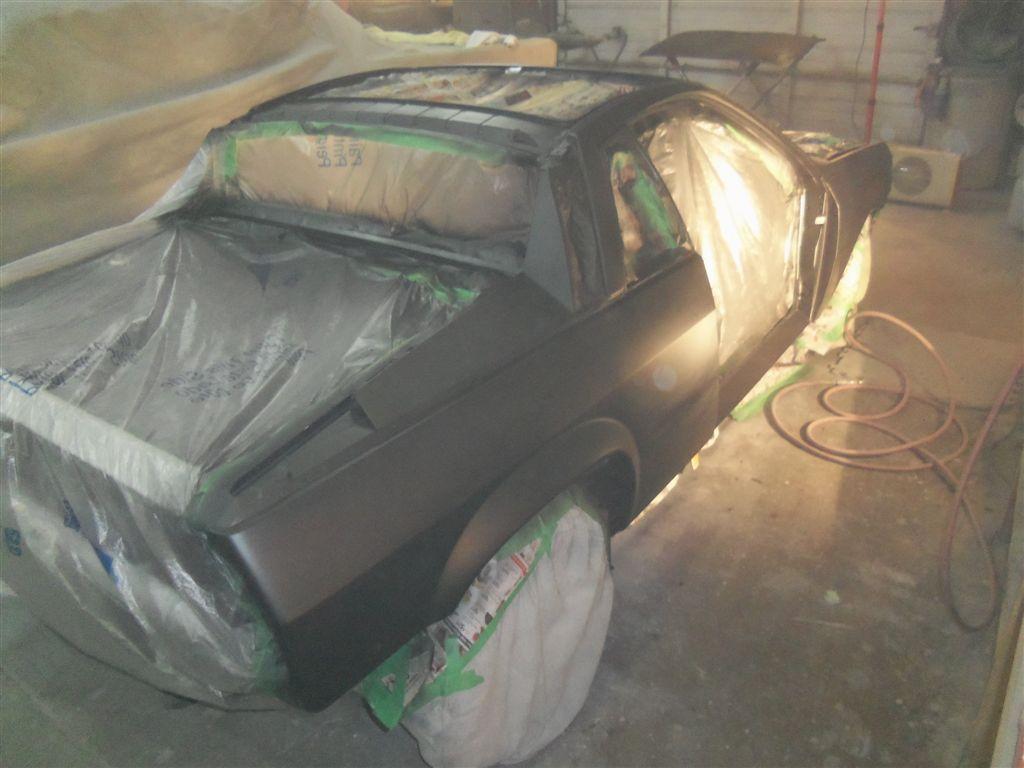
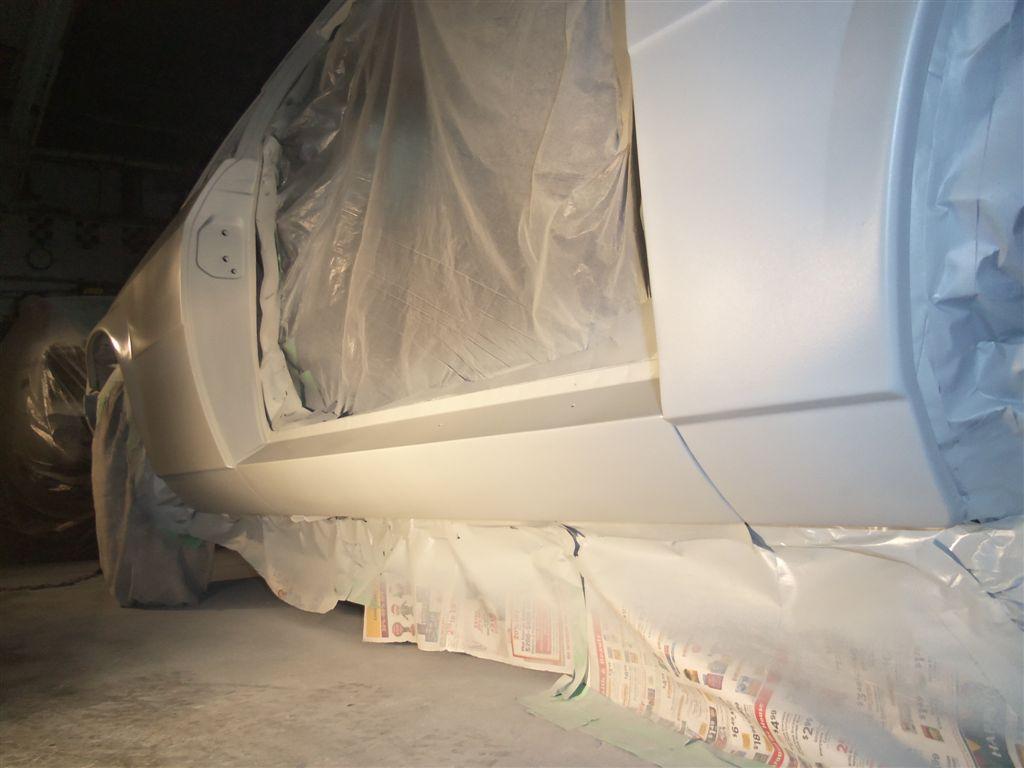
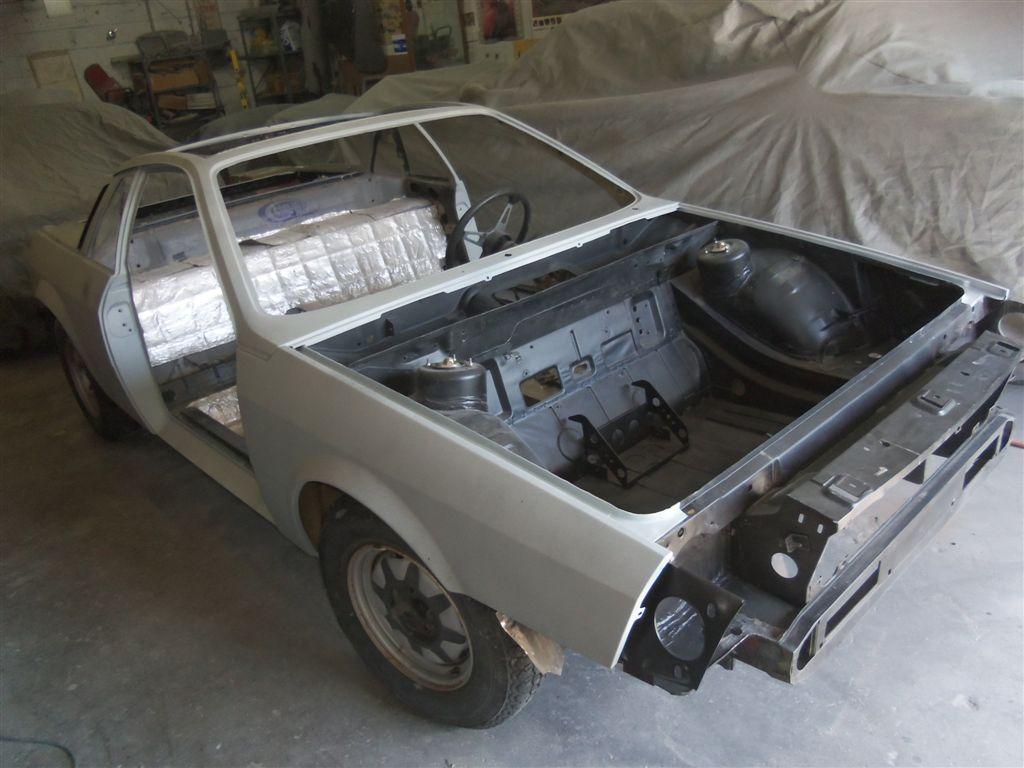
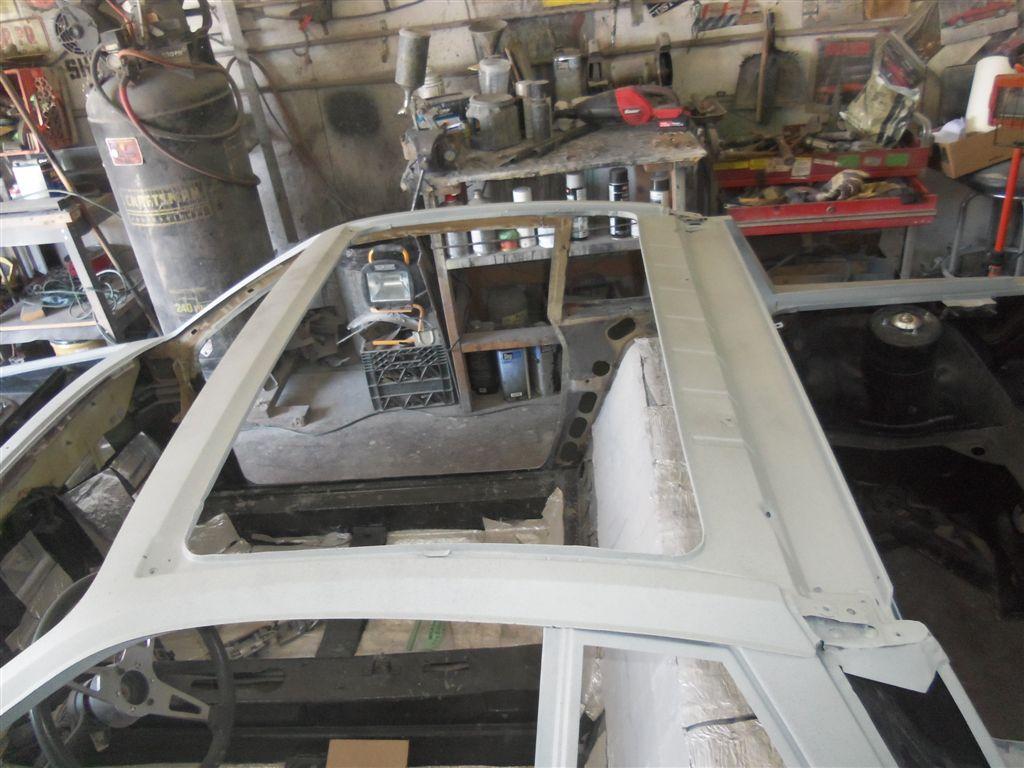
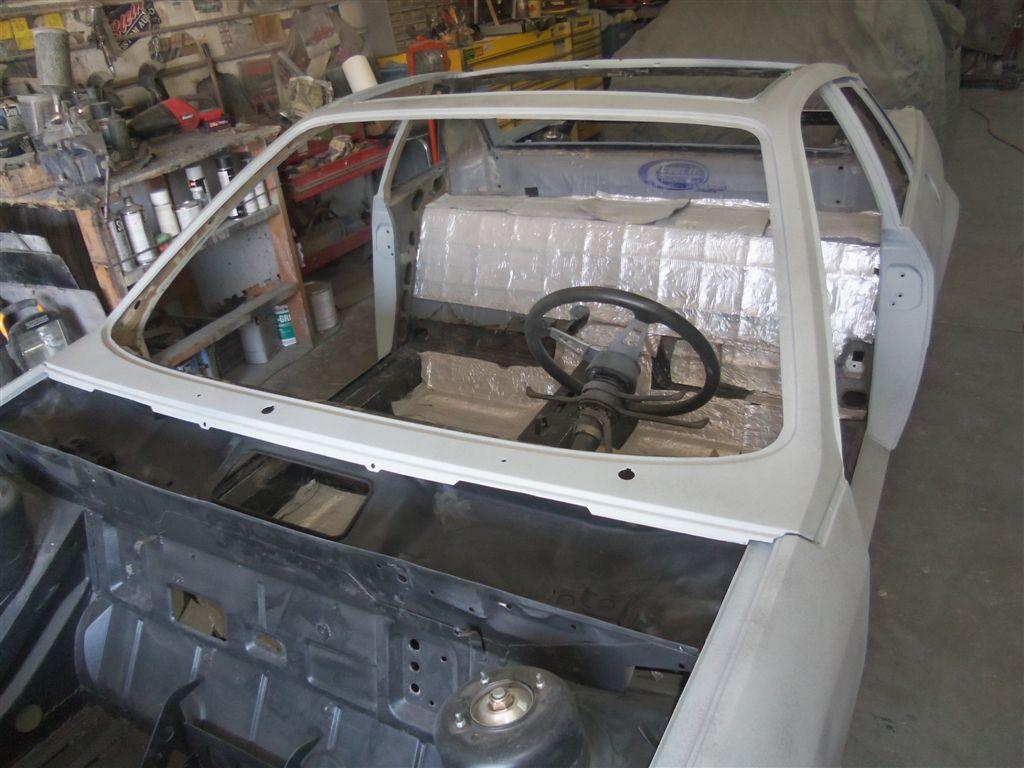
Thought I would share the progress on my Scorpion. Mission creep galore, this all started with a crack in the floor pan. Anyway one thing led to another and I decided to get the car painted. So I stripped the car, removed the glass. The body itself was not rusty just a lot of previous accident damage. The drivers side was horrible, passenger side pretty good. Three layers of paint, lots of bondo...
Kevin Stein out of PA is doing the work and he loves Italian cars. Admin, if the posts are too long free feel to delete the thread.
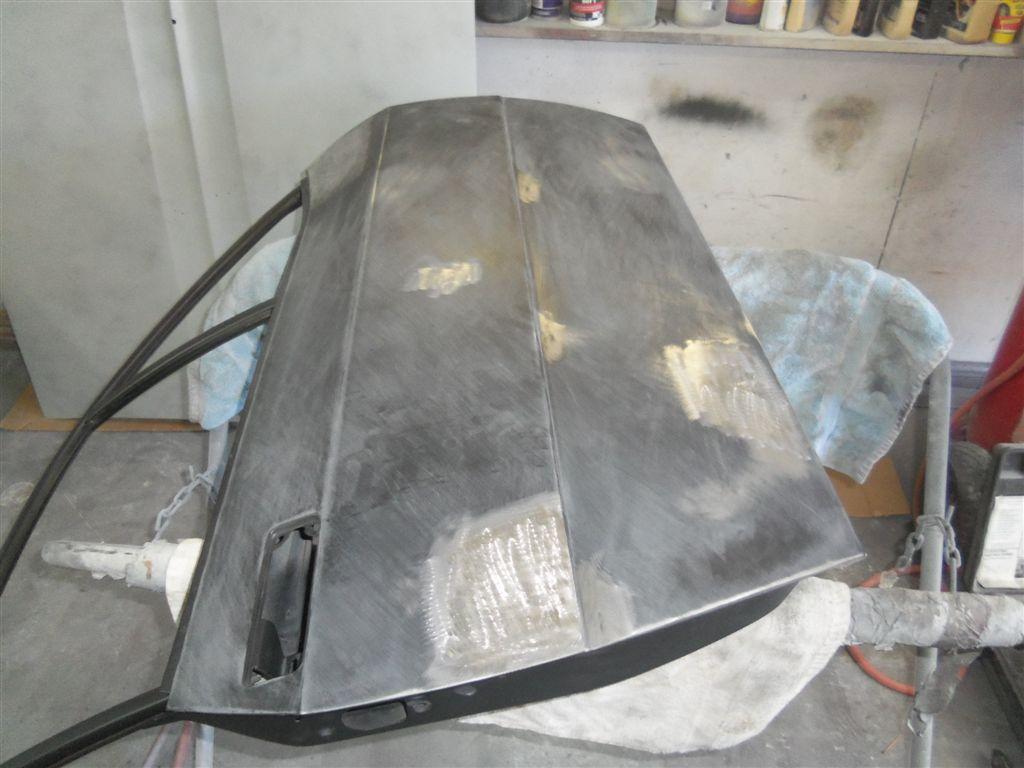
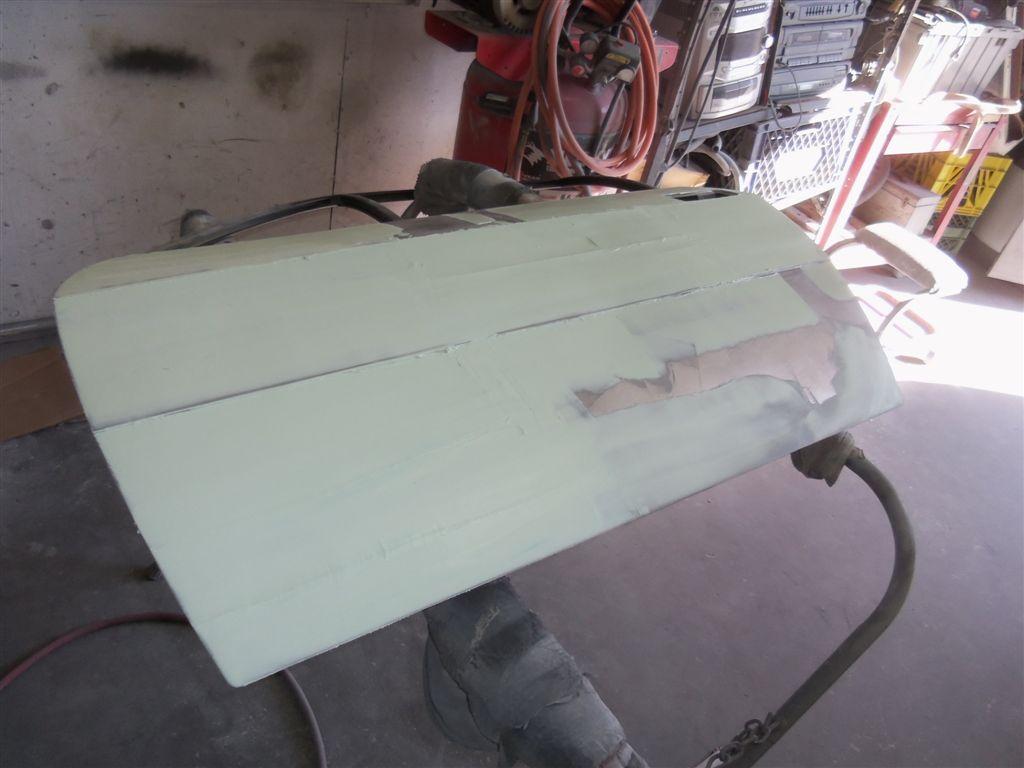
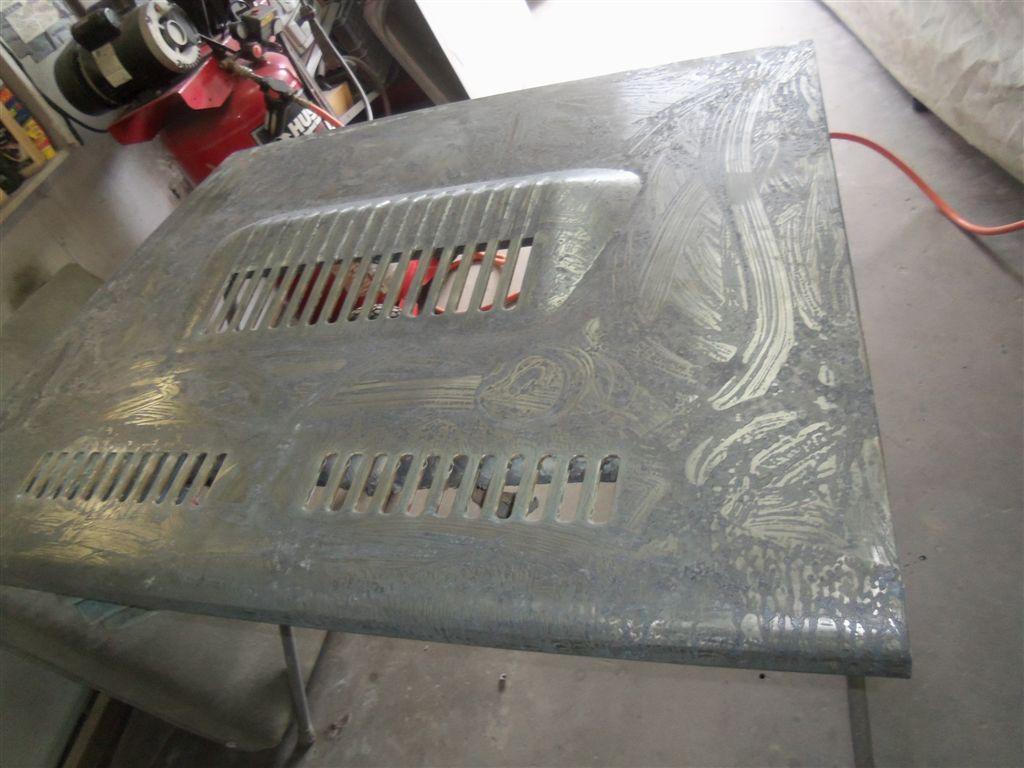
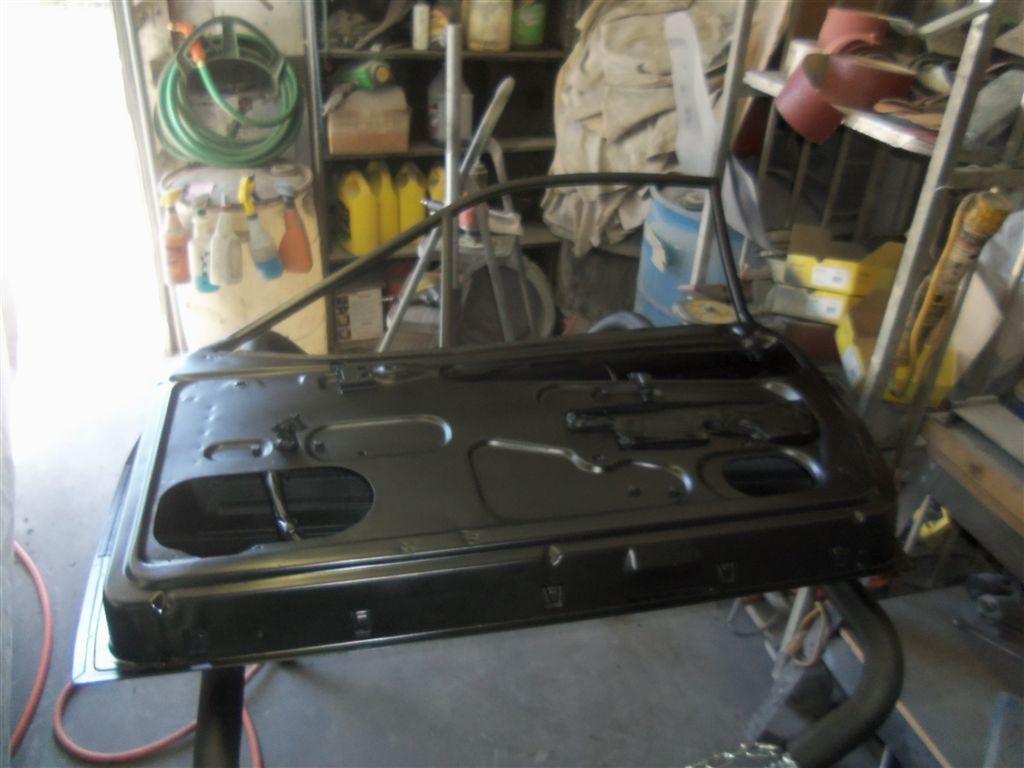
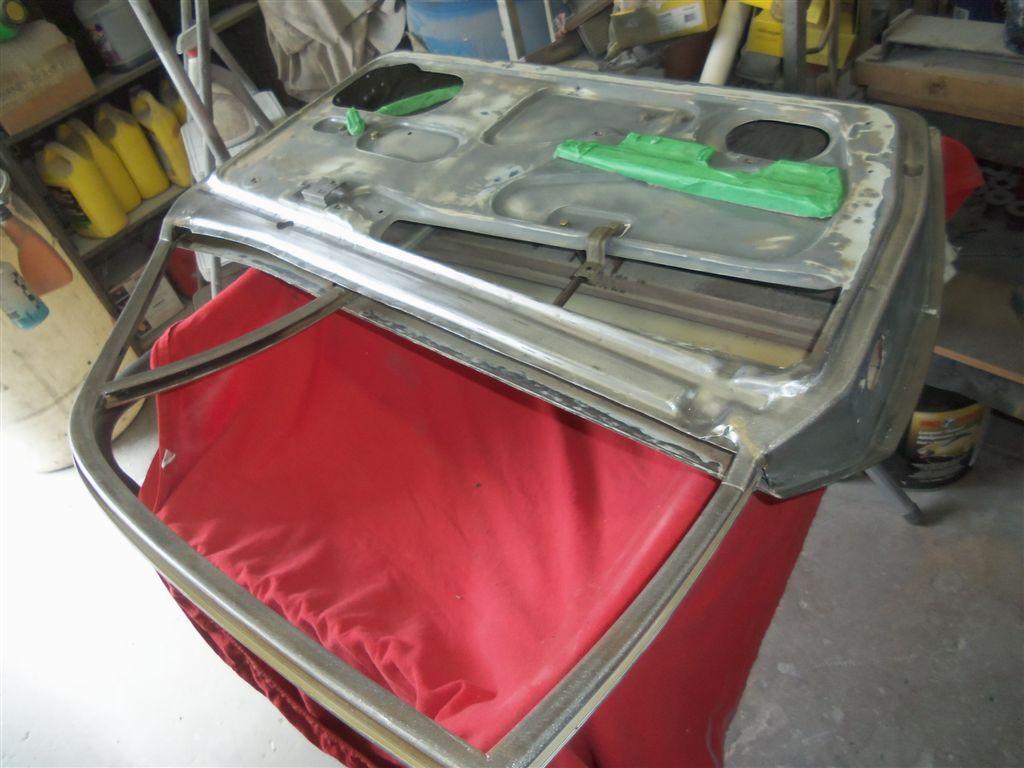
The exterior of engine lid before
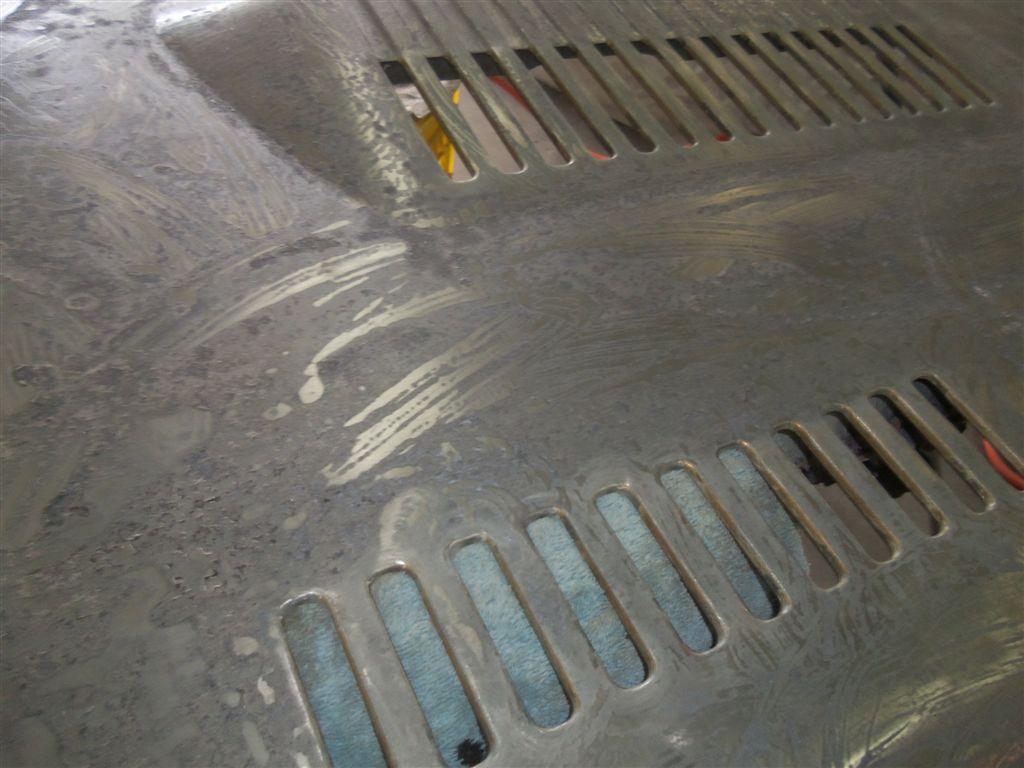
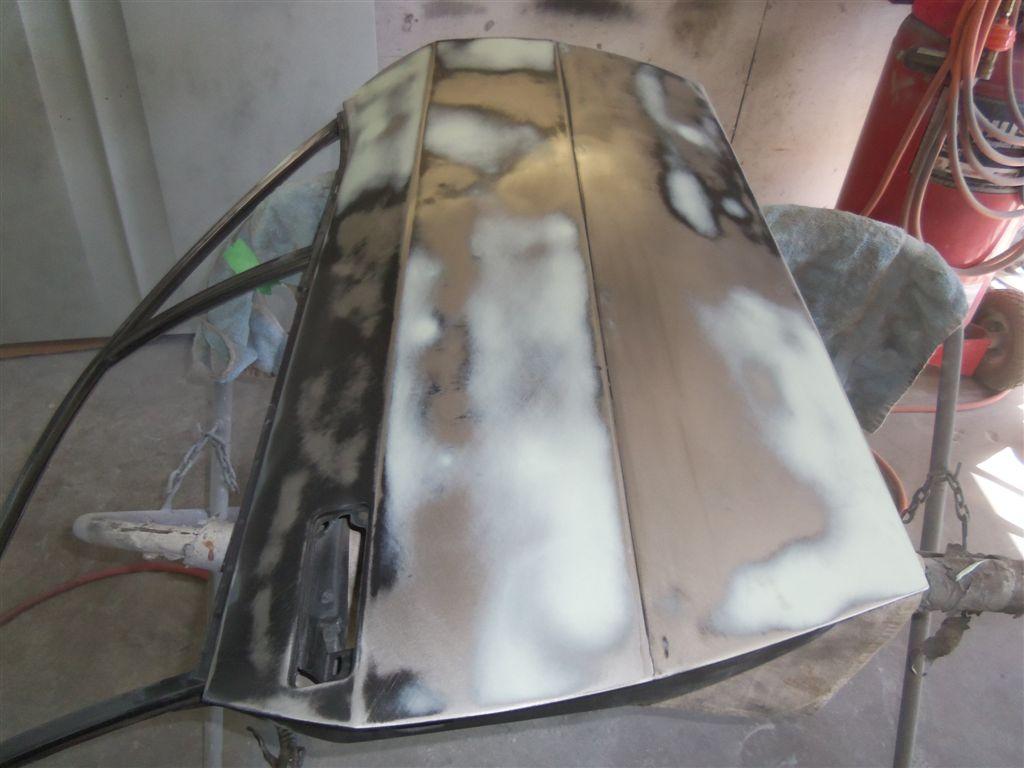
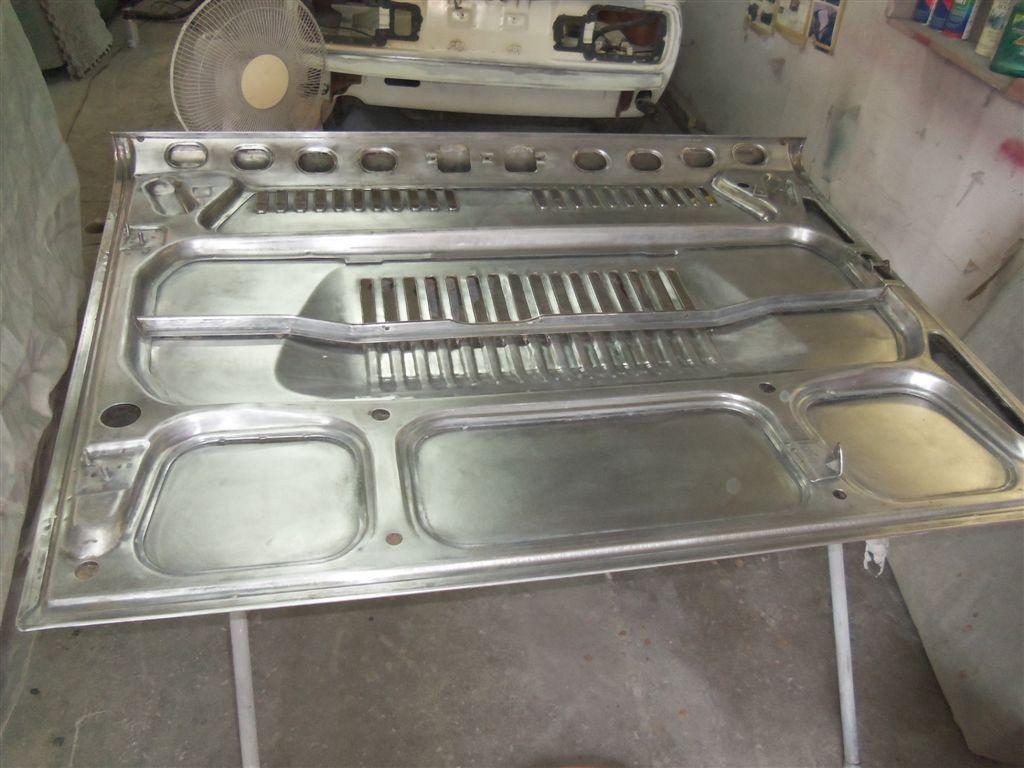
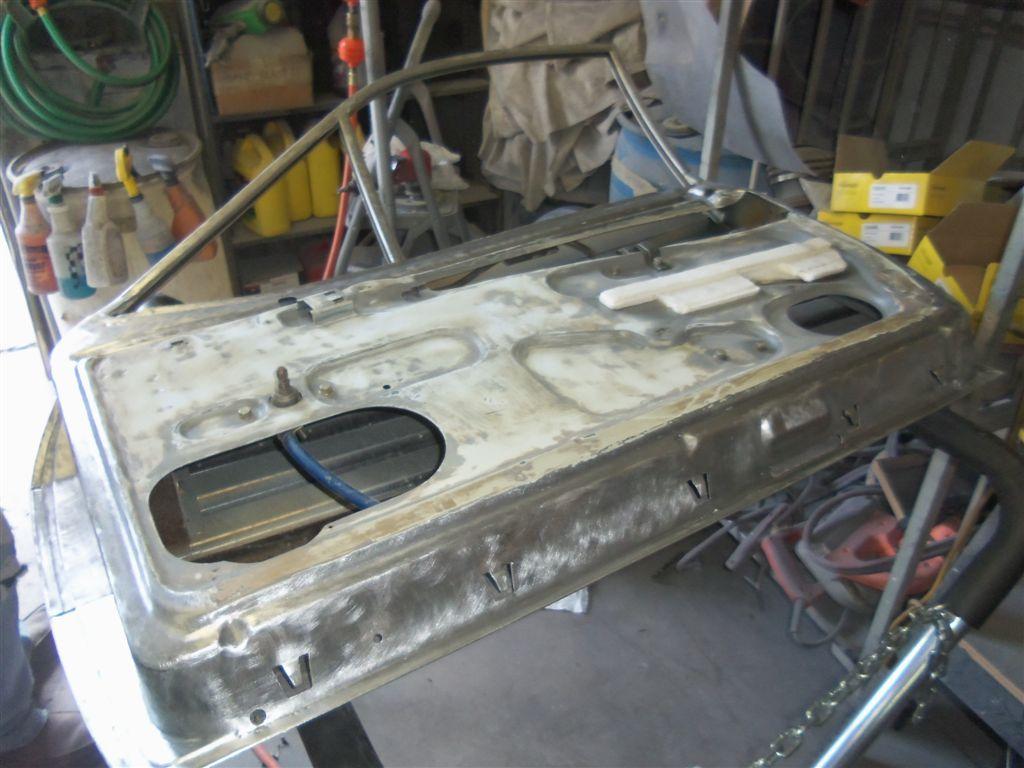
And the inside of the lid before sanding.

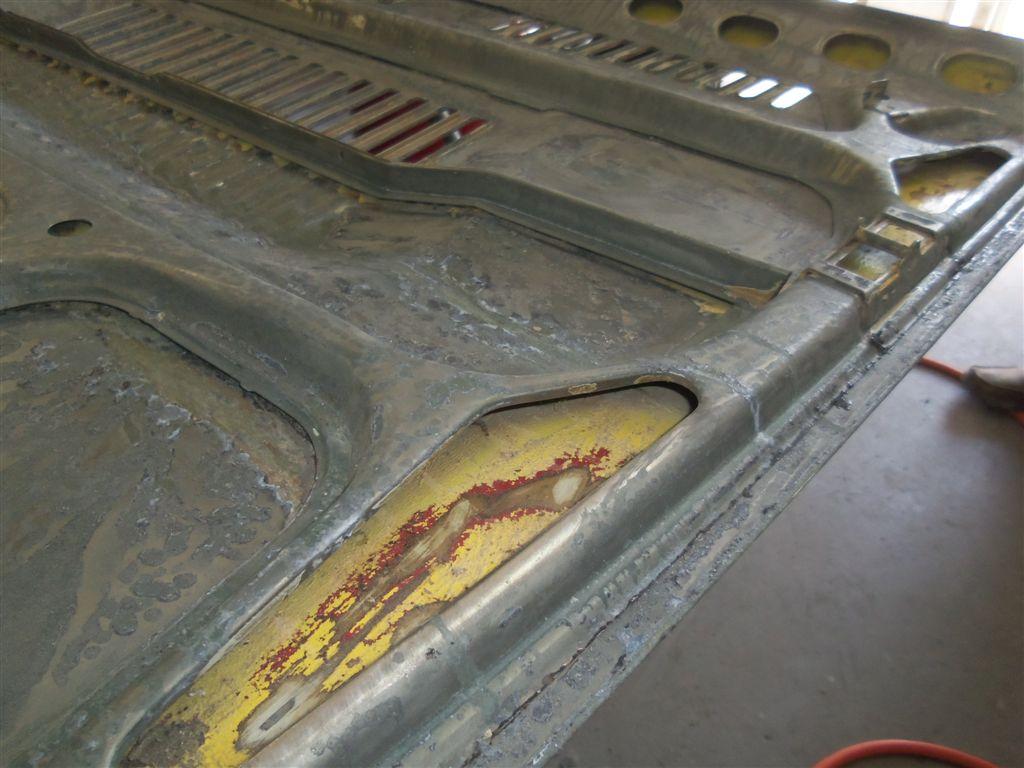

Chem stripping the remaining inner paint and around the cooling slats

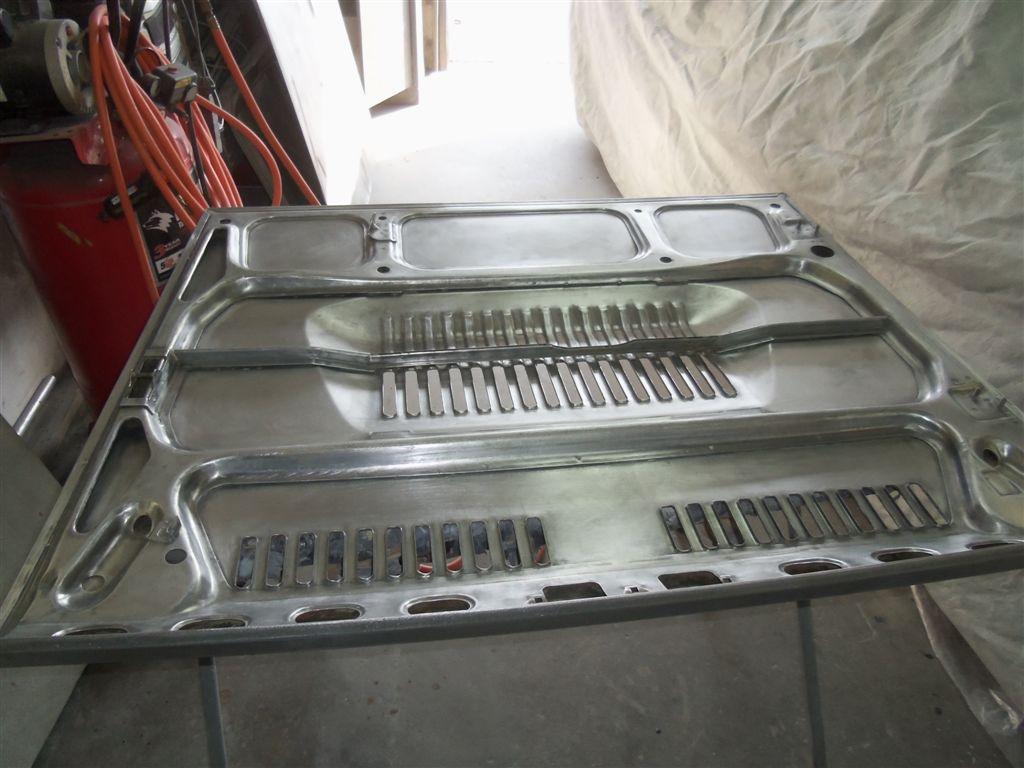
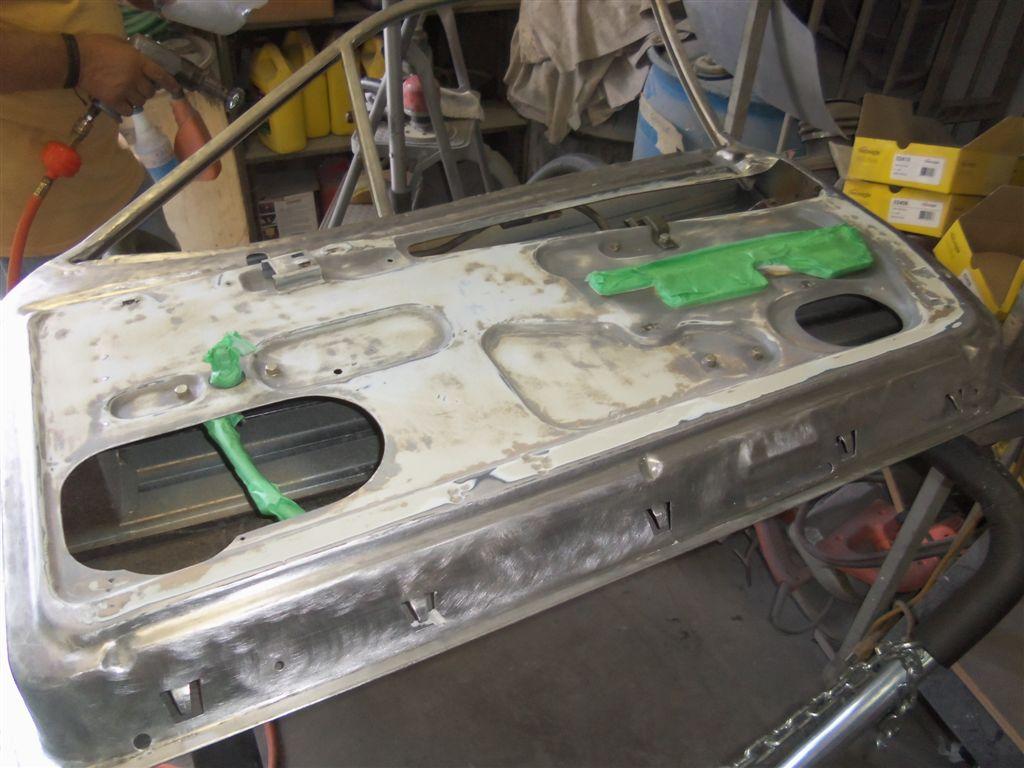
Sanding it all clean inside
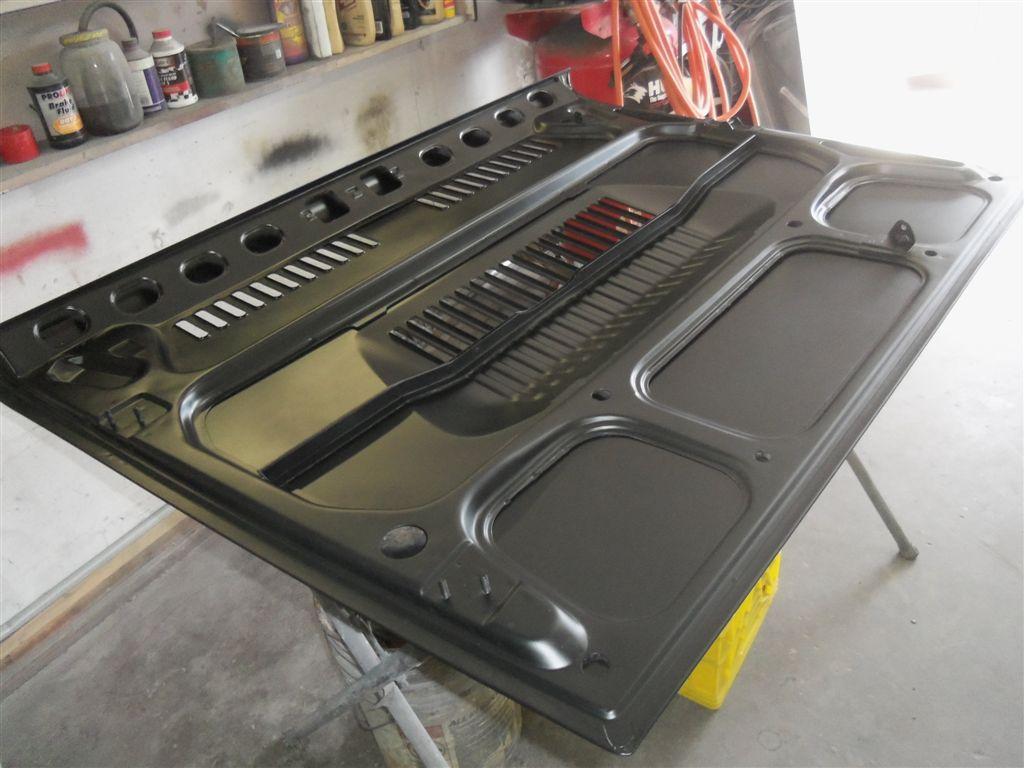
Black epoxy sealer / primer

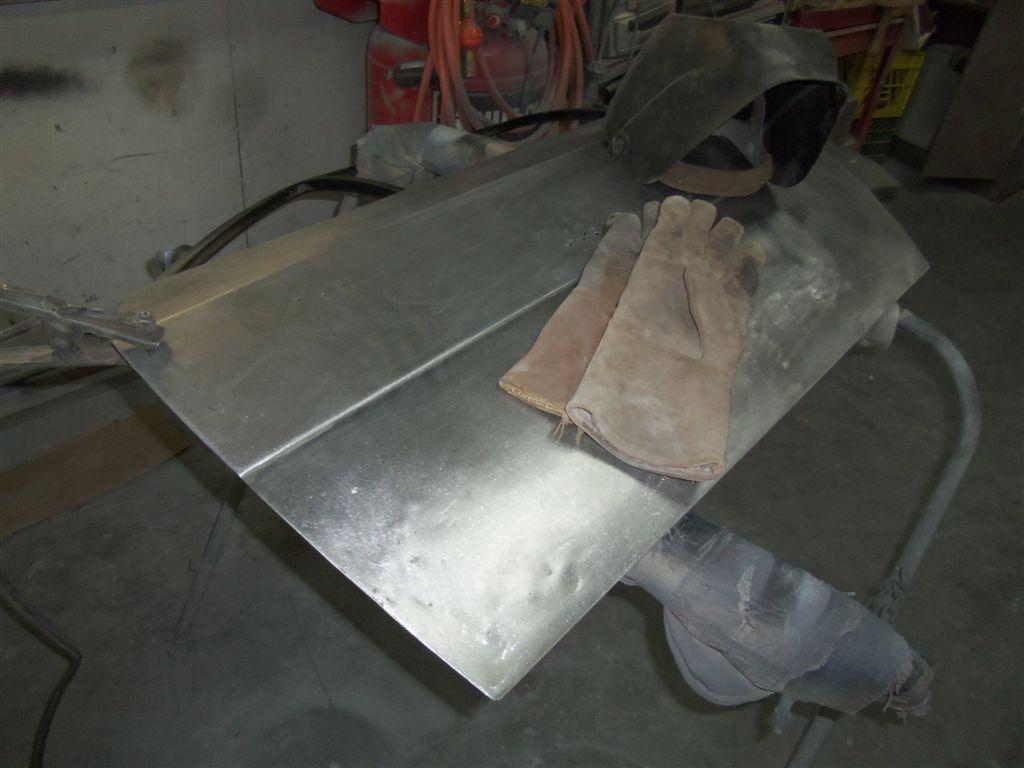
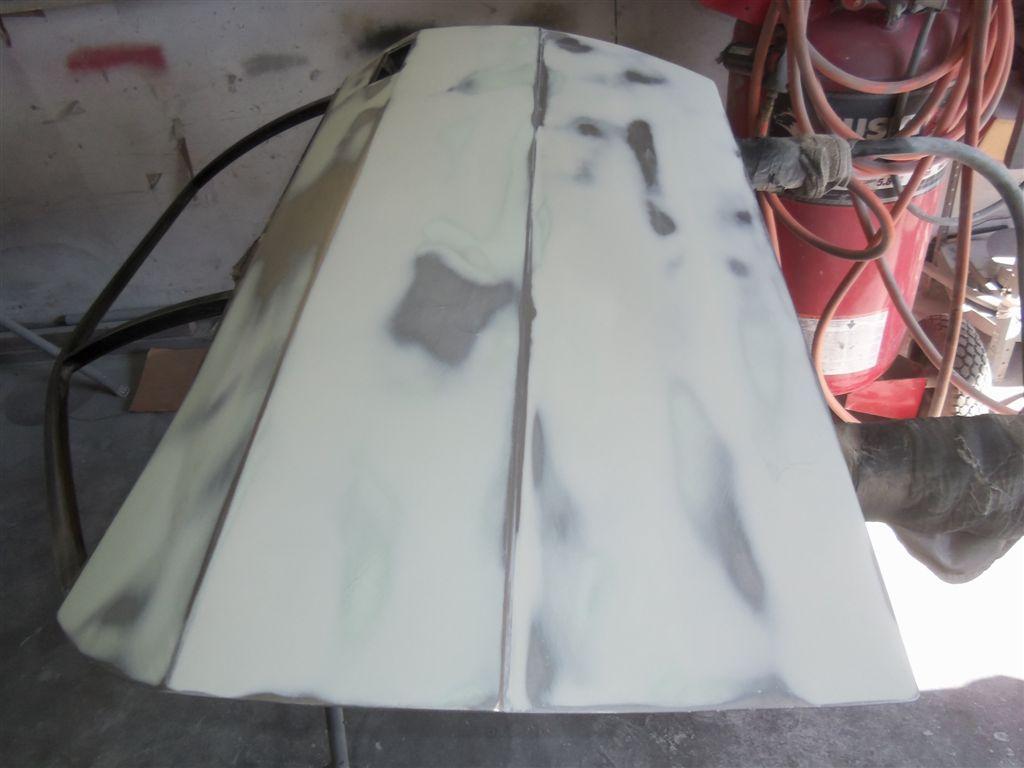
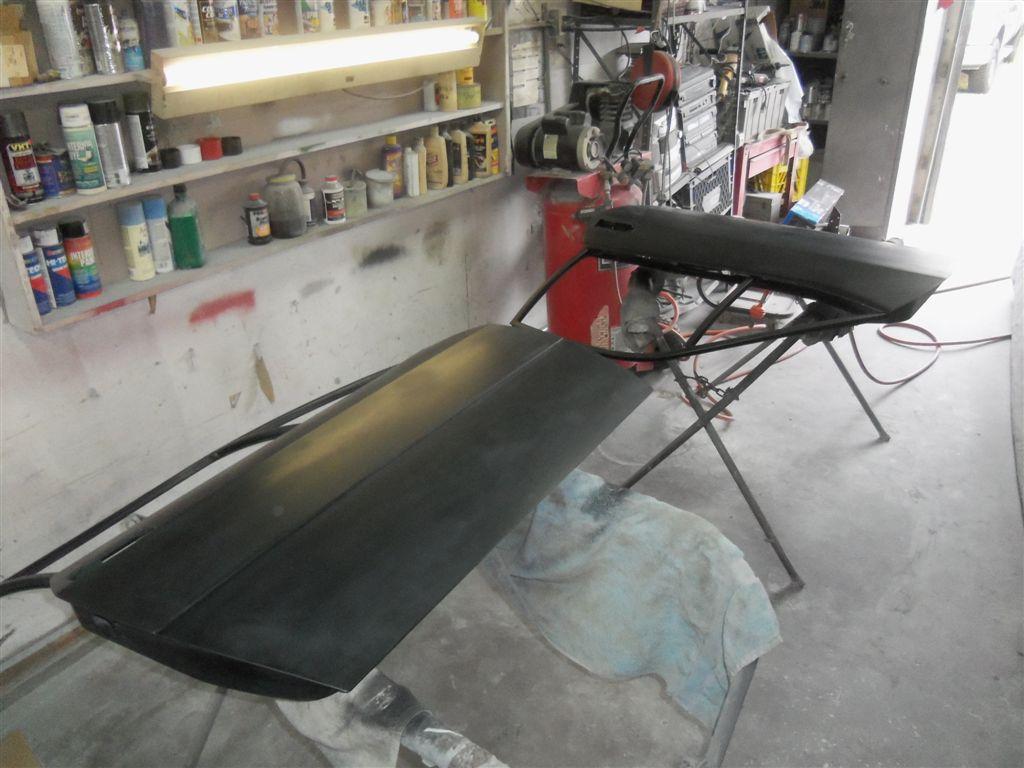
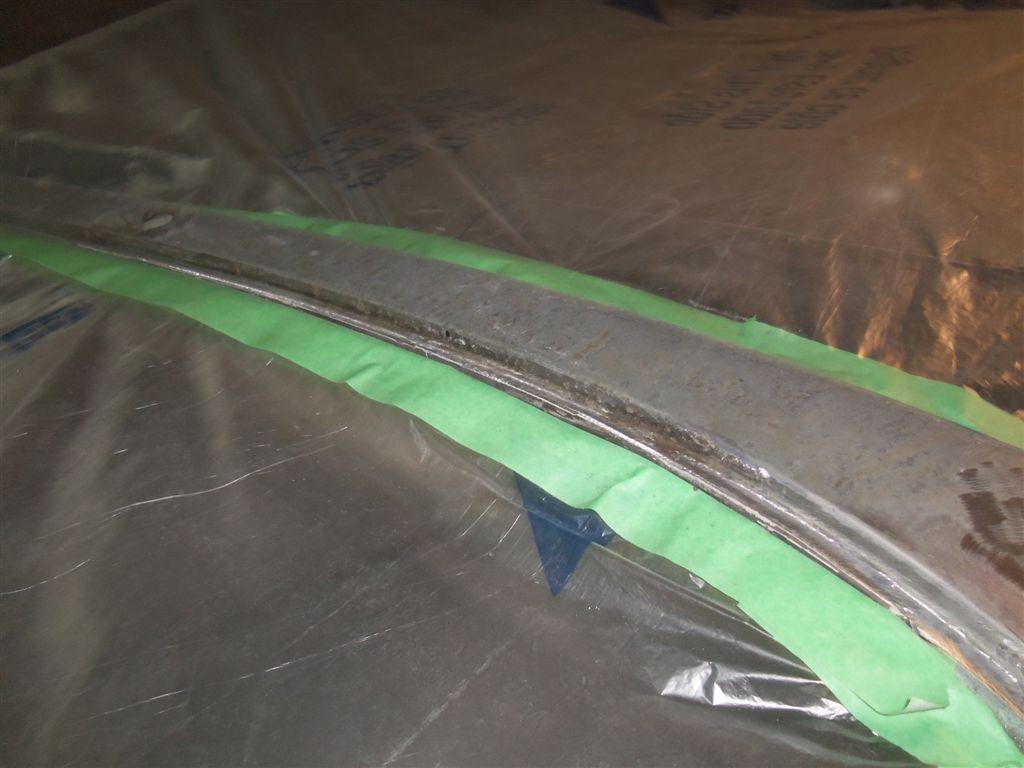
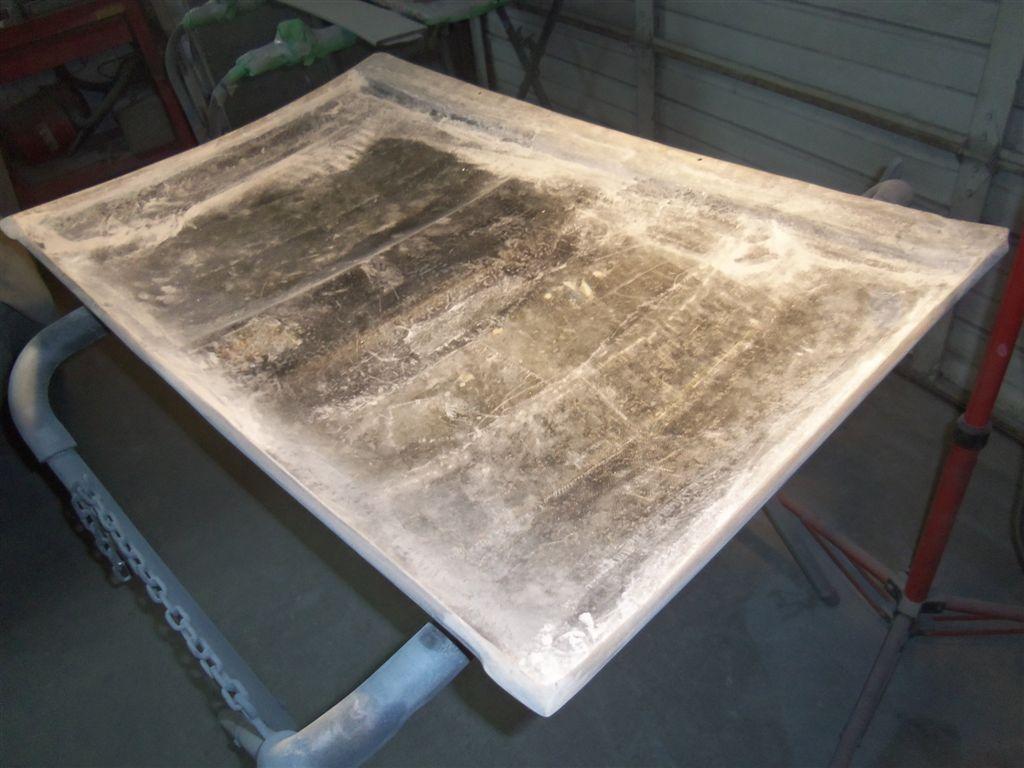
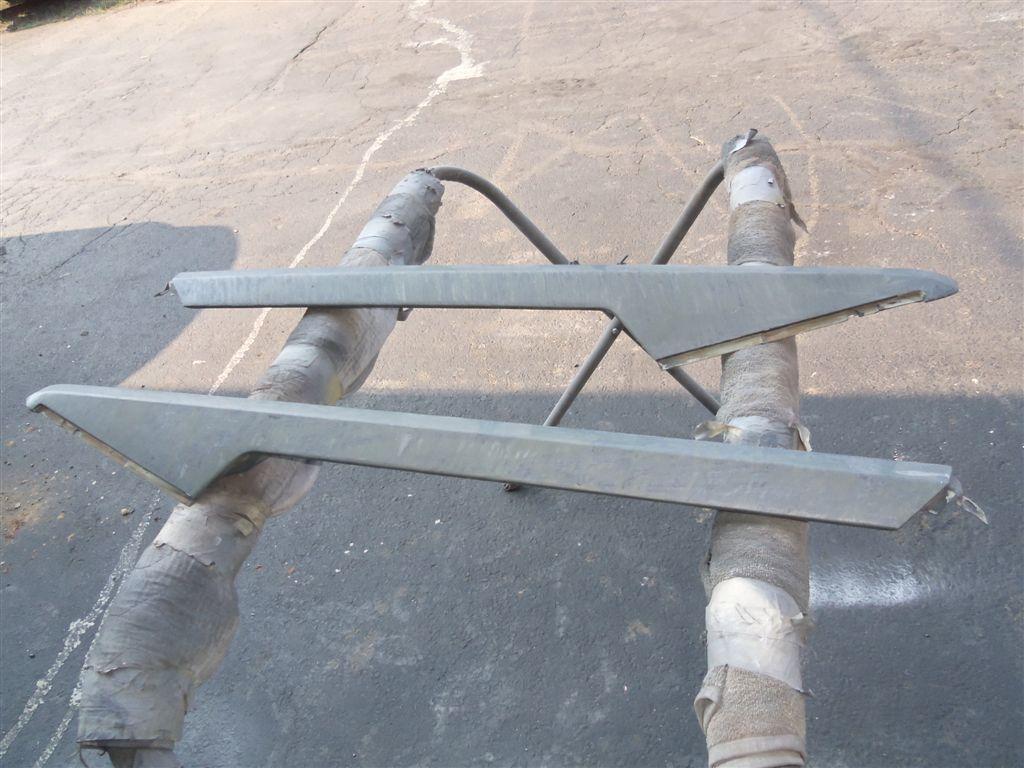
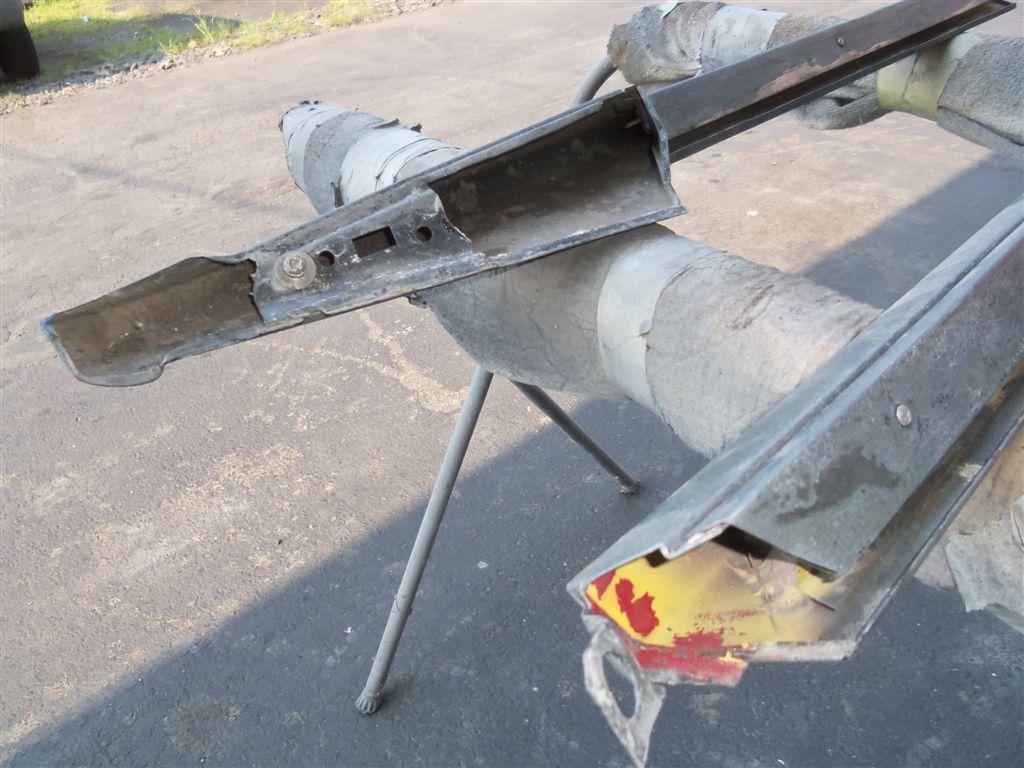
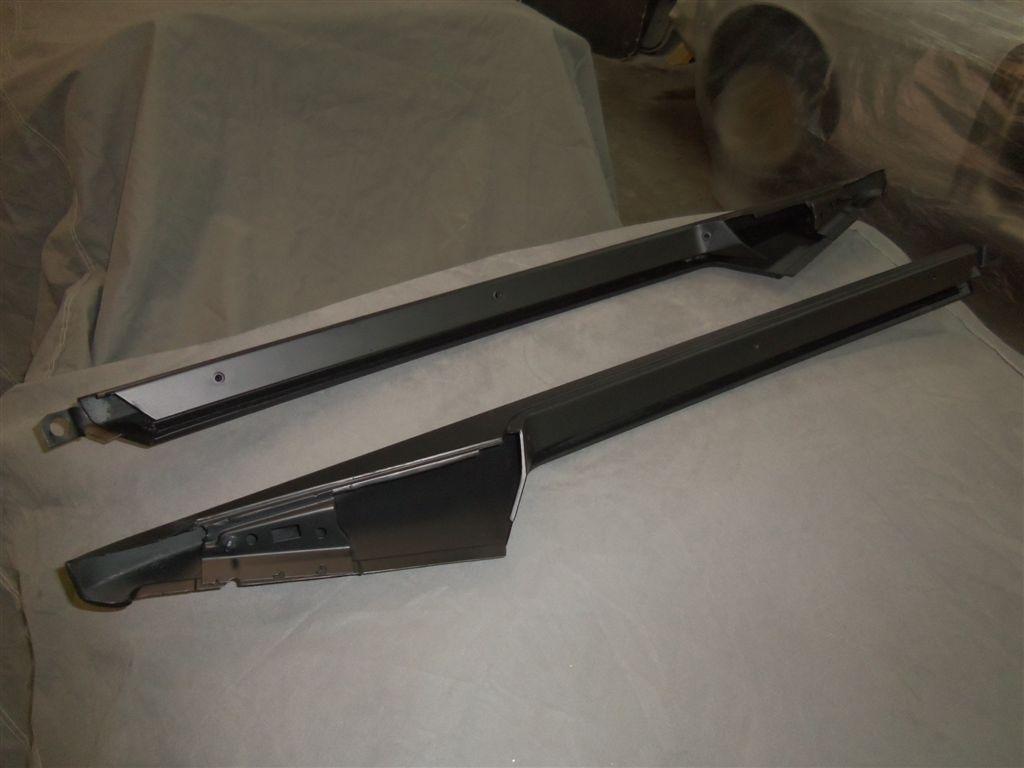
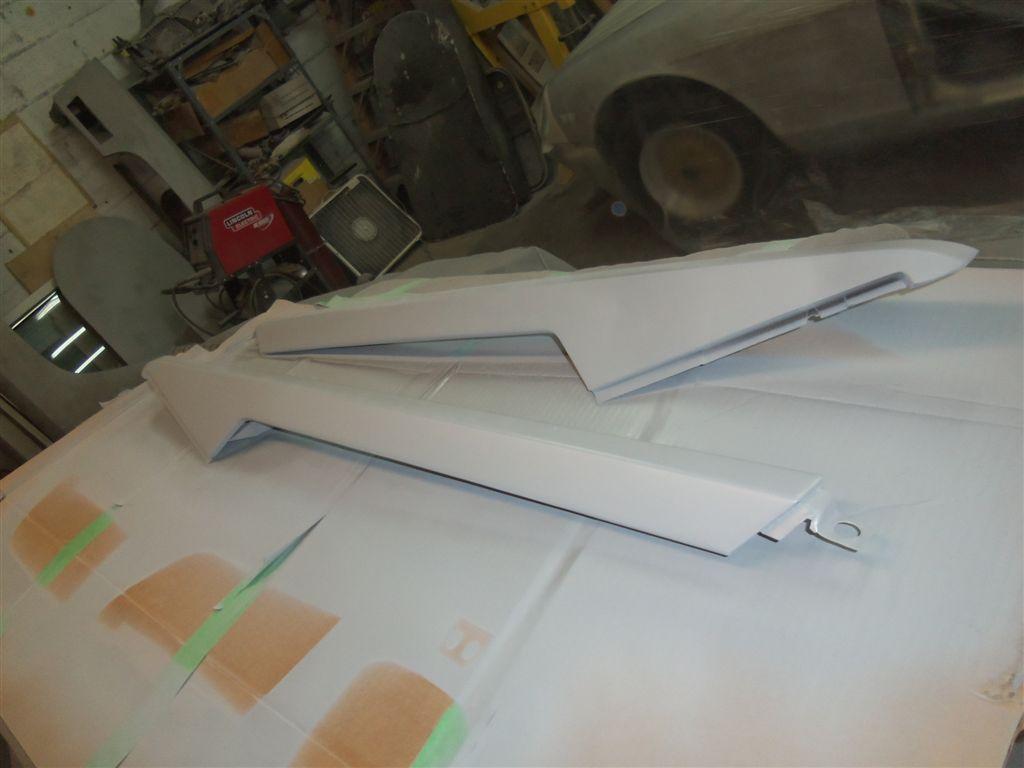
Before sanding the 2 flying buttresses
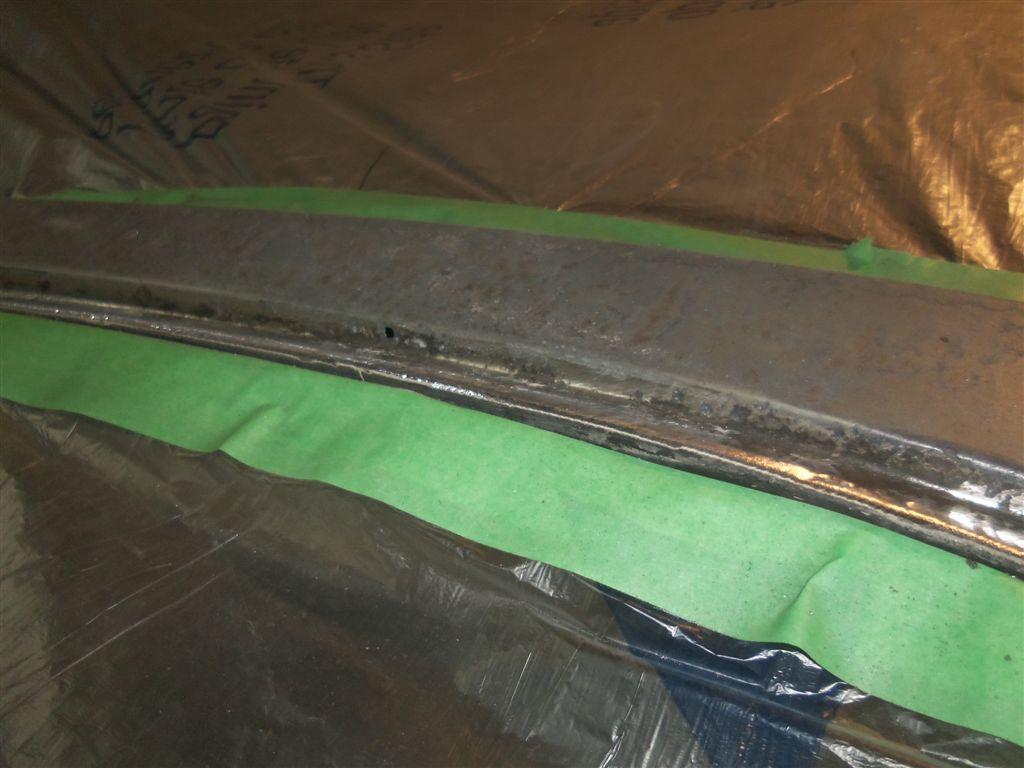
Still some paint in the crevices and edges
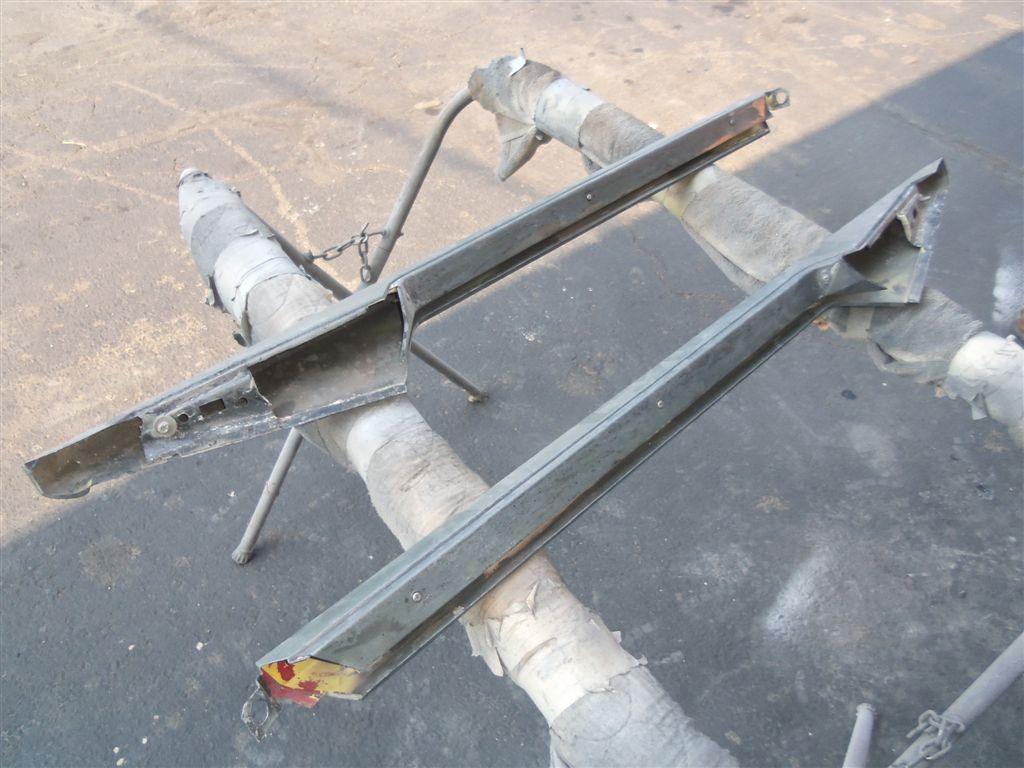
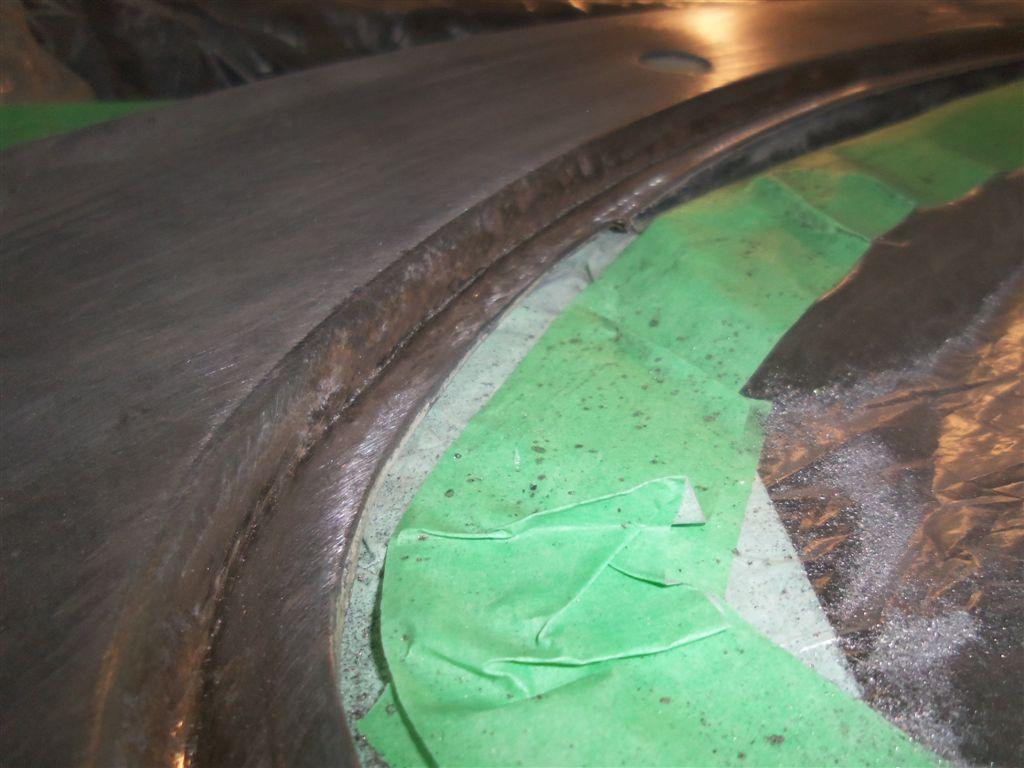
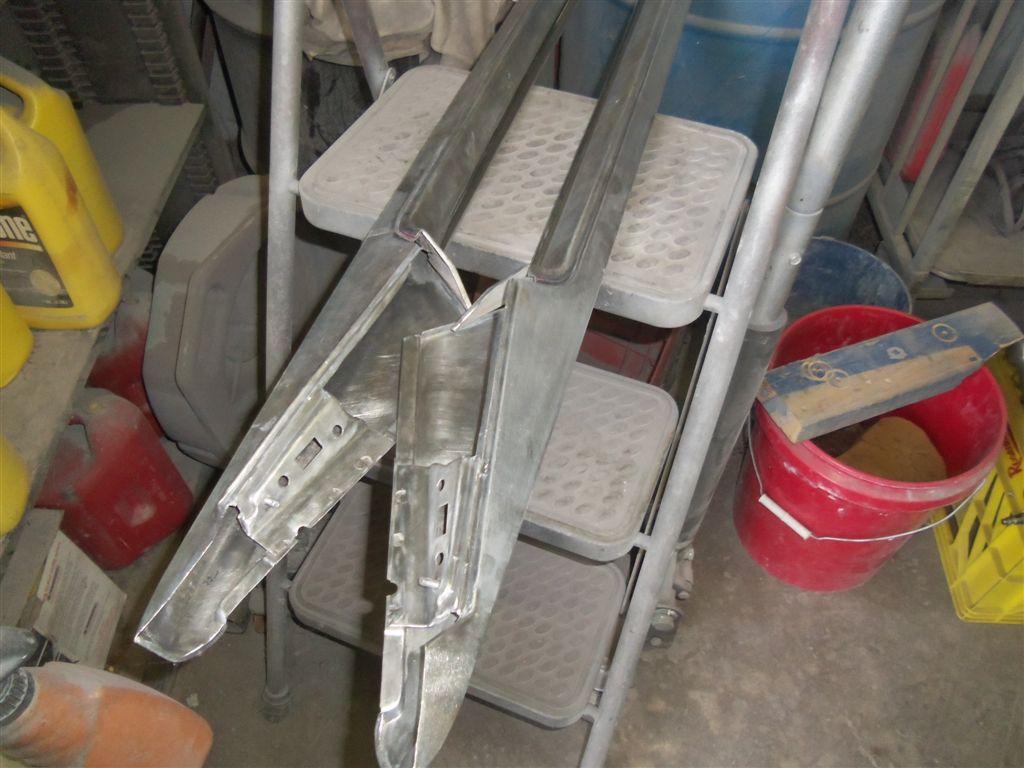
Stripping and sanding clean inside
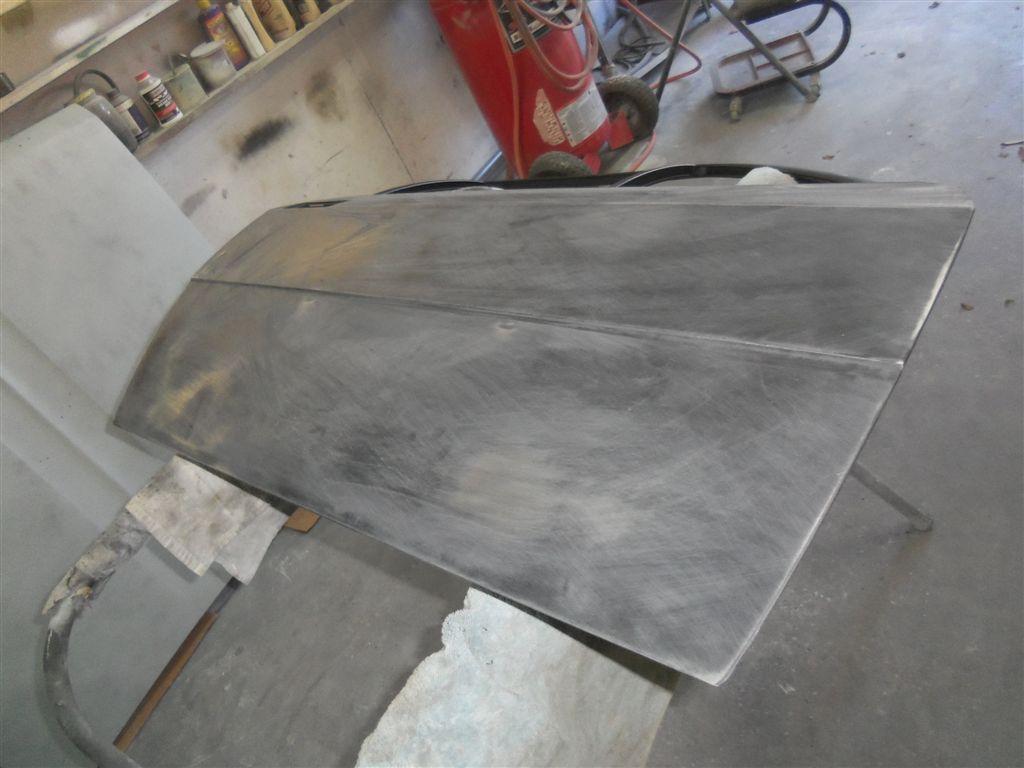
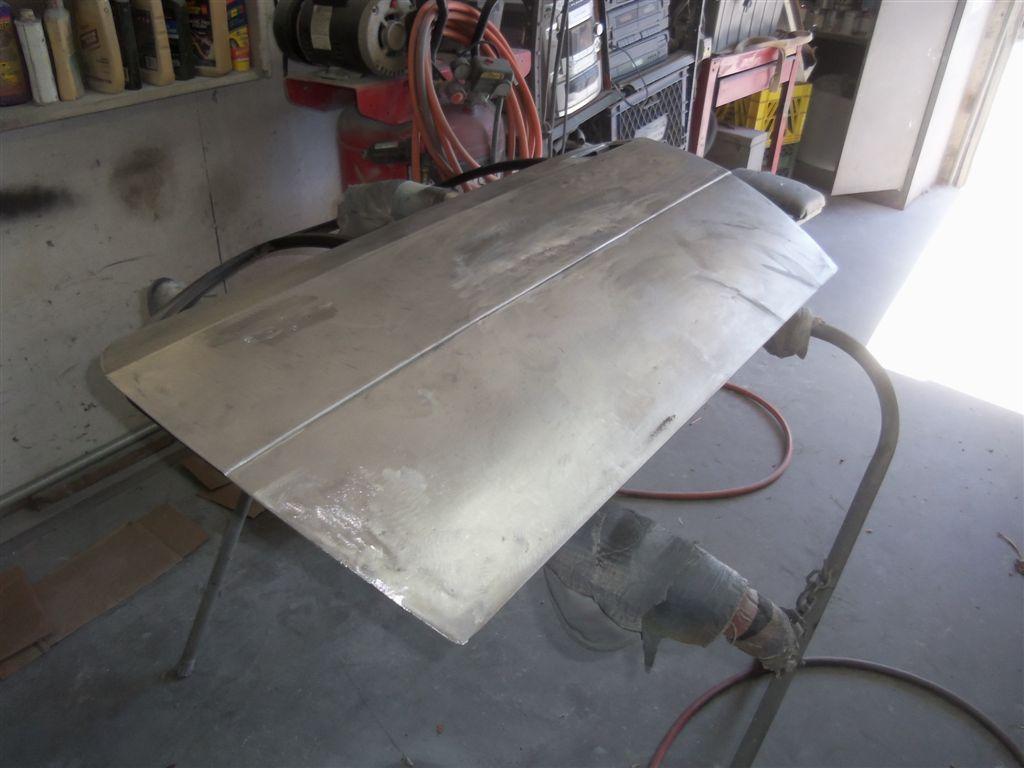
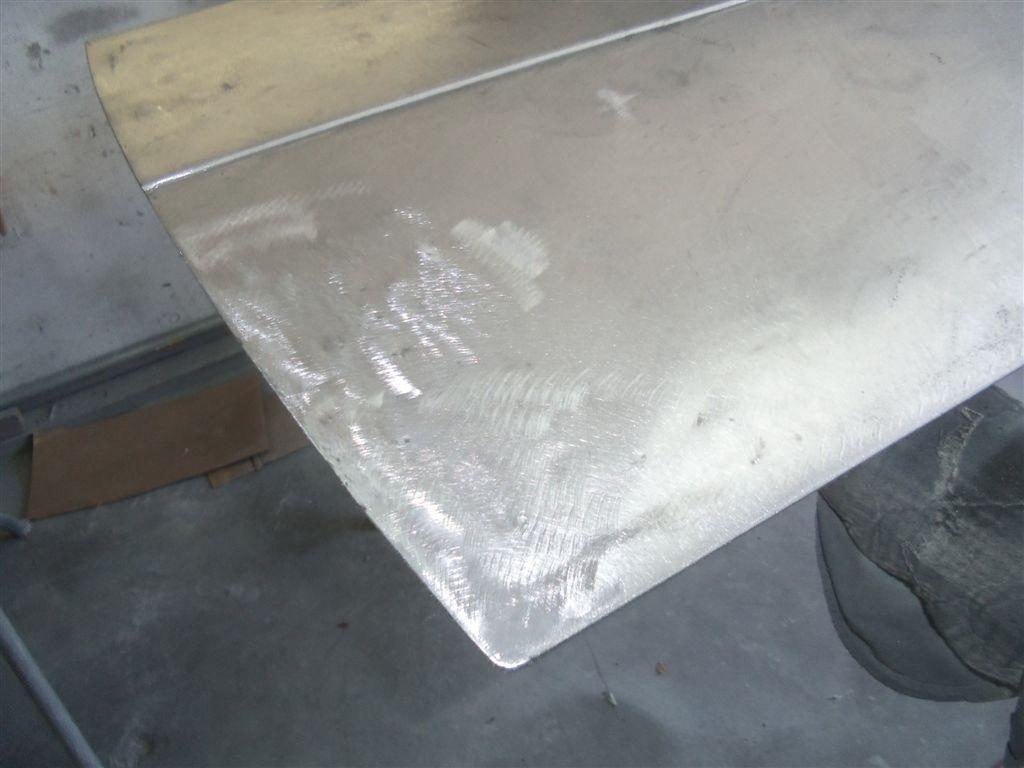
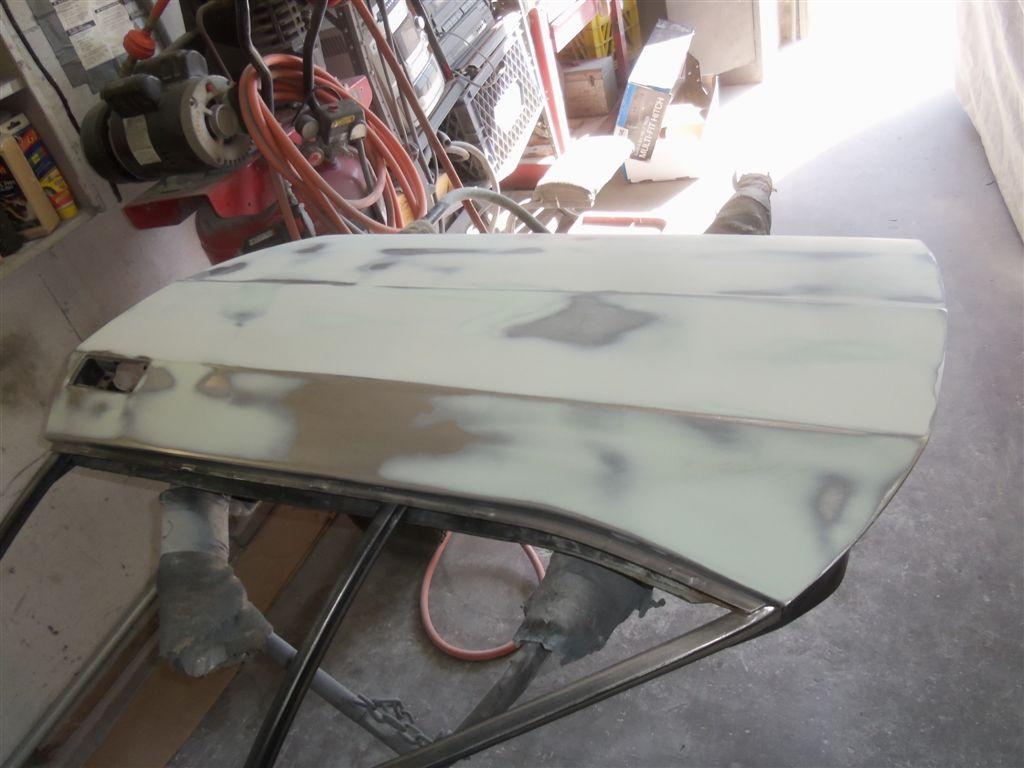
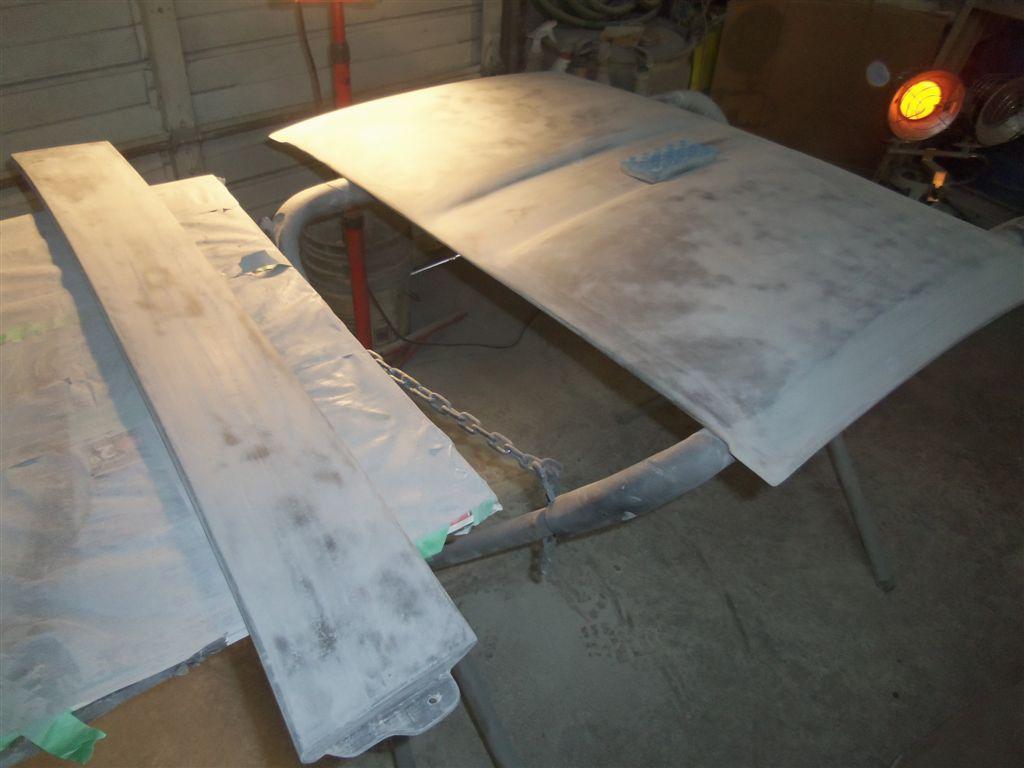
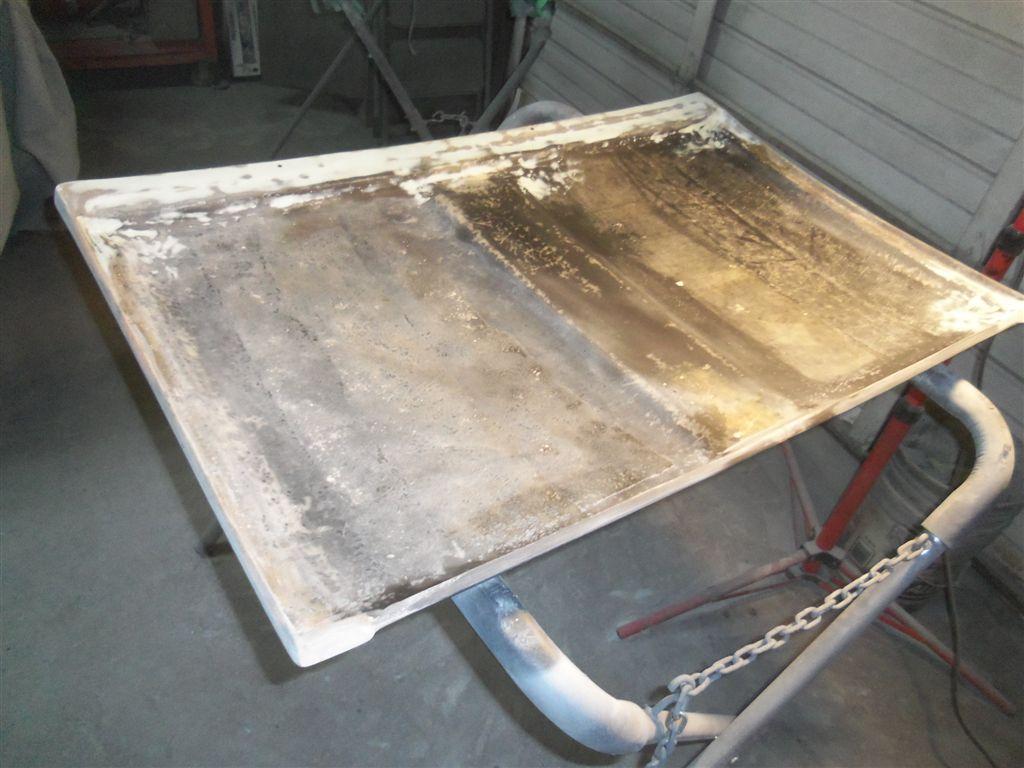
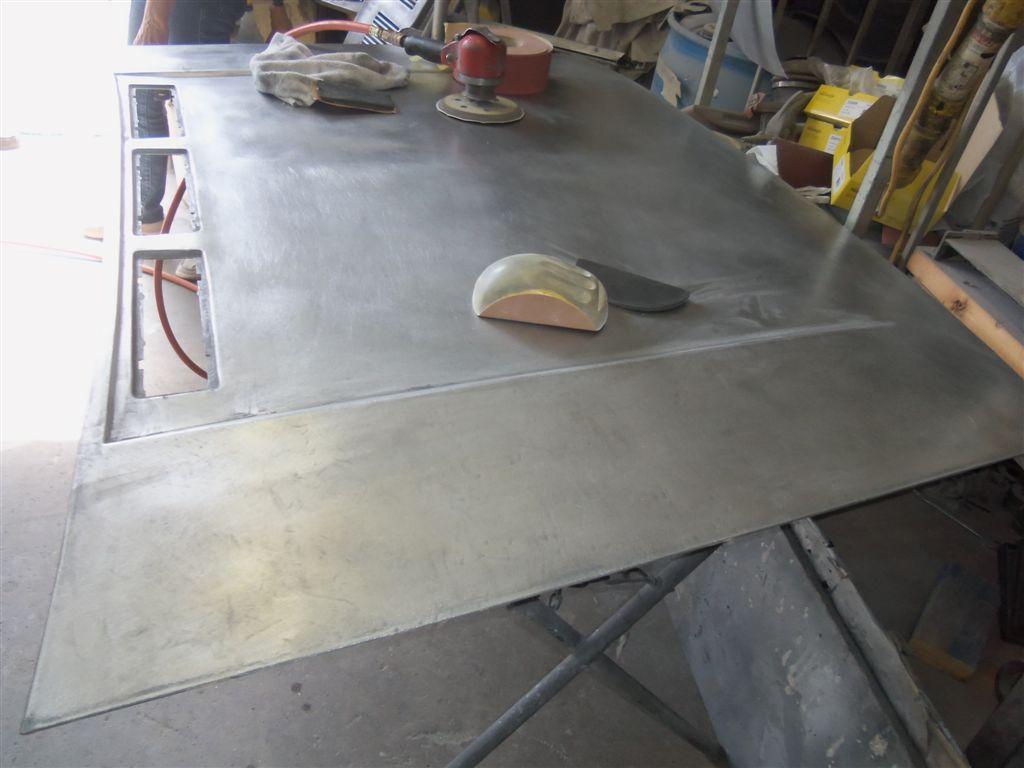
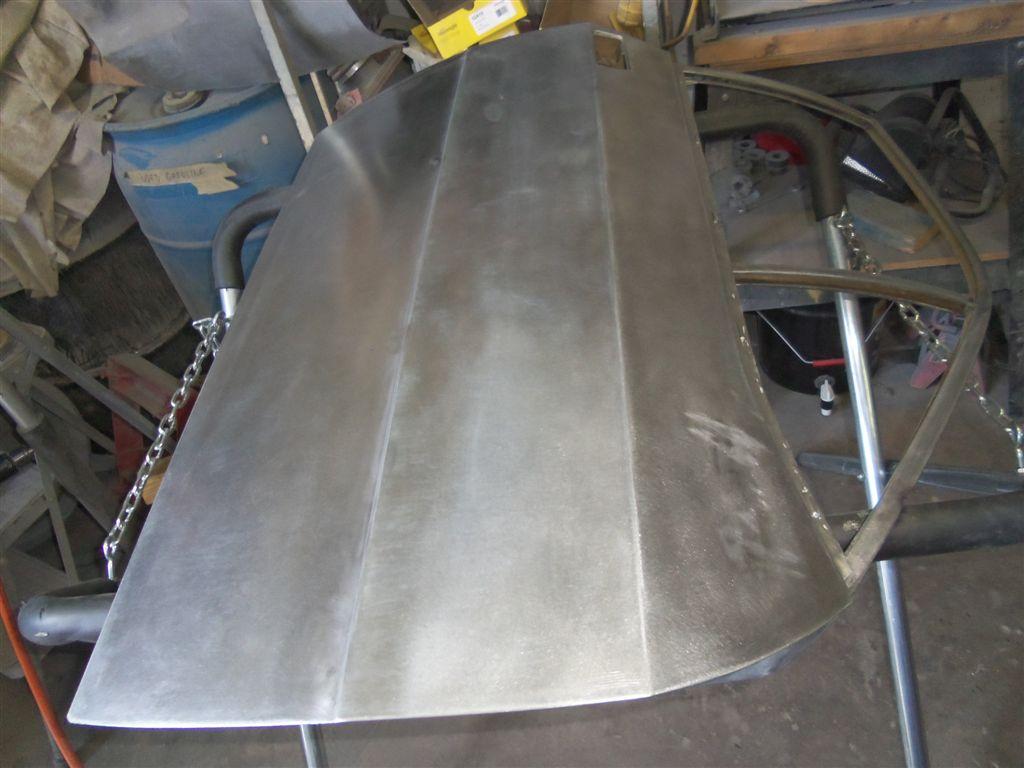
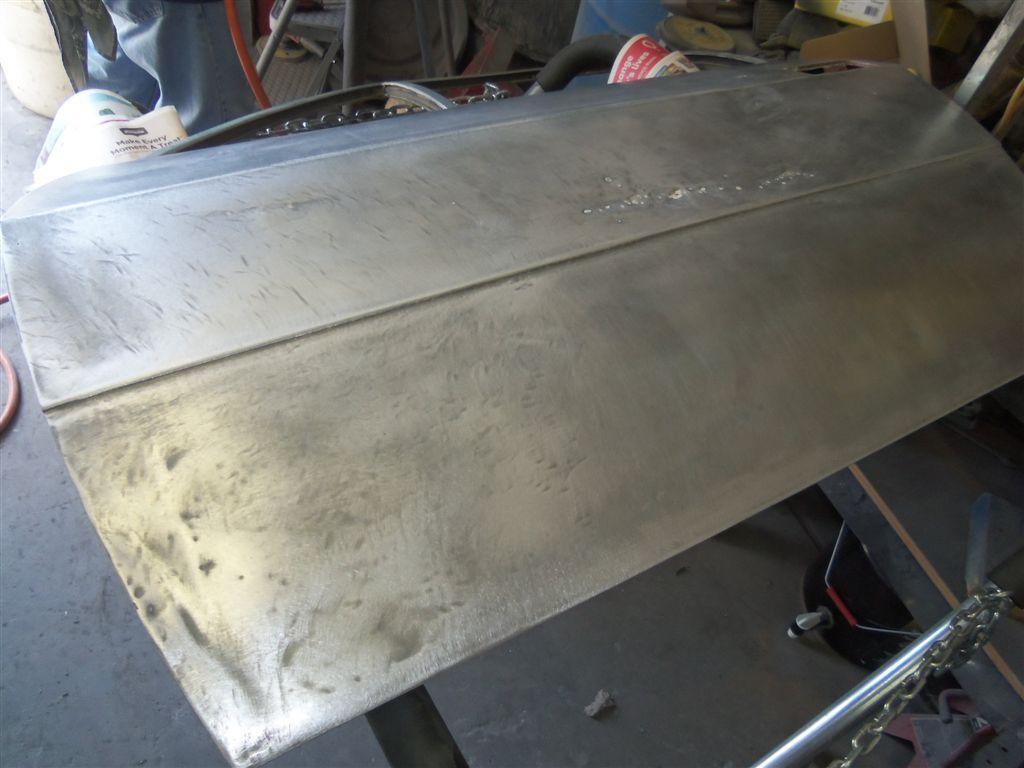
The front hood exterior, before sanding

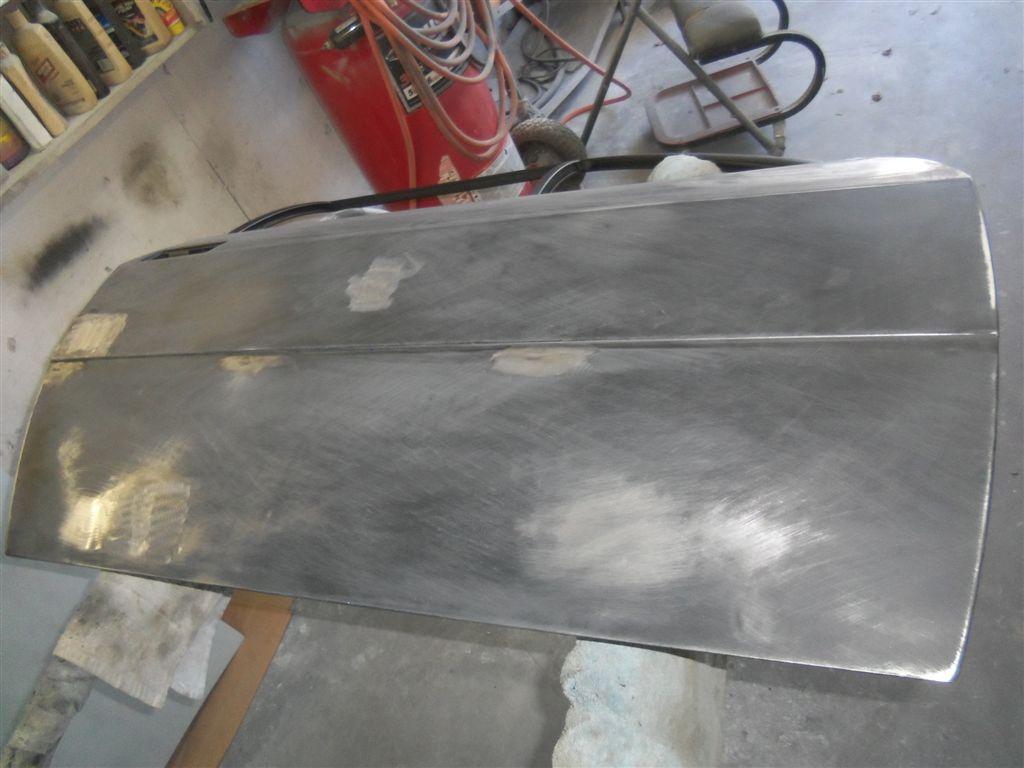
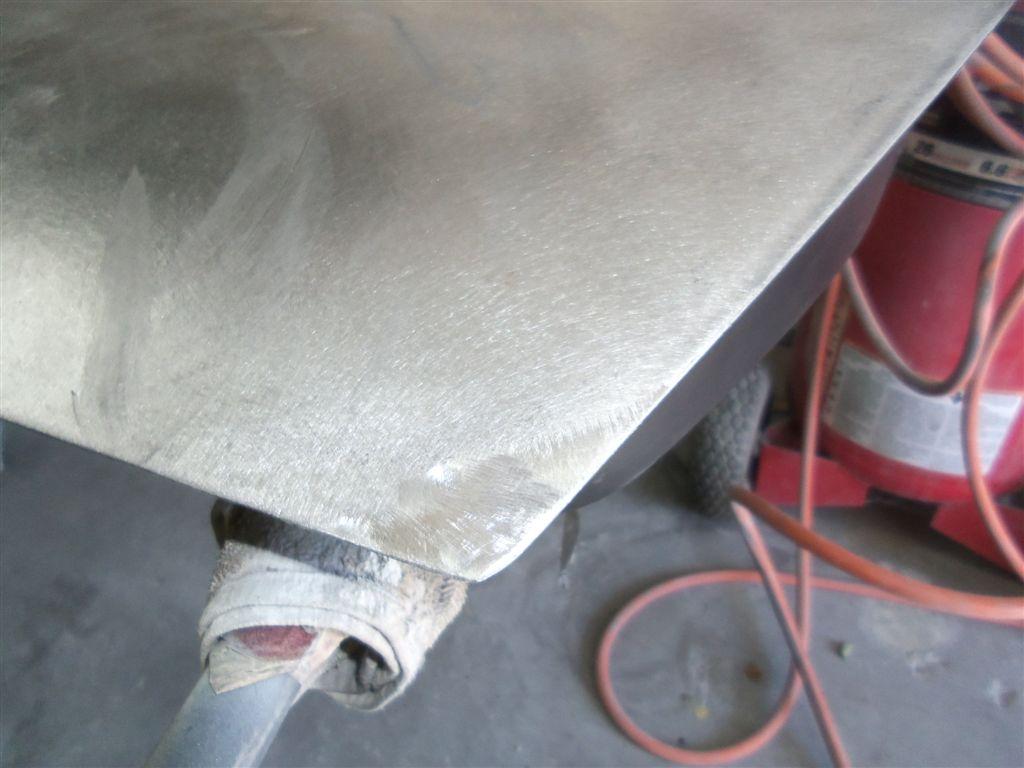
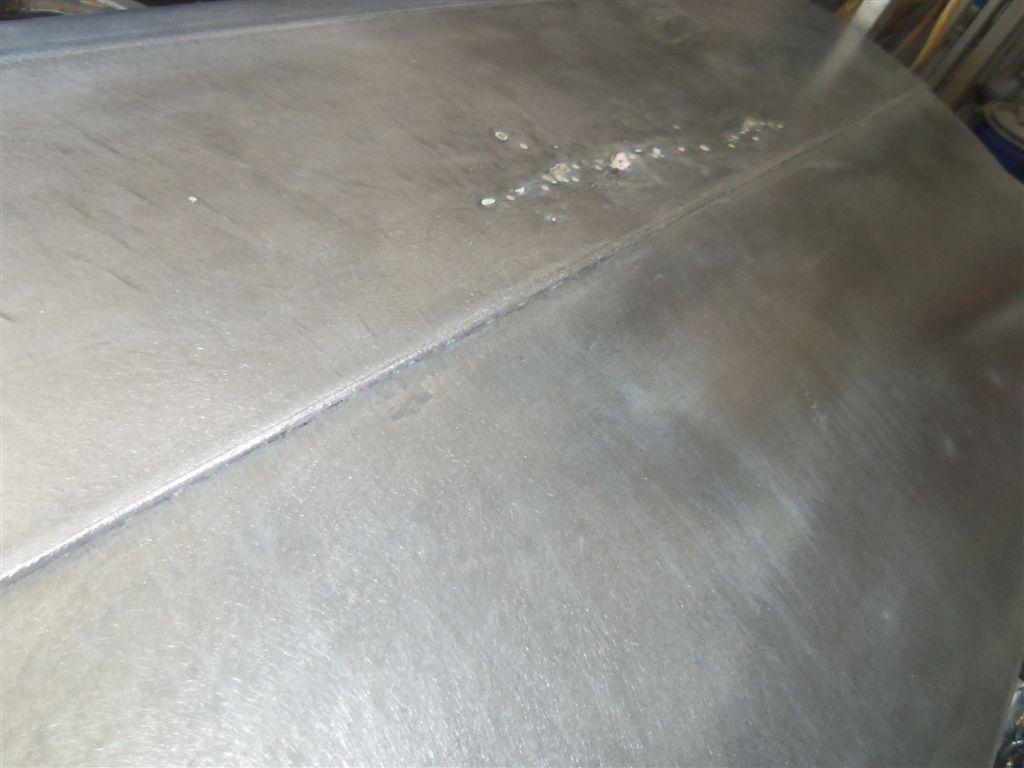
Sanding it clean
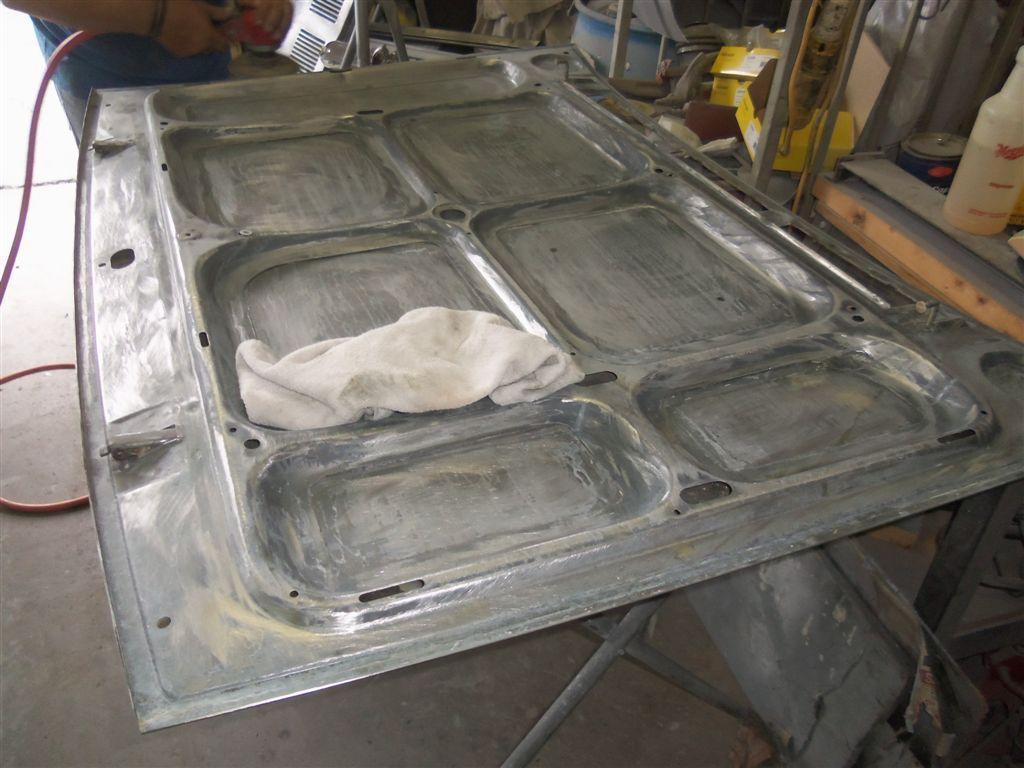
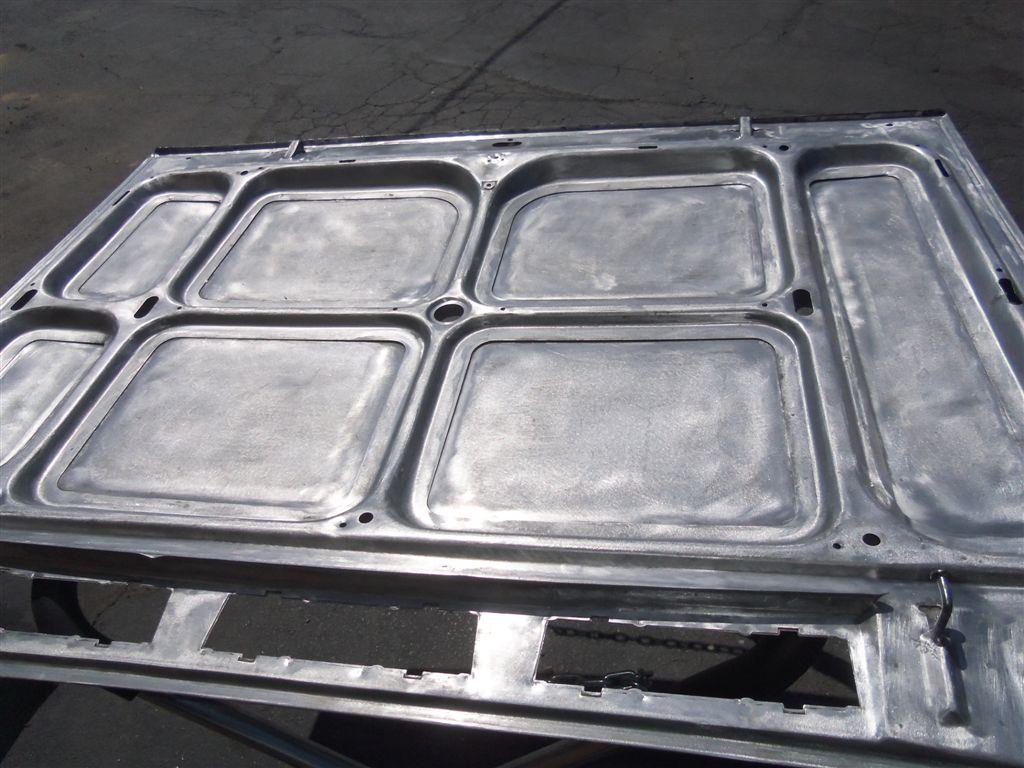
Sanding inside the hood
Black epoxy primer on the undersides, insides
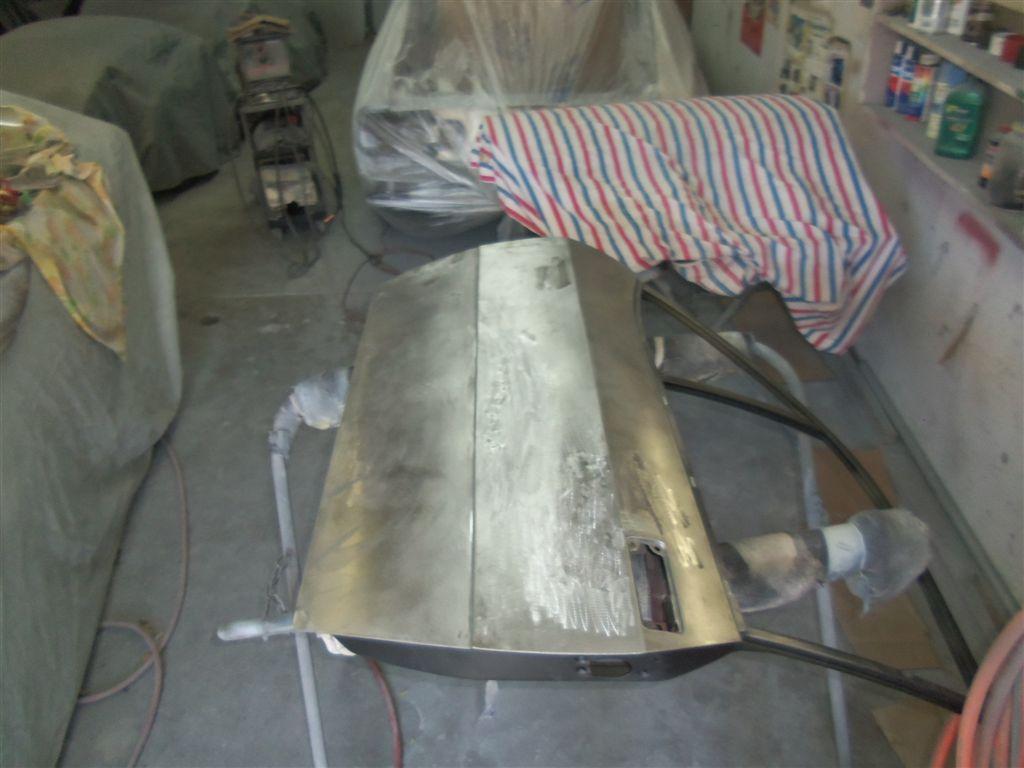
Cleaning under the hood, blowing out the cavities
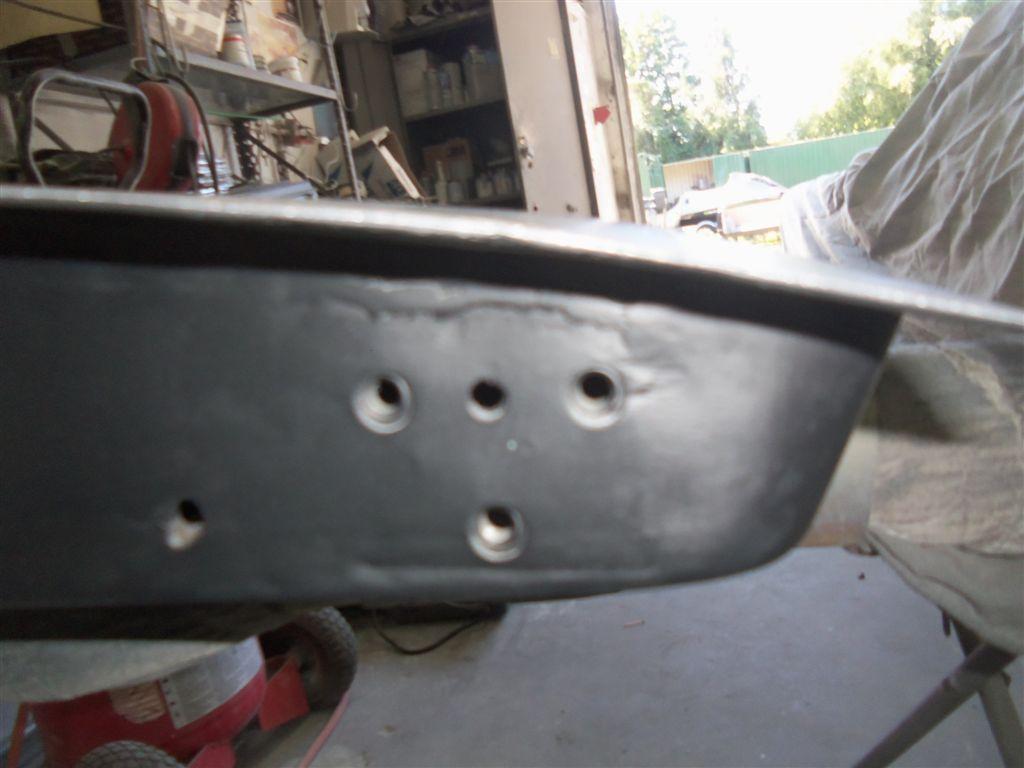
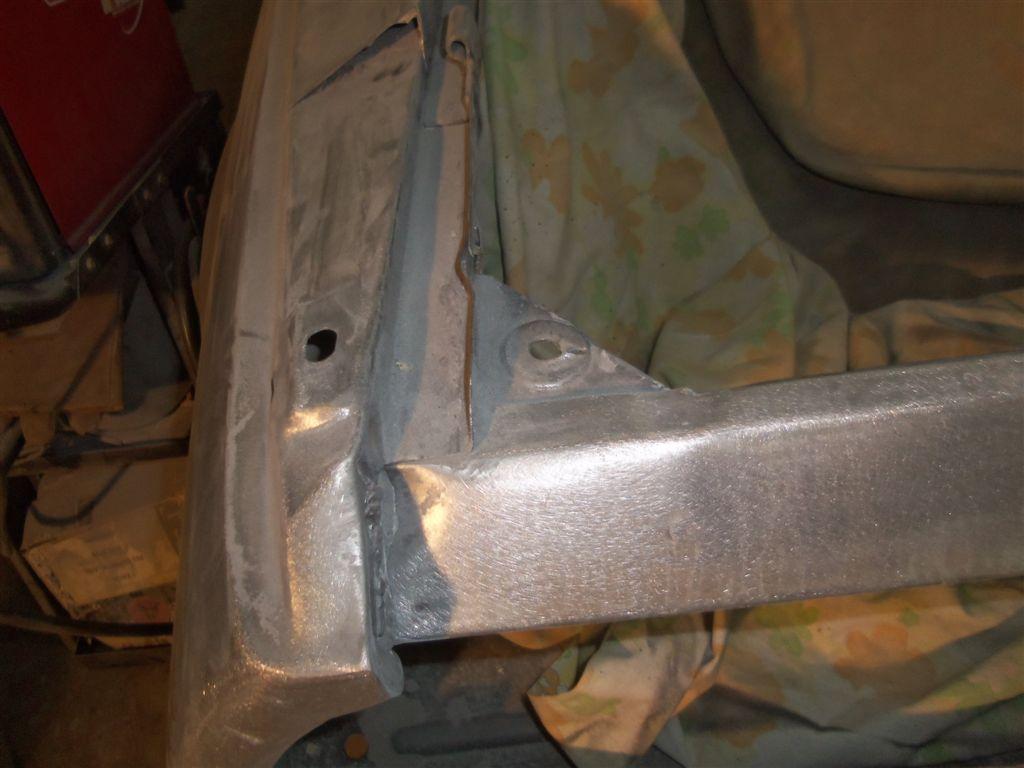
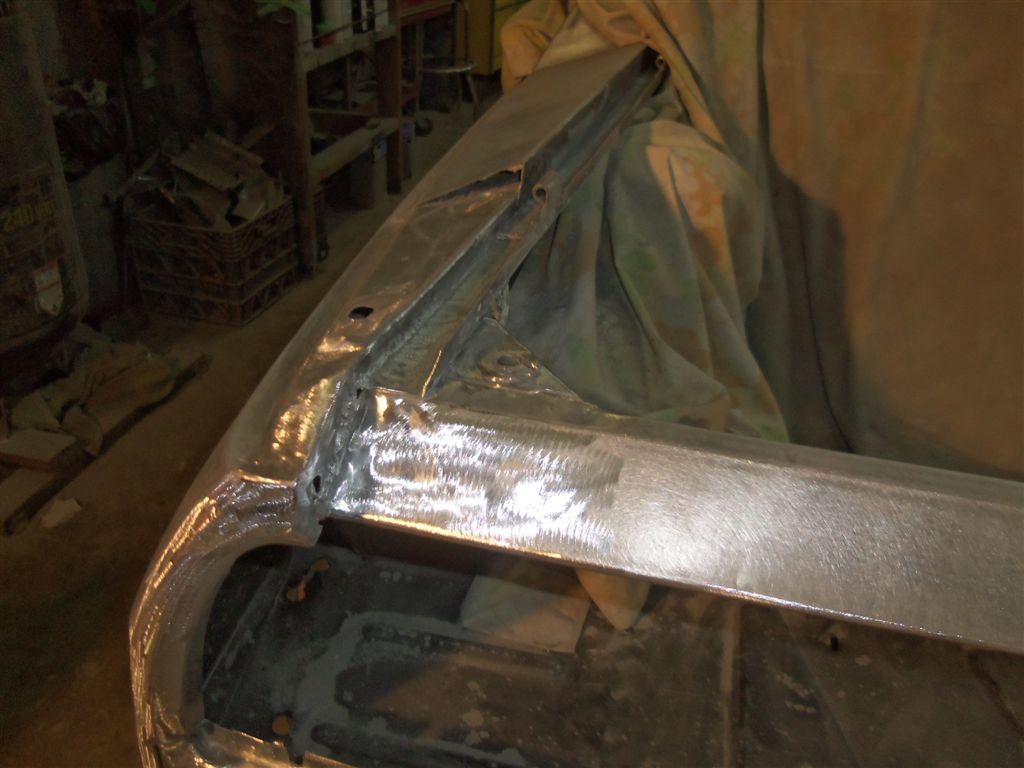
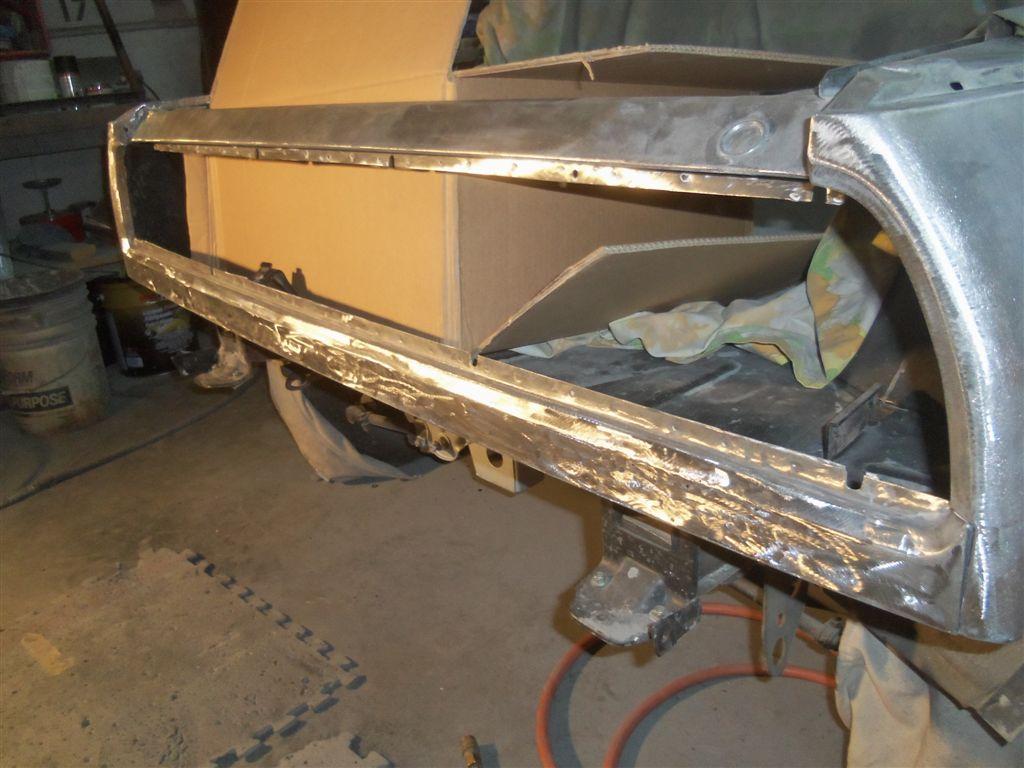
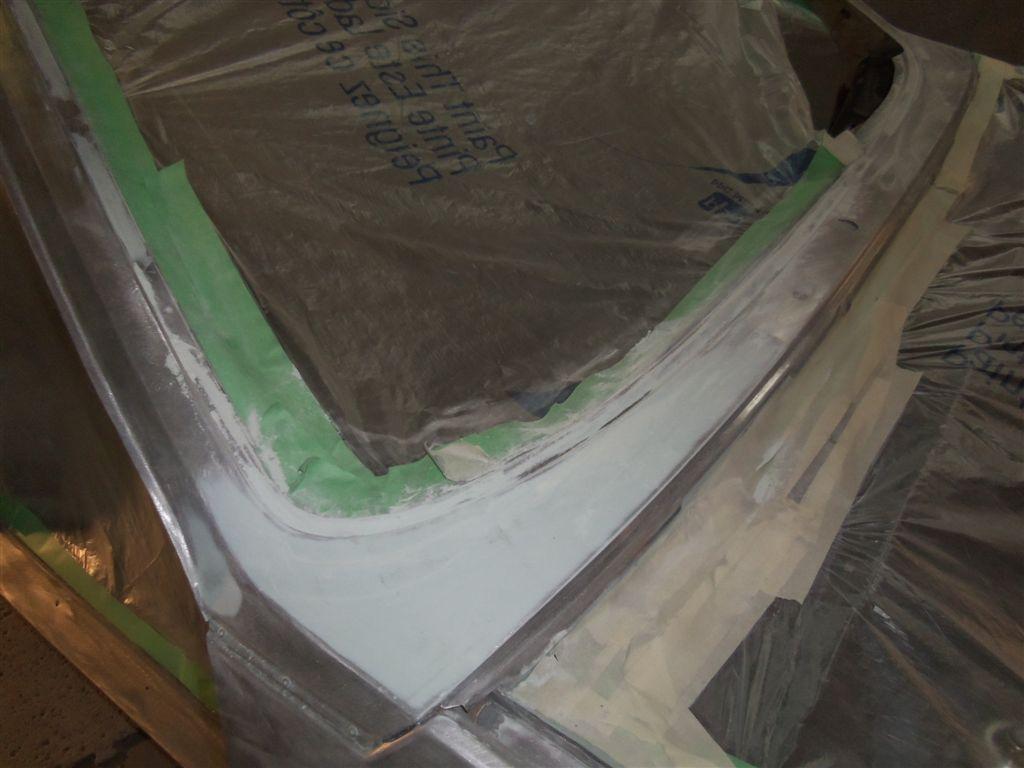
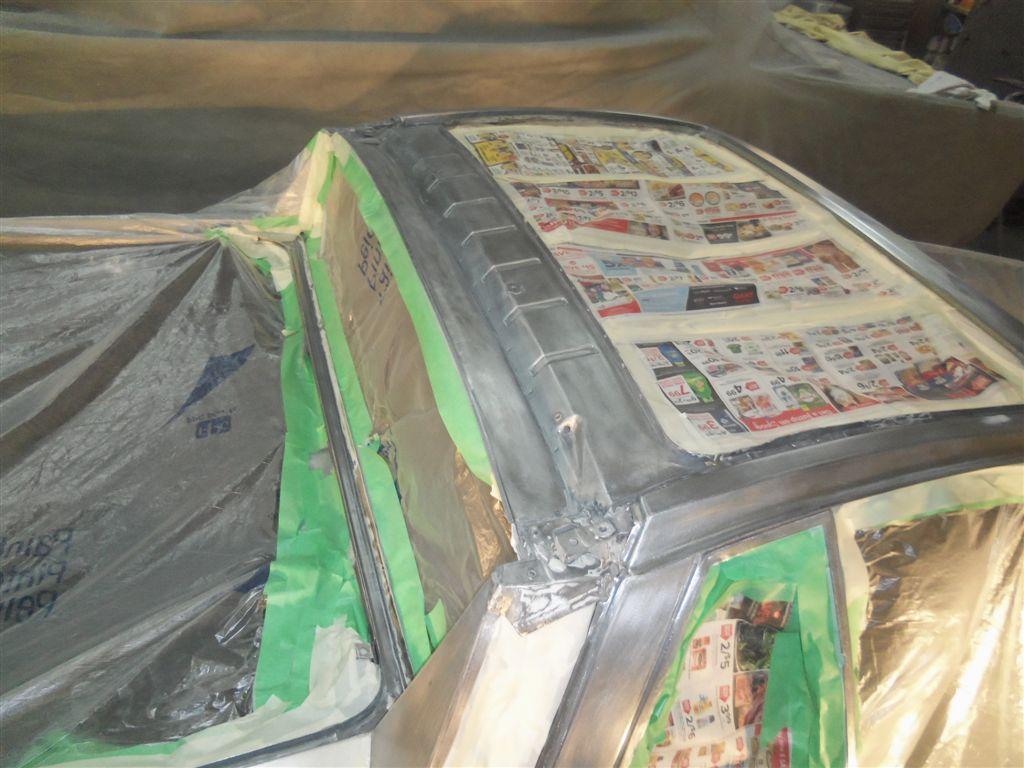
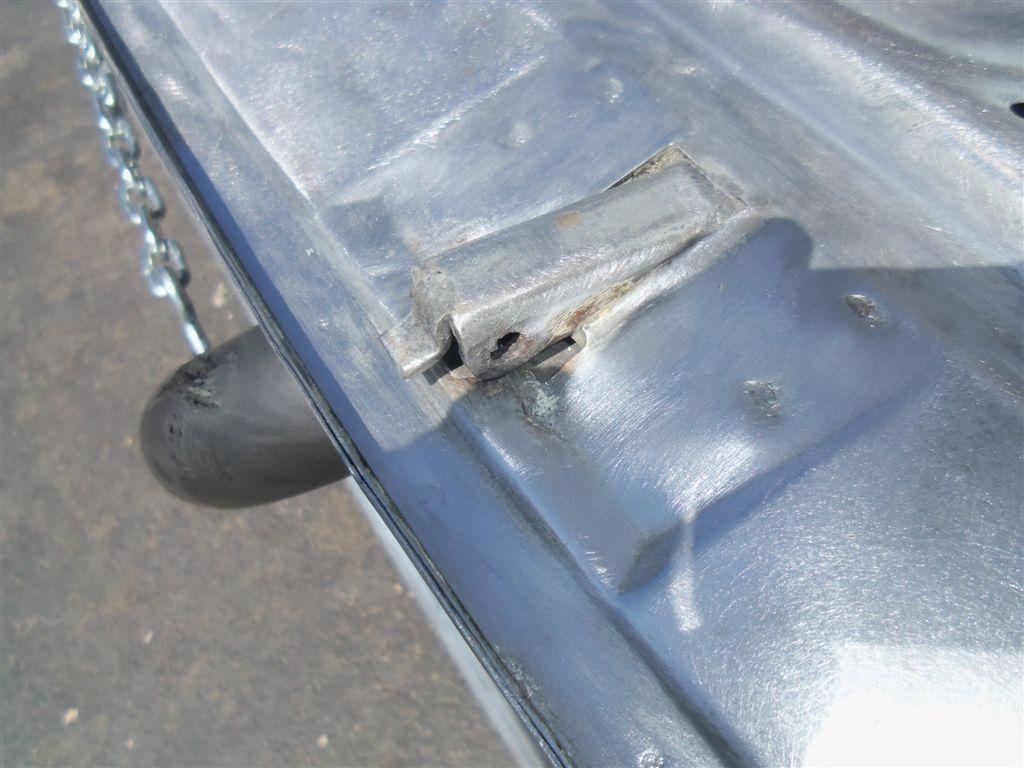
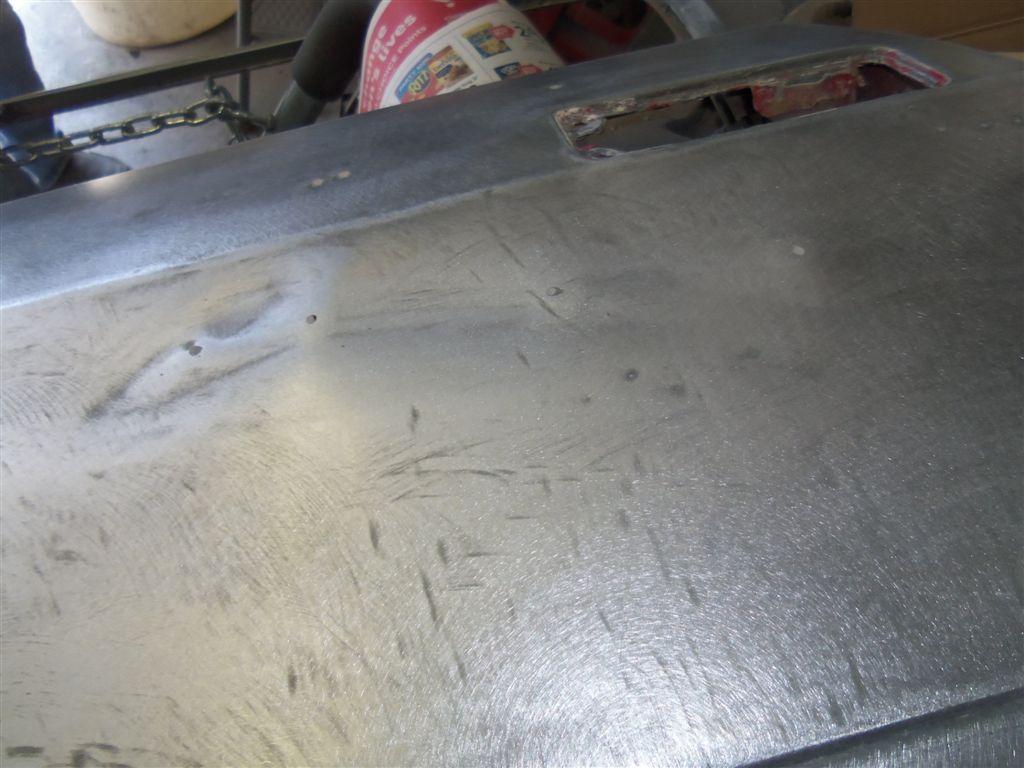
A closer look at the hood hinge area. Splits will need to be welded up

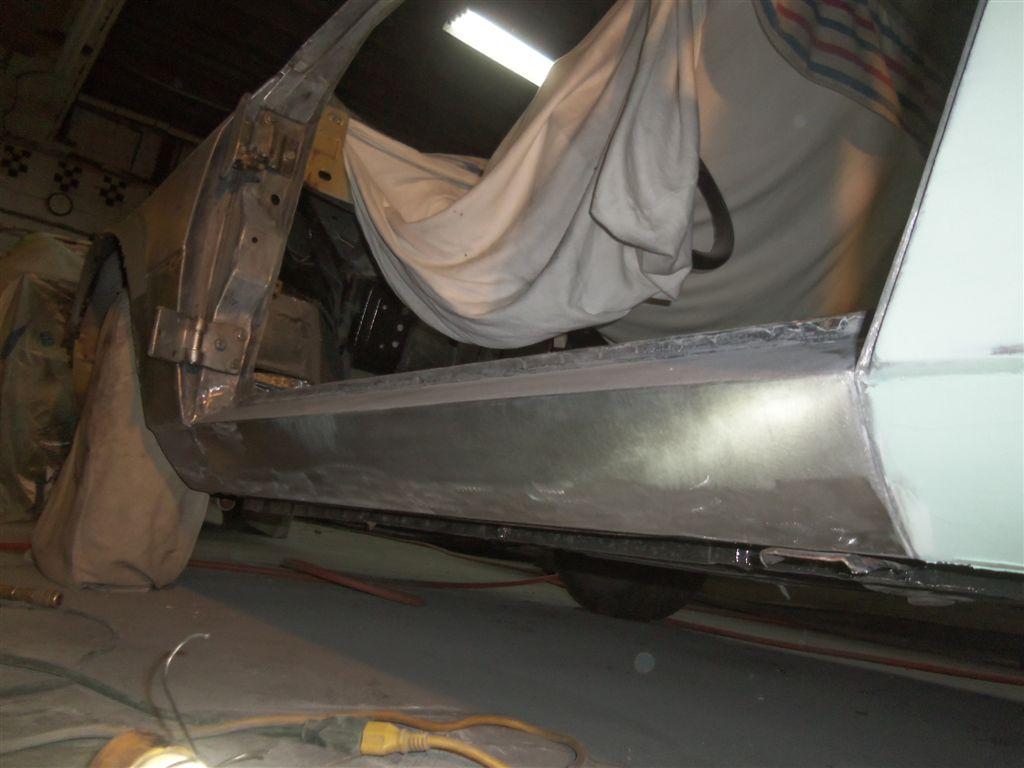
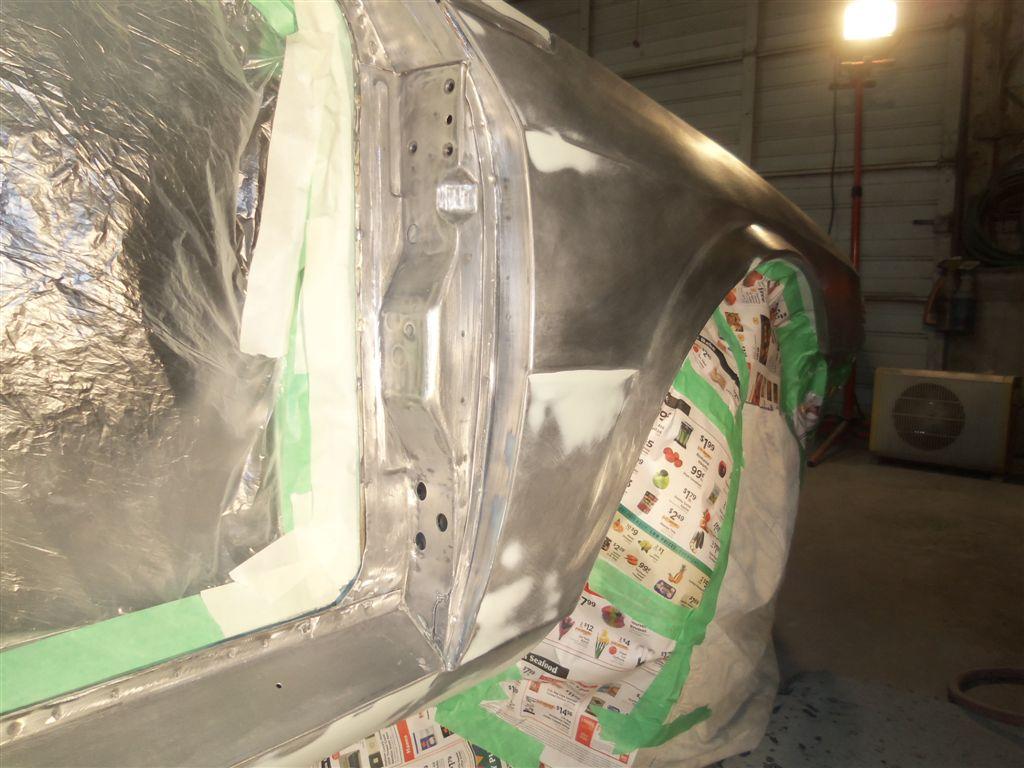
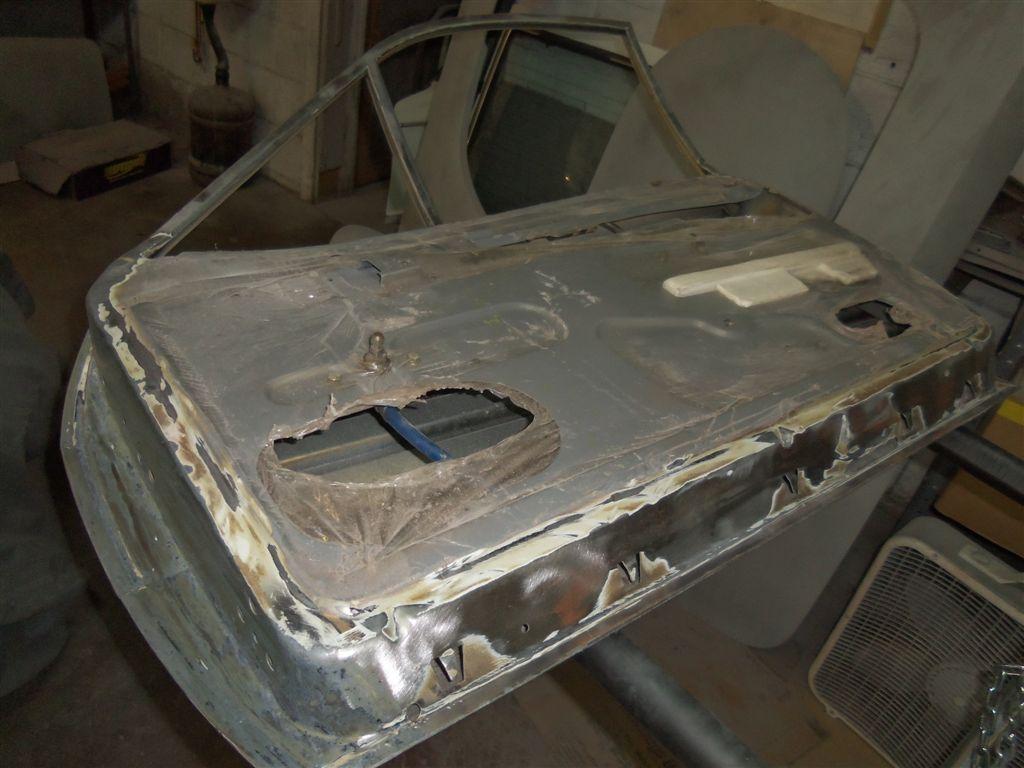
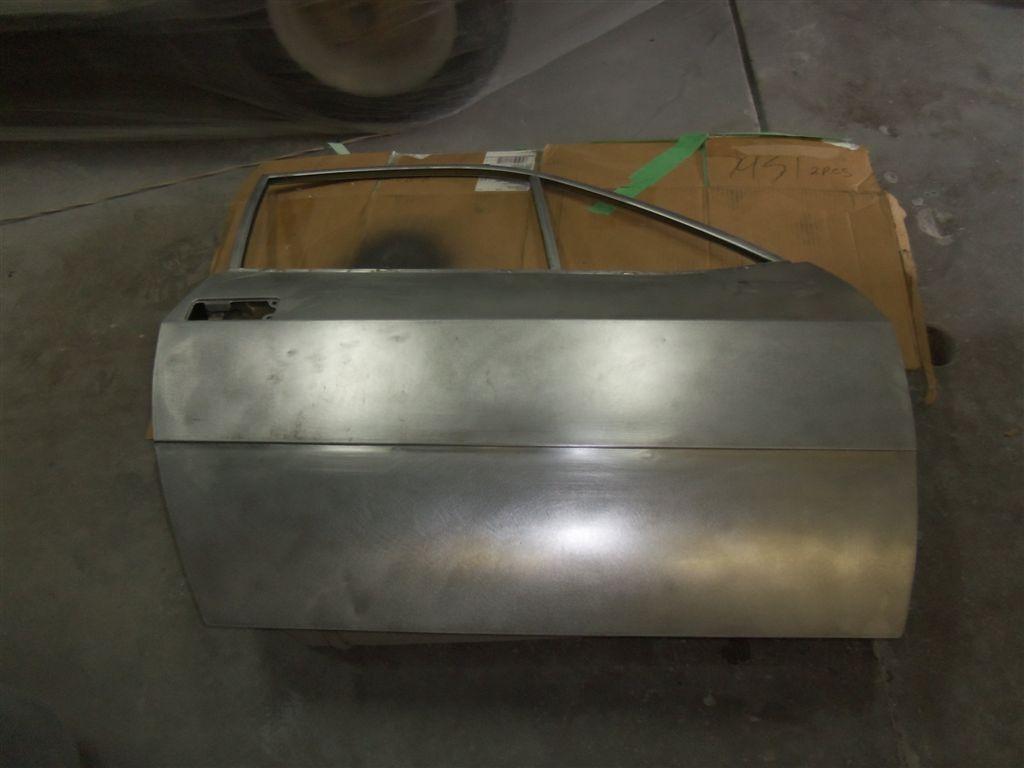
The right side door inner and jamb, before sanding
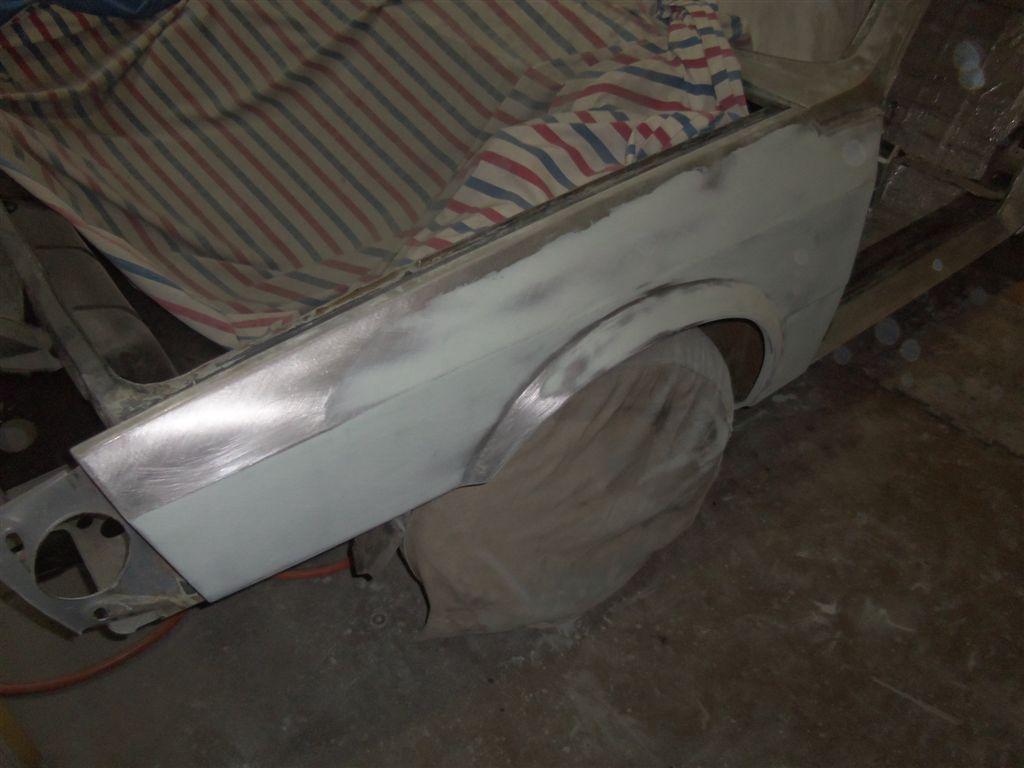
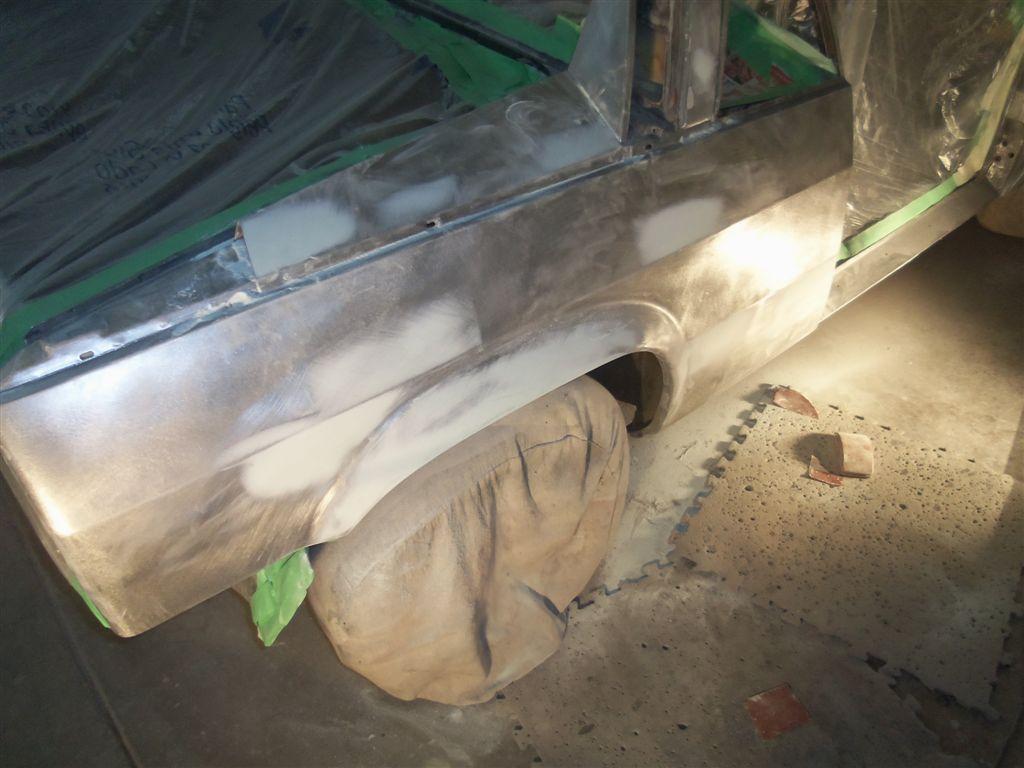
Right door exterior

After drying, the pieces were flipped and epoxy seal the exterior

Epoxy sealer, hood underside

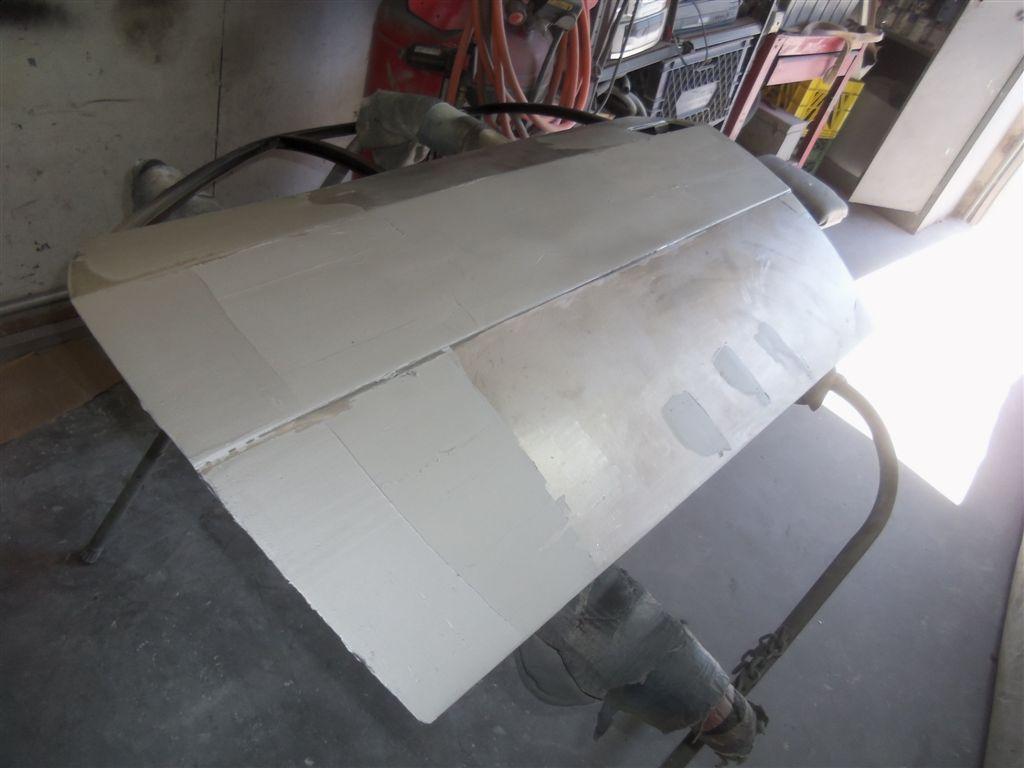
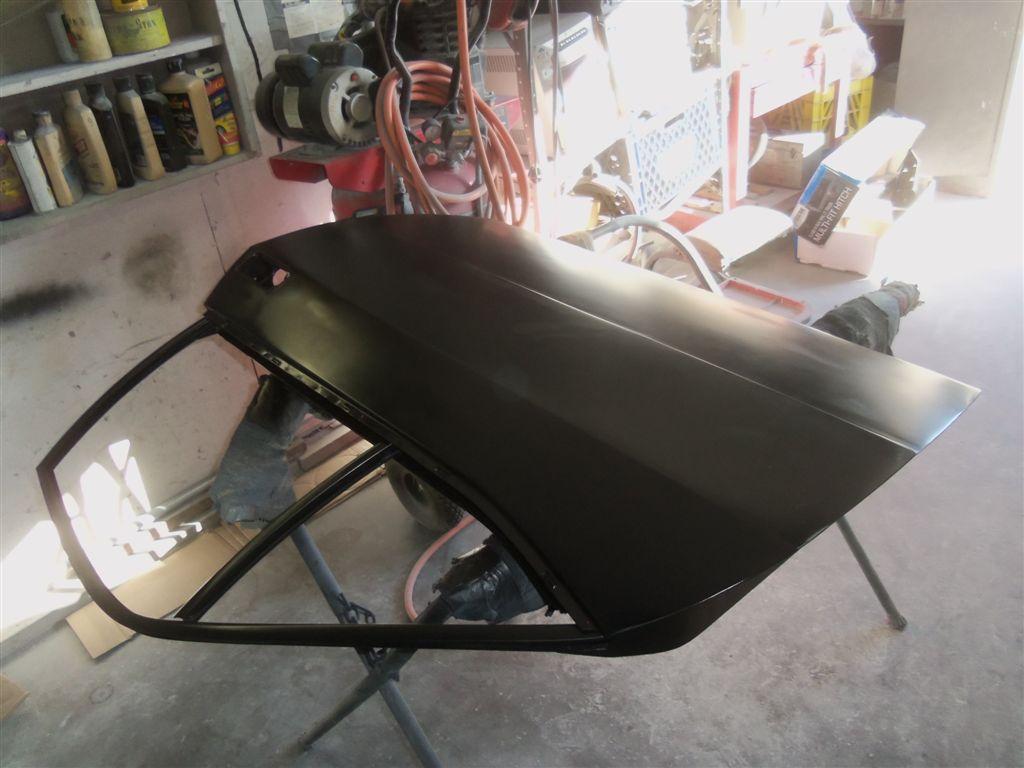
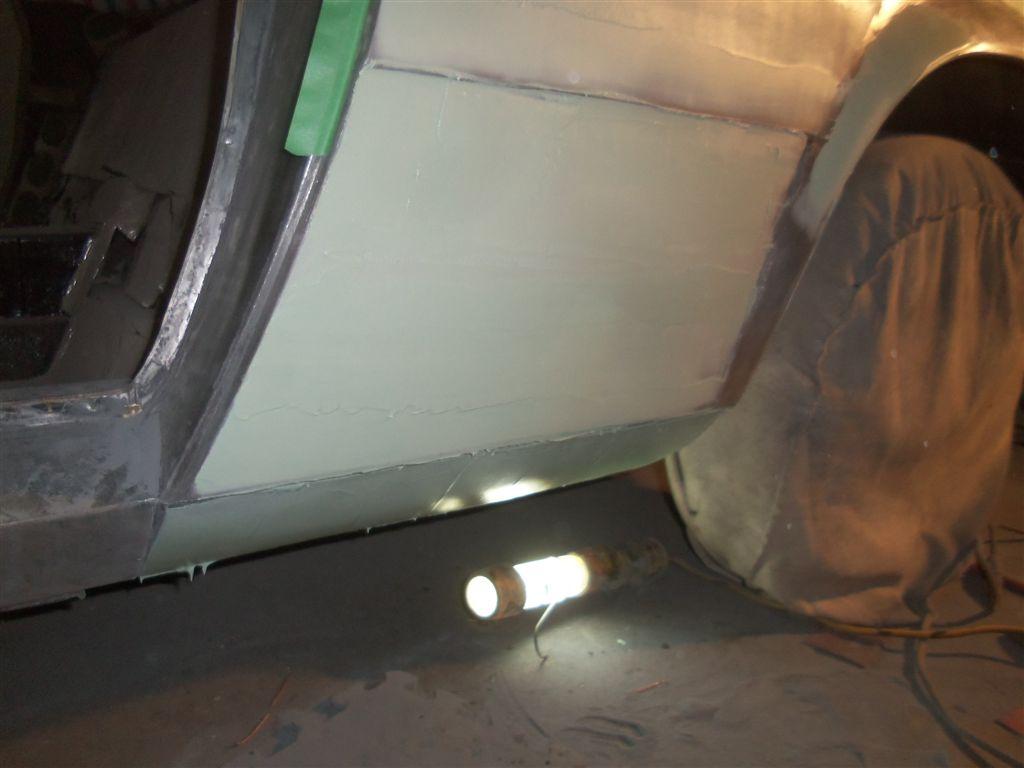
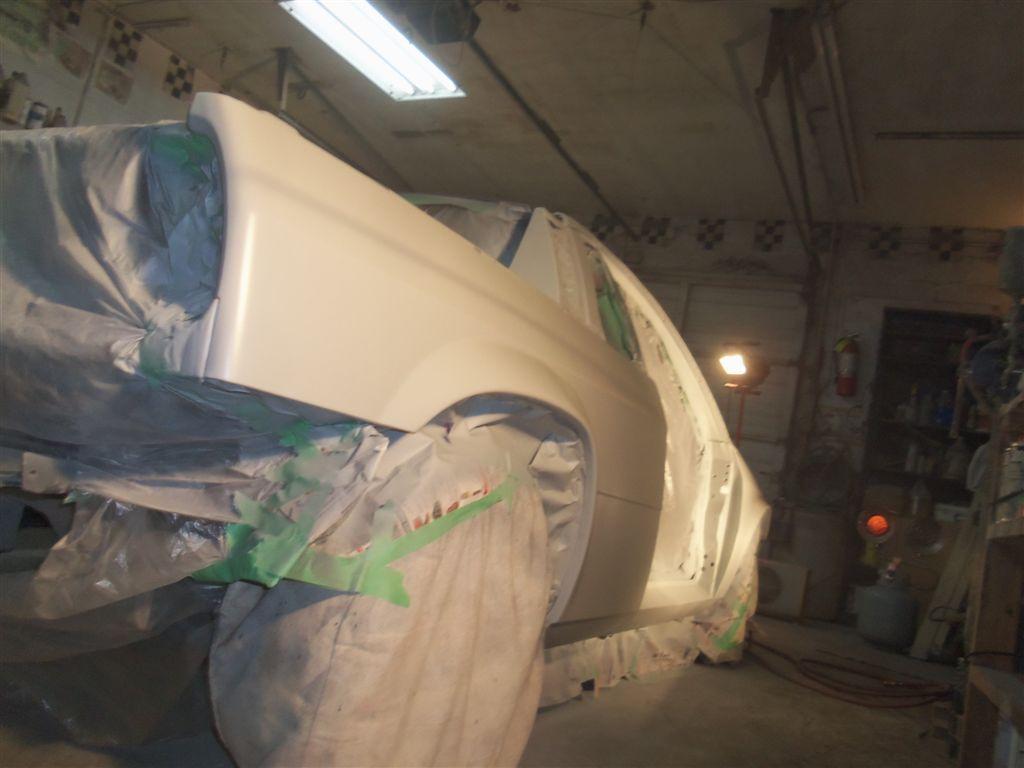
The 2 panels were then primed w/ 2k urethane primer
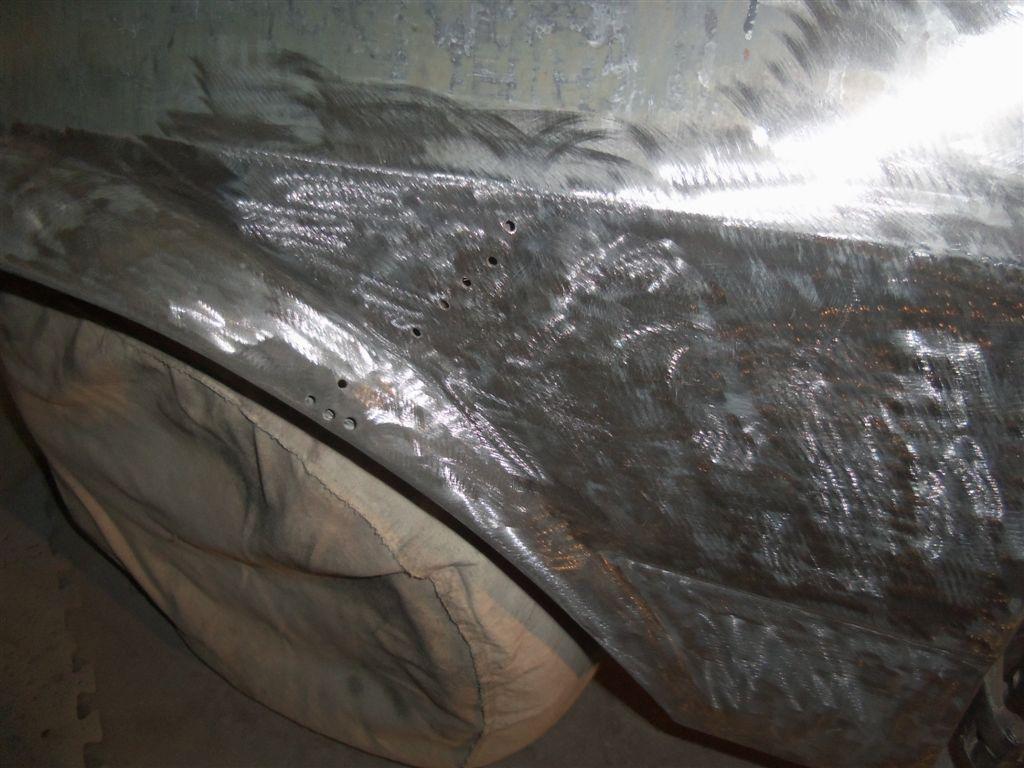
Sanding the right door exterior, stripping paint out of the crevices, door handle pocket, etc.

Cleaning, stripping and sanding the inner parts of right side door
Epoxy sealer, inside
Before starting on the left side door


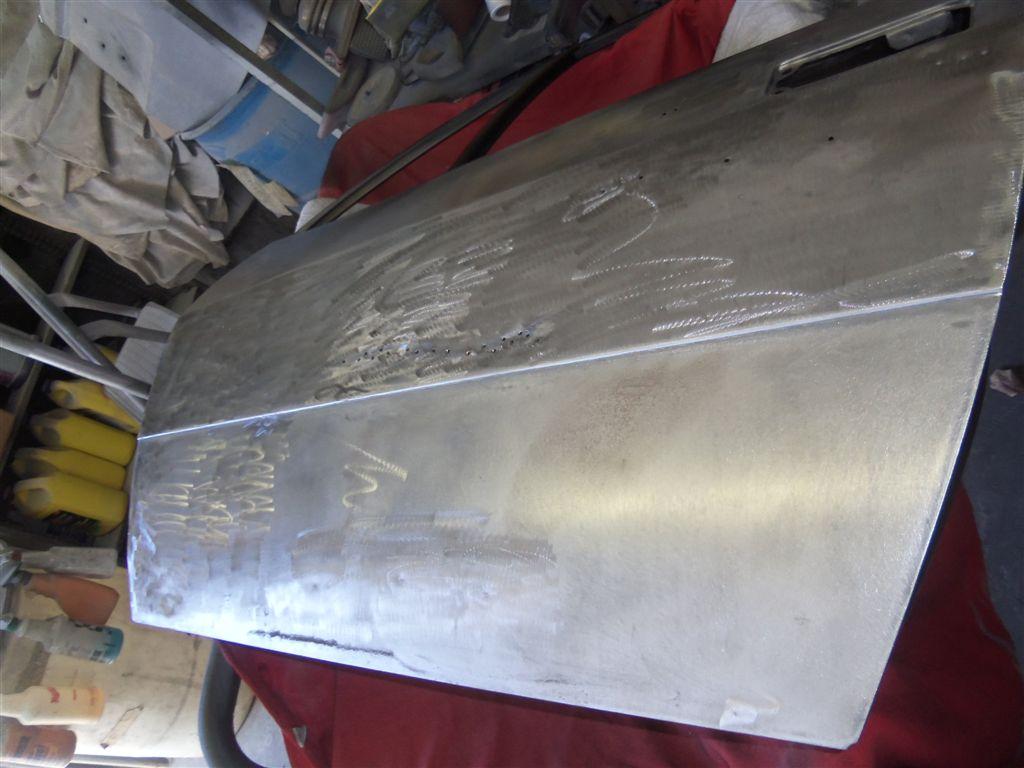
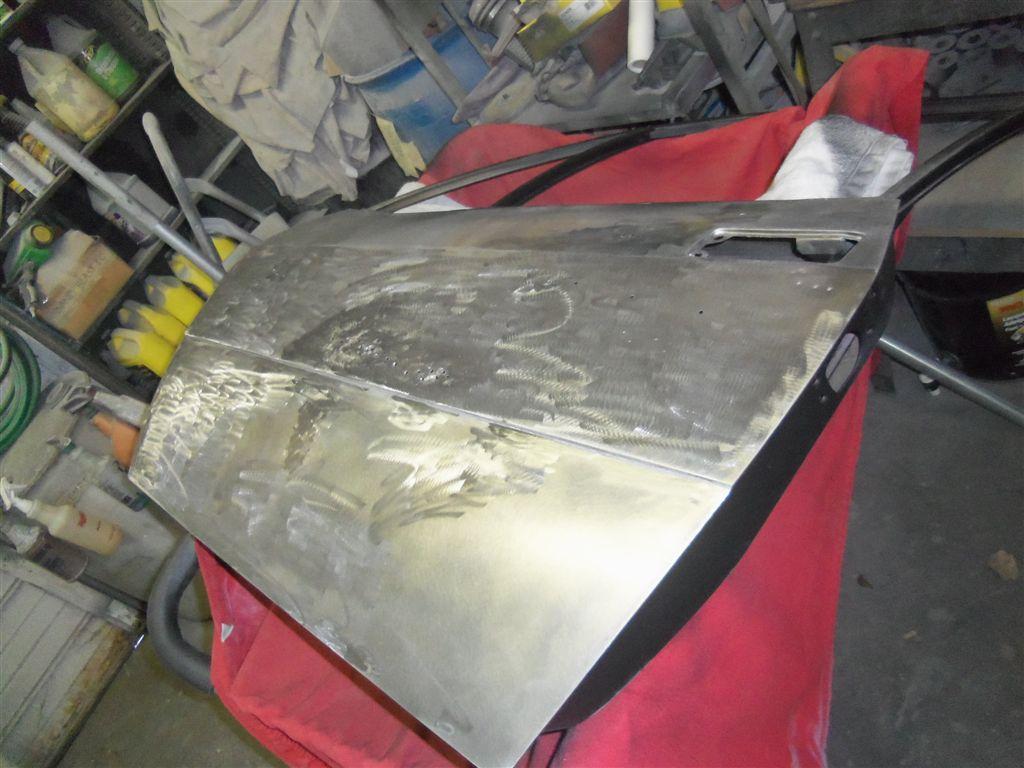
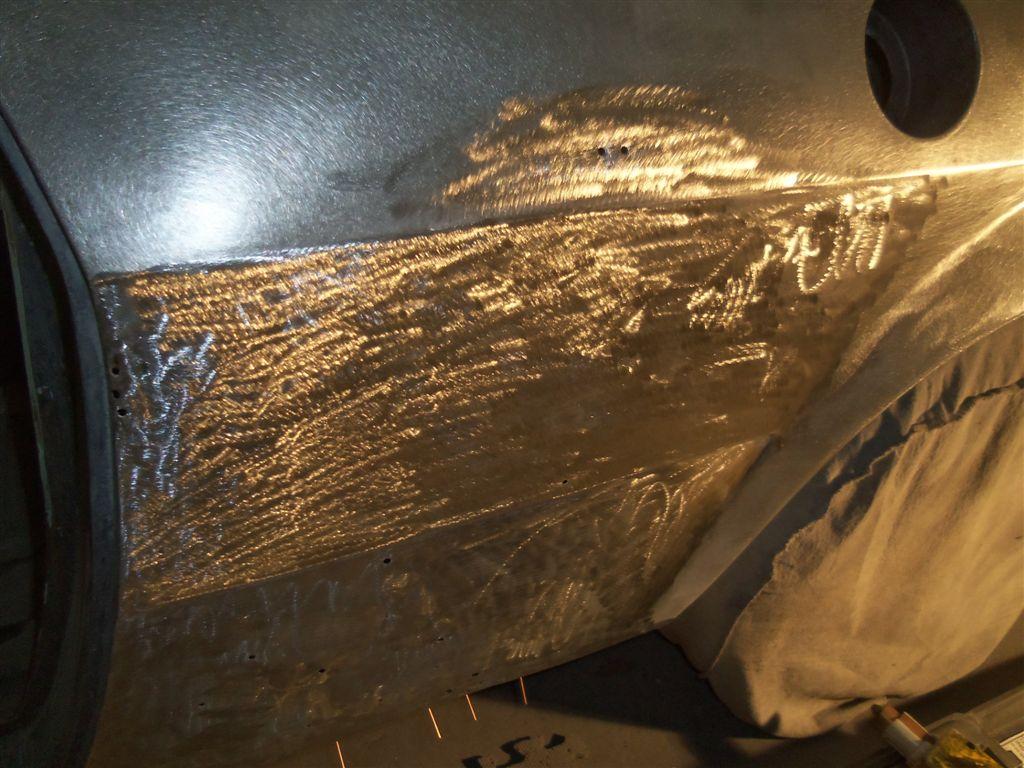
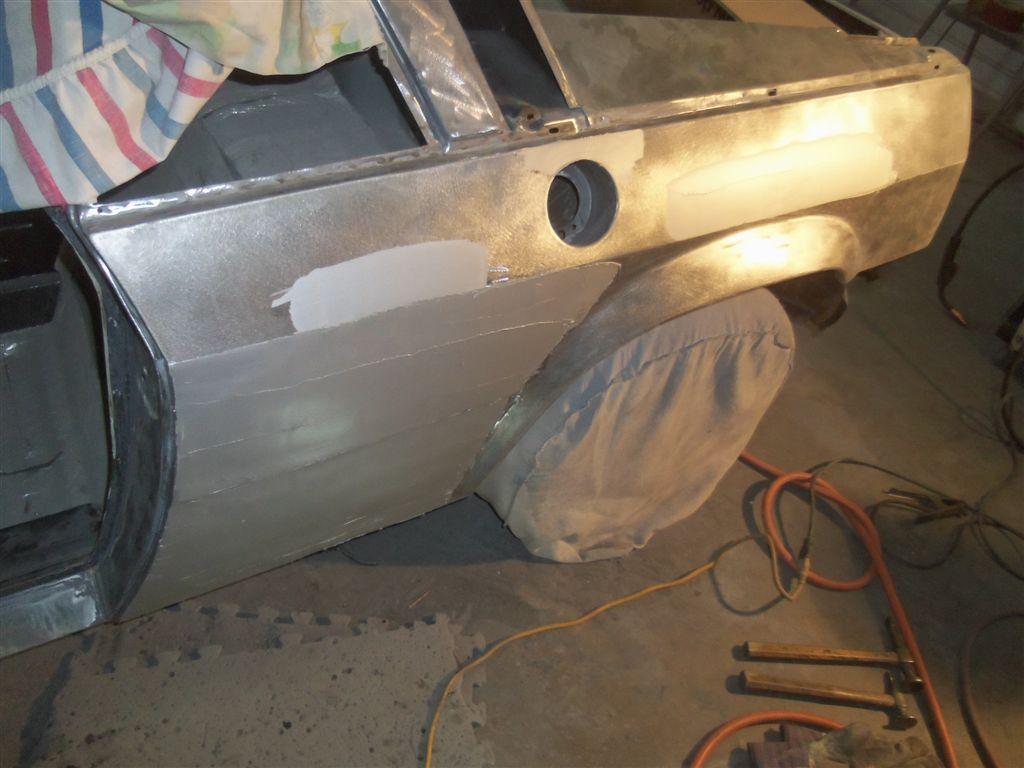
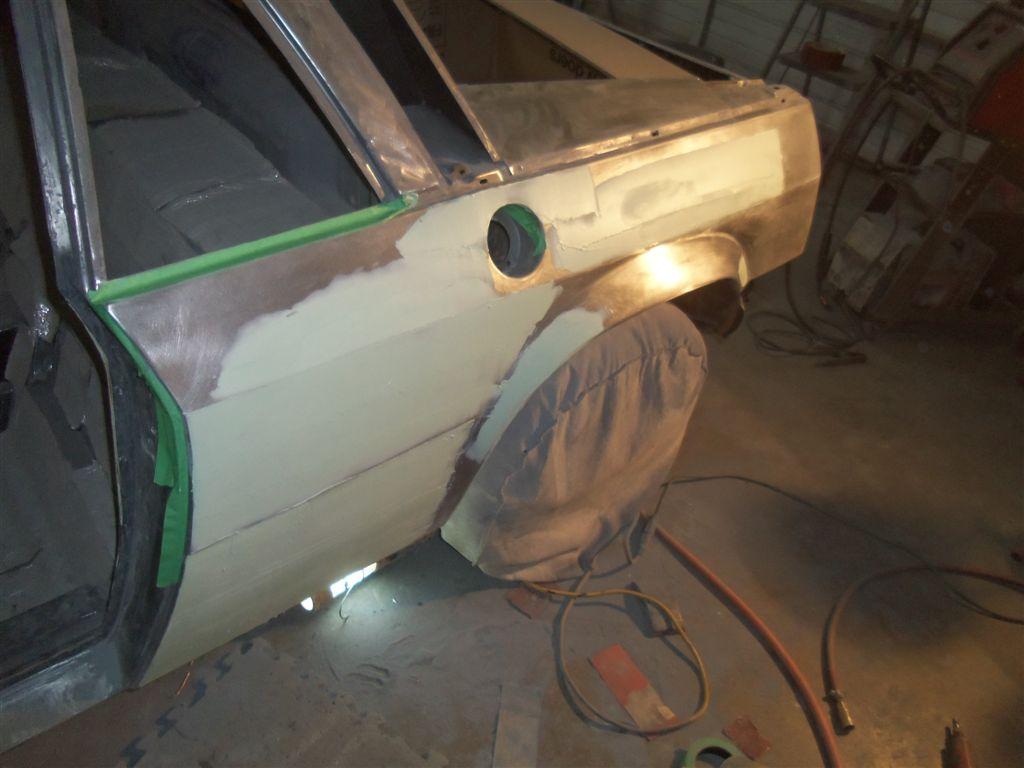
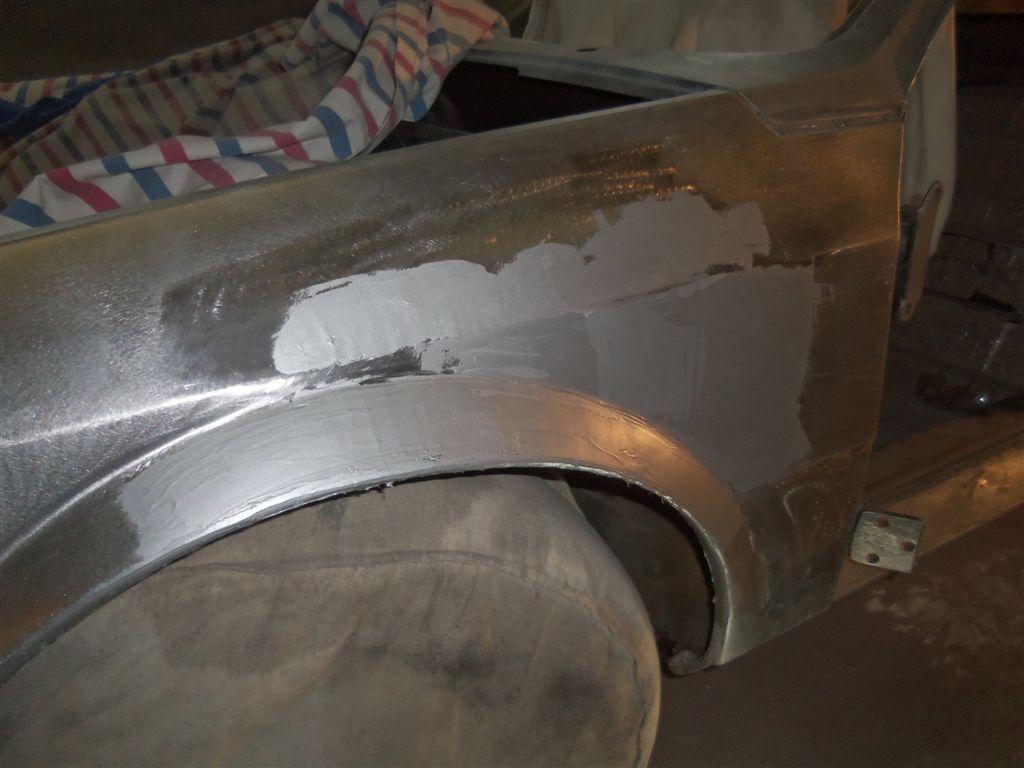
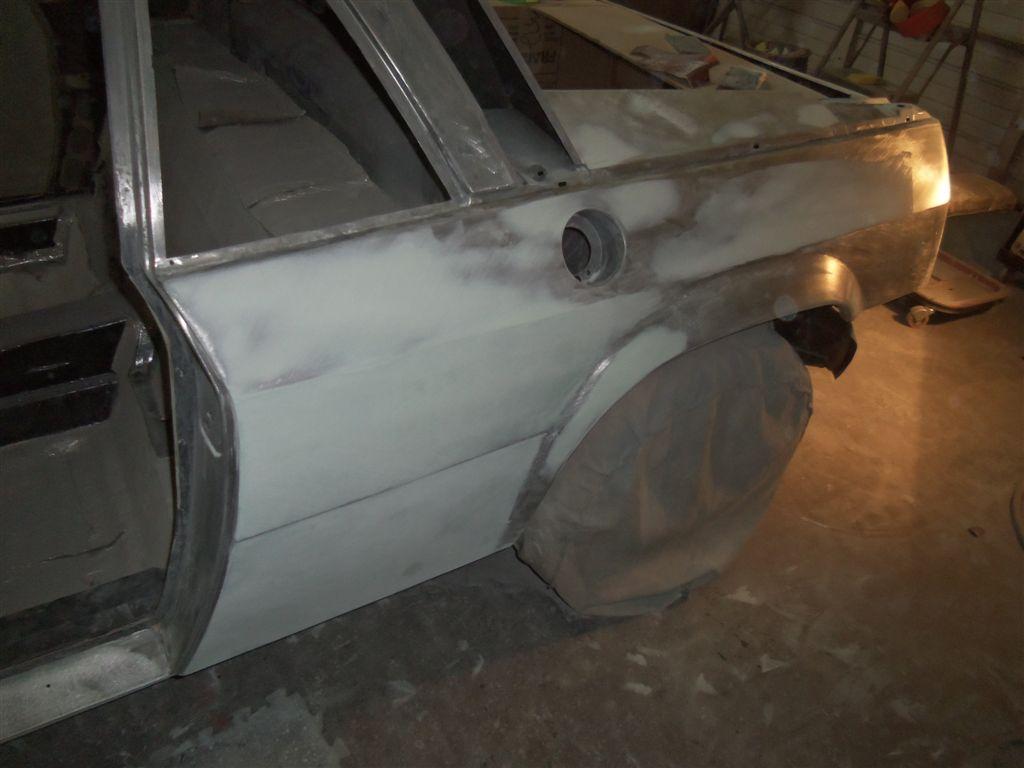
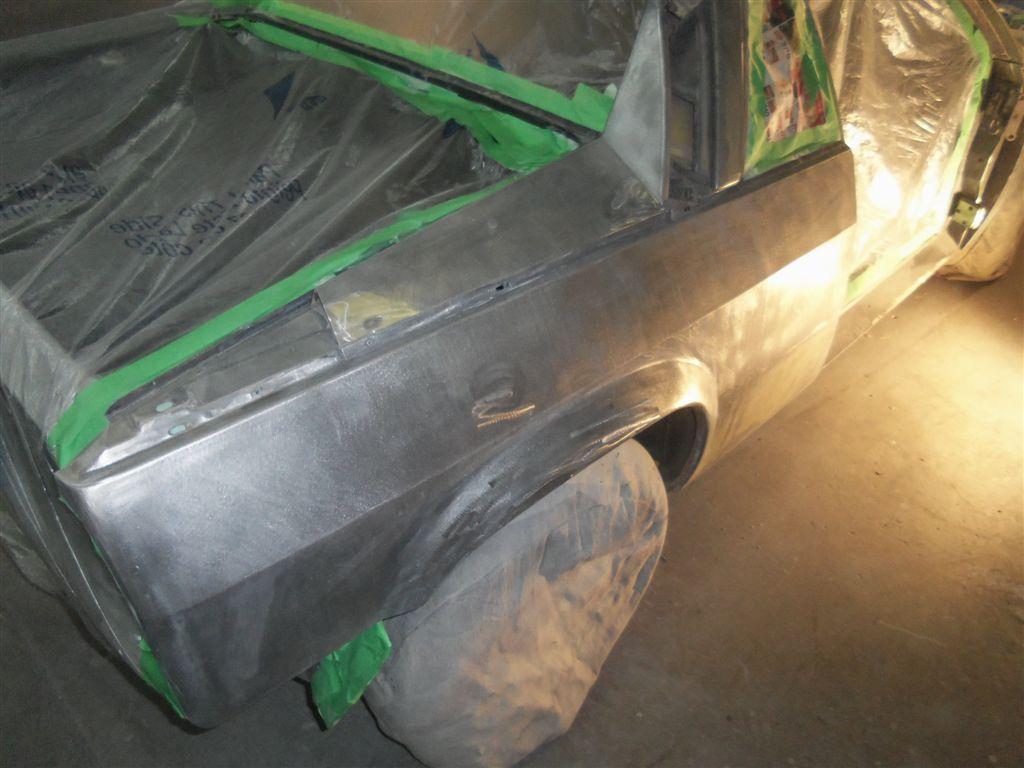
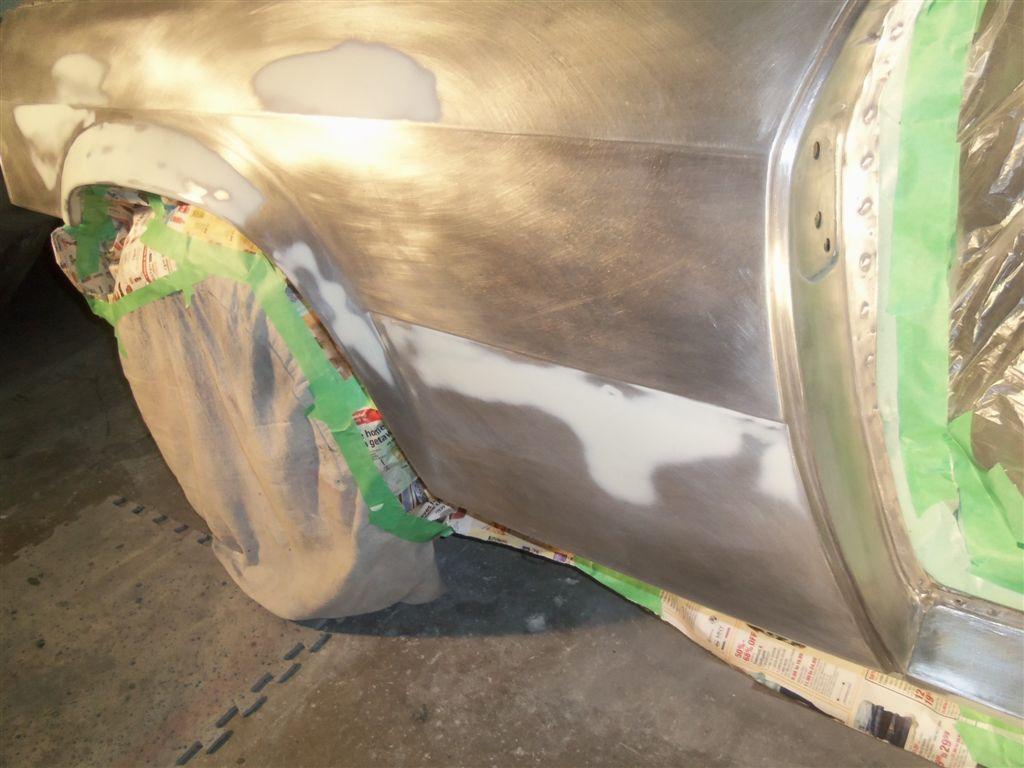
After sanding the exterior of driver’s door, removing remaining filler
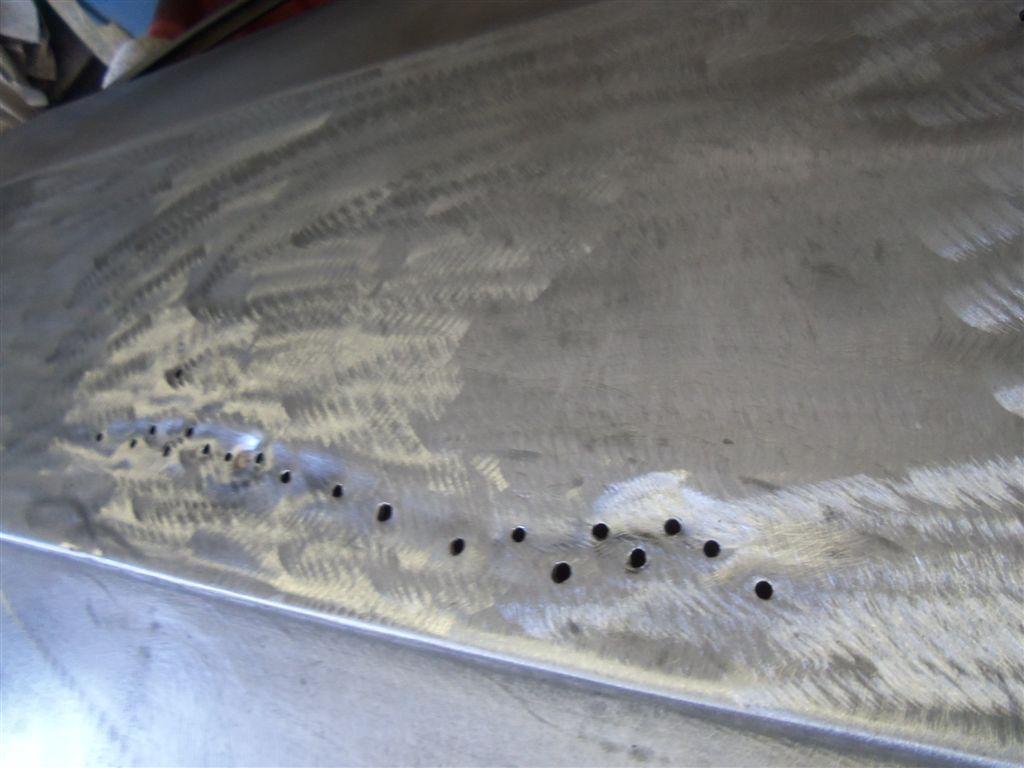
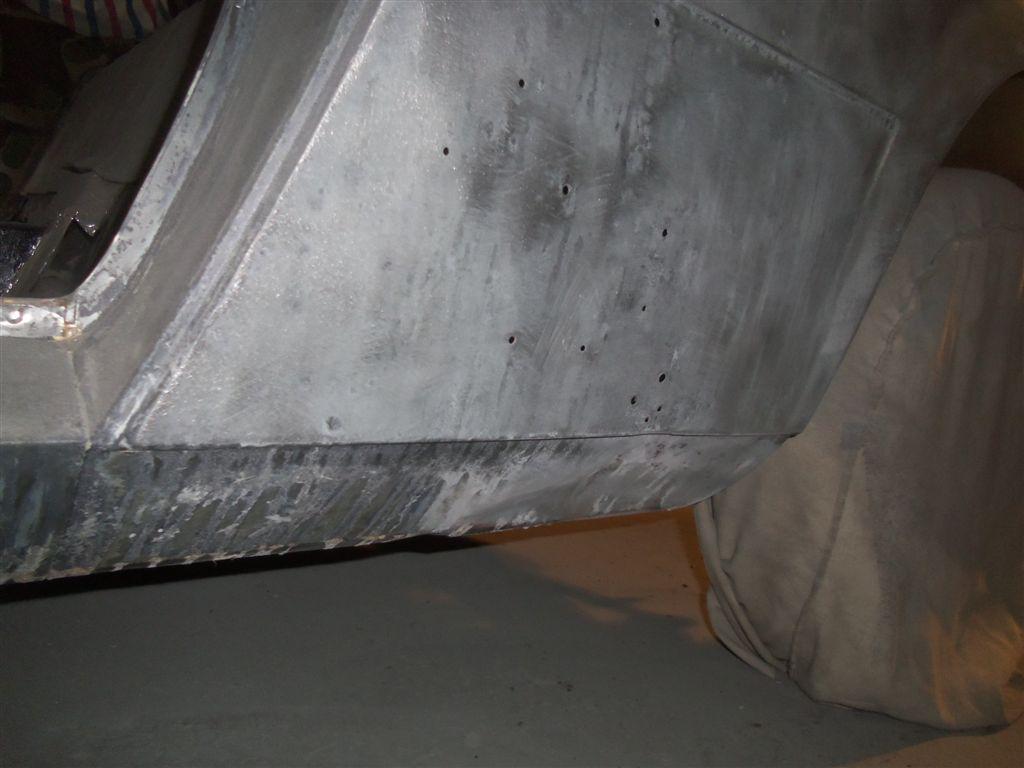
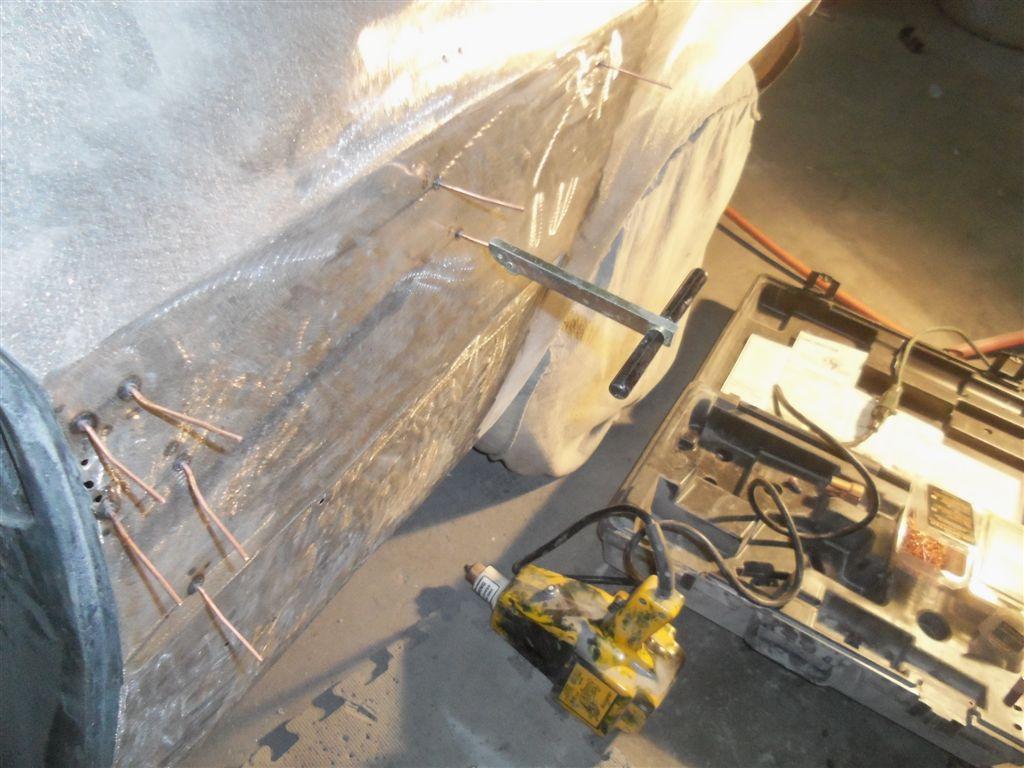
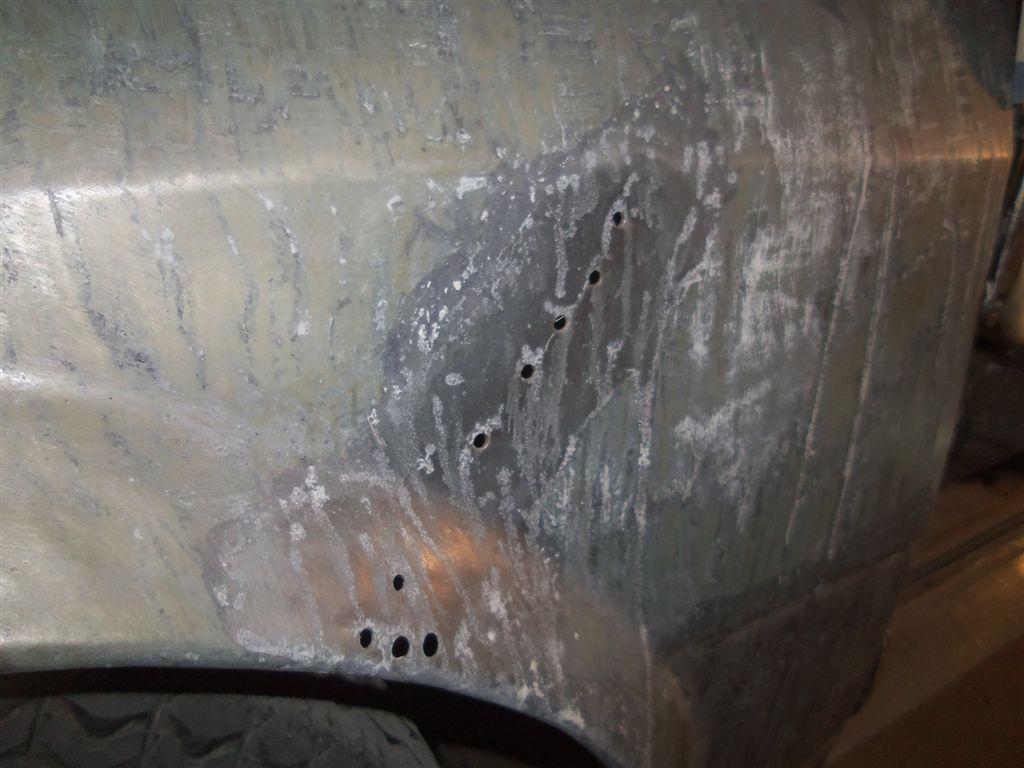
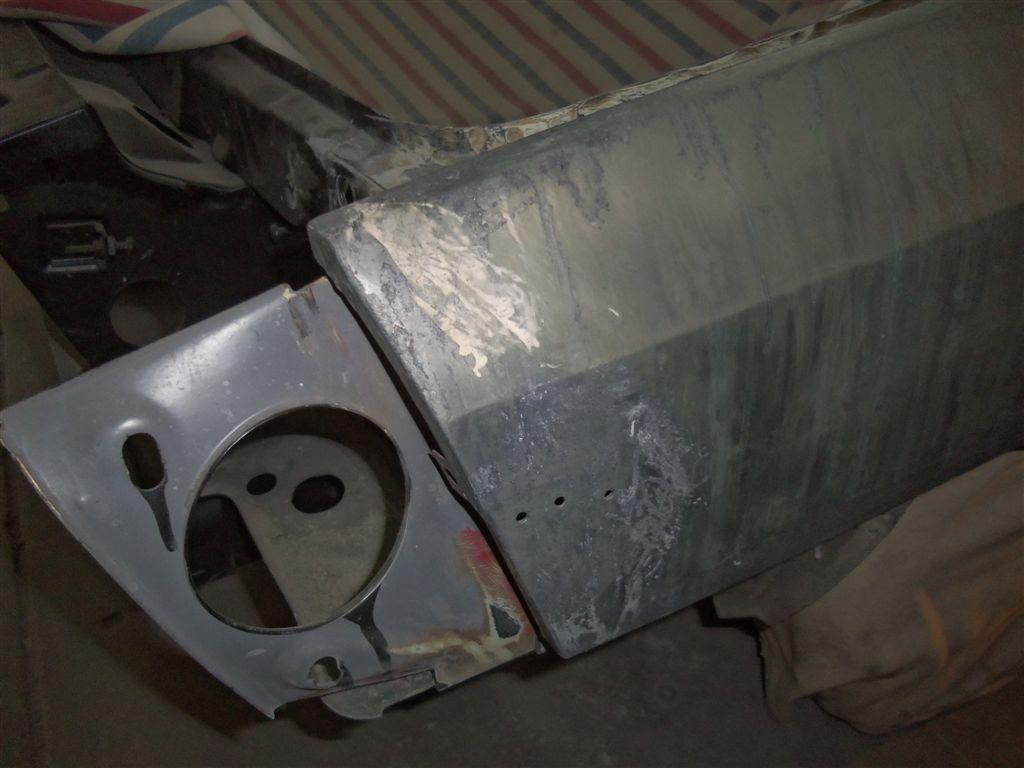
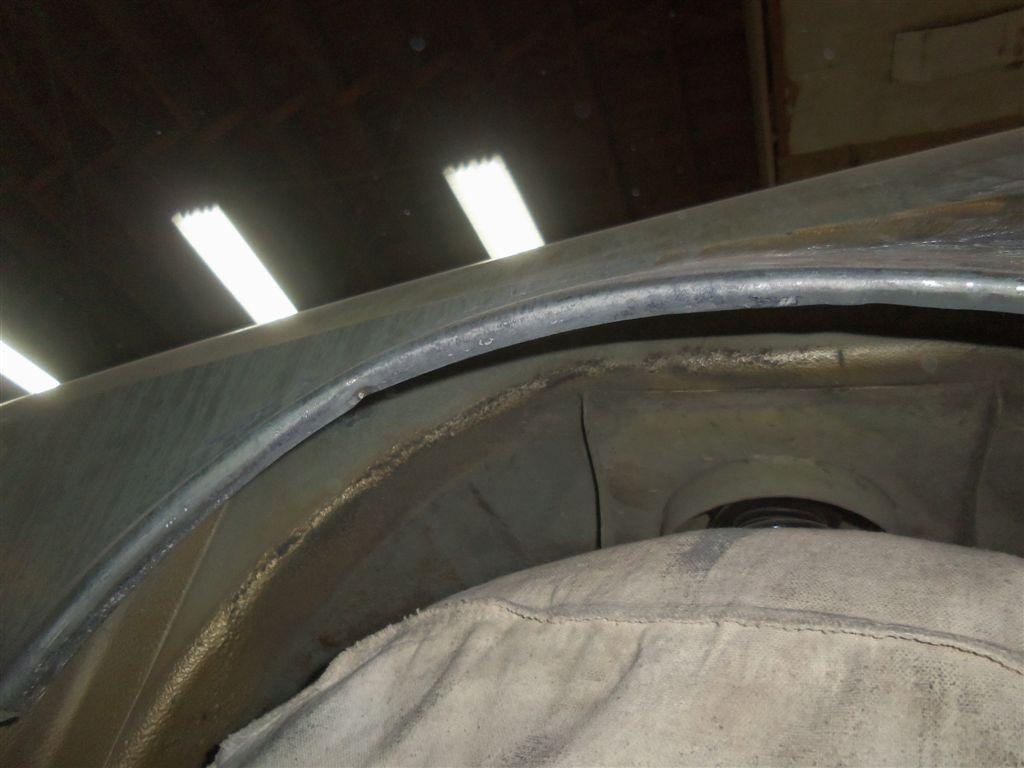
finding the old slide hammer holes from prior damage
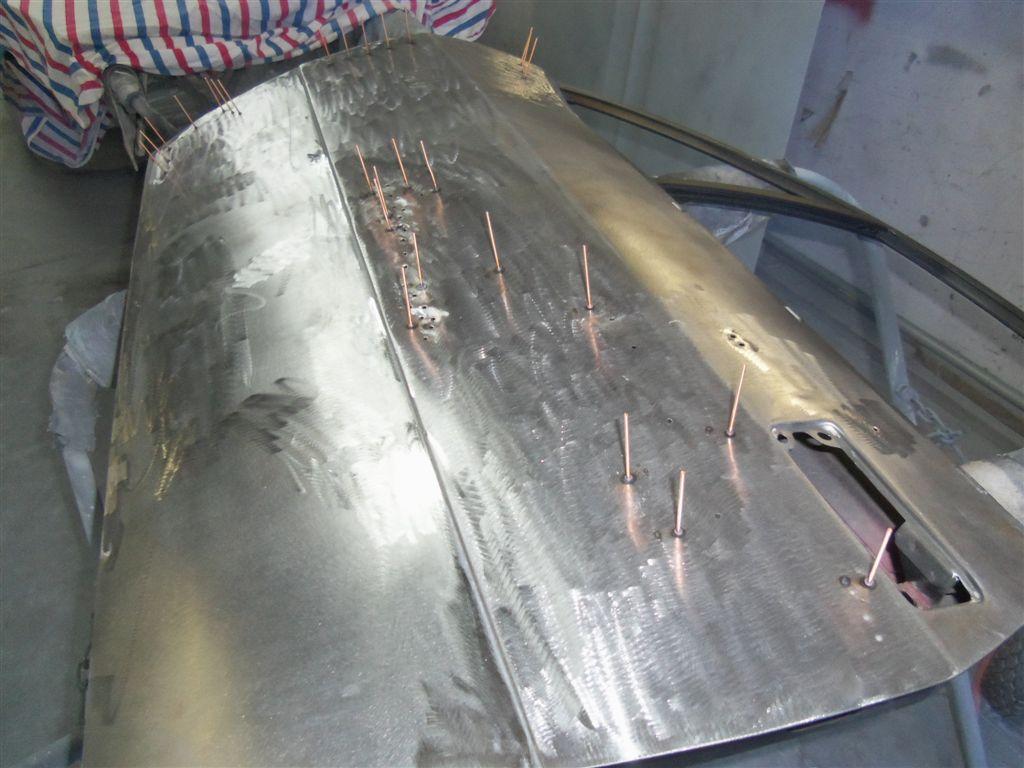
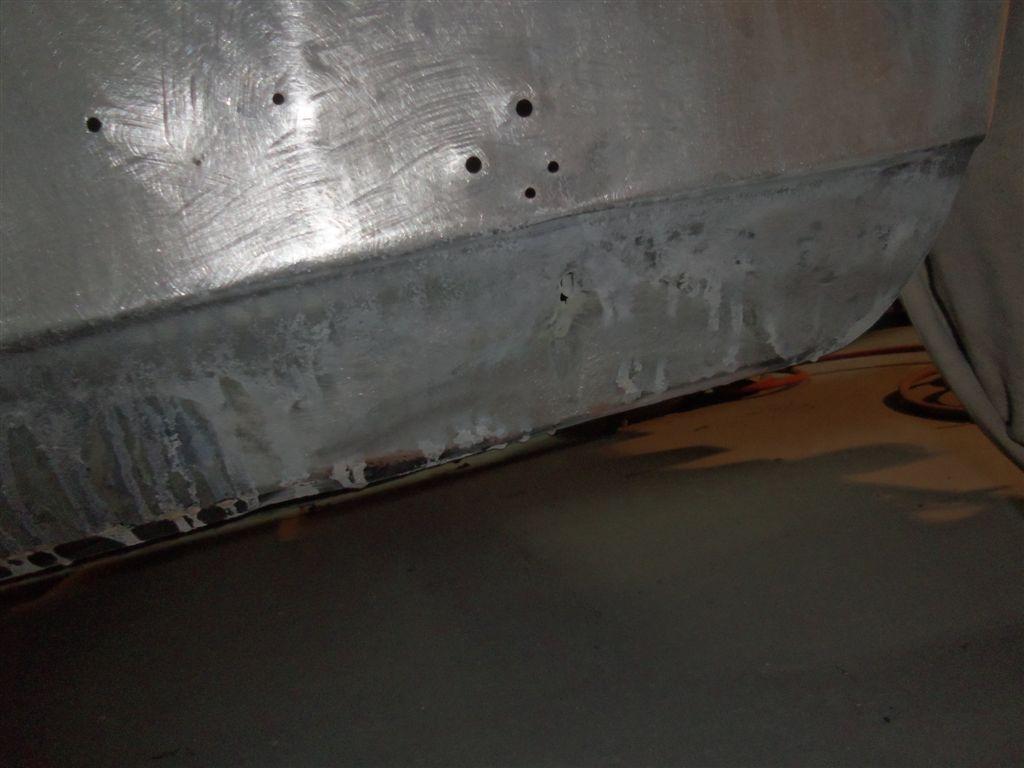
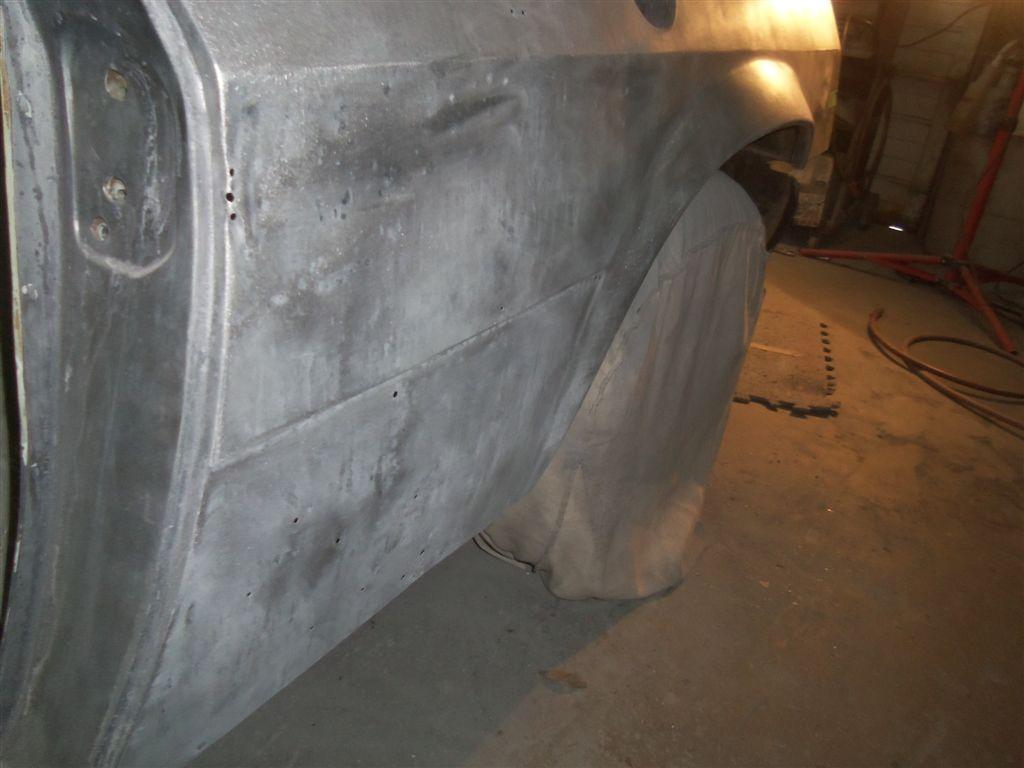
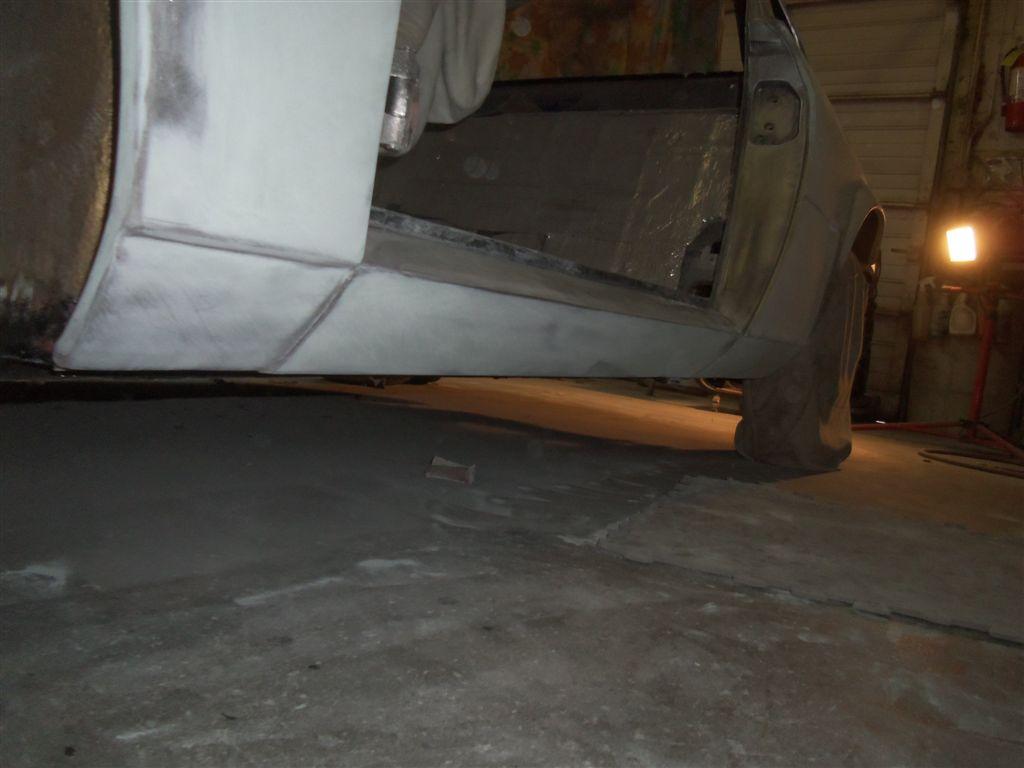
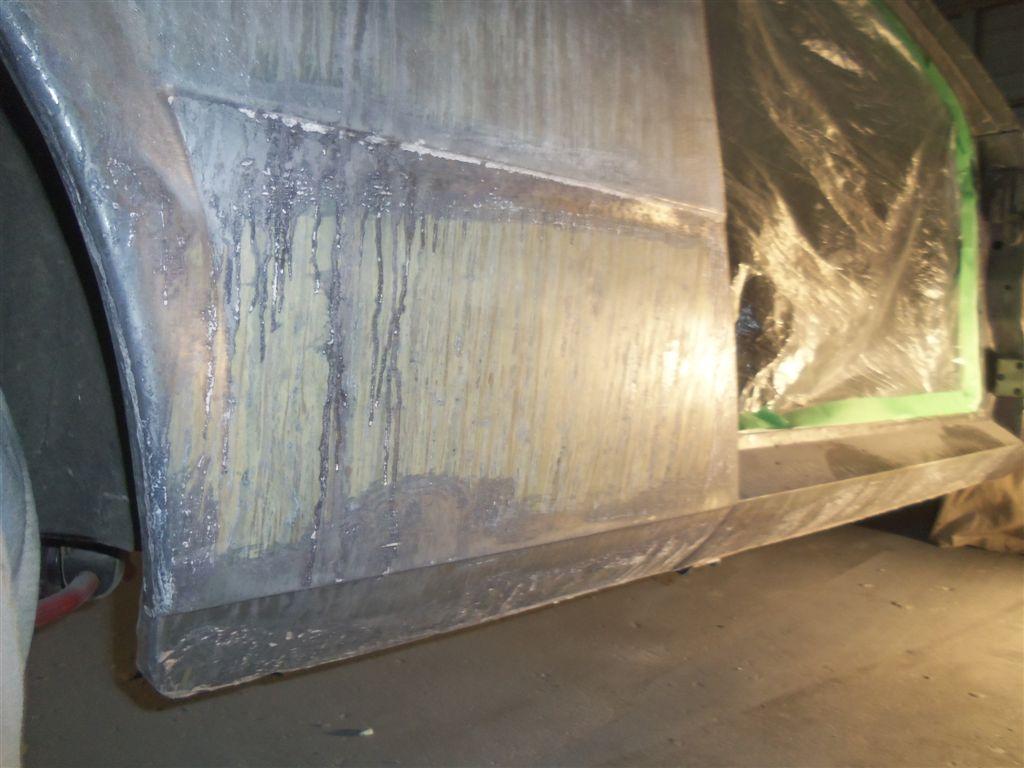
The door is quite wavy in some areas, although a nice solid panel
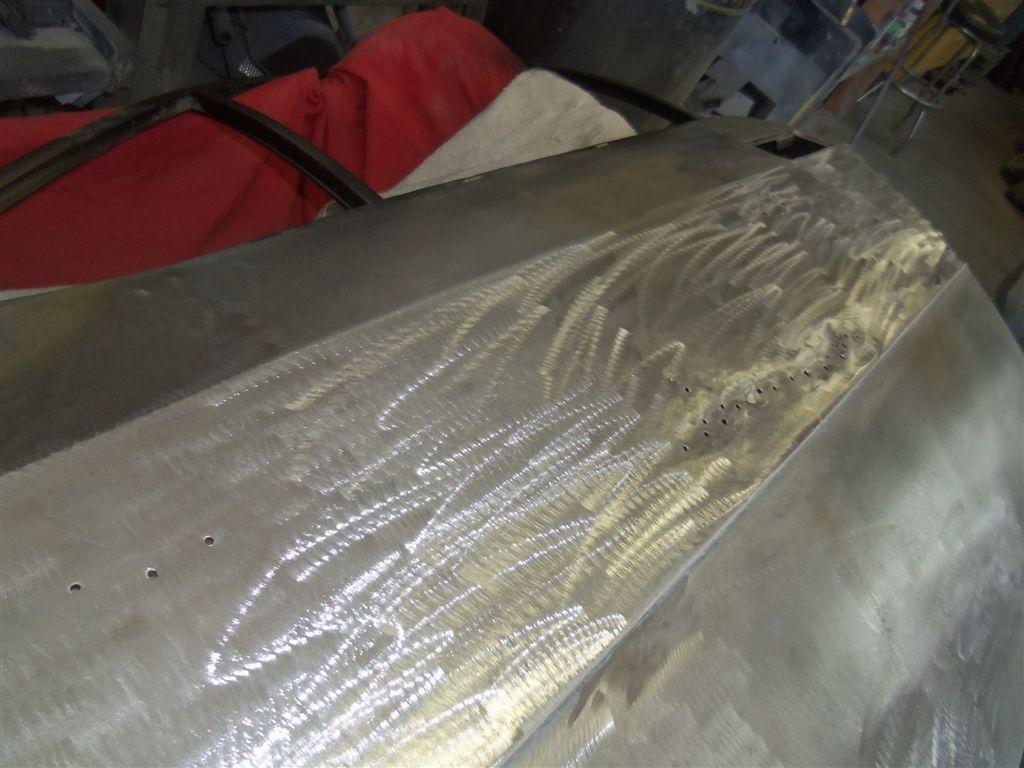
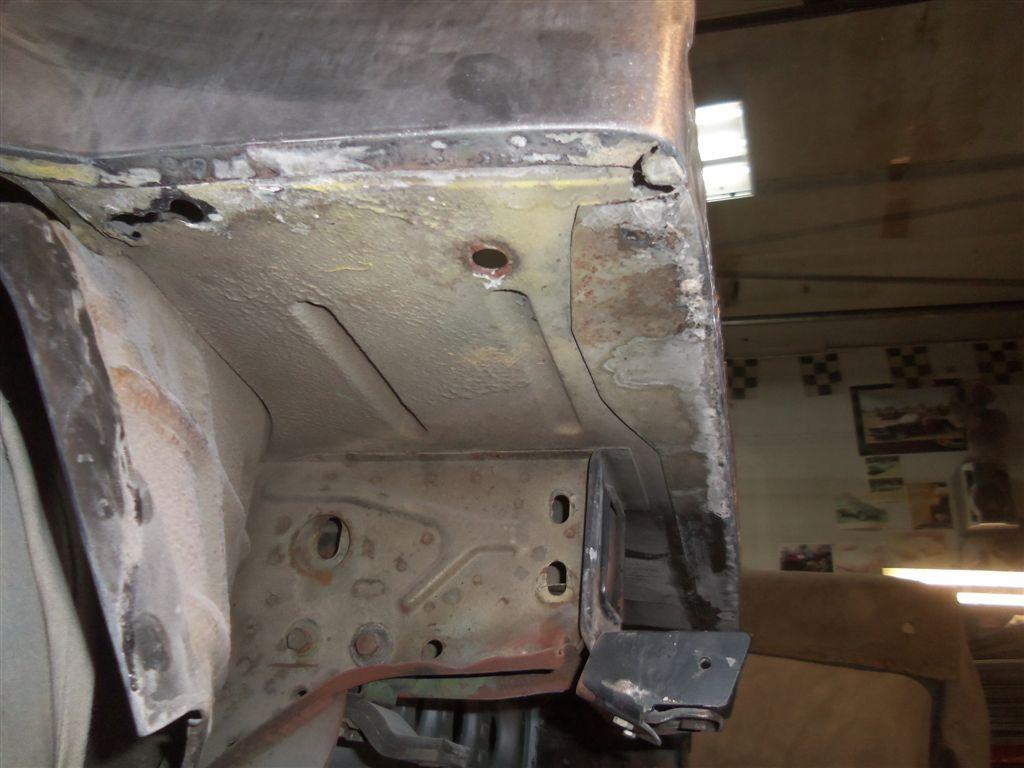
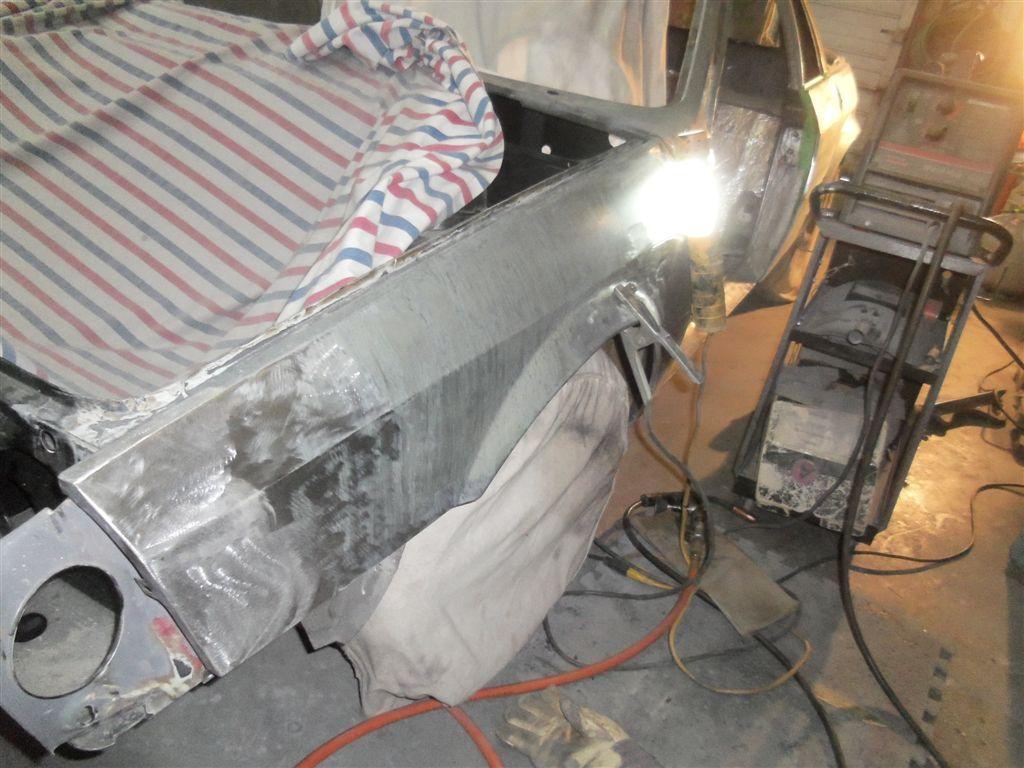
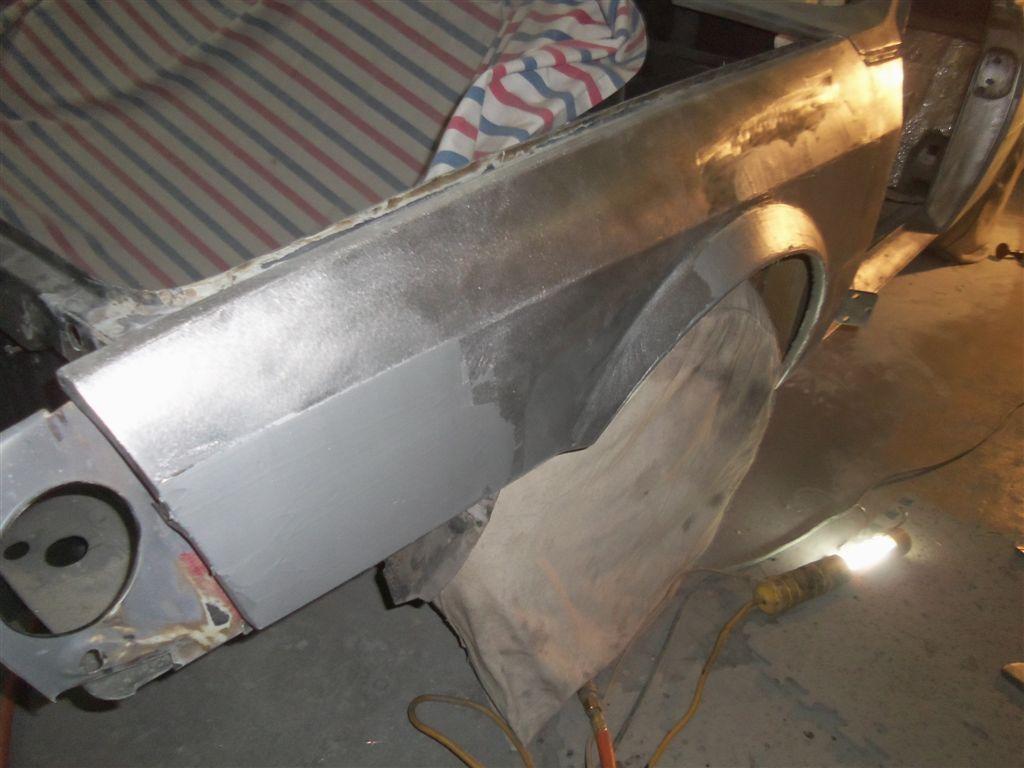
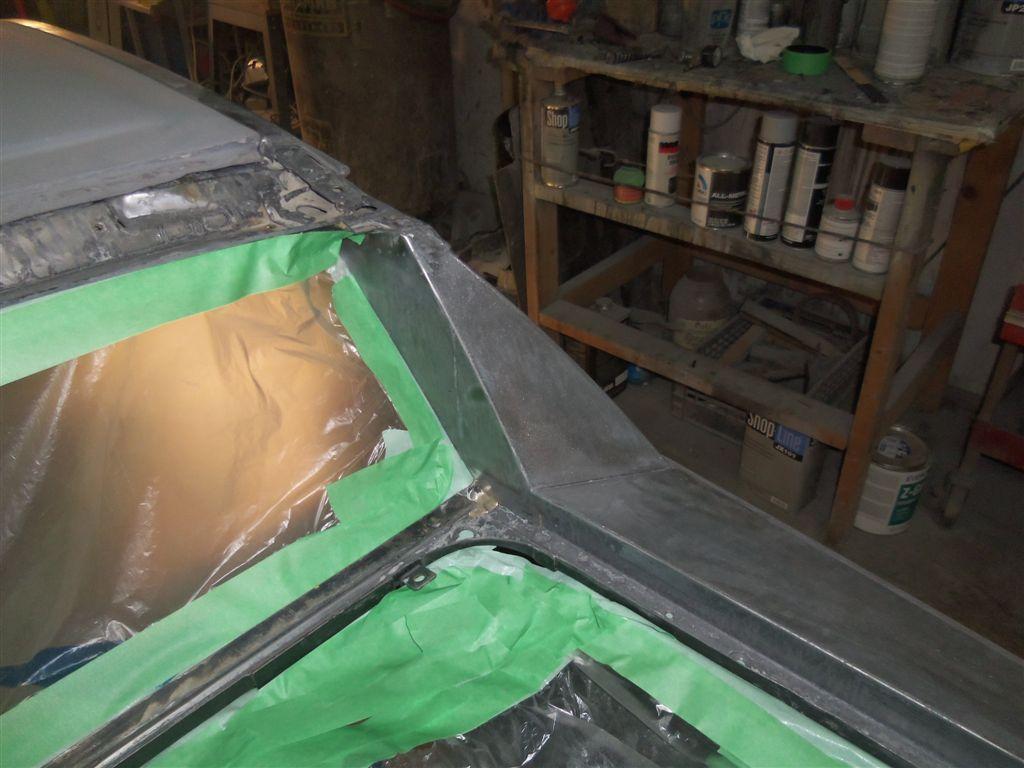
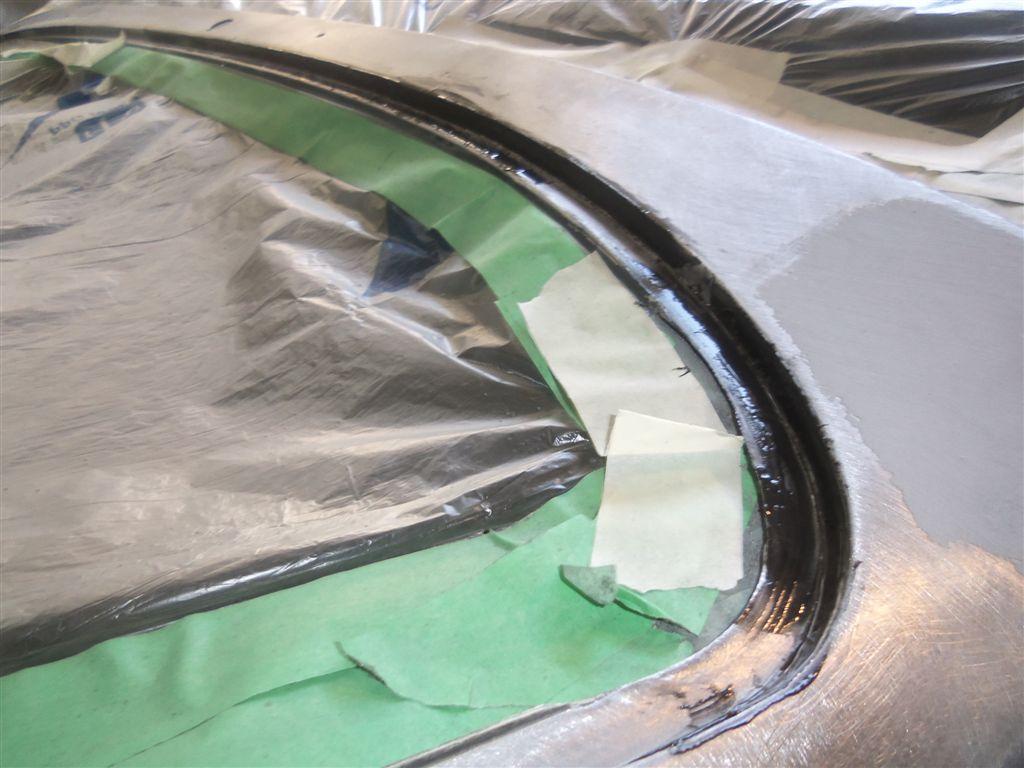
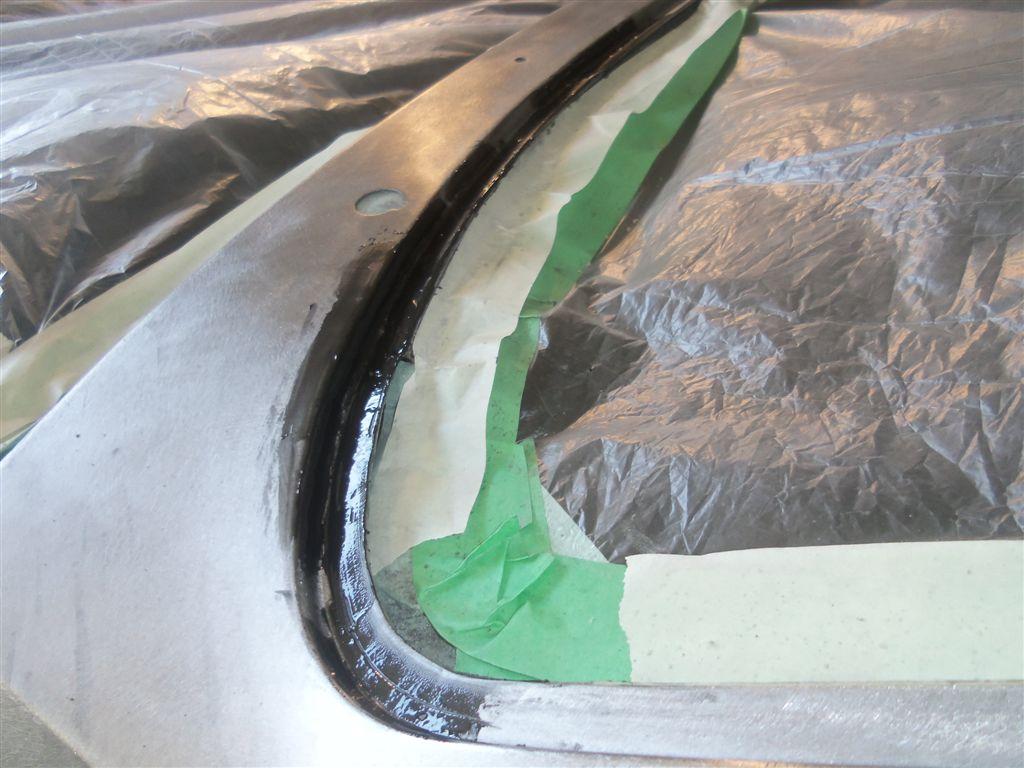
The driver’s door window frame is splitting from door box, will need weld repair

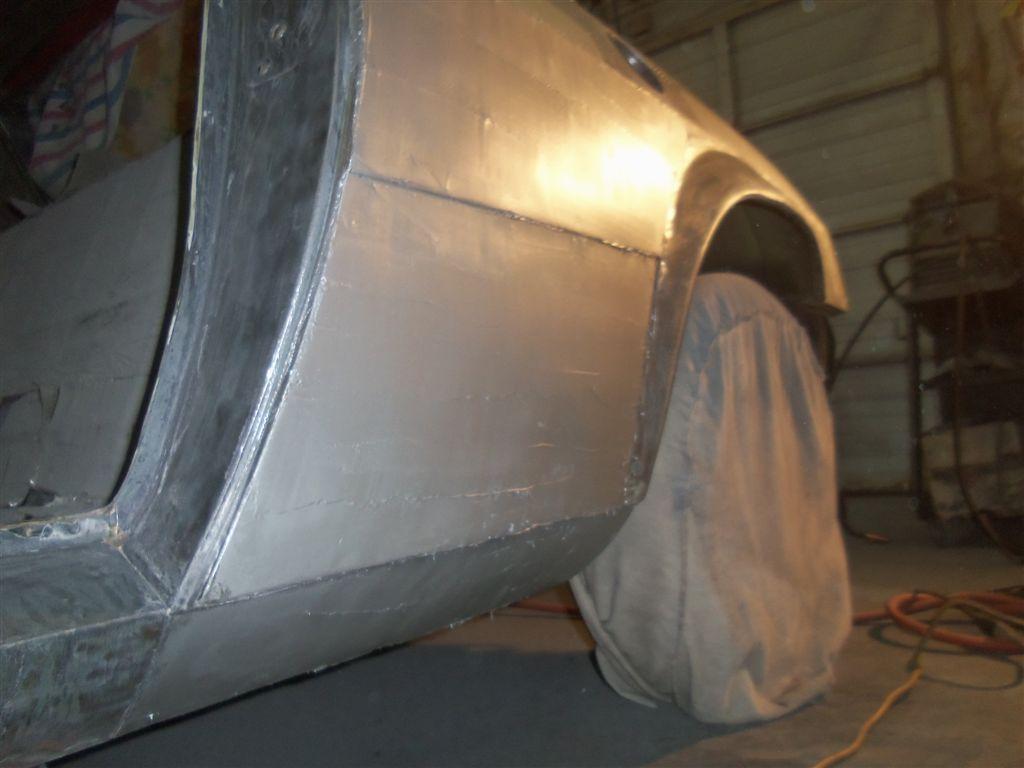
Insides cleaned up, jambs sanded
Epoxy sealer insides of left door

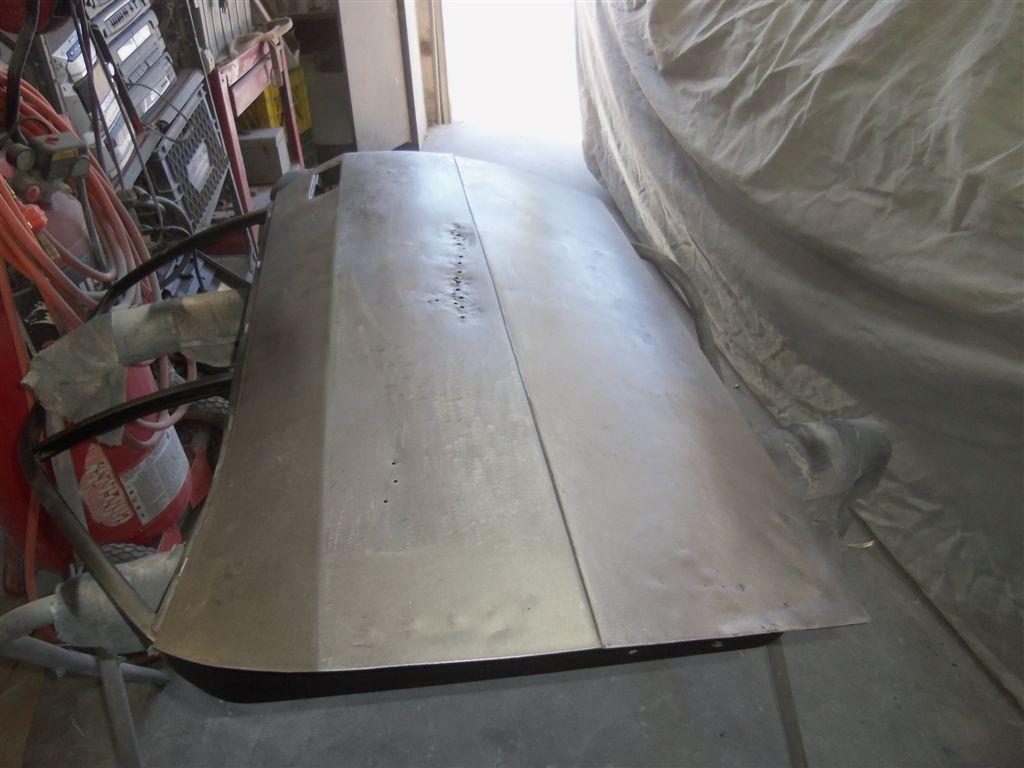
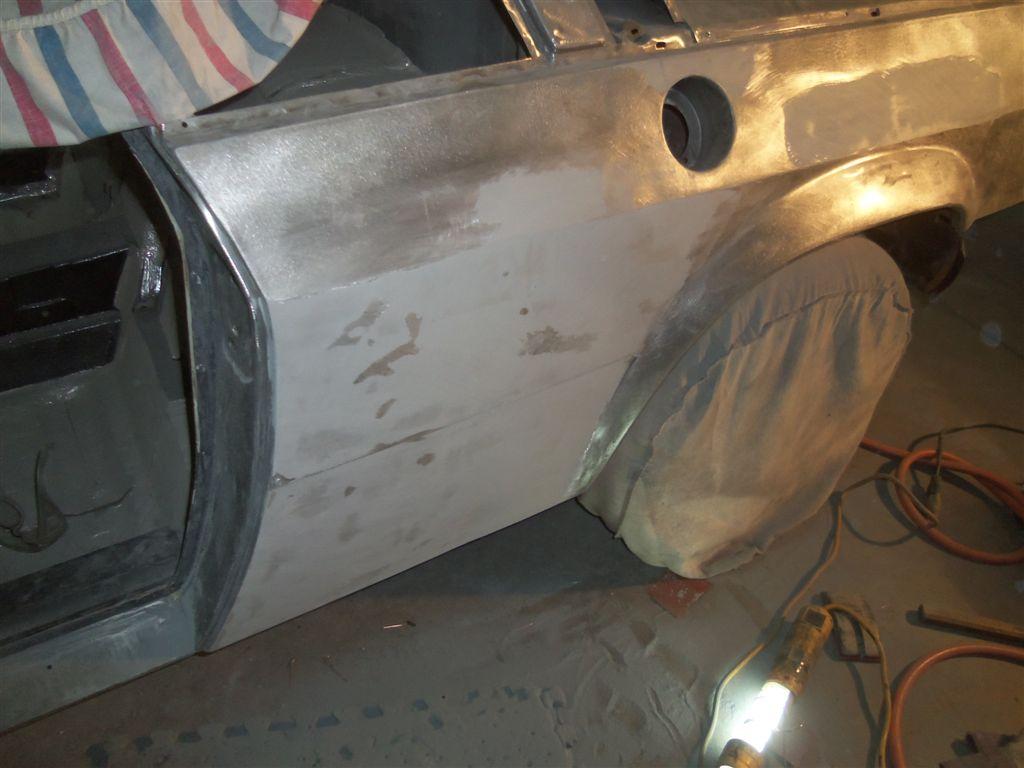
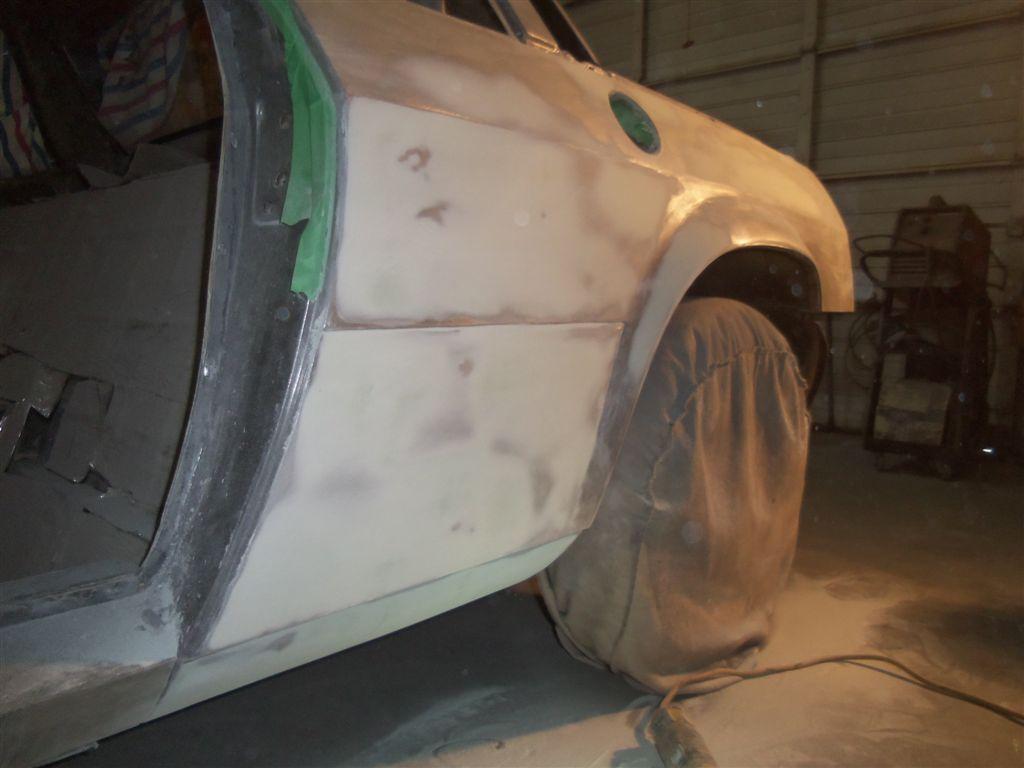
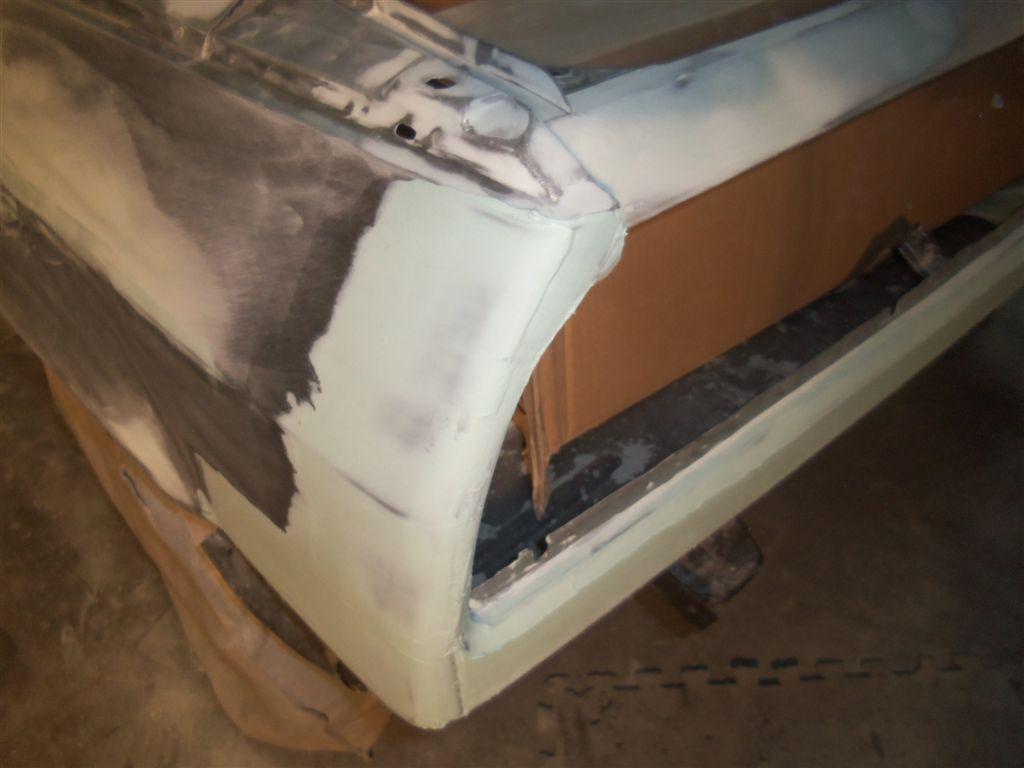
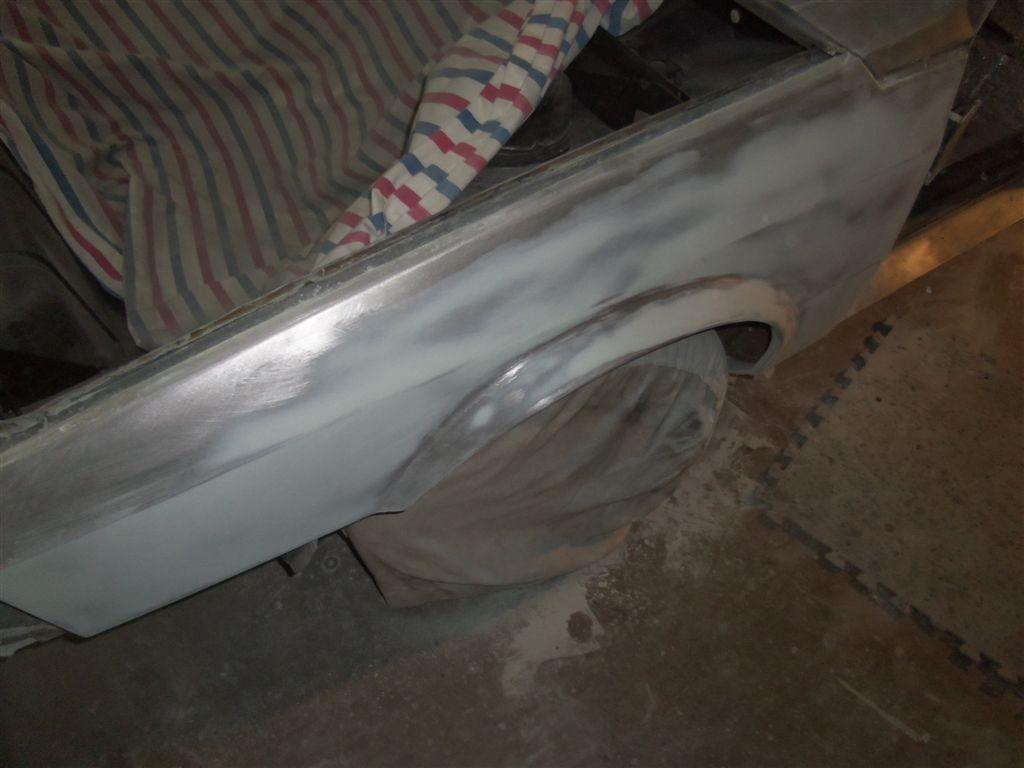
Right door exterior sanded clean
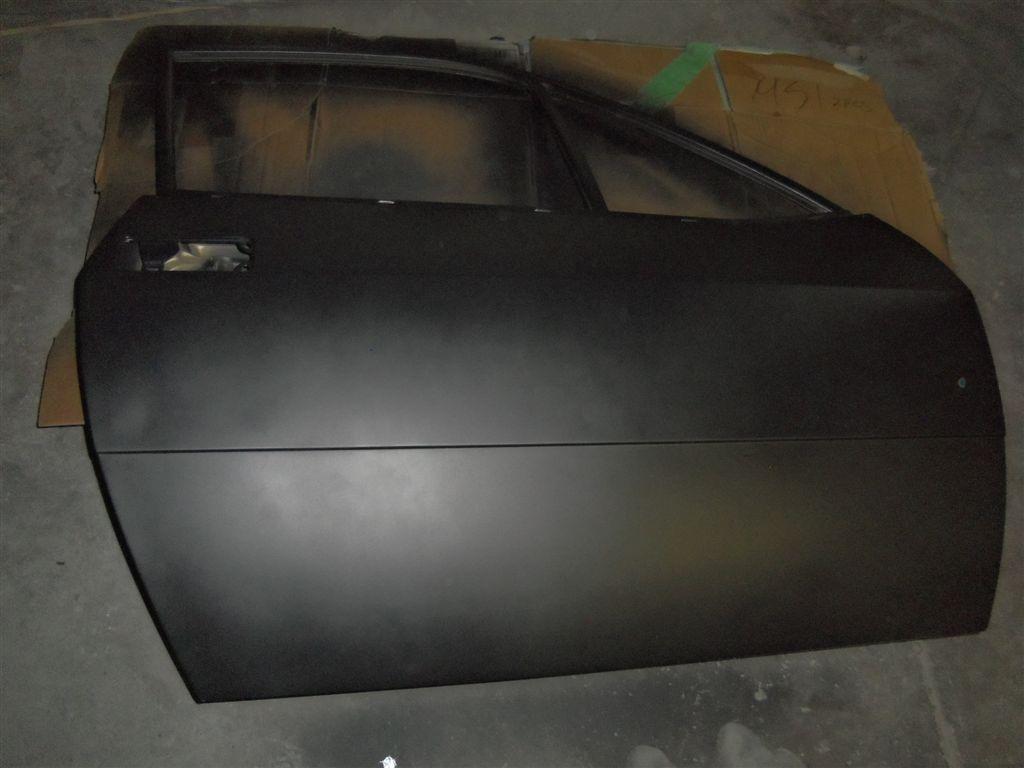
Black epoxy sealer on right door exterior.
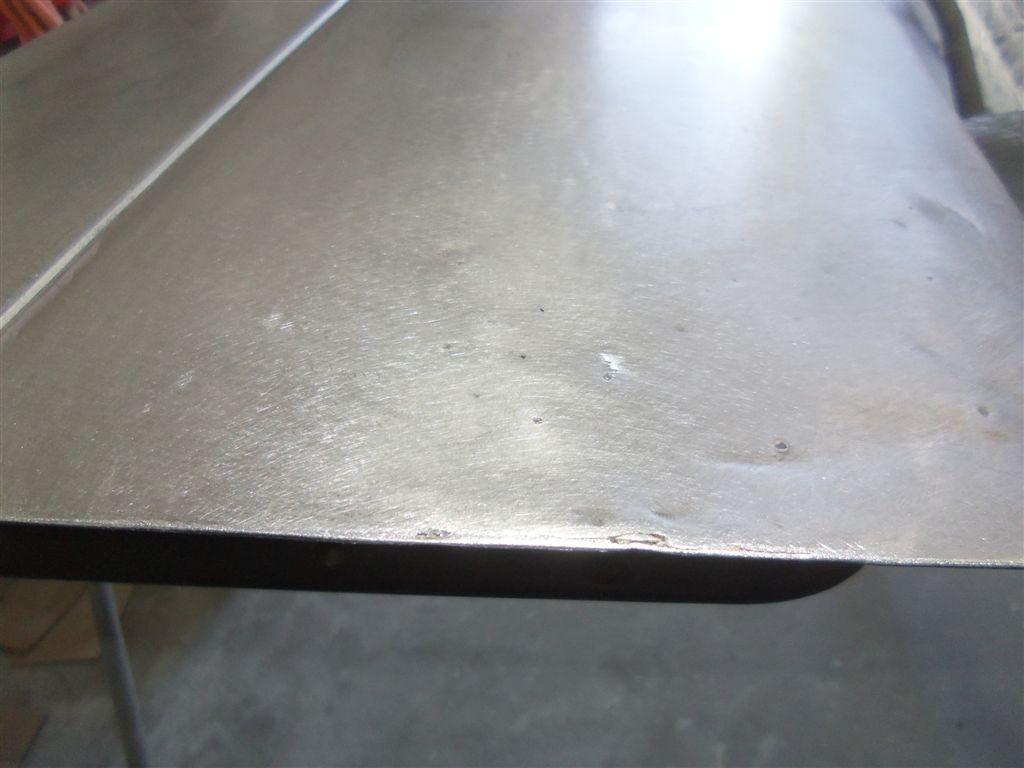
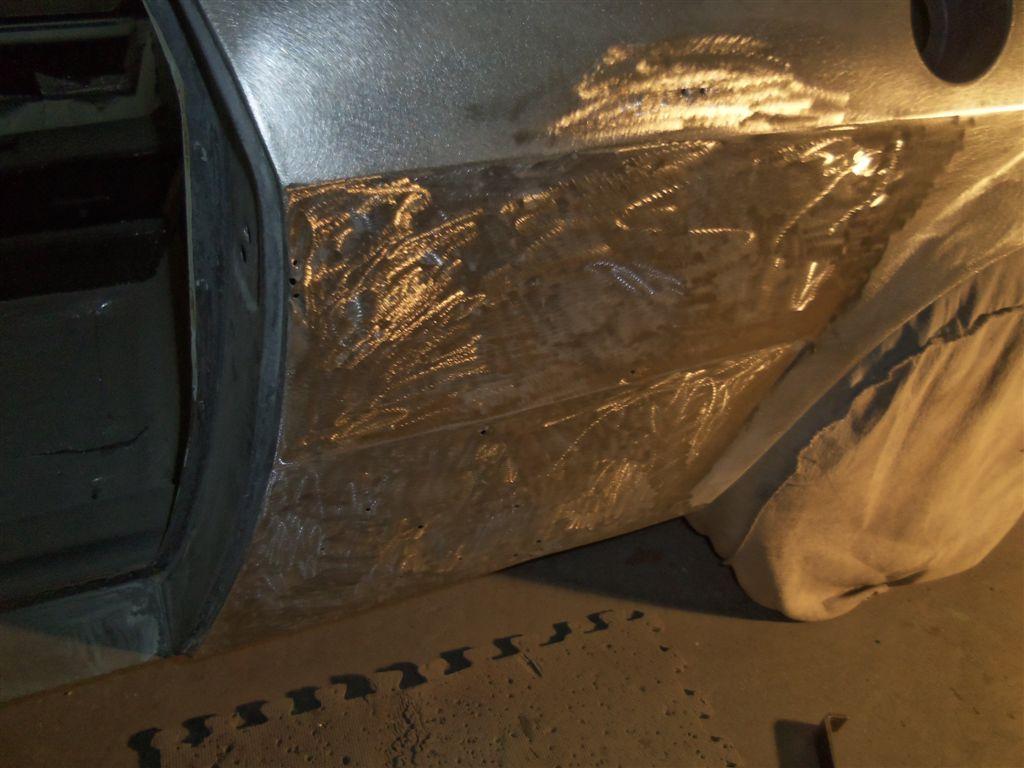
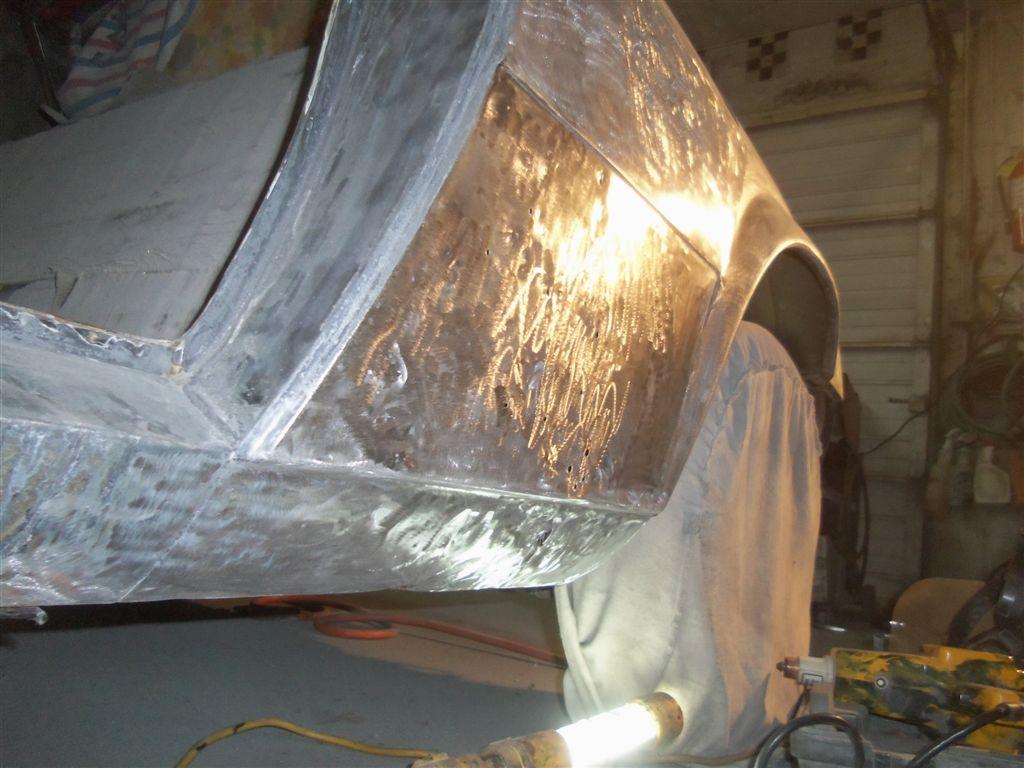
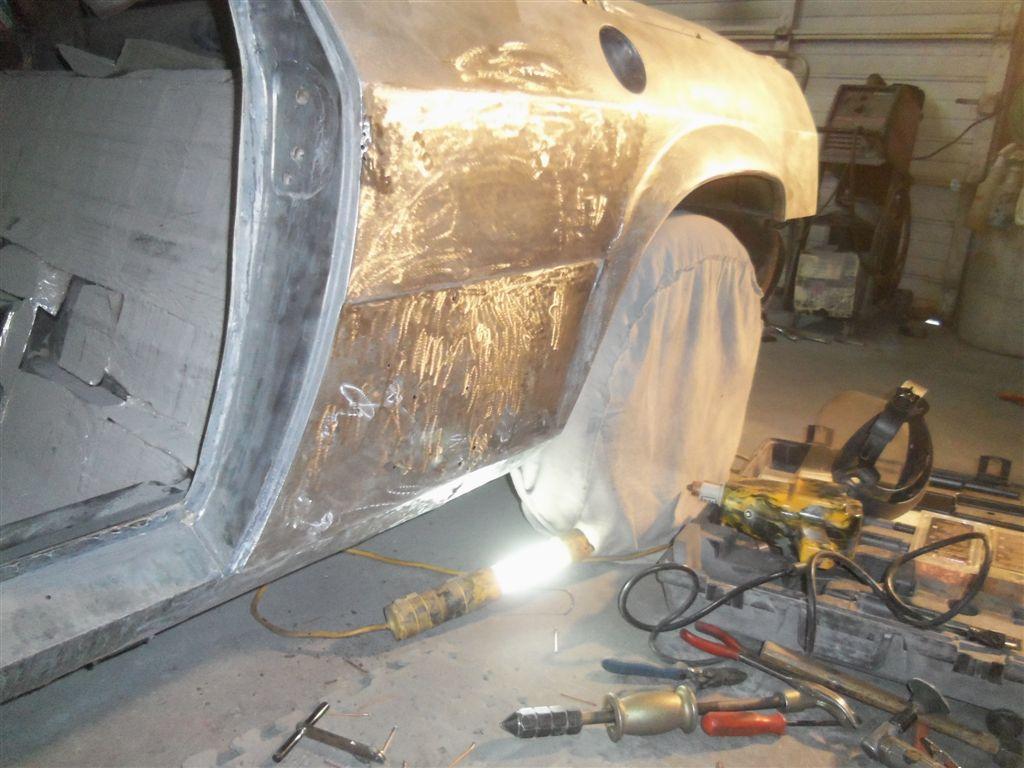
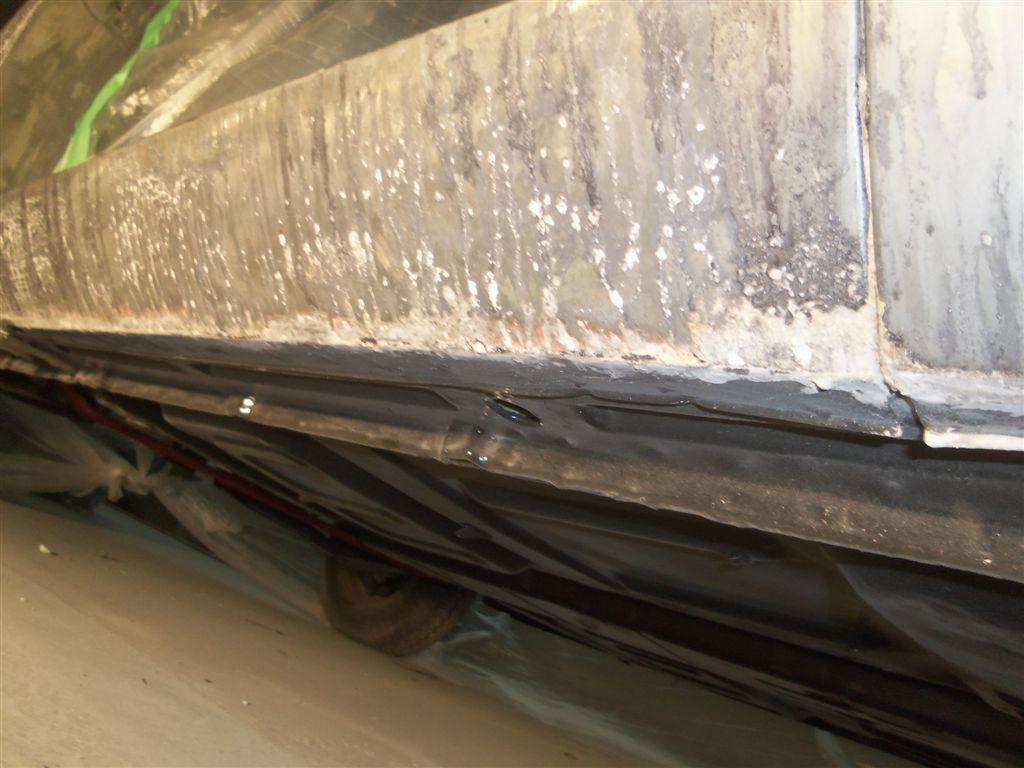
Still in need of bodywork, dented and prior weld repair areas.
Kevin Stein out of PA is doing the work and he loves Italian cars. Admin, if the posts are too long free feel to delete the thread.
The exterior of engine lid before
And the inside of the lid before sanding.
Chem stripping the remaining inner paint and around the cooling slats
Sanding it all clean inside
Black epoxy sealer / primer
Before sanding the 2 flying buttresses
Still some paint in the crevices and edges
Stripping and sanding clean inside
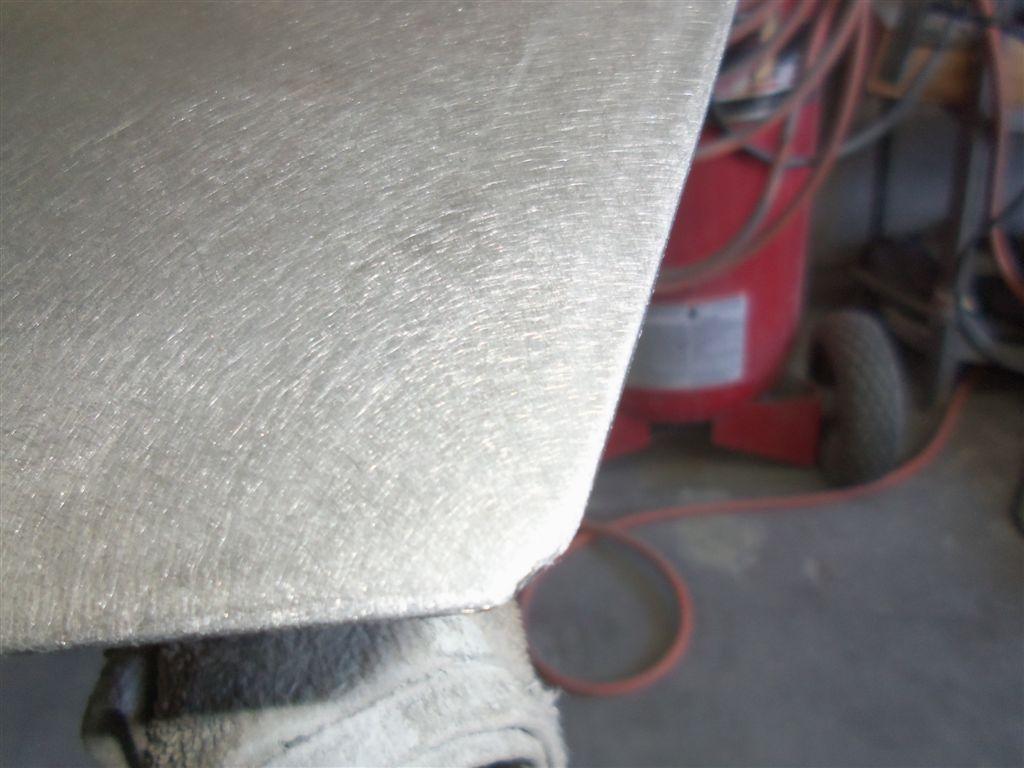
The front hood exterior, before sanding
Sanding it clean
Sanding inside the hood
Black epoxy primer on the undersides, insides
Cleaning under the hood, blowing out the cavities
A closer look at the hood hinge area. Splits will need to be welded up
The right side door inner and jamb, before sanding
Right door exterior
After drying, the pieces were flipped and epoxy seal the exterior
Epoxy sealer, hood underside
The 2 panels were then primed w/ 2k urethane primer
Sanding the right door exterior, stripping paint out of the crevices, door handle pocket, etc.
Cleaning, stripping and sanding the inner parts of right side door
Epoxy sealer, inside
Before starting on the left side door
After sanding the exterior of driver’s door, removing remaining filler
finding the old slide hammer holes from prior damage
The door is quite wavy in some areas, although a nice solid panel
The driver’s door window frame is splitting from door box, will need weld repair
Insides cleaned up, jambs sanded
Epoxy sealer insides of left door
Right door exterior sanded clean
Black epoxy sealer on right door exterior.
Still in need of bodywork, dented and prior weld repair areas.
Last edited: