Andrew Coles
Say no to rice
Thanks a lot for the comments guys!
Ovi - I will make sure to take some more close ups next time I'm in the shed. I spent 12 hours there today so Im a little tired to do it right now, but I'll make sure to remember tomorow")
Eastep - the R32 is a nice car... and the seats are so nice. My friend has taken me for a few rides, and it certainly goes like a rocket and sounds amazing to boot. Although I still dont think the Volkswagen 3.2 V6 has the soul of the Alfa V6. If it were my money, I'd probably spend the same dough on a clean used Alfa 147 GTA.
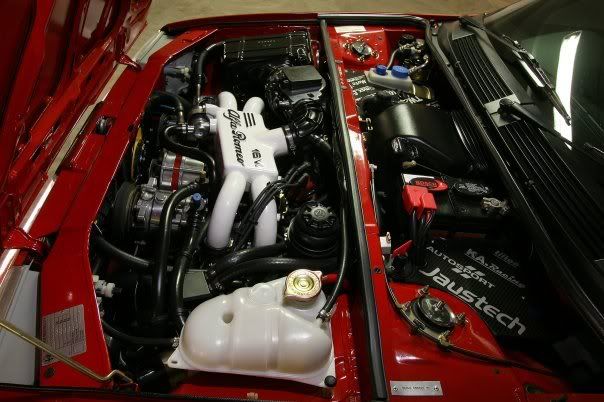
Ulix - you are right this part is fun. It is incredibly frustrating sometimes, but you cant beat the feeling of acheivement when something works. Ive decided to go all out on the X and make it as close to perfect as I can. I have a friend who has rebuilt his Alfa 33 16V to a super high level, and I've gotta make the X as good as his car! He comes around to my place at least once a week and gives me all sorts of crap if I do something dodgy - its good fun and good incentive. This is the engine bay of his Alfa, so this is what I am competing with and aiming for here
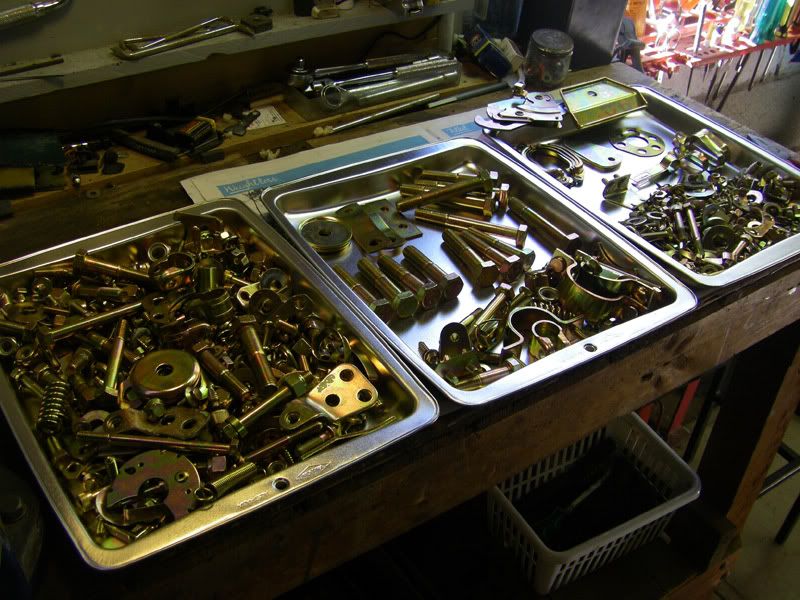
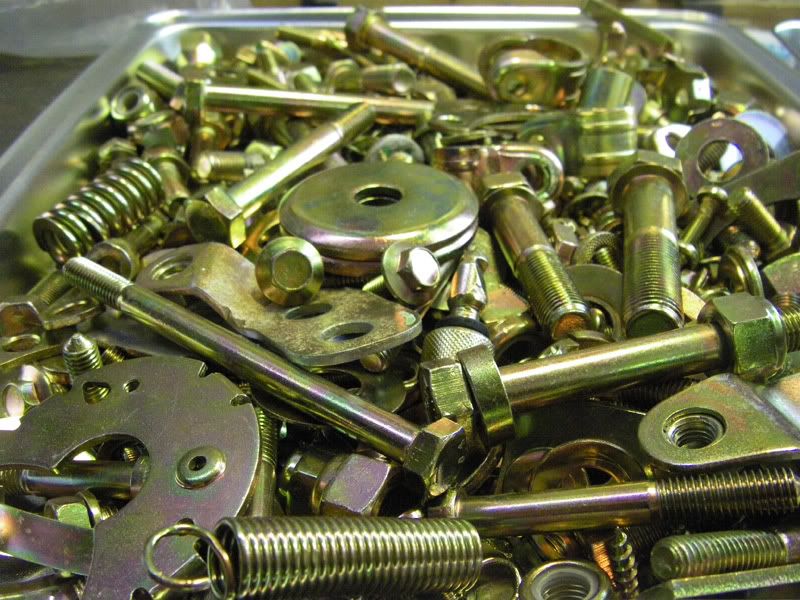
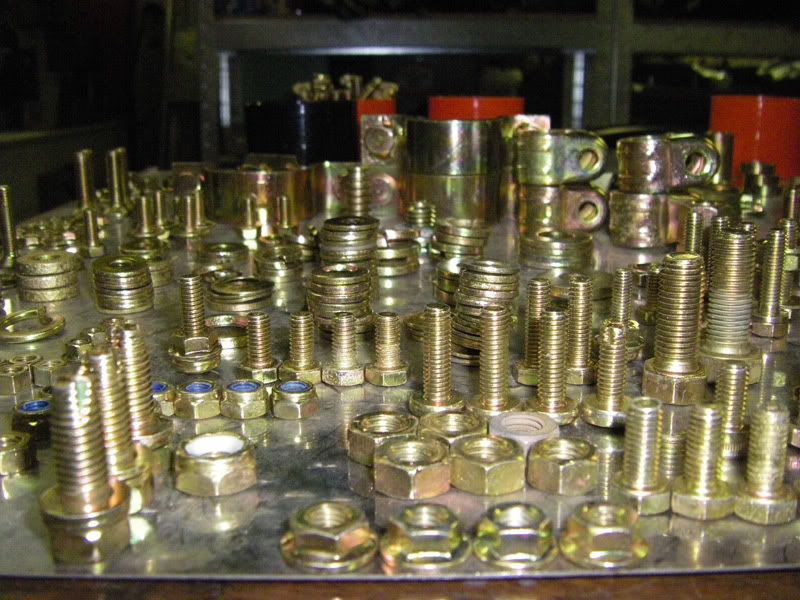
Rupunzell - leading on from Ulix's comments I am going to make sure to do this as well. I have copies of all of Carroll Smith's books and am trying to follow his advice where possible. The biggest thing Ive learnt so far is his advice on fastners, the quality of them and their correct uses. I am trying to use only aircraft standard when I can. The car will be used on the track, so I want everything easily serviceable and clean so any new cracks or damage can be spotted before it becomes a problem. I am also going to try and standardise the head sizes of all the bolts to minimise the need for lots of tools which should reduce time in case we need to make any fast repairs at the track.
Emrliquidlife - well if your looking for a holiday theres always a bed here for you hehe
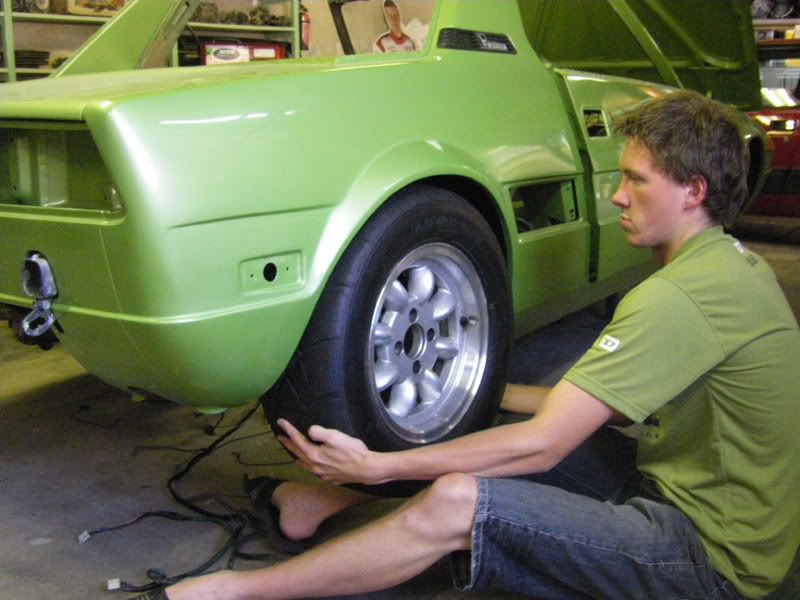
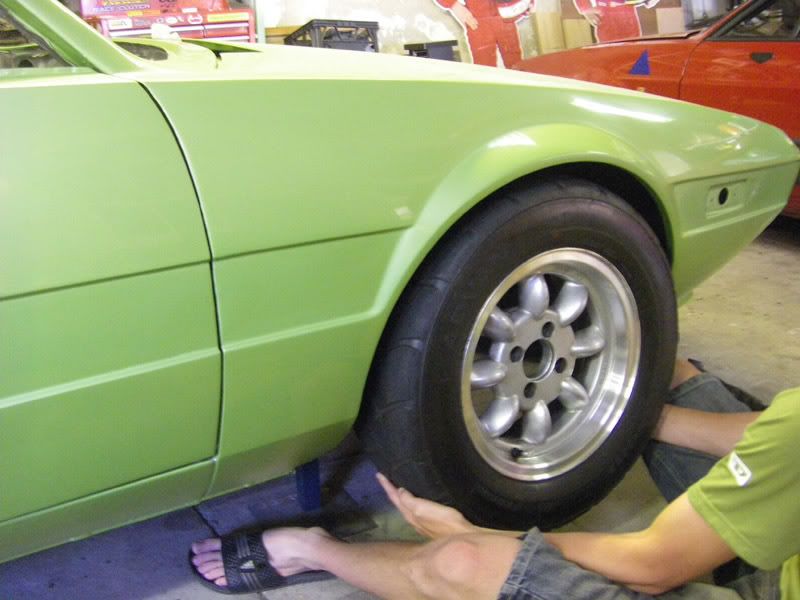
And back to the updates. I spent a good 10 hours in the shed today working on her, which kinda sucked as I saw 43deg on the thermometre at one point. Luckily we are only a short walk from the beach, so Ive been cheating and ducking down for a swim every few hours. You certainly get some looks when you hit the beach in dirty work shorts with smears of grease on your face lol. So far Ive found that the biggest problem is my own inexperiance. Ive never done serious work on cars before, only helping Dad out here and there. Sometimes I simply dont know what to do or how to do it, and I waste a lot of time waiting for Dad to get home from work to show me how to do something. Today I decided to take all the wheel bearings out and strip the whole suspension to prepare it for sandblasting, and it darn near took me all day - a job Ive seen done in 2 hours or less. I had to call Dad at work 4 times and even then had a pile of 5 dead ends for him to solve when he got home! Im not a mechanic, and I guess its a learning experiance and I certainly am learning a hell of a lot by reading the shop manual, figuring things out and using the old trial and error method of getting things done. I guess this all means that the next car I restore will take half the time
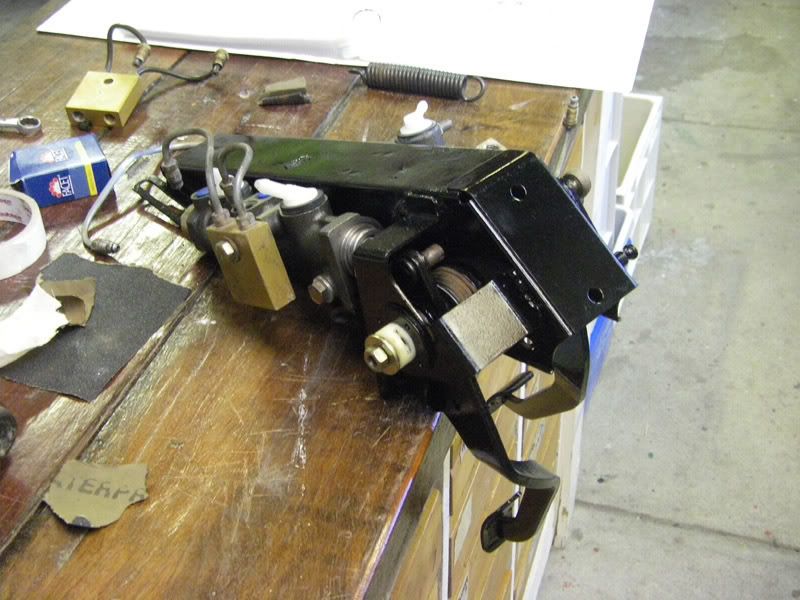
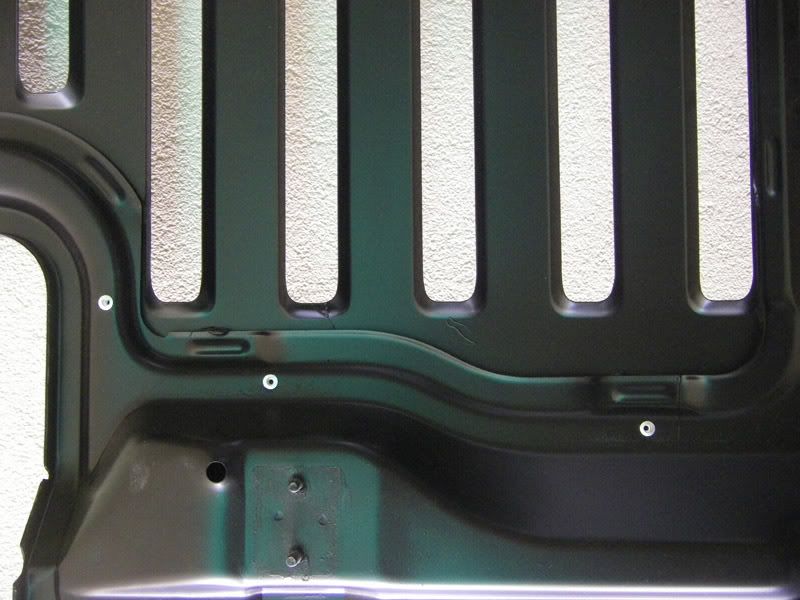
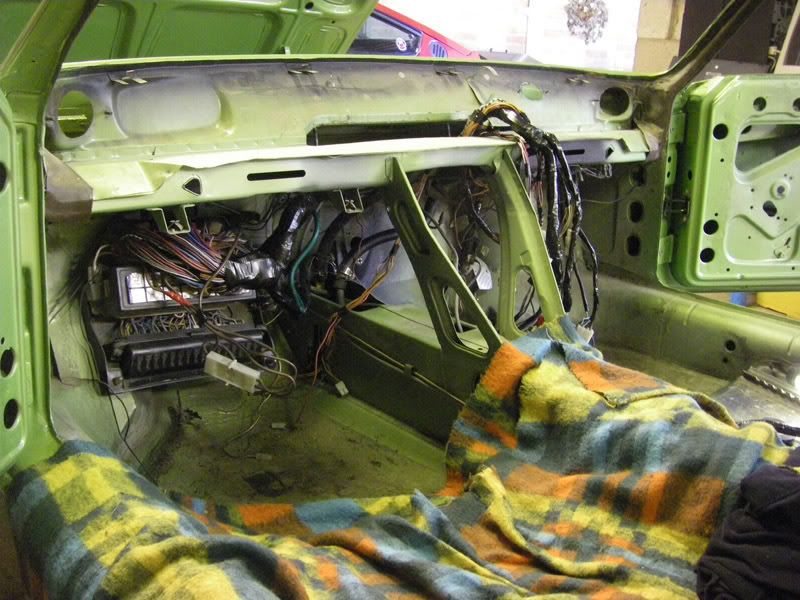
My first job was to sort the wiring loom out. In previous photos above you can see its just a mess of wires and god knows what (or the "hairy Italian genital area" as one of my friends called it). I sorted all the wires out, cleaned them up with soapy water and then retaped everything. I dont understand electricity very well (my knowledge is little more than "stick this plug into the socket and the light works now") so I wanted to make it as simple and organised as possible to give myself half a fighting shot at making it work. I then strung the loom back into and around the engine bay and around the front boot. Theres better pics somewhere that I'll stick up later.
"I dare say Cadbury, this new hand held monocle is a simply smashing idea... it saves me from having to use my opera glasses at the most in-opportune of times"
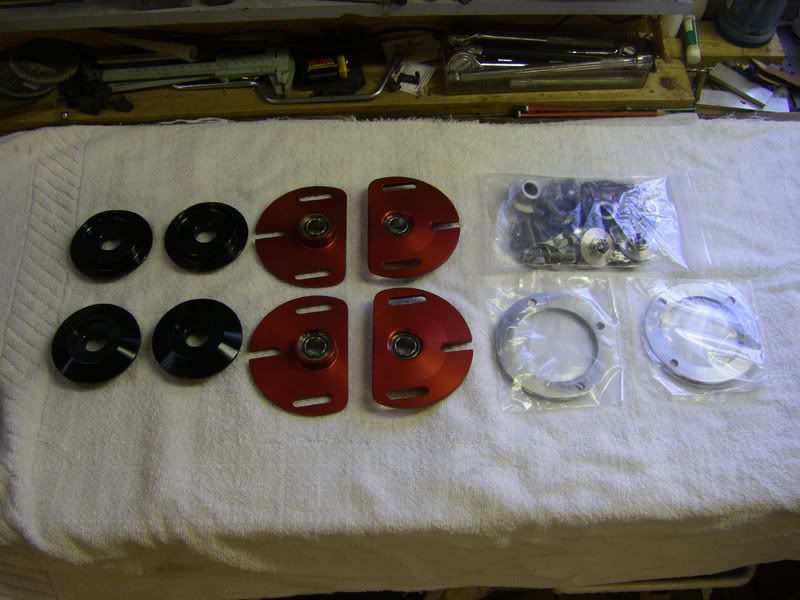
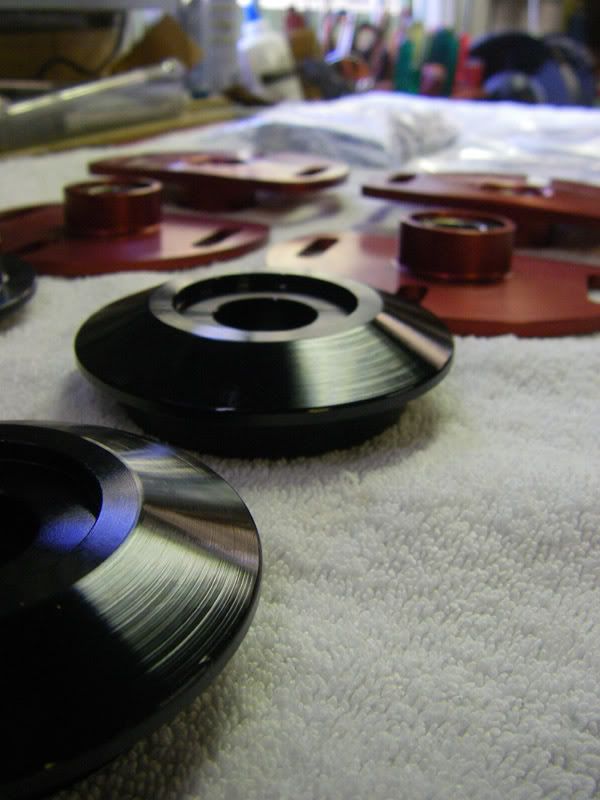
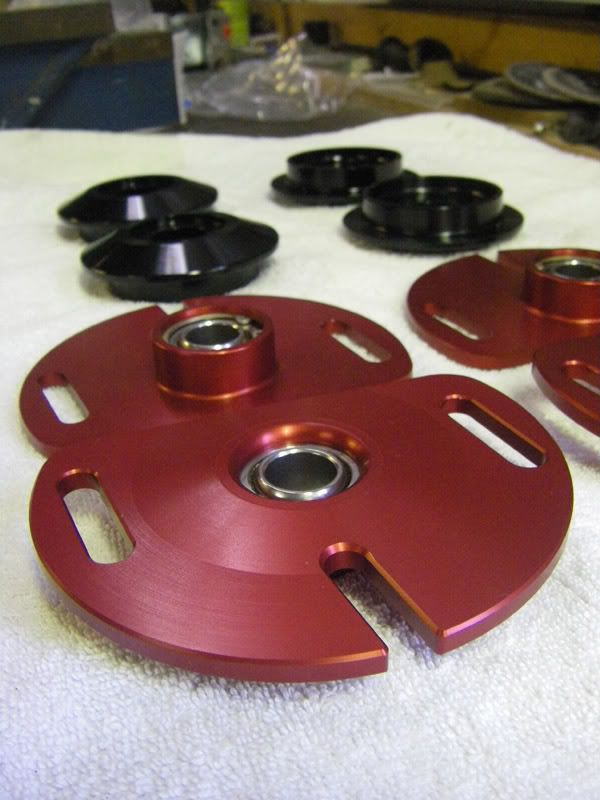
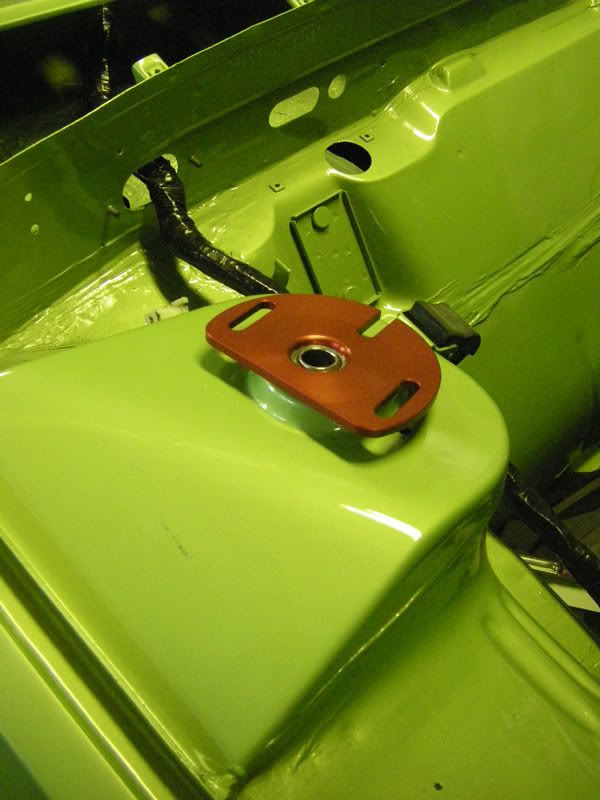
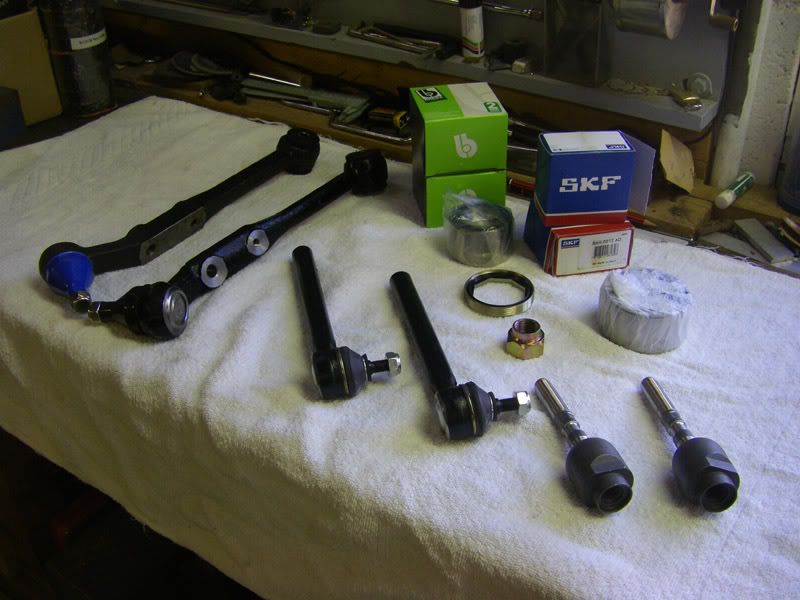
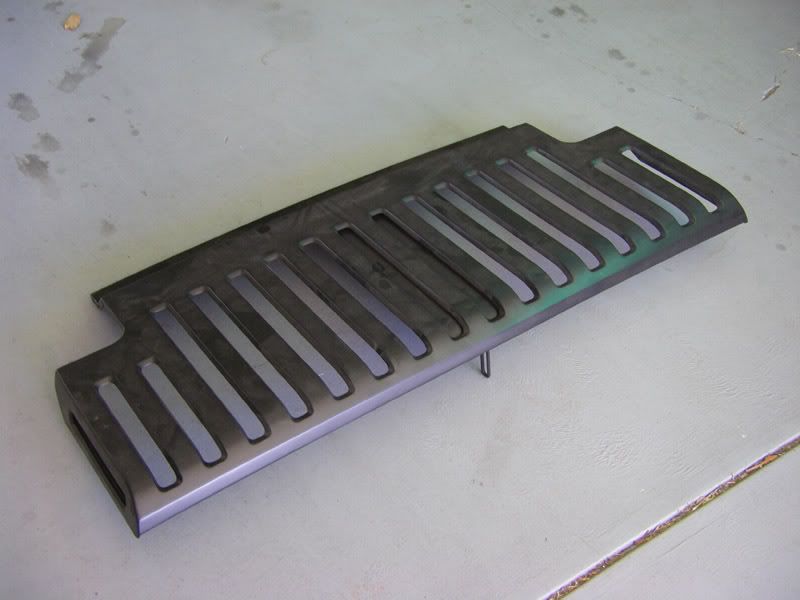
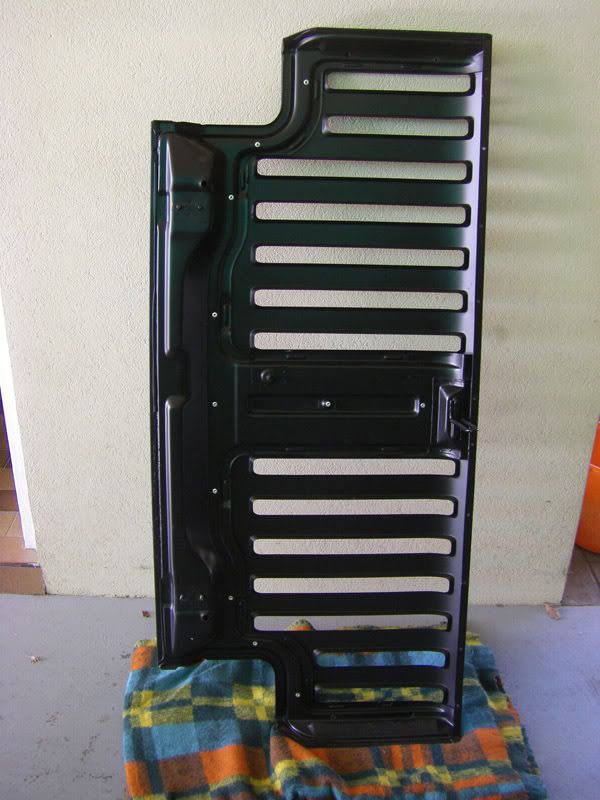
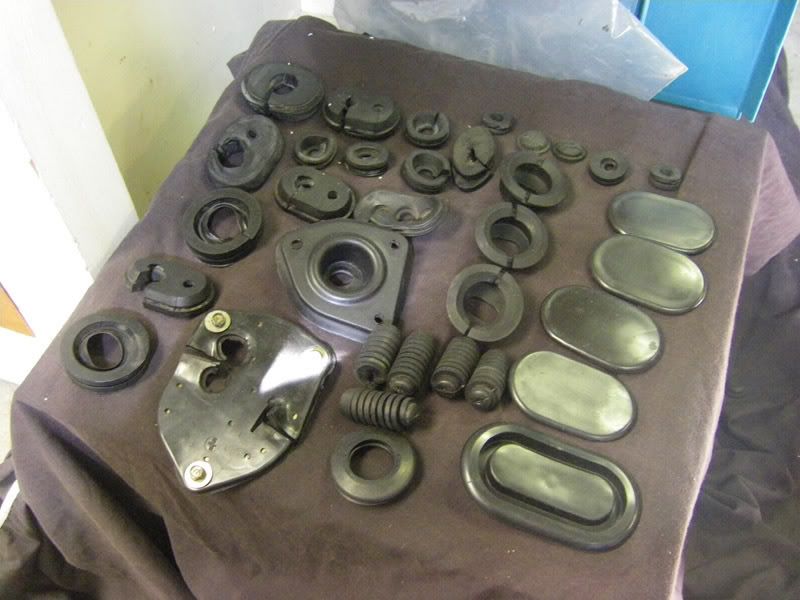
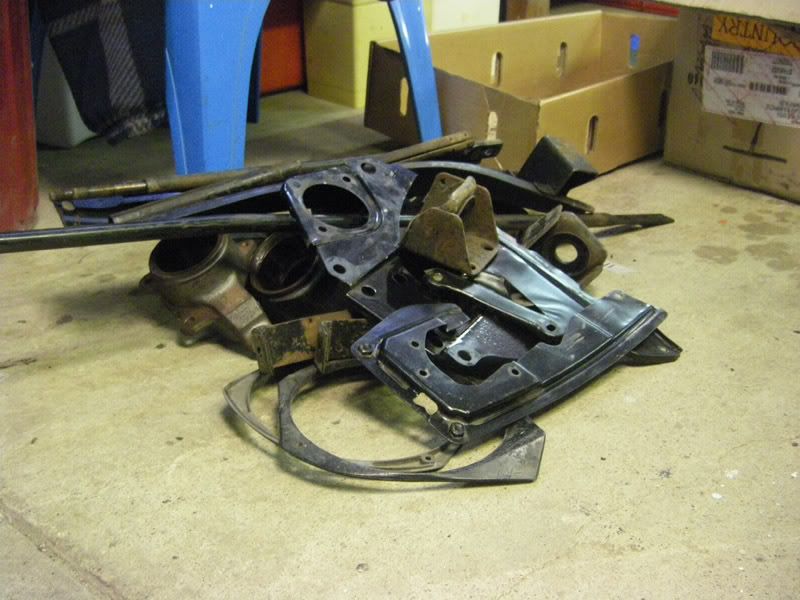
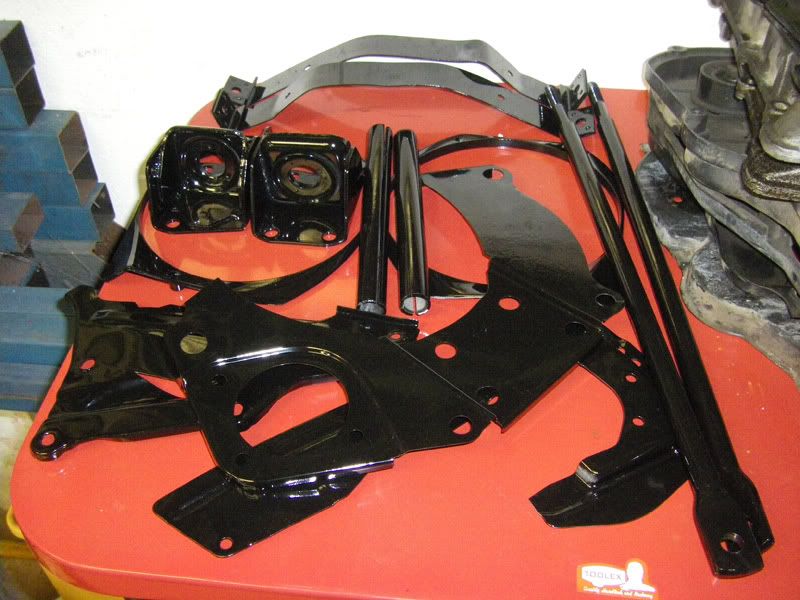
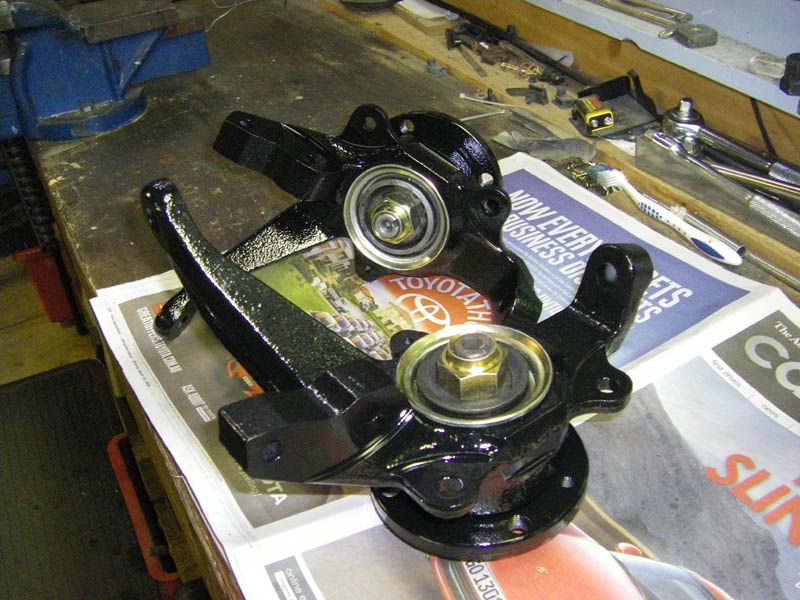
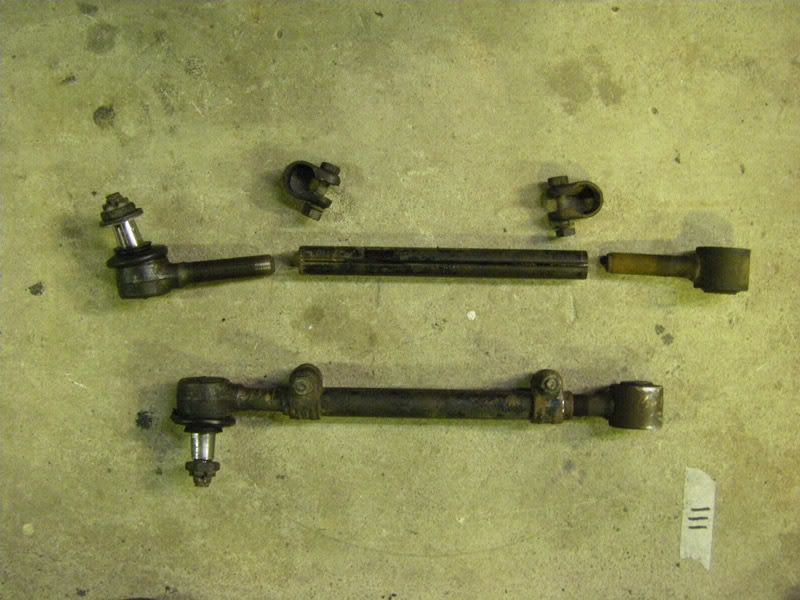
My work today consisted of stripping the entire suspension down to its last components. I am using a mix of 1300 front hubs and 1500 rear hubs and arms. It took me ages, but I got everything out and now need to drop the hubs at a friends workshop so he can press the bearing races out. My plan is to get all the big parts sandblasted and then powdercoated either gloss or satin black. I will then get all the nuts, bolts and small brackets nickel plated. It seems pointless and frustrating, but these little details will really make the car when its done. So I can remember how it all goes back, Ive started to take photos like this one showing what components make up an assembly, and how they come apart. My camera is hating the greasy hand useage, but I'm sure these photos will be invaluable when I cant remember how it all goes back together in a few weeks time!
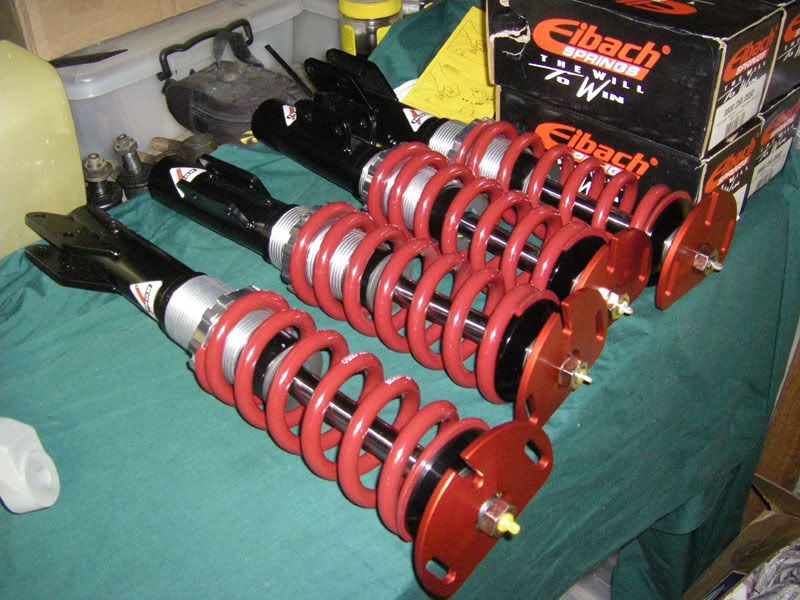
So progress is being made, albeit slowly. The real fun will start when I get all these parts back from the powder coaters and nickle platers.. then the suspension and brakes can go on... cant wait!
Ovi - I will make sure to take some more close ups next time I'm in the shed. I spent 12 hours there today so Im a little tired to do it right now, but I'll make sure to remember tomorow
Eastep - the R32 is a nice car... and the seats are so nice. My friend has taken me for a few rides, and it certainly goes like a rocket and sounds amazing to boot. Although I still dont think the Volkswagen 3.2 V6 has the soul of the Alfa V6. If it were my money, I'd probably spend the same dough on a clean used Alfa 147 GTA.
Ulix - you are right this part is fun. It is incredibly frustrating sometimes, but you cant beat the feeling of acheivement when something works. Ive decided to go all out on the X and make it as close to perfect as I can. I have a friend who has rebuilt his Alfa 33 16V to a super high level, and I've gotta make the X as good as his car! He comes around to my place at least once a week and gives me all sorts of crap if I do something dodgy - its good fun and good incentive. This is the engine bay of his Alfa, so this is what I am competing with and aiming for here
Rupunzell - leading on from Ulix's comments I am going to make sure to do this as well. I have copies of all of Carroll Smith's books and am trying to follow his advice where possible. The biggest thing Ive learnt so far is his advice on fastners, the quality of them and their correct uses. I am trying to use only aircraft standard when I can. The car will be used on the track, so I want everything easily serviceable and clean so any new cracks or damage can be spotted before it becomes a problem. I am also going to try and standardise the head sizes of all the bolts to minimise the need for lots of tools which should reduce time in case we need to make any fast repairs at the track.
Emrliquidlife - well if your looking for a holiday theres always a bed here for you
heheAnd back to the updates. I spent a good 10 hours in the shed today working on her, which kinda sucked as I saw 43deg on the thermometre at one point. Luckily we are only a short walk from the beach, so Ive been cheating and ducking down for a swim every few hours. You certainly get some looks when you hit the beach in dirty work shorts with smears of grease on your face lol. So far Ive found that the biggest problem is my own inexperiance. Ive never done serious work on cars before, only helping Dad out here and there. Sometimes I simply dont know what to do or how to do it, and I waste a lot of time waiting for Dad to get home from work to show me how to do something. Today I decided to take all the wheel bearings out and strip the whole suspension to prepare it for sandblasting, and it darn near took me all day - a job Ive seen done in 2 hours or less. I had to call Dad at work 4 times and even then had a pile of 5 dead ends for him to solve when he got home! Im not a mechanic, and I guess its a learning experiance and I certainly am learning a hell of a lot by reading the shop manual, figuring things out and using the old trial and error method of getting things done. I guess this all means that the next car I restore will take half the time
My first job was to sort the wiring loom out. In previous photos above you can see its just a mess of wires and god knows what (or the "hairy Italian genital area" as one of my friends called it). I sorted all the wires out, cleaned them up with soapy water and then retaped everything. I dont understand electricity very well (my knowledge is little more than "stick this plug into the socket and the light works now") so I wanted to make it as simple and organised as possible to give myself half a fighting shot at making it work. I then strung the loom back into and around the engine bay and around the front boot. Theres better pics somewhere that I'll stick up later.
"I dare say Cadbury, this new hand held monocle is a simply smashing idea... it saves me from having to use my opera glasses at the most in-opportune of times"
My work today consisted of stripping the entire suspension down to its last components. I am using a mix of 1300 front hubs and 1500 rear hubs and arms. It took me ages, but I got everything out and now need to drop the hubs at a friends workshop so he can press the bearing races out. My plan is to get all the big parts sandblasted and then powdercoated either gloss or satin black. I will then get all the nuts, bolts and small brackets nickel plated. It seems pointless and frustrating, but these little details will really make the car when its done. So I can remember how it all goes back, Ive started to take photos like this one showing what components make up an assembly, and how they come apart. My camera is hating the greasy hand useage, but I'm sure these photos will be invaluable when I cant remember how it all goes back together in a few weeks time!
So progress is being made, albeit slowly. The real fun will start when I get all these parts back from the powder coaters and nickle platers.. then the suspension and brakes can go on... cant wait!