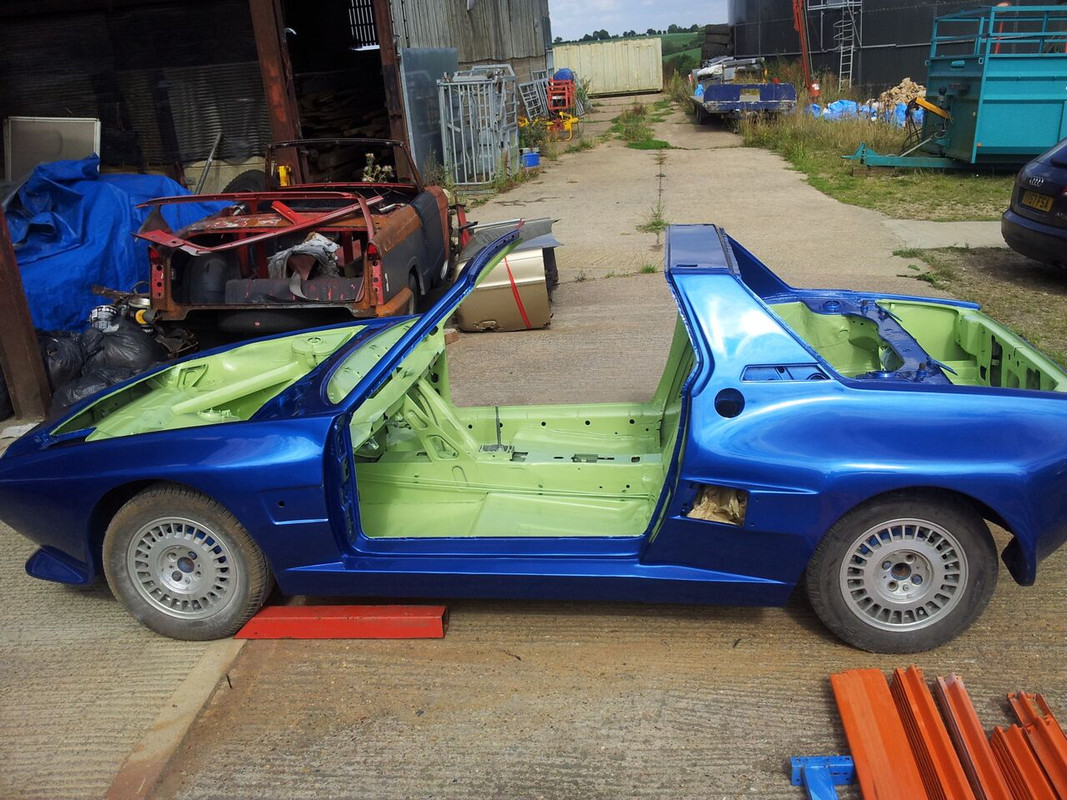
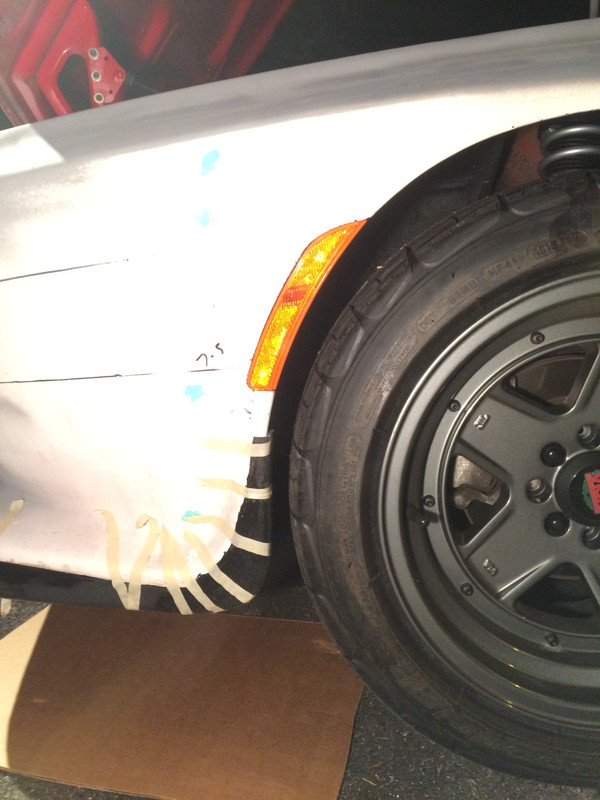
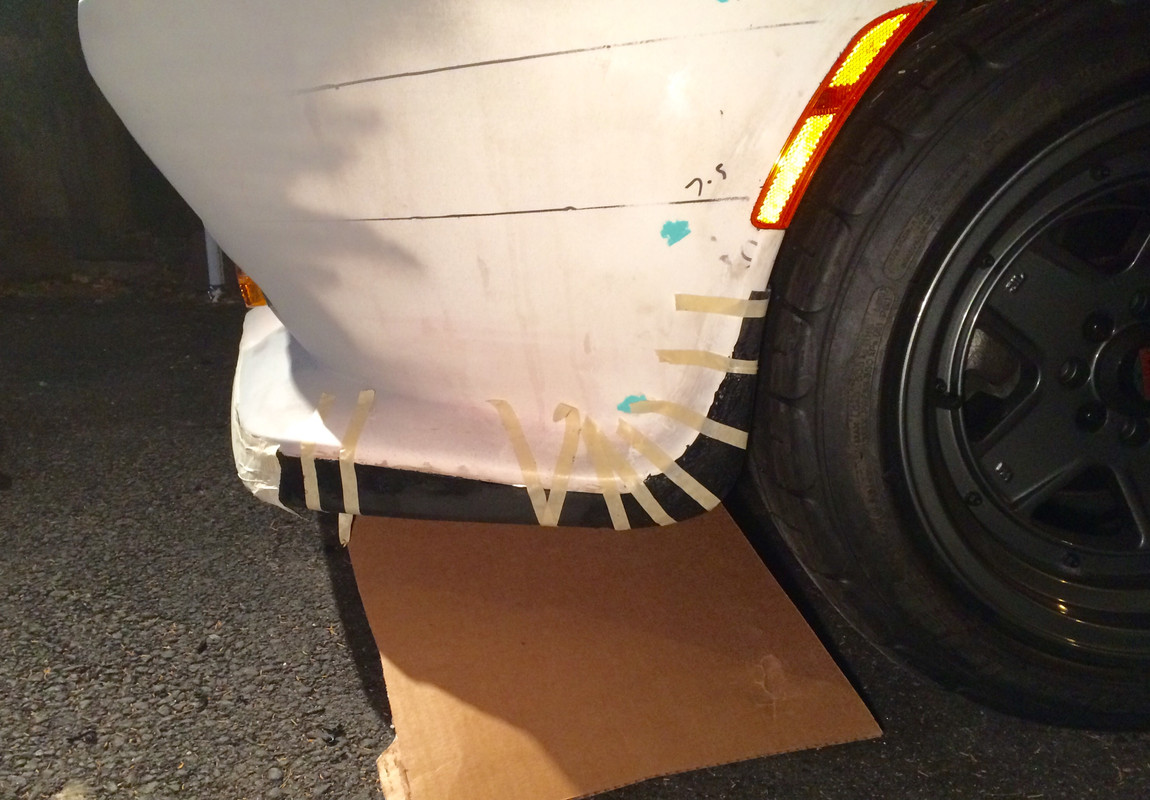
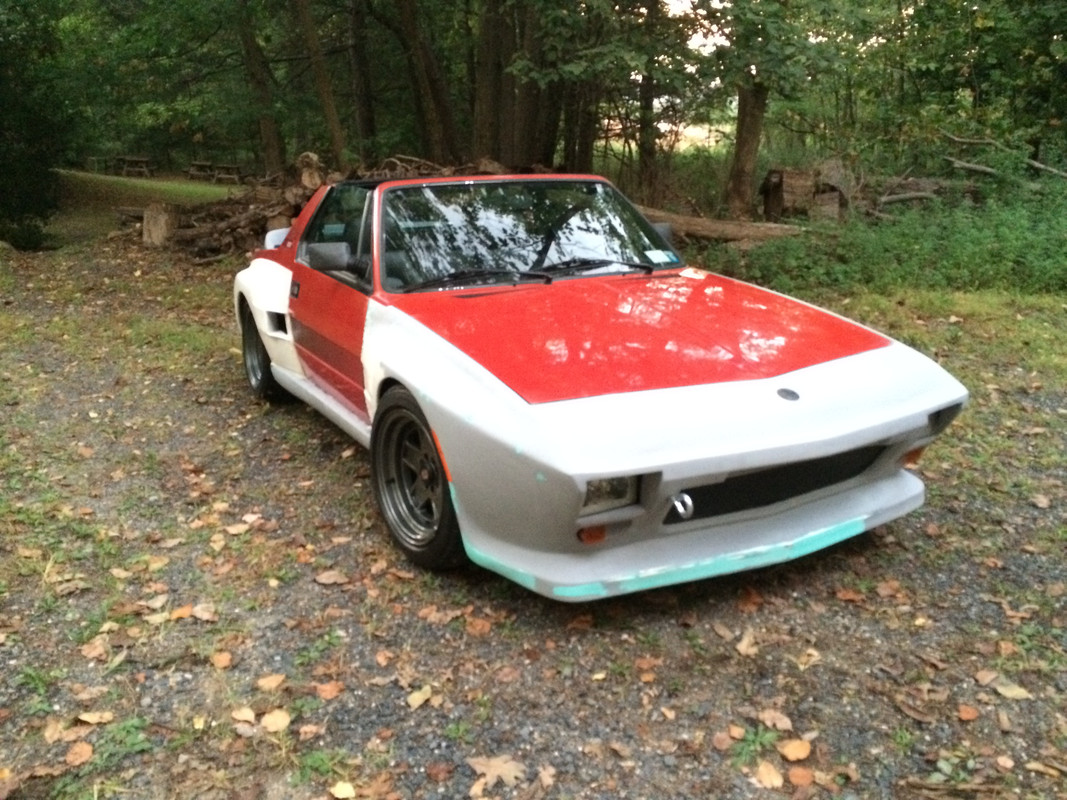
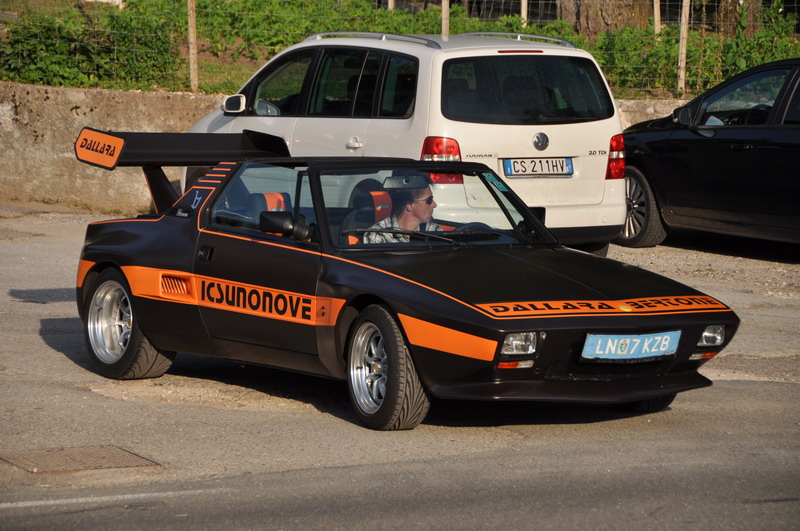
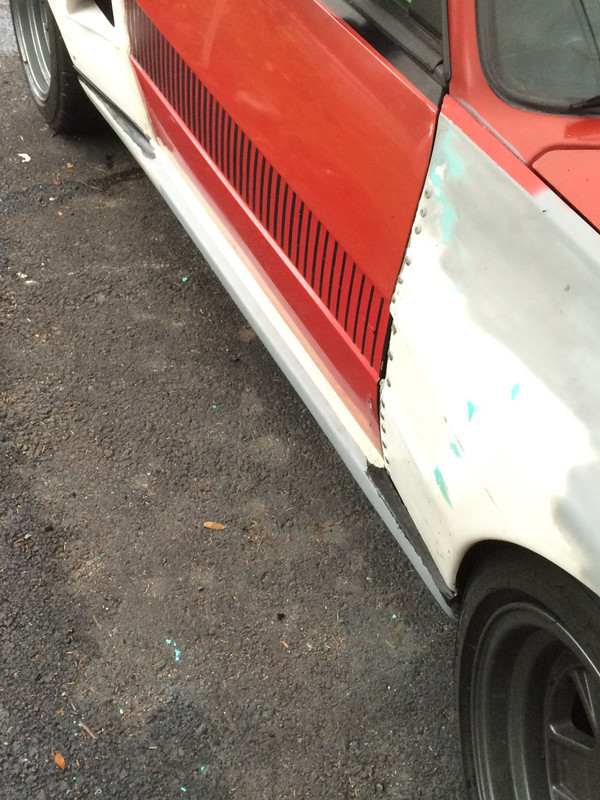
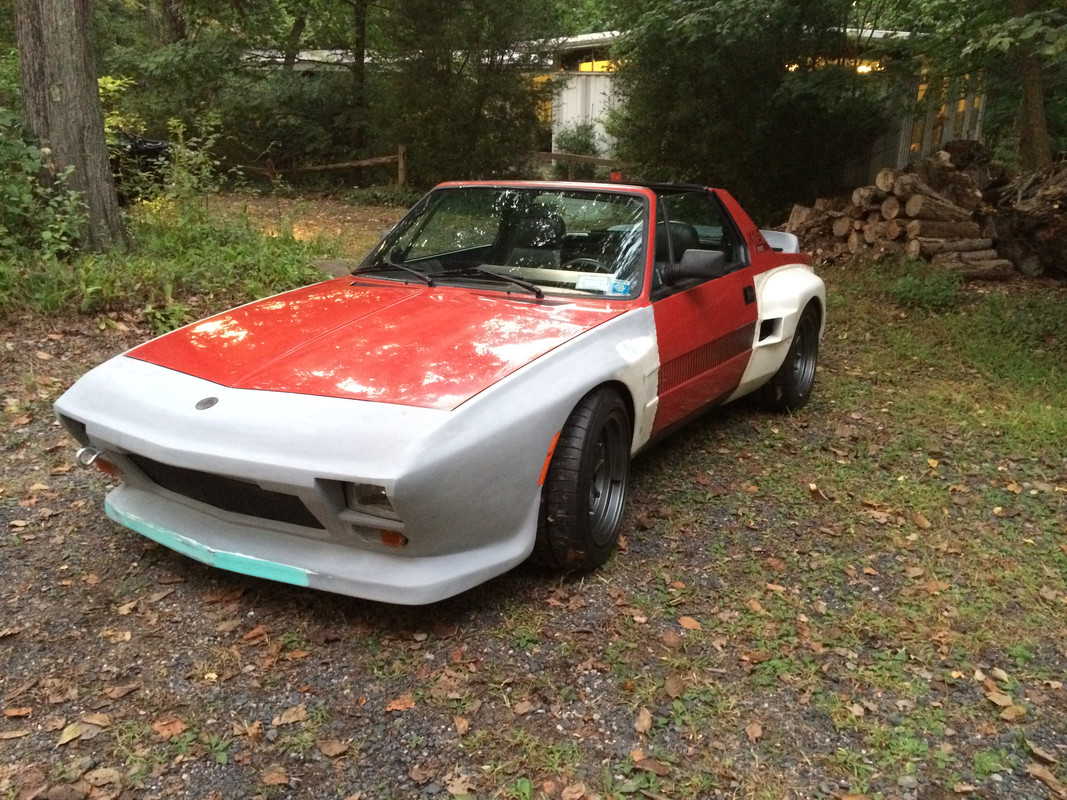
So I really like the rocker cover over the no cover or coke bottle wasp waisted shape.
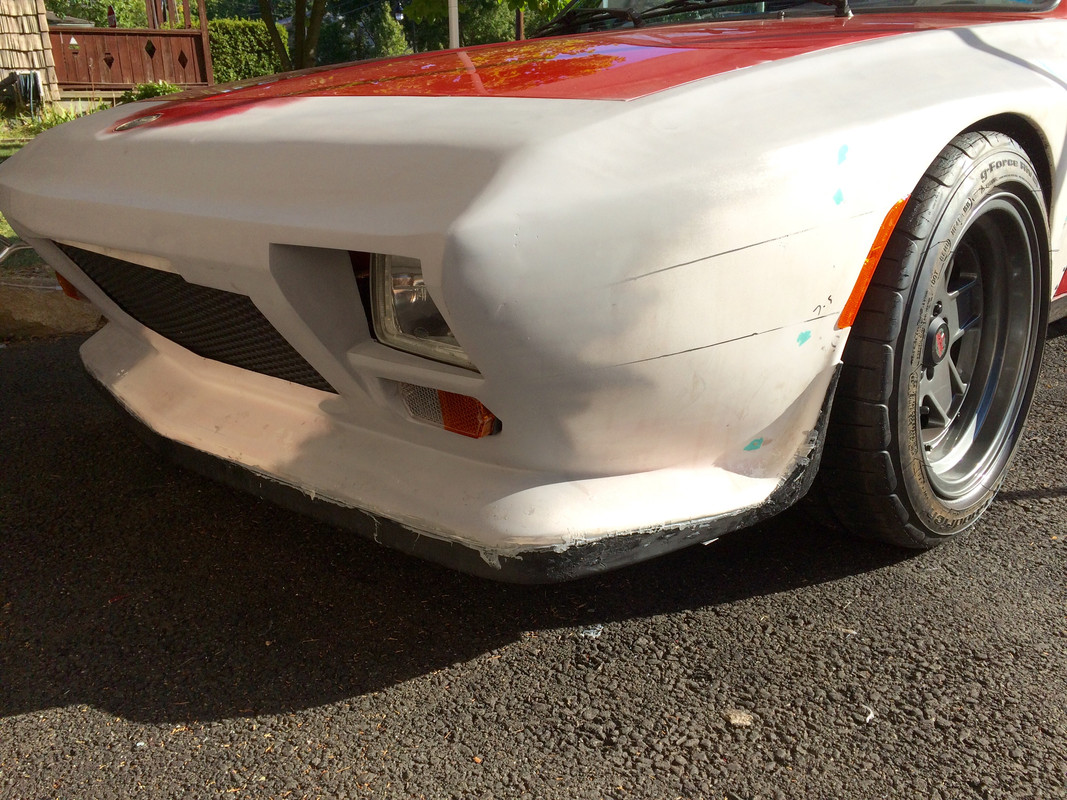
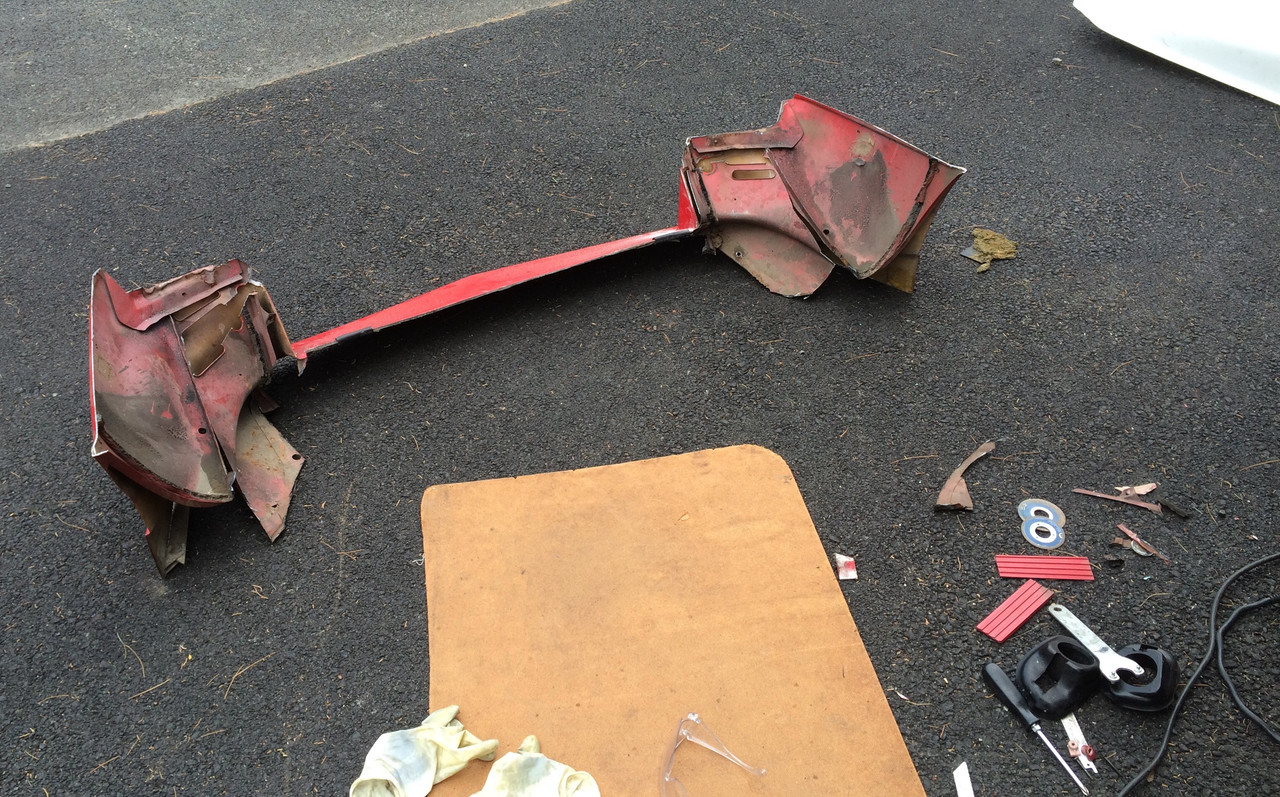
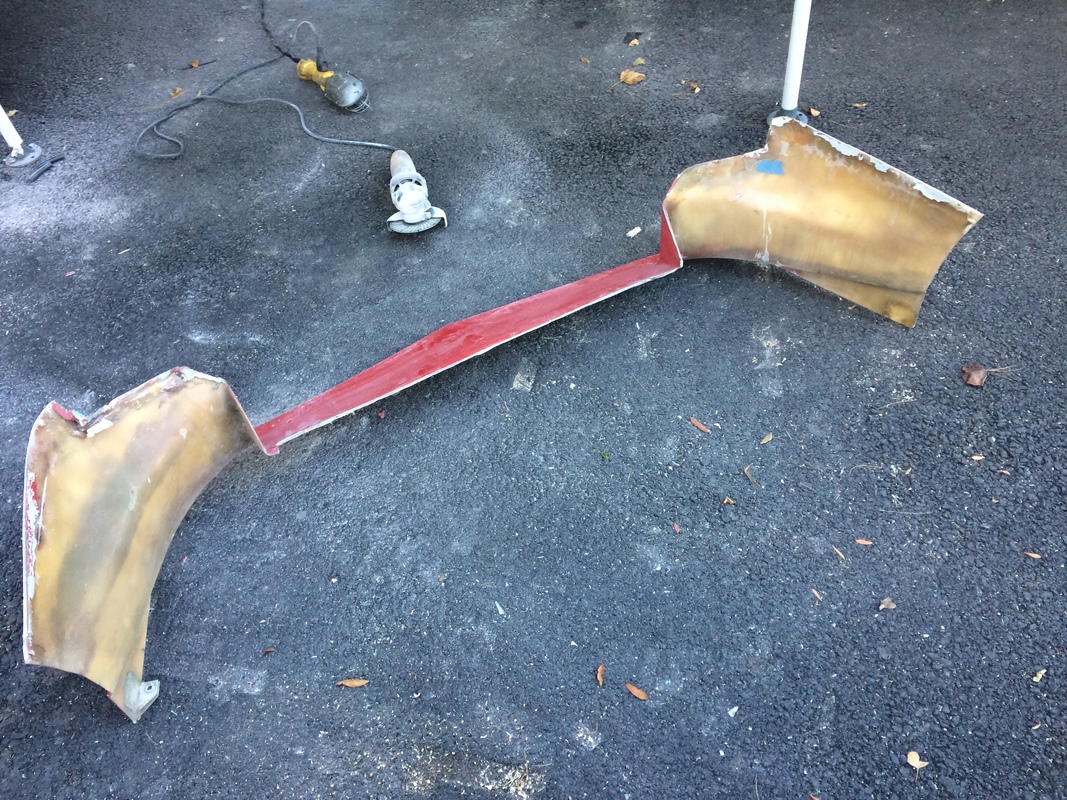
I like the linkage of the front addition to the rear addition. It gives It a hint of 935 Porsche. It grounds the form of the car, clearly referencing the ground. It also references your past treatment of the car with the rocker cover. This one is actually more subtle than your old one and serves to offer better integration to make the car more of a whole.
I think the rocker goes with the manner in which you have dealt with the front spoiler. Both details are more contemporary as compared to the way this kit was originally created.
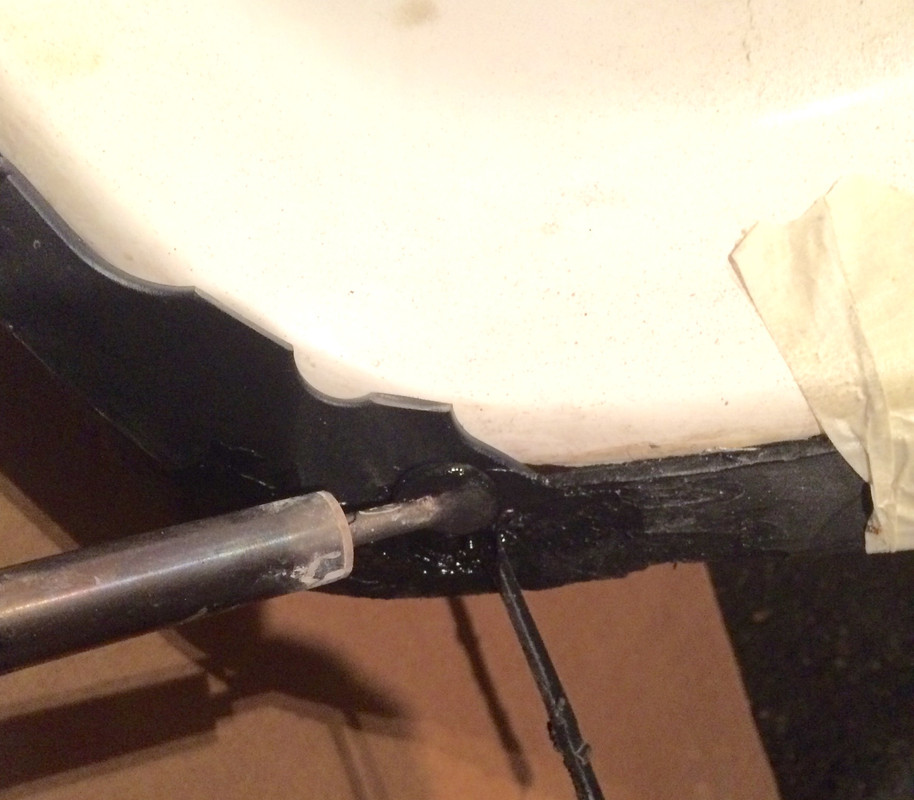
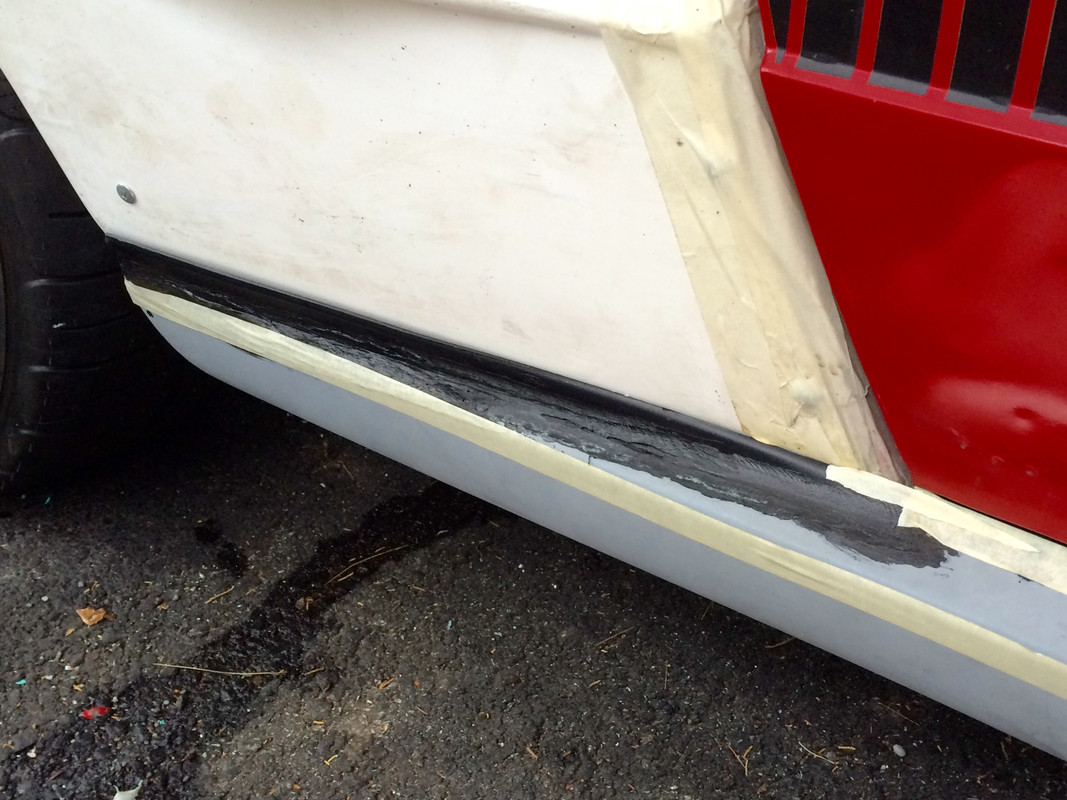
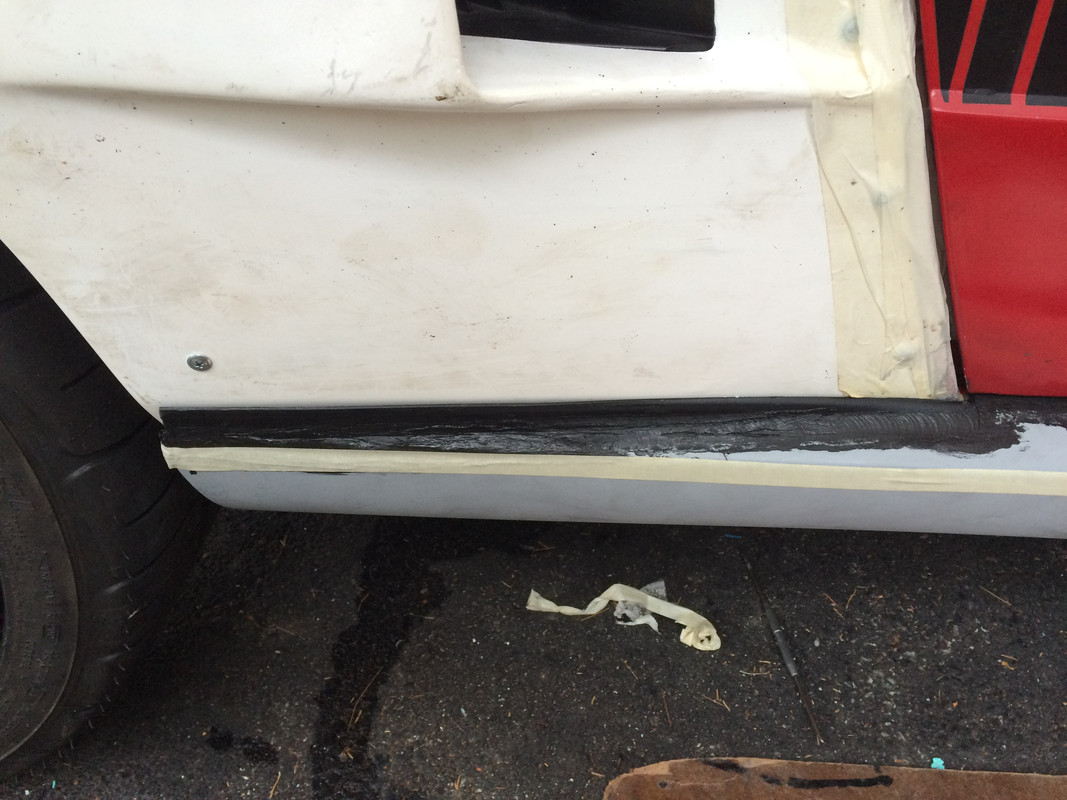
Fixing the bottom of the leading end of the rear flare form is also a significant improvement and one I was hoping you could resolve with the rocker cover. It looks really good done this way.
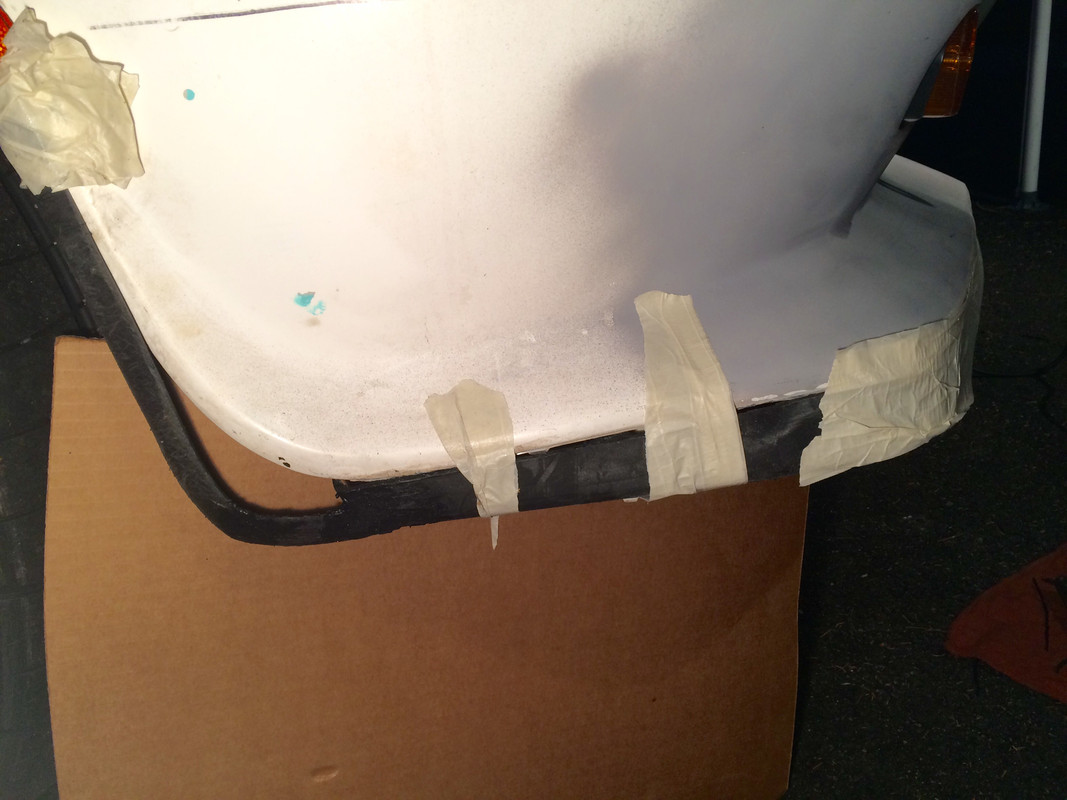
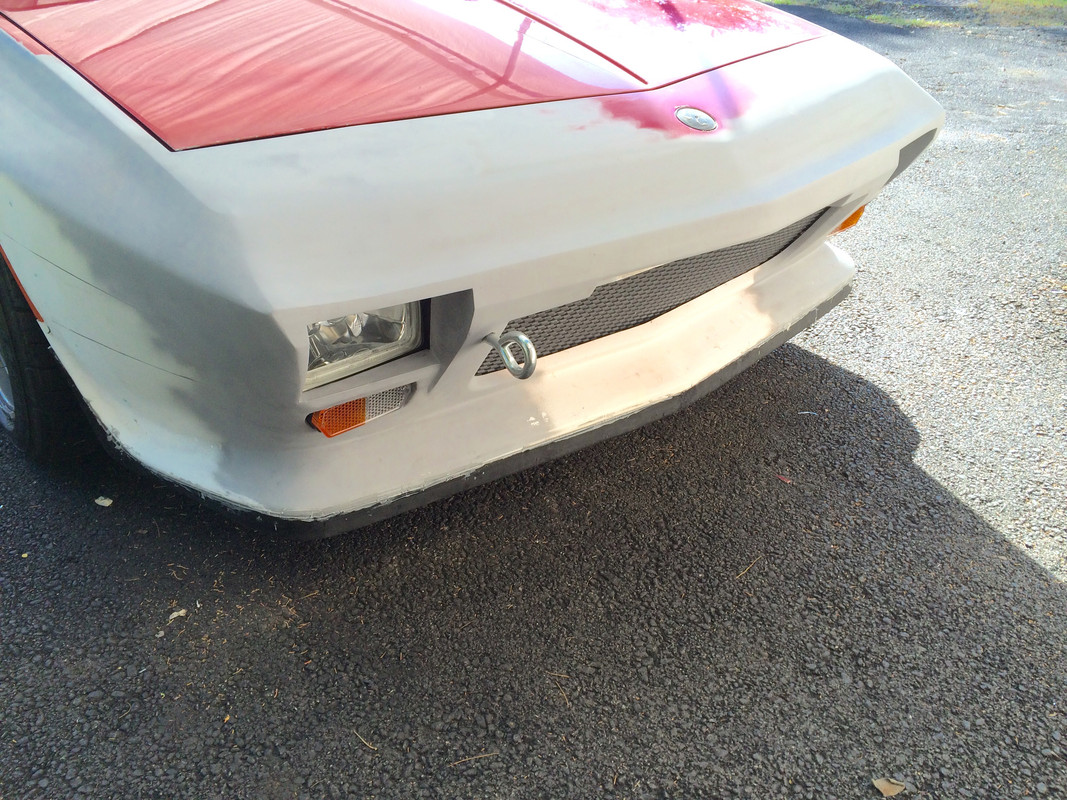
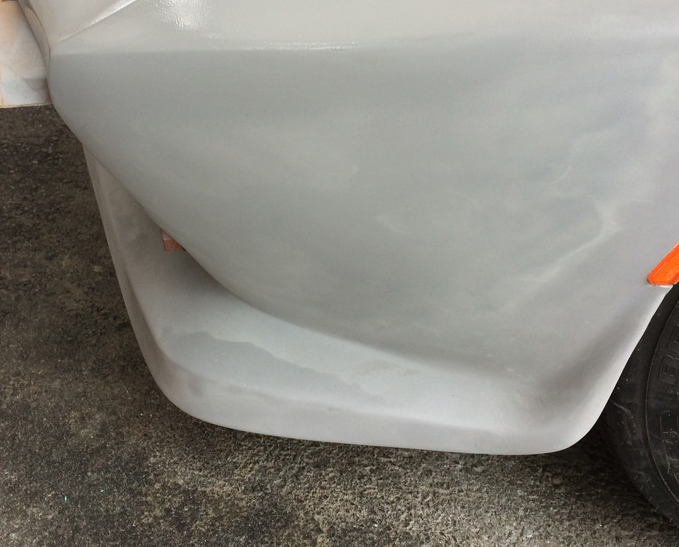
On the front spoiler, the right bottom side forward of the wheel opening, looks like it has a wave in it, is that a camera issue or? The left side doesn't give that appearance.
All in all it looks really good. Great job.


")