As was predicted on ClassicZ - due to 75 having a change that incorporated a bump output for the Cat converter, a beating was in order. Not really happy about pummelling the perfectly good and clean tunnel, so I was gentle at first & used a mallet & block of wood to gently invert the bulge. Problem is that there is a major panel overlap seam in the way, forward of the inner seat belt mount, rearward of the stock rear cross member/seat support. Had to break out the large dead blow to reshape that.

After the "gentle" mallet work

Beating administered. Cleanup & paint to come, on the underside also.Edit - that is glue on the inner forward seat cross member , not Rust

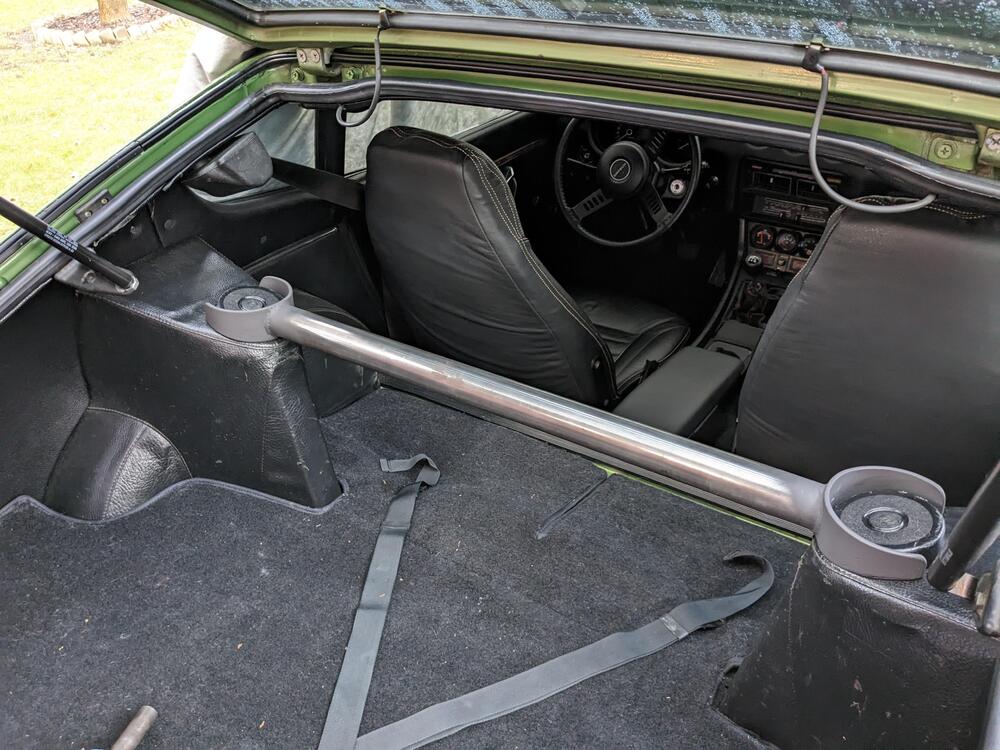
Now the seat can be made level without lifting the sill side

Side note - I guess Nissan wanted to build in the rusting process that was mostly resolved on the outside (compared to classic Z's anyway

Seat cushion controls clear the sill

Inside clearance matches the pas side

Slight problem in that the rail spacing is not even left to right - I have to make a wider rail conversion for this side. Fortunately a 2" I channel will take up the gap.

I don't want to simply cut & offset the bolt down points relative to the rail.


www.facebook.com


")