Selling the X & Bought an 75 Datsun 280Z

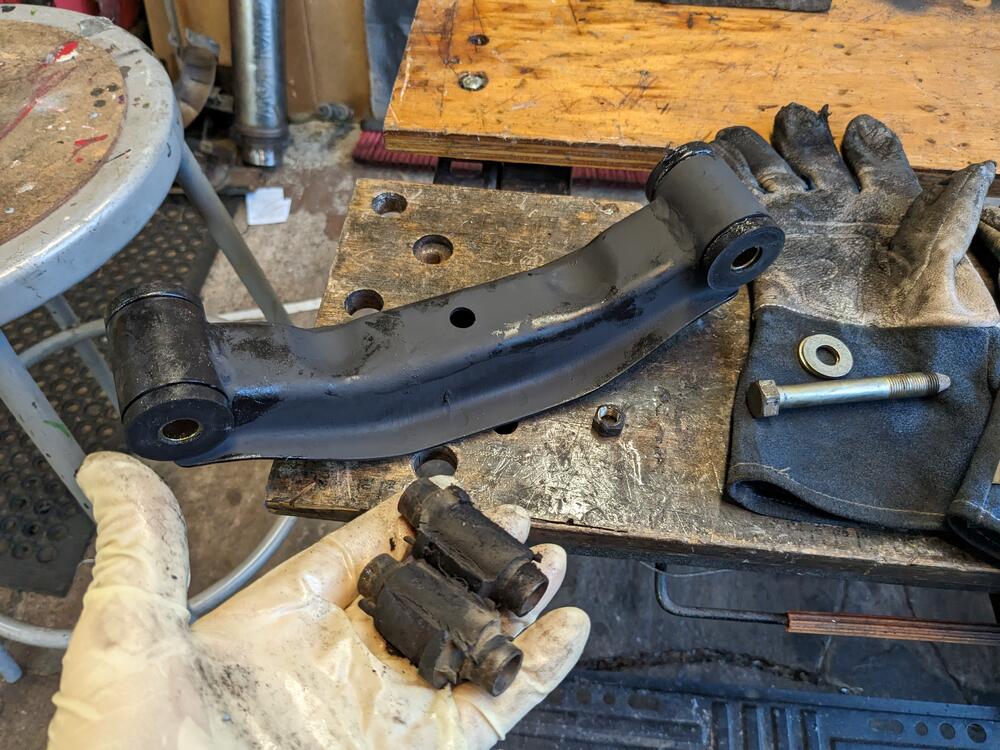
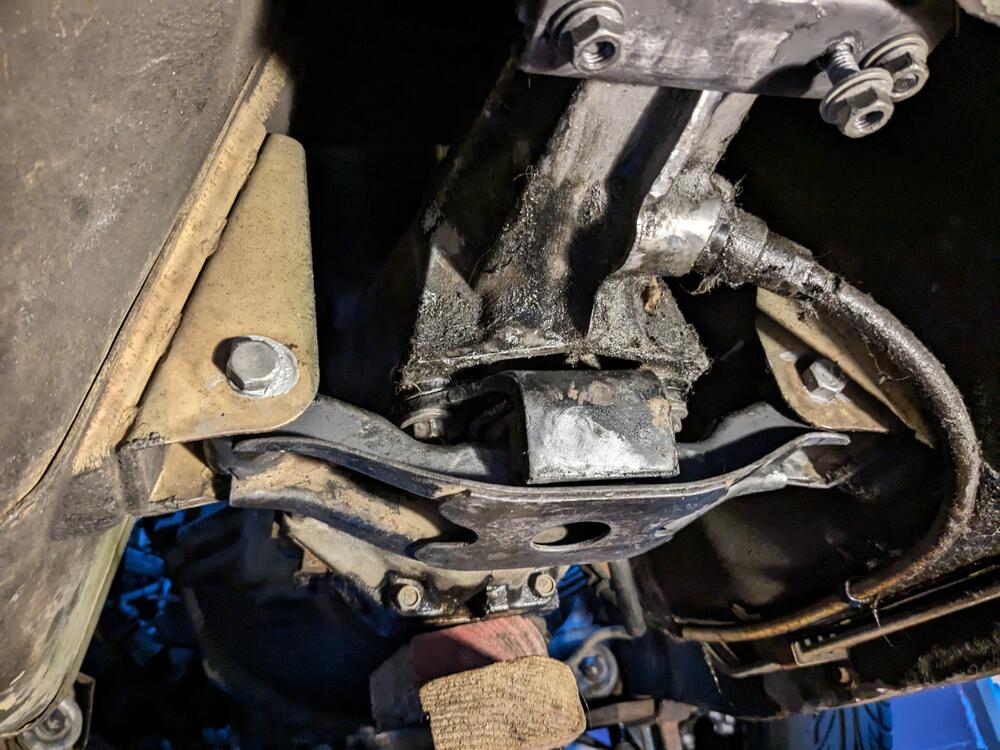
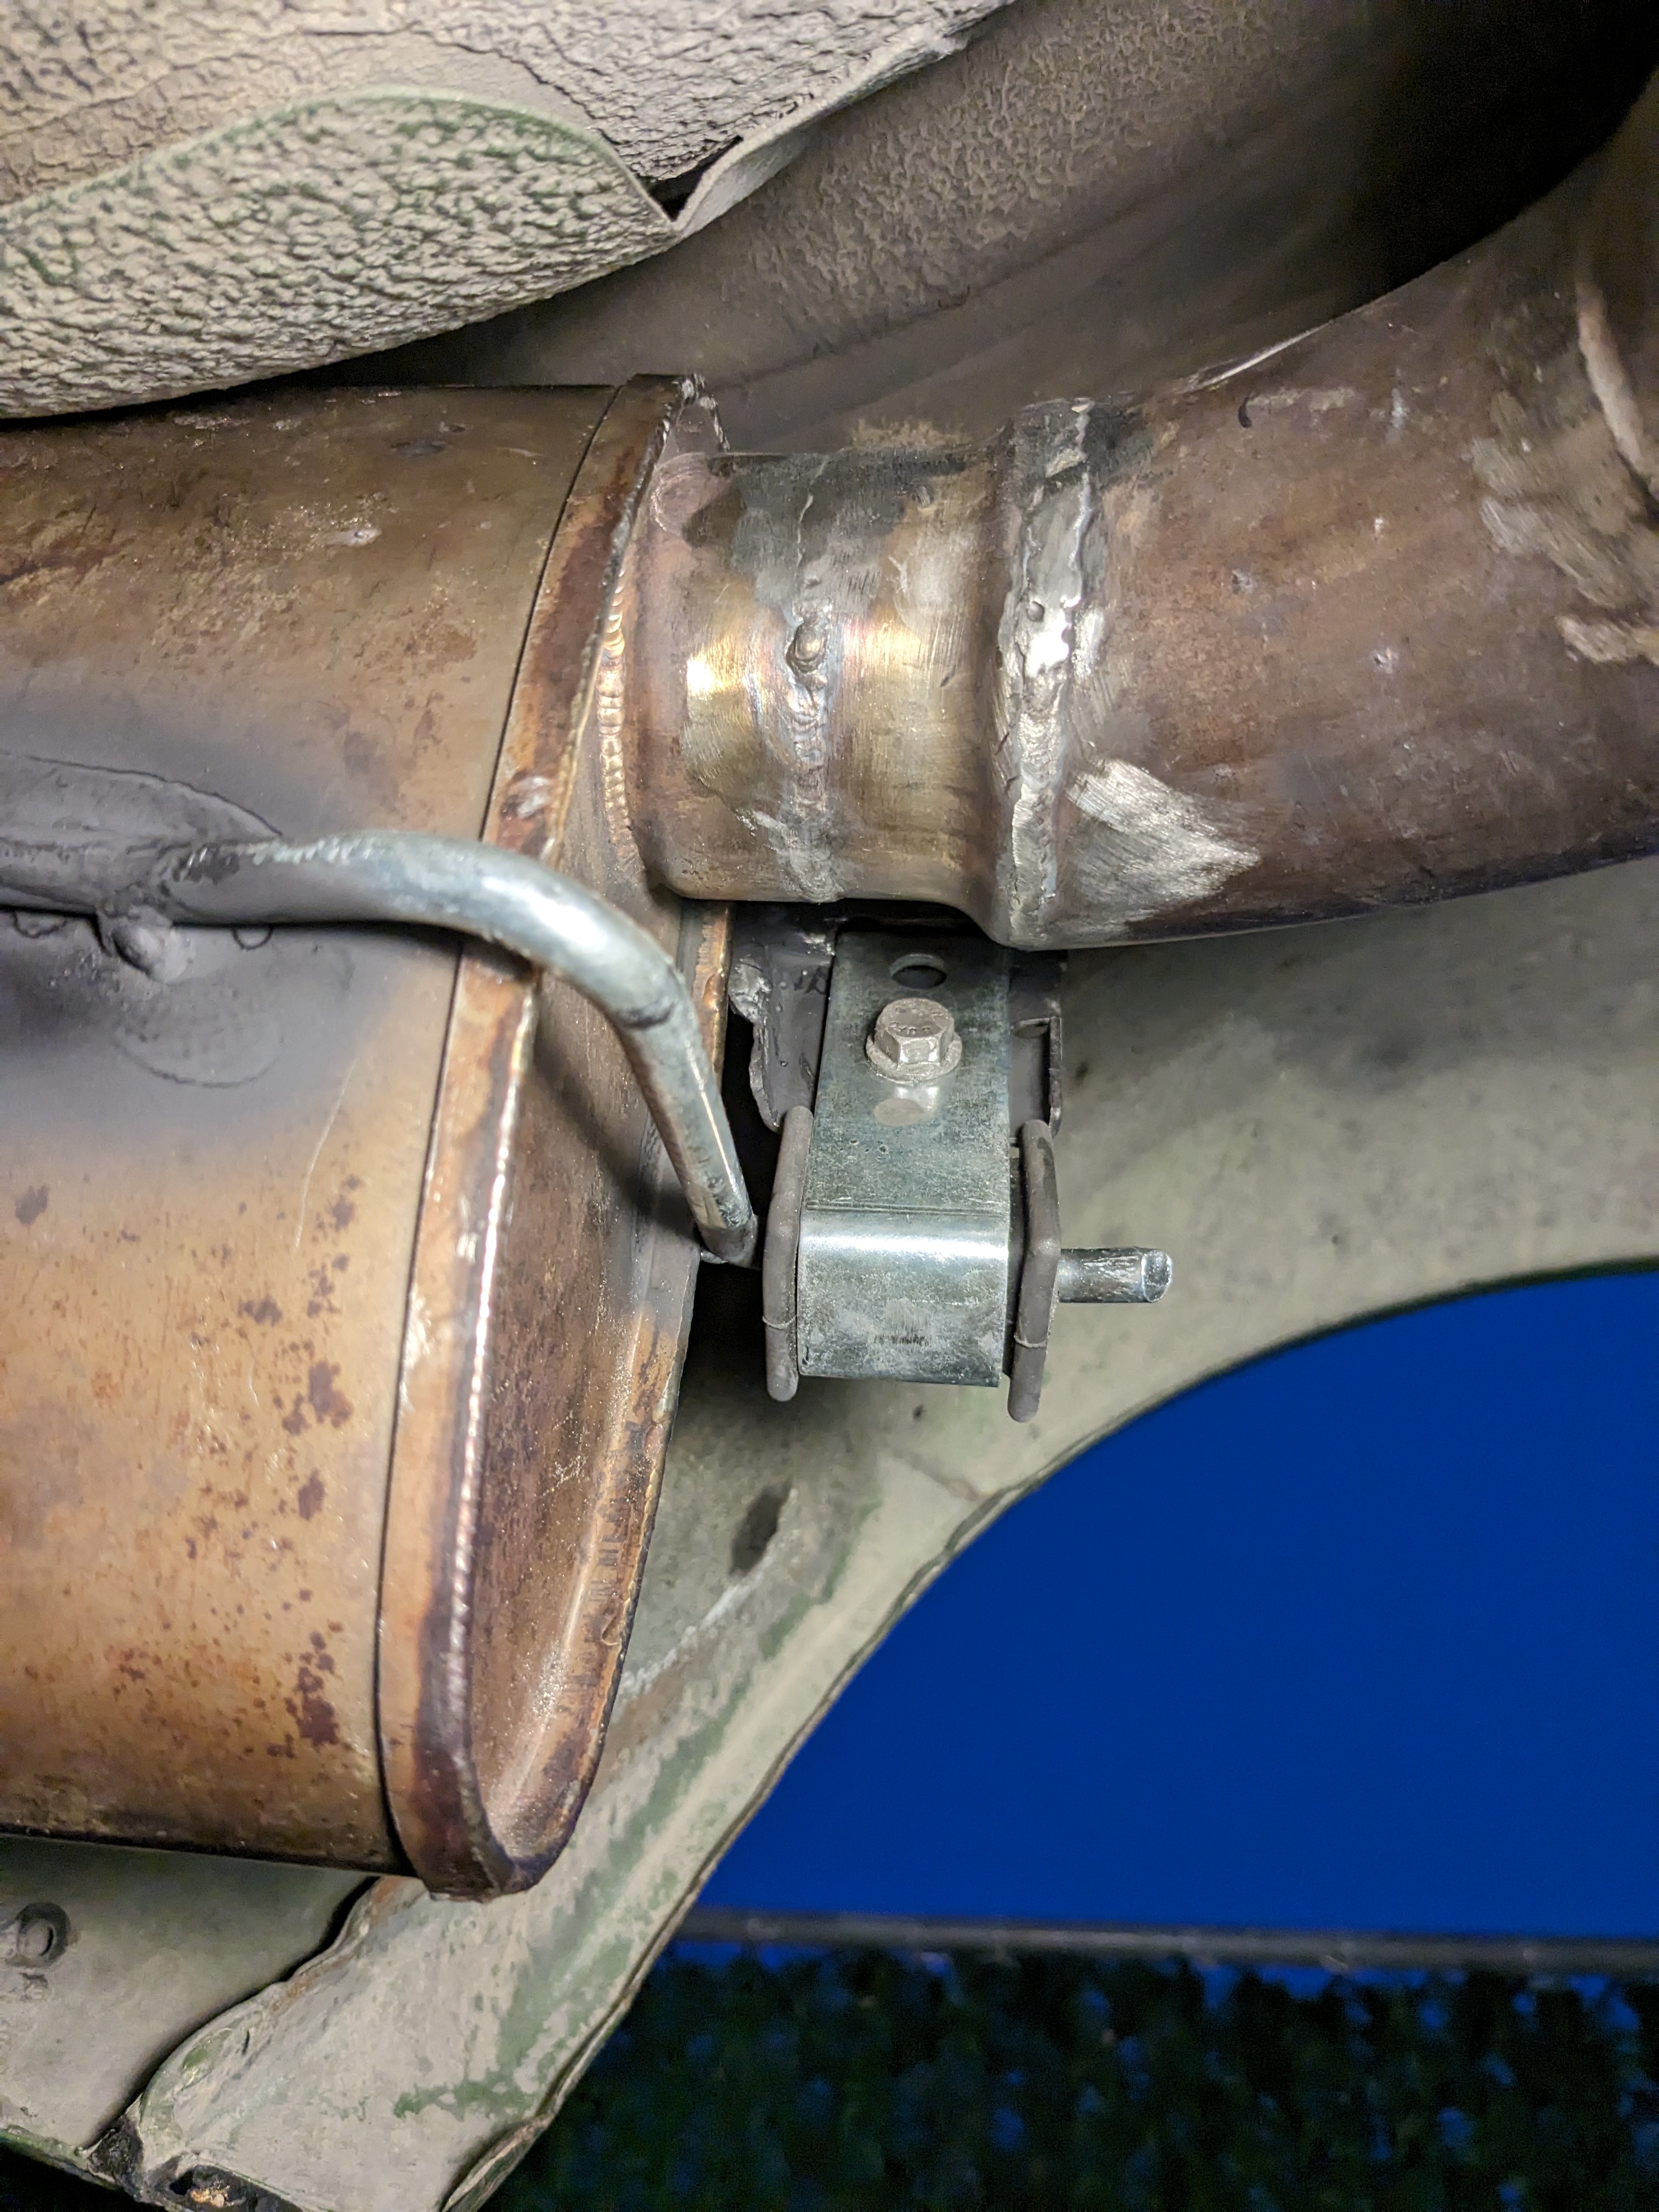
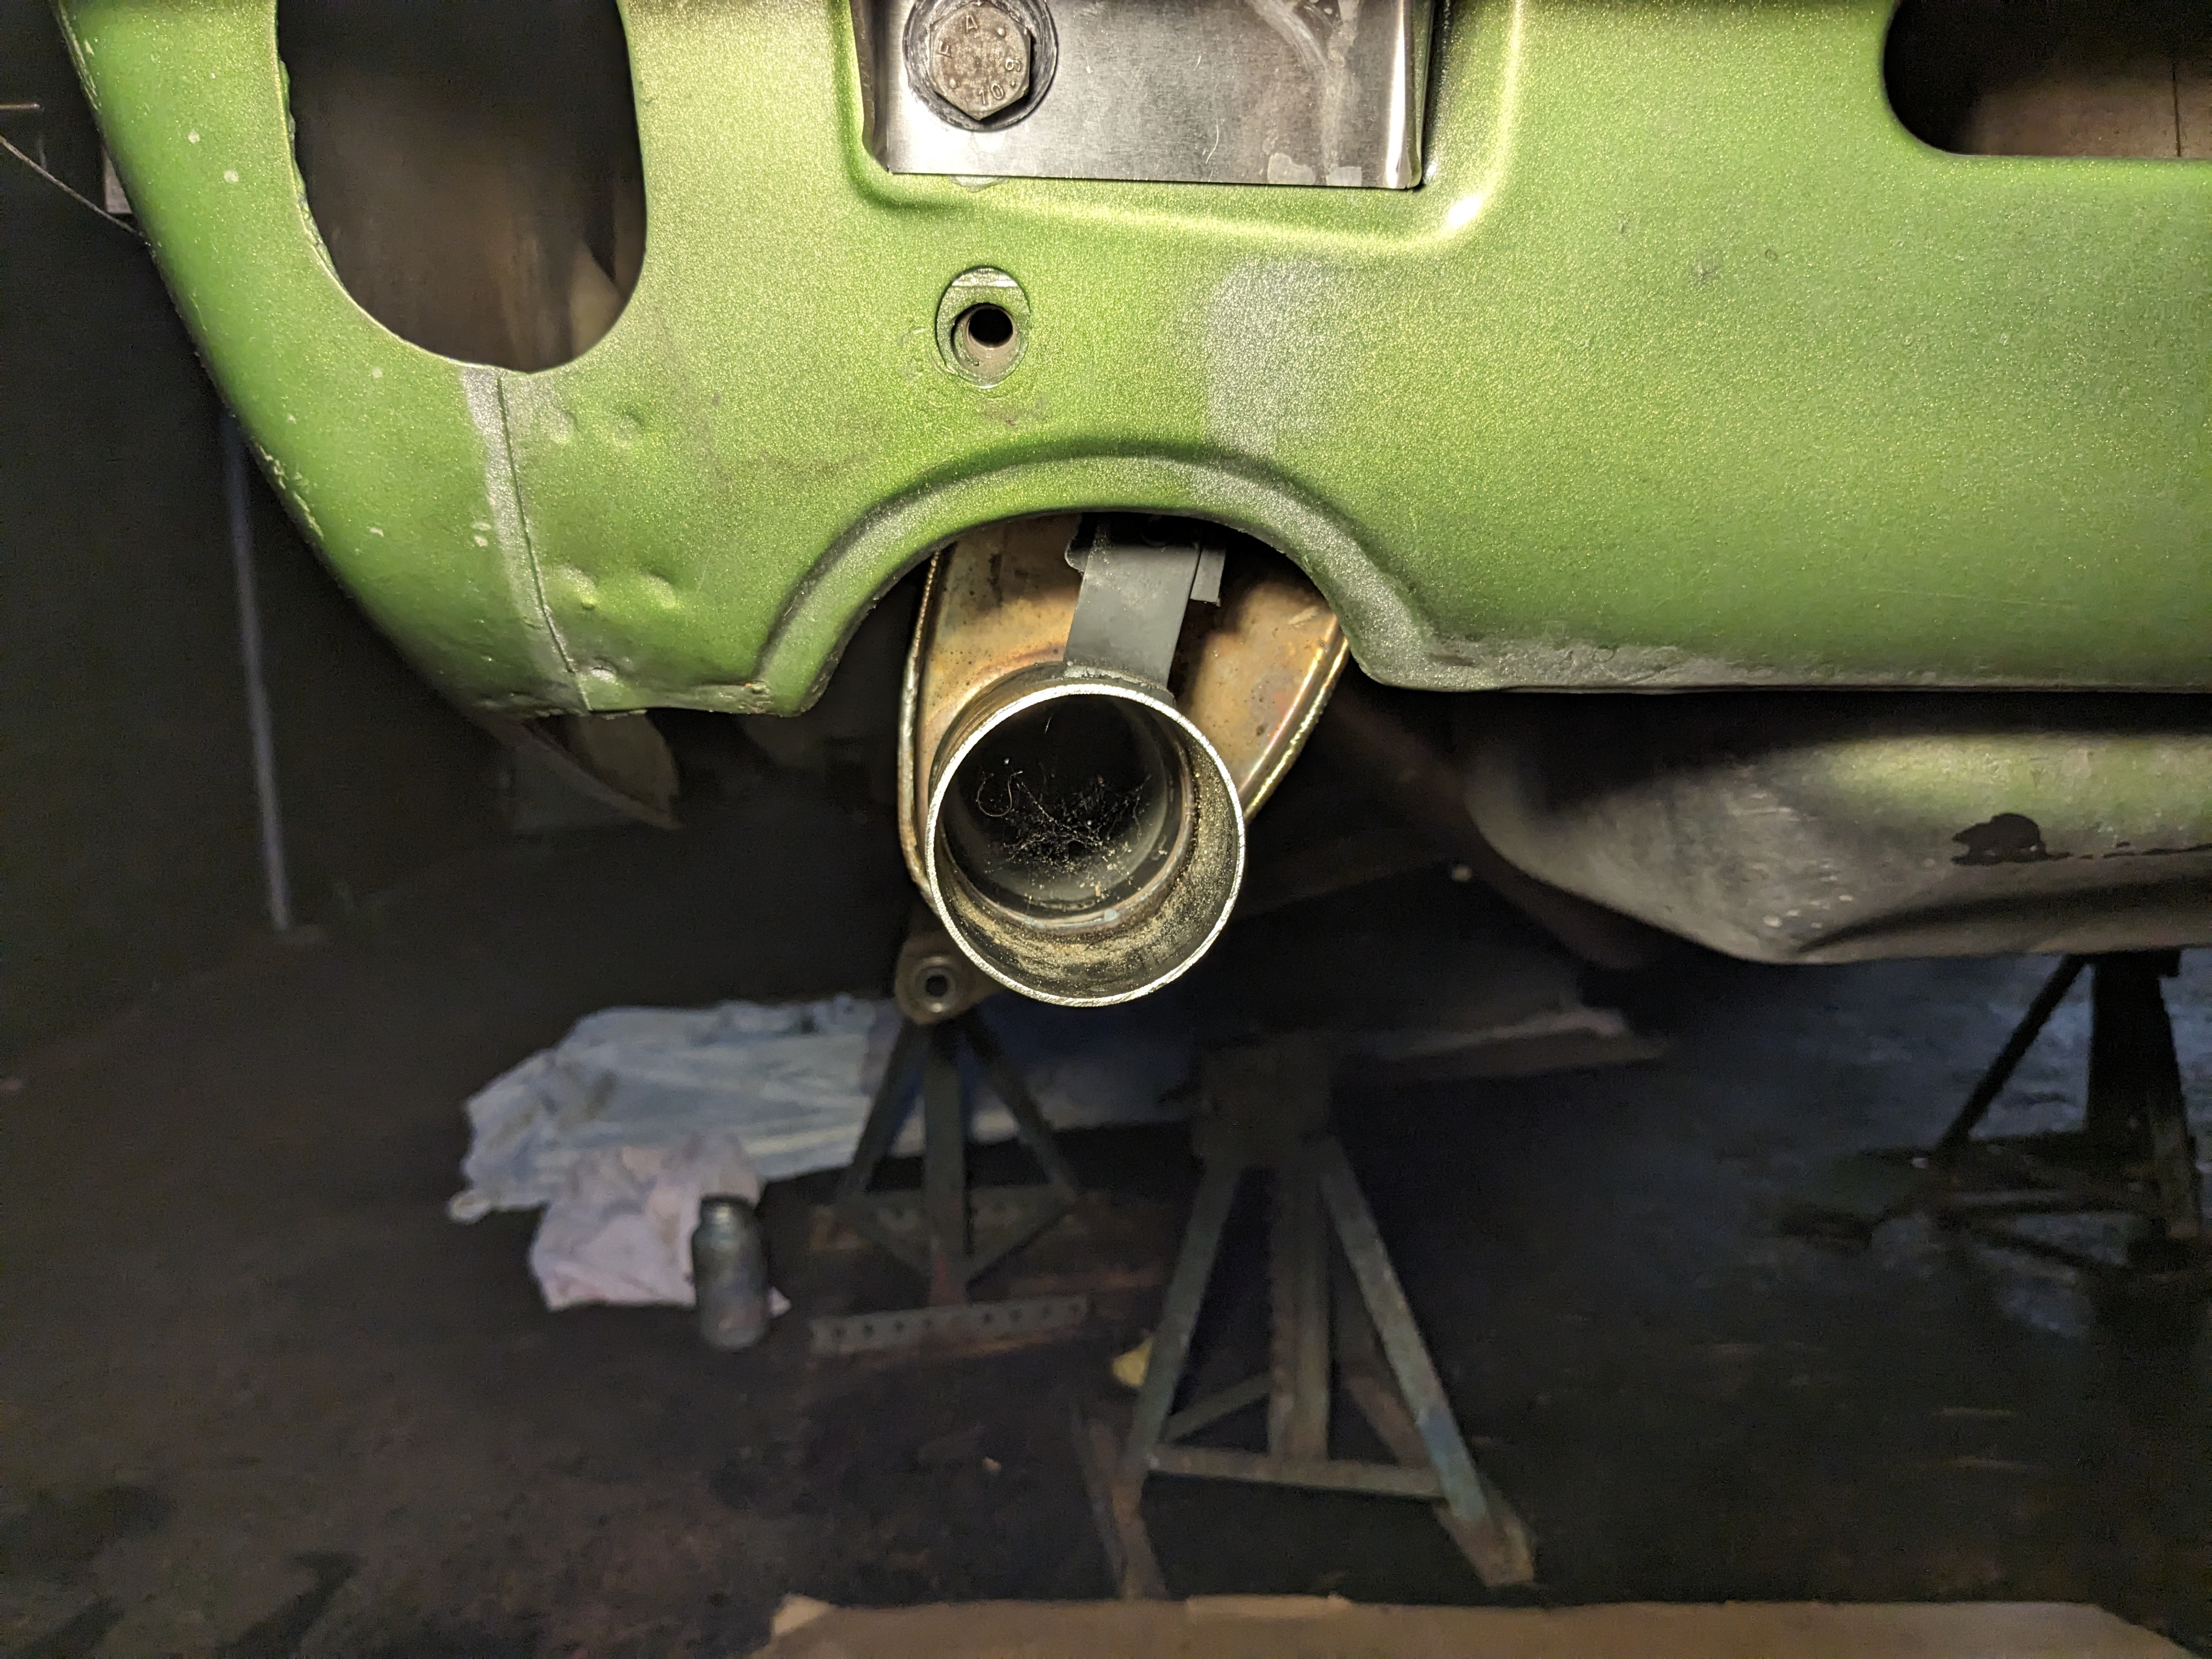
Took the rear struts & hubs apart after doing the Fuel pump setup. Removed the drum brake back plates that are no longer needed.

PXL_20230708_192527006.jpg

cut down the nub of the spindle, to make sure the Z31 CV cap doesn't hit

PXL_20230708_192543087.jpg

removed the (too short) wheel studs & cleaned the outer flanges

PXL_20230708_202439021.jpg

Still not happy with not having a hub seat for the wheels

PXL_20230708_202447822.jpg

I may weld on a sleeve (cut from a Volvo), that will allow me to use a hub centric ring (65.1 - 73.1) to set the Konig wheels. Have to have the nubs turned down in that case, to get a good seat for welding

PXL_20230708_202458294.jpg
 
I bought the Z31 (300ZXT) axles that go with the Silvermine flanges - Trackmotive brand off RockAuto.

What I don't like is that the existing flange doesn't sit in all the way, so there is about 8mm lost in terms of overall depth for the new axle, which as we know is longer than stock. The other factor is the one others mention, that Nissan didn't bother making the flange concentric with the hub/axle, so that has to be addressed.

The way the plates are supplied, they are supposed to be welded in to the recess provided, but since the stock flange isn't hub-centric a jig of some kind is required to center the weld flange to the hub.

What I'm thinking of doing is removing the inner flange & having the hub shaft turned with a 4mm shoulder for the new CV flange to seat on, so I can get the flange surface back to stock depth. That should prevent the CV from bottoming out & binding, I hope.

stock flange

PXL_20230709_171810255.jpg

6mm thick

PXL_20230709_172105819.jpg

new flange is 12mm

PXL_20230709_172115802.jpg

Old flange only sits 4mm into recess

PXL_20230709_171822755.jpg

other side recess for CV cup is 4mm

PXL_20230709_172204434.jpg


PXL_20230709_171846067.jpg

PXL_20230709_172024902.jpg

PXL_20230710_004158875.jpg
 
Last edited:
Modified the vintage aftermarket wheel to fit. Cut the hub from the original worn out wheel. The advantage of this is that it will sit further away from me. With my height, the stock wheel is too close to me when the seat is correctly placed for clutch pedal operation. This wheel is shallower.
PXL_20230712_171210623.jpg


PXL_20230712_181001796.jpg


welded after this - forgot to take pics
PXL_20230712_181001796~2.jpg


PXL_20230712_181007040.jpg

added JB weld to fill the (minor) gapage on the front side
PXL_20230712_193507863.jpg
 
Last edited:
Hope you are confident in your welds :)

I know, right?? I've never done this before, however I researched some, and it's been done by others. I made sure I got good penetration on the spokes, and welded the edges up to the cast aluminum hub as well, I confident it will be fine.
 
Degreased, then soaked the rear tube/hubs in acid, then cleaned up & treated them with rust convertor. I'll paint them tomorrow.

PXL_20230713_161612064.jpg


Finished the steering wheel. sanded the epoxy, primed & painted
PXL_20230713_161603988.jpg


PXL_20230713_161609269.jpg

PXL_20230713_161603988-2.jpg

reinstalled the horn contacts & pad retaining ring
PXL_20230713_163053805.jpg


Back in the car
PXL_20230713_182717506.jpg
 
Last edited:
Since I had to cut off the exhaust to deal with all the rear suspension work, I decided to put together a 3" SS rear section, starting after the existing cat, then going to a 2.5" Stainless Works rear muffler (ran it on my X1/9 K24 swap for a few months). The 3" SS exhaust I put together from a exhaust I had made years ago for my Volvo C30, before I converted it to AWD & had to make it all over again.

Forgot to take pic before I cut it up - this is what it was

spacer.png


Eyeball the general placement, then cut, & tape together to check clearance off the forward crossmember and lower control pivot & diff casing

PXL_20230713_195918745.jpg

tack welded, then recheck fit

PXL_20230713_201458471.jpg

PXL_20230713_201507645.jpg

PXL_20230713_201516333.jpg

I'll be adding a 3" - 2.5" step from this into the muffler

PXL_20230713_201525052.jpg

looks pretty good

PXL_20230713_212318967.jpg

step down & dogleg to attach to existing exhaust/cat. I'll rework the entire exhaust forward of the 2 bolt 3" flange when I do the VQ35DE

PXL_20230713_212308584.jpg

2"-2.5", 2.5"-3", dogleg, 3" 2 bolt flange
PXL_20230713_213052622.jpg
 
Last edited:
Where I had good butt-joins, the welds are clean (enough, I'm not a professional). Where there was discrepancy/offset, so so much.

PXL_20230714_161209422.jpg

PXL_20230714_161137326.jpg

More work on the exhaust today. Got all the tacked seams welded, and figured out the muffler placement

PXL_20230714_213739907.jpg

PXL_20230714_213748009.jpg

PXL_20230714_213900387.jpg

cut down the 3"-2.5" step for the available spacing

PXL_20230714_213848167.jpg

have to figure out the hanger here, have to make sure it pulls it slightly away from the spare well

PXL_20230714_213852217.MP.jpg

like this maybe

PXL_20230714_213836607.jpg

or here, to push it away from the spare well. There is a hole in each corner of the gas tank, I could use this one, and add a smaller outward placed one to locate the strap from potential rotation

PXL_20230714_214238217.jpg

maybe one set here

PXL_20230714_213813409.jpg
 
Last edited:
Got the stub axles & flanges back from the machine shop. Now I (just) have to weld everything.

Hubcentric flange for locating the wheel

PXL_20230714_190048674.jpg

PXL_20230714_190055578.jpg

Inner flanges modded to accept the Silvermine flanges (also modified to be centric). Collar is to increase the weld surface area

PXL_20230714_190123084.jpg

Will be like this. Total depth to inner surface is 29mm, same as stock. 4mm inset for CV cap, which I will remove if the stub axle depth becomes an issue

PXL_20230714_190141593.jpg
 
For the muffler mount I would tend toward the rubber loop type fitted to modern cars if you need to apply ‘pull’ pressure. The larger bearing area of a formed hook will work better in this instance. I recall you doing so with the X at one point. The car side mount would need to be designed so it won’t just rotate on the pin of the existing stud.
have to figure out the hanger here, have to make sure it pulls it slightly away from the spare well
like this maybe

PXL_20230714_213836607.jpg

or here, to push it away from the spare well. There is a hole in each corner of the gas tank, I could use this one, and add a smaller outward placed one to locate the strap from potential rotation


maybe one set here
 
For the muffler mount I would tend toward the rubber loop type fitted to modern cars if you need to apply ‘pull’ pressure. The larger bearing area of a formed hook will work better in this instance. I recall you doing so with the X at one point. The car side mount would need to be designed so it won’t just rotate on the pin of the existing stud.

Yes, to that end I made a bracket (from a Volvo dash support) to utilize the stock hanger point at the front end of the muffler. I didn't want to use the softer Volvo hangers, as there is very little clearance off the spare well

PXL_20230716_001838695.jpg

PXL_20230715_190053816.jpg

reinforced to make sure it can't flex. The lip at the top tucks over the frame bracket

PXL_20230715_190056841.jpg

PXL_20230715_190058634.jpg

muffler hanger attachment

PXL_20230715_190145506.jpg

in place. Drilled an inboard hole in the stock welded bracket to positively locate the new bracket.

PXL_20230715_192055239.jpg

With that figured out, I tack welded the hanger to the muffler

PXL_20230715_192136048.jpg

Removed & finished the seam welds for the muffler inlet & tailpipe section. Just have to weld on the Redtail exhaust tip when it gets here.

PXL_20230715_215500108.jpg
 
Removed the front pipe. One of the Datsun guys on Turbobricks said the 2-1 junction is a severe choke point.

His solution was to make a new 2-1 section in 2" pipe
171783755.Zcv5RnmJ.jpg


I can't weld something like that, Dealing with welding those to the flange, and the collector are extremely awkward, from my experience with the first header on the K24, I'm not willing to risk it.

Stock front pipe.
PXL_20230716_135114152.jpg

PXL_20230716_135114152~2.jpg

Flange. Making 2" pipes fit the flange would be tricky. I thought about using a 1 7/8" holesaw to get it close, then grinder to get the rest. I don't have a spare DP, so just not worth it.
PXL_20230716_135047983.jpg


taper point, only about 1.5" ID in there
PXL_20230716_164308925.jpg


So, I cut off the upper section of the DP where it's approx 3" wide & modded another section of my old C30 3" exhaust to fit. after a bunch of back & forth, I tacked it here. To minimize the reduction in the stock collector I cut it so there is only about 1/8" tuck.
original_0b0e7549-c6e3-43c4-a8fe-b2baa33d02be_PXL_20230716_164325253~2.jpg

PXL_20230716_164325253.jpg


test fit - clears the heat shield (next to my finger) by the same amount as the stock pipe - just looks like there's no clearance
PXL_20230716_174510069~2.jpg

PXL_20230716_174510069.jpg

PXL_20230716_174517447.jpg


It was raining at this point, so I took it down & seam welded the joint. But.. it moved, so I had to cut the pipe & add a pie cut (to be welded later) to get the pipe pointed where it needed to go
PXL_20230716_181550594.jpg

PXL_20230716_181538730.jpg

PXL_20230716_181232322.jpg

PXL_20230716_181614935.jpg
 
Got the rest of the front section figured out. No room for the 3" resonator though.

Added a dogleg to get good alignment with the rest of the front section

PXL_20230718_205312053.jpg

PXL_20230718_205320180.jpg

added a straight section off that, into a 3" cat, then another 10" section into the mid connection

PXL_20230719_003210844.jpg

good clearance all around

PXL_20230718_235038419.jpg

PXL_20230718_235018655.jpg

fitted the cat behind that

PXL_20230718_234949870.jpg

10" section between cat & dogleg into 3" flange

PXL_20230718_234935585.jpg

removed again to tack rear mid section

PXL_20230718_232709091.jpg

re-installed one more time to figure out the hanger off the transmission case, then removed. Now I have to seam weld all the junctions

PXL_20230719_002803208.jpg

PXL_20230719_002757023.jpg
 
Welded up all the seams, took almost 4 hours(!)
After that, I had to reinstall it to figure out the center mount.
PXL_20230719_202301526.thumb.jpg.e7d60b0e9e4c51dbfc20865a5fd852d1.jpg

I decided to make one that used the stock mounting points
PXL_20230719_202846110.thumb.jpg.1f6ec83890083b63540efb6bd295ec61.jpg

PXL_20230719_202301526.jpg
PXL_20230719_204843798.thumb.jpg.7e4f5260c823f47dc843b592372015ff.jpg

Once I had that figured out, I tacked it in place & then removed the entire exhaust to finish the mount welds for this & the rear muffler hanger
PXL_20230719_212101768.jpg.7ffdd233ef2dc730ed679f3dd99c20aa.jpg


Archie was hanging around me much of the day
PXL_20230719_205835951.jpg.fd21d16709863307517b0c9d48bd3a87.jpg

PXL_20230719_212933075.thumb.jpg.bc4170e570a2b51a3825054f294acf35.jpg

PXL_20230719_224014439.thumb.jpg.87e03f139cf9c376d8b006a813551857.jpg

I had forgotten about the trans mount / carrier bushings, so I did those now
PXL_20230720_000409835.thumb.jpg.2f385cf56e1108c0d3574adc0bbc006c.jpg

PXL_20230720_000409835.jpg
PXL_20230720_002941095.thumb.jpg.c6b99e51d92c725d5240c0a7f9f29923.jpg


put the exhaust back in (hopefully for the last time)
clearances still good
PXL_20230719_212134180_MP.thumb.jpg.e250e0d842c5851a612db2d43408e96e.jpg

PXL_20230719_212134180.MP.jpg
PXL_20230719_212155689.jpg.b5da052fc96ad86a4bc130647a23bb92.jpg

PXL_20230720_005341585.thumb.jpg.cb2d643a365c1584261c5a4d9aec76e4.jpg

Hangers
PXL_20230720_005256149.thumb.jpg.821b846baeb72187cb83d00c005f8bd2.jpg

PXL_20230720_005256149.jpg
PXL_20230720_005311535.jpg.5193b7aabd34f45c17e868a8576a196e.jpg


PXL_20230720_005311535.jpg
PXL_20230720_005240868.jpg.2c575fe4e0a412b0017d605e0d9c6528.jpg


Still waiting for the Redtail Performance tailpipe 😞
 
I watch your progress often on this thread, but did I miss something? Did you actually decide to part with the X, or is it staying in the stable?
 
Back
Top