Selling the X & Bought an 75 Datsun 280Z

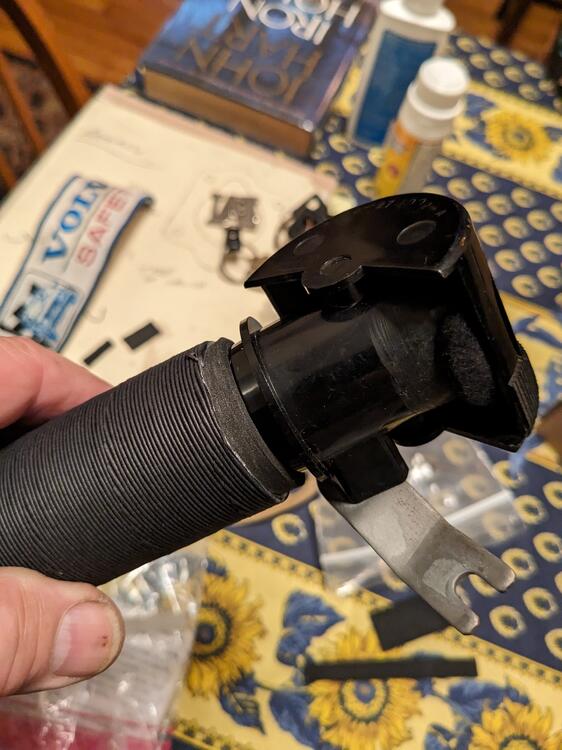
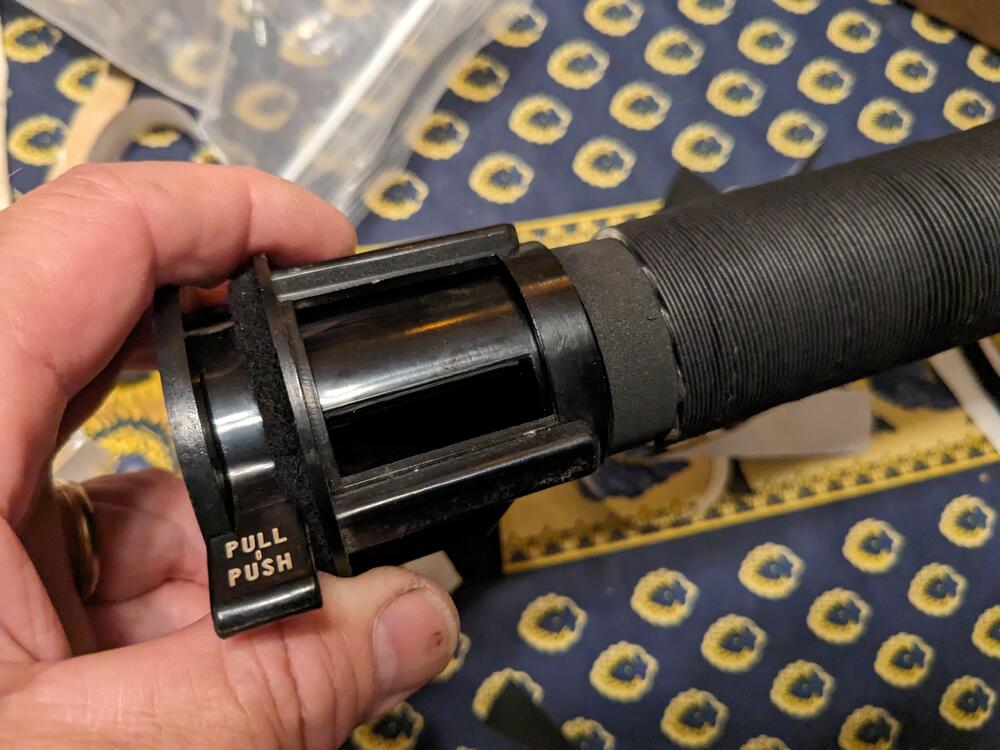
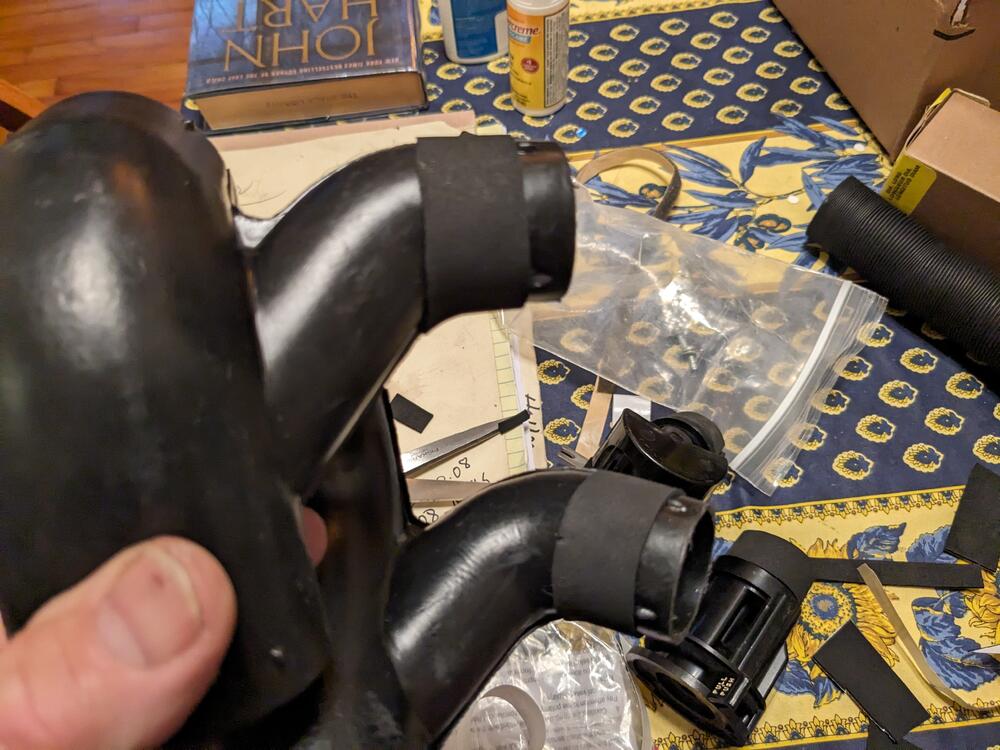
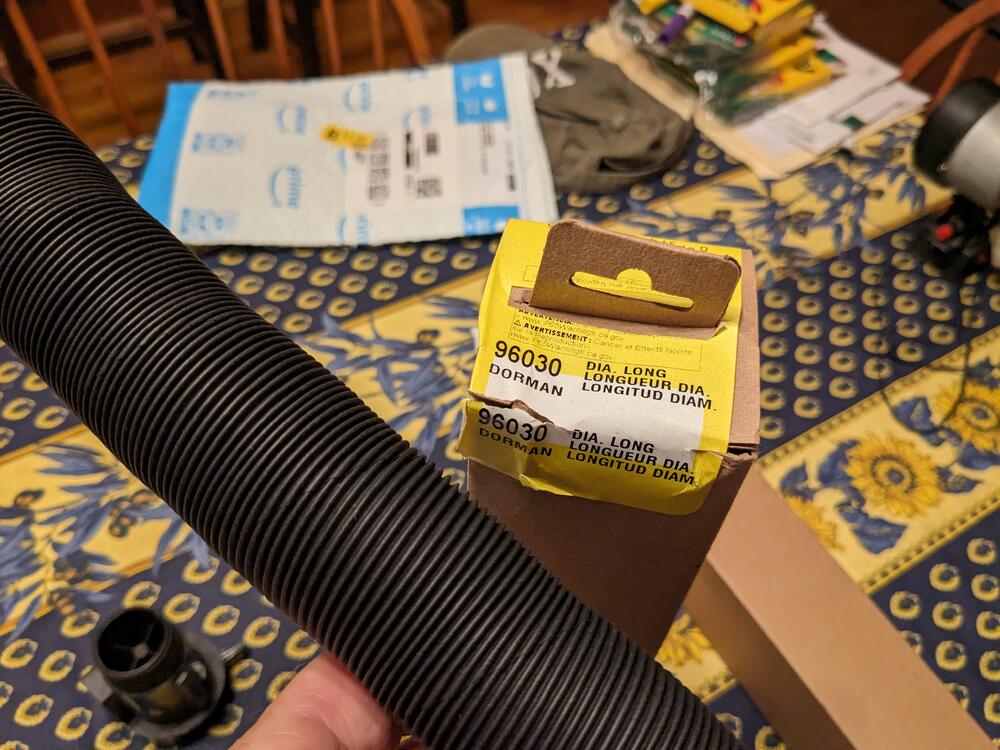
Dorman 96030 works for the lower vents. Had to add a thin layer of foam to make it snug - 1/8" on DS vent, 1/16" on other 3 fittings

PXL_20230924_213503283.jpg

PXL_20230924_214042247.jpg

PXL_20230924_214436239.jpg

PXL_20230924_214728265.jpg

Back to the duct work. Had to do this before the steering wheel & glovebox got back in.

This is the diagram I found for the AC ducts
PXL_20230917_015446334.thumb.jpg.abaf84bf692ef434d2a110cd4b99d2a2.jpg


Driver's side doesn't match the vent I bought listed as being the driver's side, and no way the I bought will work on the DS. The one I bought listed as pass side is correct for the DS - I found two captive nuts set into the over steering column section of the dash frame. The duct is significantly shorter than the illustration, which threw me off while I was trying to figure out where either duct could fit.
PXL_20231013_205845947.MP.jpg


PXL_20231013_210037456.jpg


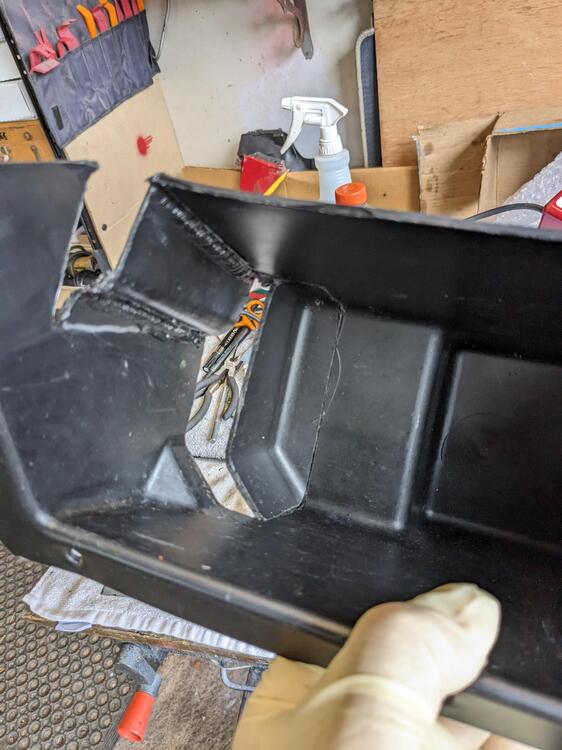
pass side ducts. I will have to mod the glovebox, as the AC duct sits into the glovebox area, due to the offset of the non-factory evaporator box width

PXL_20231013_210948949.jpg

PXL_20231013_211040950.jpg

Trying to fit the vertical port on the right - just not going to work so I need to locate another horizontal vent

PXL_20231013_211022201.jpg


PXL_20231013_211027314.jpg

bracket the the vent is supposed to attach to
PXL_20231013_211201691-2.jpg


found a pic online of what the right side bracket for the vent should look like
Screenshot 2023-10-13 at 8.31.49 PM.png
 
So, several Datsun members (link to one post) pointed out that it is pretty common for the system to lean out with aging of the components, and the most practical way to address this is with a potentiometer in series with the ECT. Seems odd to me that this has come up all of a sudden after the work I've done, but perhaps it is just coincidence, or the other work I did removed whatever was masking the lean condition, I dunno. In any event the engine idles pretty smoothly with the Volvo ECT hanging in the breeze (so around 2K ohm resistance, instead of 300K ohm)

So, I made a couple of resistor plugins - one 2.2Kohms, the other 1.1K ohms. I'll try them tomorrow & see which runs better. I ordered a couple of POTs, one 1K & the other 2.2K, so depending on which resistor seems to run it better, I'll add the pot so I can tweak the value to make intermediate adjustments. I guess I could just use the 2.2K, but I don't know if makes a difference to sensitivity of adjustment.

PXL_20231014_153954351.jpg

PXL_20231014_155852661.jpg
 
So, several Datsun members (link to one post) pointed out that it is pretty common for the system to lean out with aging of the components, and the most practical way to address this is with a potentiometer in series with the ECT. Seems odd to me that this has come up all of a sudden after the work I've done, but perhaps it is just coincidence, or the other work I did removed whatever was masking the lean condition, I dunno. In any event the engine idles pretty smoothly with the Volvo ECT hanging in the breeze (so around 2K ohm resistance, instead of 300K ohm)

So, I made a couple of resistor plugins - one 2.2Kohms, the other 1.1K ohms. I'll try them tomorrow & see which runs better. I ordered a couple of POTs, one 1K & the other 2.2K, so depending on which resistor seems to run it better, I'll add the pot so I can tweak the value to make intermediate adjustments. I guess I could just use the 2.2K, but I don't know if makes a difference to sensitivity of adjustment.

View attachment 78087
View attachment 78086
A funny kludge to work around the issue.
 
A funny kludge to work around the issue.
Yeah. It's pretty frustrating that all the 'fixes' for these running lean involve reclocking the AFM tension, messing with the air temp thermistor and/or the ECT values. Doesn't seem to be any concrete solutions that don't involve fudging one thing or another. I'm not going to start buying expensive EFI parts for this, I just need it to work stockish for the next year or so.
 
Yeah. It's pretty frustrating that all the 'fixes' for these running lean involve reclocking the AFM tension, messing with the air temp thermistor and/or the ECT values. Doesn't seem to be any concrete solutions that don't involve fudging one thing or another. I'm not going to start buying expensive EFI parts for this, I just need it to work stockish for the next year or so.
Mmm,agreed. Yeah the strategy is right, painful and difficult nonetheless as I suspect things will continue to drift.
 
Did a number of things today.

Replaced the ECT with a new Beck Arnley 158-0134 sensor. With that, (ambient temp 50ºF) it started well (after the initial delay with priming), and during warmup. AFR's stayed nice & fat, which was not the case with the old ECT. Once it got closer to normal operating temp, the AFR"s went lean again.

So, I put in the 1.1K ohm resistor in series with the ECT.
PXL_20231015_151448077.jpg
With that, warm AFR's are to rich (13.4-13.7) - so I don't even need 1.1K resistance added to the ECT circuit
PXL_20231015_151107387.jpg


Pushing very slightly on the AFM lever fattened it up a touch, and smoothed the idle quality
Screenshot 2023-10-15 at 8.36.34 PM.png


So, I lessened the wheel by 1 tooth

Also adjusted the WOT enrichment TPS settings - the factory position brings it on around 30º opening, so I moved it to closer to 50º
stock
PXL_20231015_152340552.jpg

PXL_20231015_152425064.jpg

adjusted
PXL_20231015_152755124.jpg

PXL_20231015_152828700.jpg


Reset (lowered) the base idle closer to 800rpm, with those changes the AFR was sitting around 14.2
PXL_20231015_155910820.jpg


So, I installed the 2.2K potentiometer, wired the 1.1K as well, but decided the 2.2K would give me more range. Since 1.1K puts AFR's at idle around 14.2, I need somewhat under 1K to get the AFR's in the 14.7-14.9 range at idle.
PXL_20231015_200459238.jpg


PXL_20231015_200512914.jpg


PXL_20231015_191738564.jpg


Used a 2pole HD090 series connector to join the pot to the ECU. Removed #13 wire from the ECU connector, now that goes into the pot, pot output goes to pin13

Set dial on POT so that 1K ohm is with #1 at 6 o'clock where I can see it
PXL_20231015_210023131.jpg


Full value (2.2K) puts dial @ just over 5. Unlikely I will ever need to use that end of the scale.
PXL_20231015_210032547.jpg


Connector tucked up above ECU
PXL_20231015_211102227~2.jpg


Warm engine, setting dial to 0 brings AFR's to 14.7-14.9. I'll see how it starts & warms up with that setting tomorrow after work. Still can't drive it to see how it performs on the highway cruising, due to the blown out clutch slave.
PXL_20231015_211111309.jpg


PXL_20231015_211053396.jpg
 
Last edited:
Repainted the dash vent cover & put that back in
PXL_20231015_171450079.jpg


Steering wheel back in - no horn pad - I don't know if it's centered yet, since I can't drive it.
PXL_20231015_165428741.jpg


PXL_20231015_165448622.jpg


undecided on whether to re-chrome the Datusn 280Z badge
PXL_20231015_165446398.jpg

PXL_20231015_165609874.jpg
 
Got the replacement clutch slave installed, and wheel I had the car jacked up, I took care of the speedo drive inner & outer shaft seals. No pics.

I drove the car around, went to Harbor Freight & Home Depot to get some extra dot 3 brake fluid & regular antifreeze. Once the engine is hot then parked, it seems that it cranks slower. When I got home, I shut it down, then realized I didn't pull up far enough in the driveway, so went to restart it. Blew the 125Amp breaker on the starter cable again. I've replaced it with a 175Amp breaker. See how that goes, I'm going to drive it to work tomorrow. It's done much idling in the driveway while I worked the kinks out, so it's definitely. due to have the snot beaten out of it. One drivability issue is that I keep trying to upshift into (non-existent) fifth when I get up around 65-70 when accelerating.
 
Drove to work today, the motor feels strong as it is. One reason I changed the TPS WOT setting was I could see the AFR's get really fat just revving the motor in the driveway. After driving around & coming to work today, about 20min local & highway- the enrichment values seem pretty good under load. I reduced the ECT resistance value a touch as the cruise AFR was a touch rich. Now I have the wideband I do see that the system goes kinda rich right off idle before it levels out, but my old Volvo does much the same.

I think I should just put in the 250A breaker, as the first couple revolutions hot cranking with the 125A seemed slightly sluggish before it blew, and less so with the 175a, so perhaps the initial starter draw is high enough to strain the lower amp breaker, and actually induce the slow crank, I dunno. It just seems to crank better now than yesterday.

I do still need to redo the compression test, as the one I did back in the Spring prior to any valve adjustments had one cylinder well over 20% deviation - 125ish vs. 165 range on the others. Valves were very tight on that one. Overall engine feels pretty darn smooth now it doesn't have a lean condition, for sure.

PXL_20231017_144610583.jpg

PXL_20231017_144627675.jpg
 
Last edited:
OK - so the one (of several) annoying things about driving this is that is smells like exhaust in the cabin. When I drove it earlier in the year, I just left the windows wide open to negate it somewhat.
I've already replaced the main door seals & hatch seals, and the driver's window channel seal. I hadn't replaced the passenger door channel seal, so I did that late this afternoon. I'll find out tomorrow if that helps at all. Besides that, the only other thing that I can find info on that can cause it is the tail light gaskets. Apparently fumes will get sucked in past those. I ordered new ones, I need to remove the rear panel & lights anyway to redo the chrome & grey metallic on the panel, so I'll do that when the gaskets arrive .

Took the door apart. Didn't have time to document much on this side, it took me about 2 hours, and the Mrs was getting testy
PXL_20231017_201929878.MP.jpg


also drilled & tapped the window winder M5 x.8 to accept the Volvo 240 crank handle. The Volvo shaft has twice as many splines, but it fits snugly on the shaft, so I'm not going to have to cut & weld as I did with the DS

PXL_20231017_204218116.jpg
 
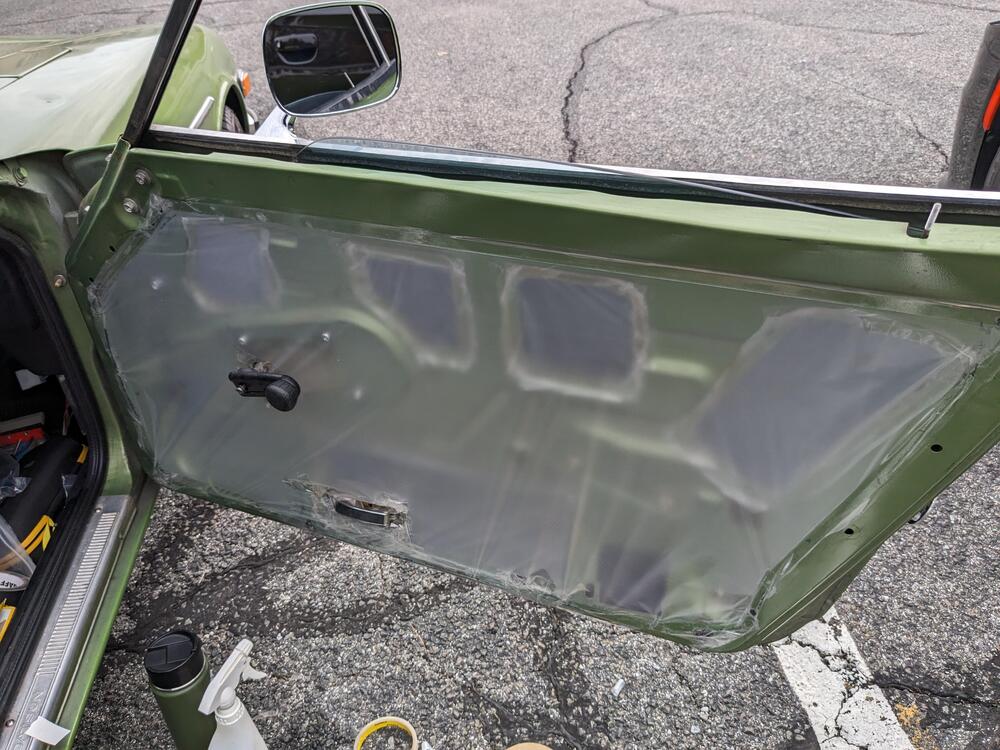
Today (on my lunch :) ) I got the door sealed back up & put the door card back on. I need to find a grommet for the lock button

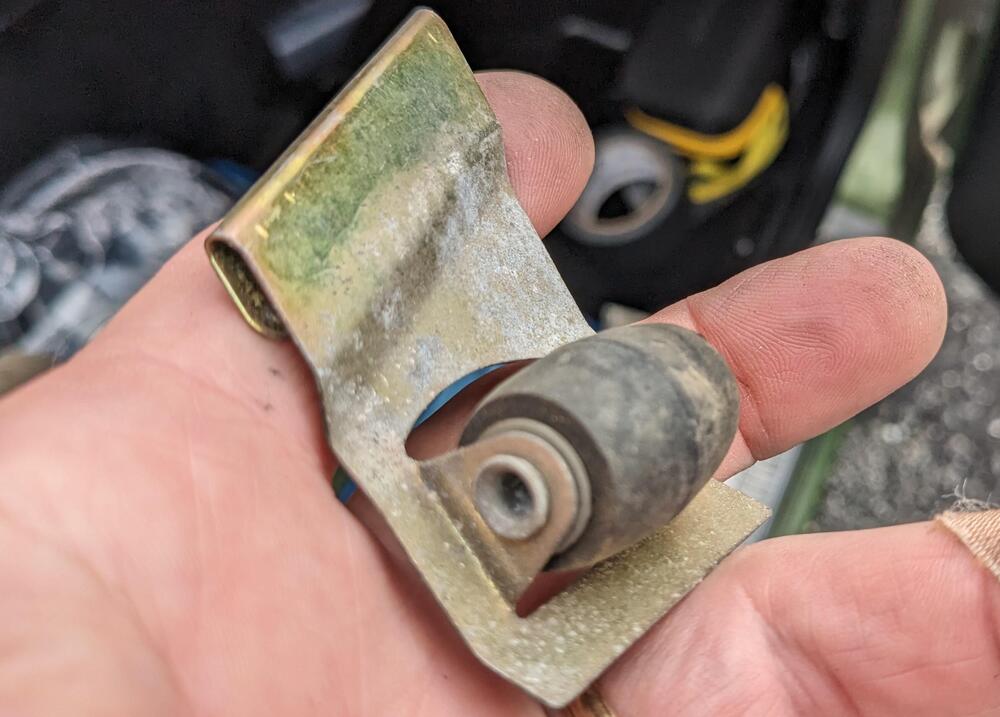
Found this in the bottom of the door yesterday - the tab has no tension anymore, so just as well I bought complete new ones

PXL_20231018_151911101.jpg

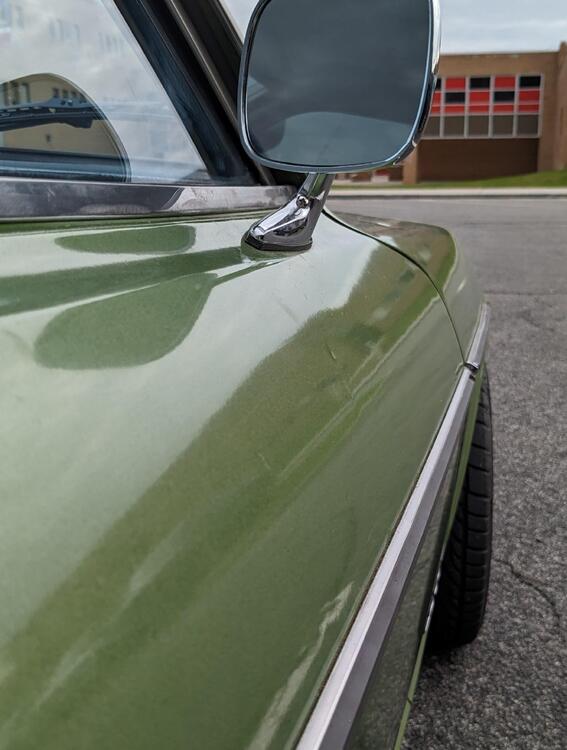
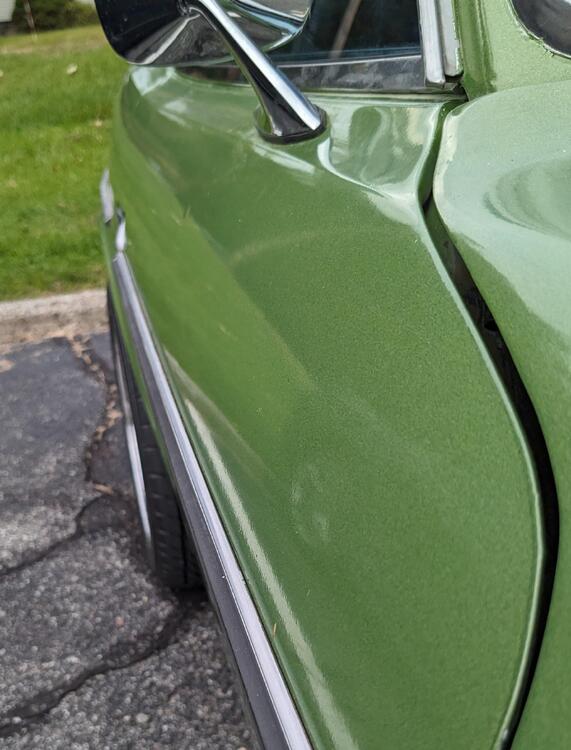
Before I put the door all back together I massaged the two dents as best possible, used a heat gun on the outside & a screwdriver handle to work the metal from the inside. Lower dent was between the visible dot & the belt molding

PXL_20231018_152023116.jpg

PXL_20231018_152035322.jpg

PXL_20231018_144257318.jpg

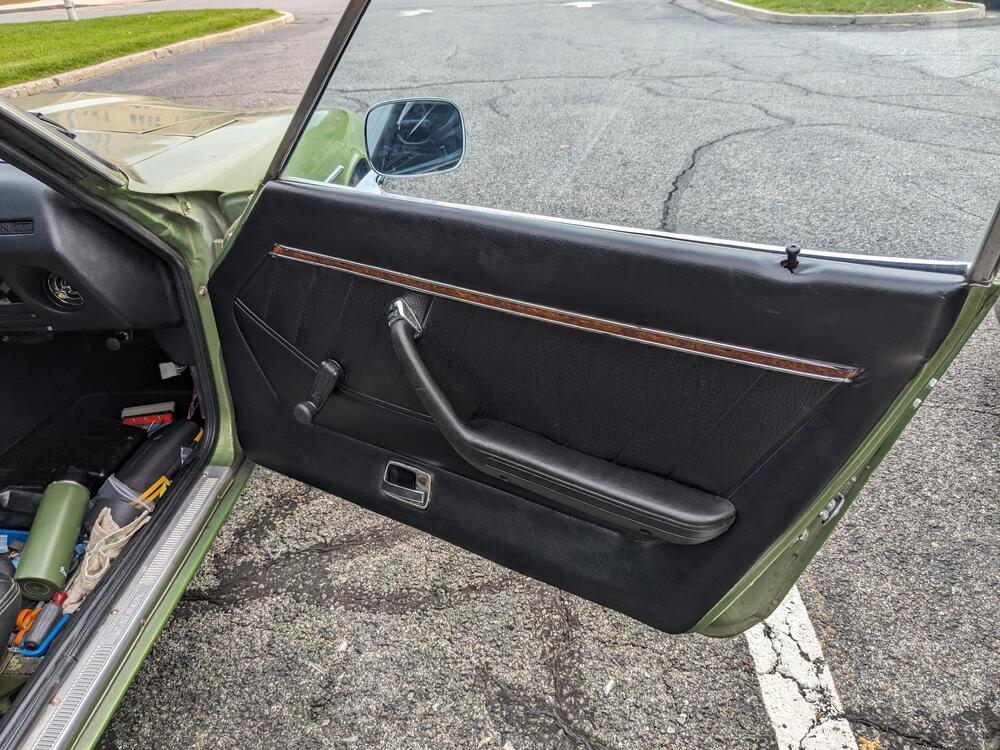
Fitted the Volvo 240 crank handle, and a replacement armrest - this one I found in black, so I didn't have to paint it/

PXL_20231018_151806840.jpg
 
Found a few holes in the hatch area that I needed to seal - 3 I created by removing the bumper shock on the DS - they open directly into the muffler cavity. One on the PS, one of the tank vent hoses
PXL_20231018_214459201.jpg


PXL_20231018_215231758.jpg
 
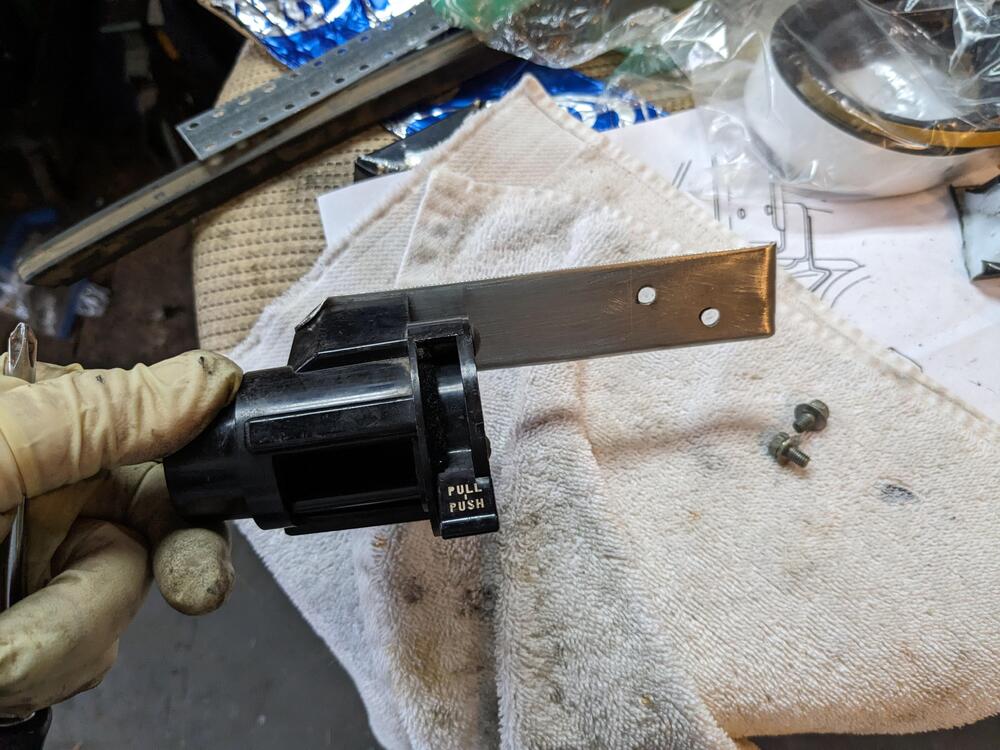
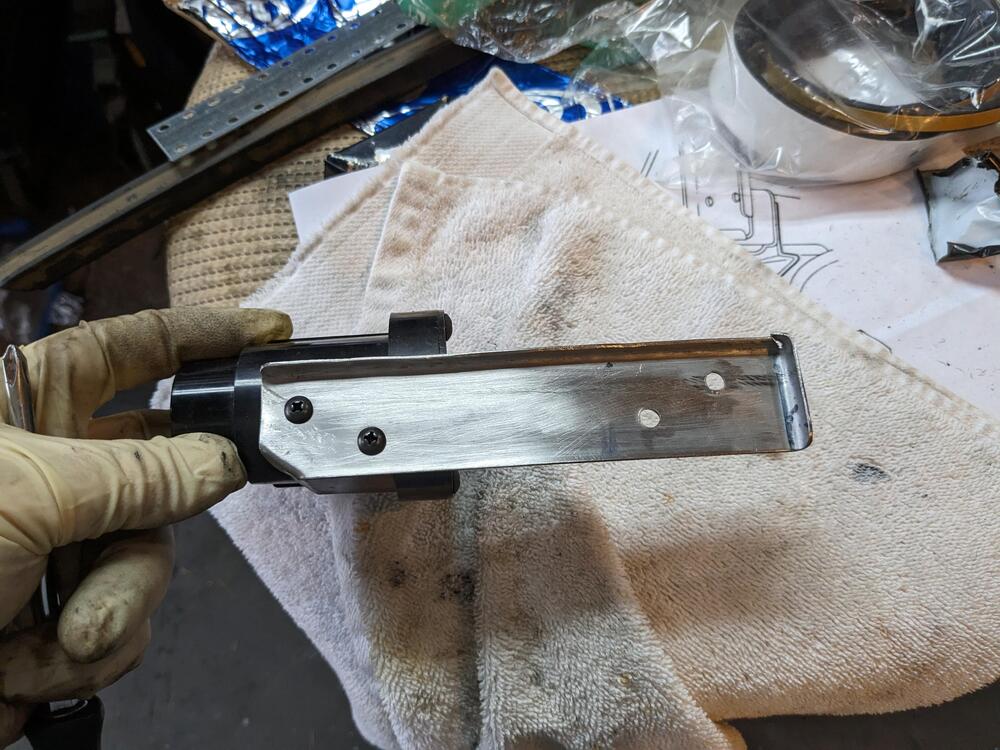
Rainy days. I made a bracket for the right AC under dash vent. Not sure why the factory one has an angle bend, I made mine flat & long enough to put the vent somewhat centered under the glovebox.

Used relatively heavy gauge SS sheet metal, that way I don't have to paint it

PXL_20231020_194106777.jpg

folded one edge for rigidity, like the factory bracket

PXL_20231020_194103830.jpg

Hopefully the rain gives over later today to I can install it, and then get the glovebox modded to clear the AC ducting, and installed. When I put the DS duct elbow in, I dislodged one of the tach illumination bulb holders, so that has to come back out so I can access the bulb holder, or I can pull the tach out. Problem with that is the lower ridge of the tach body is scraping the vinyl of the dash opening 😞
 
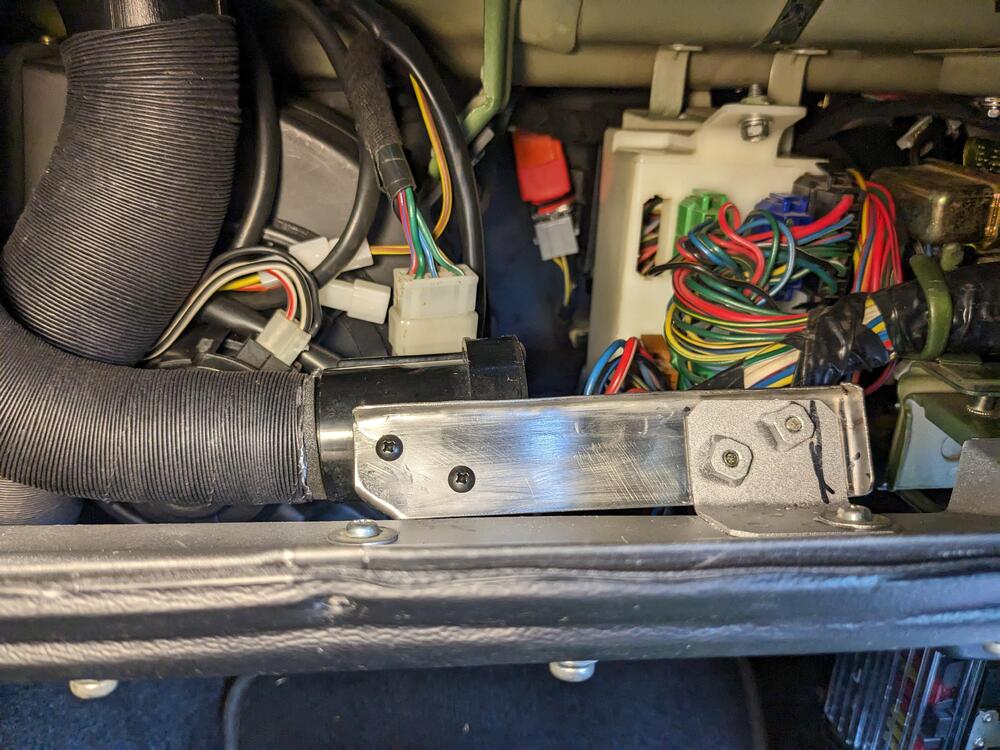
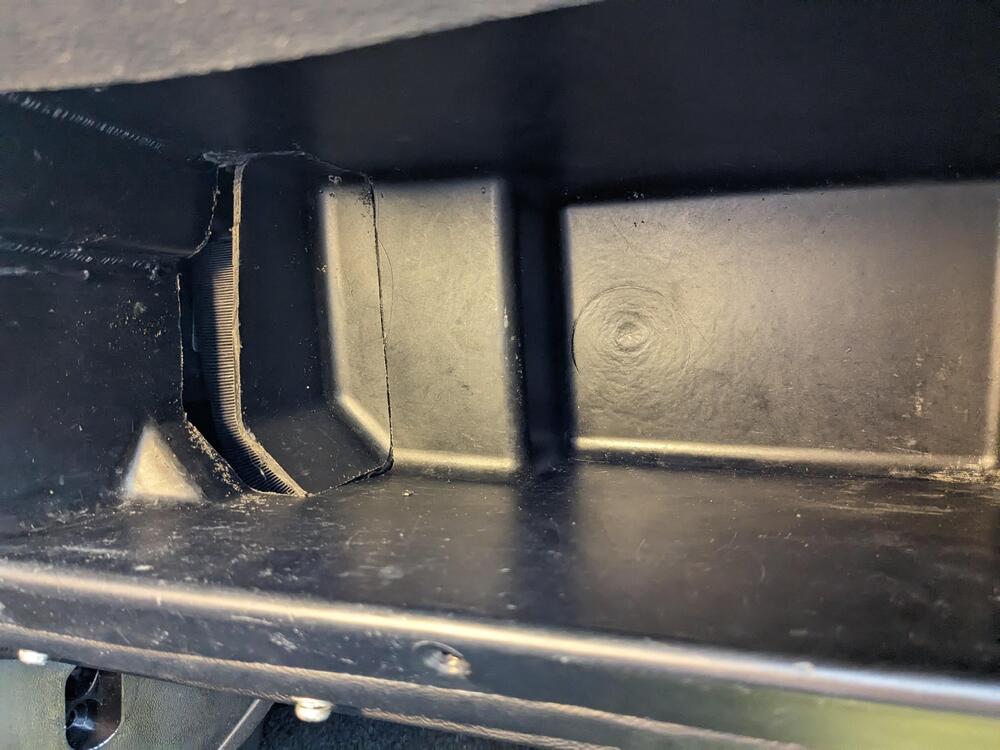
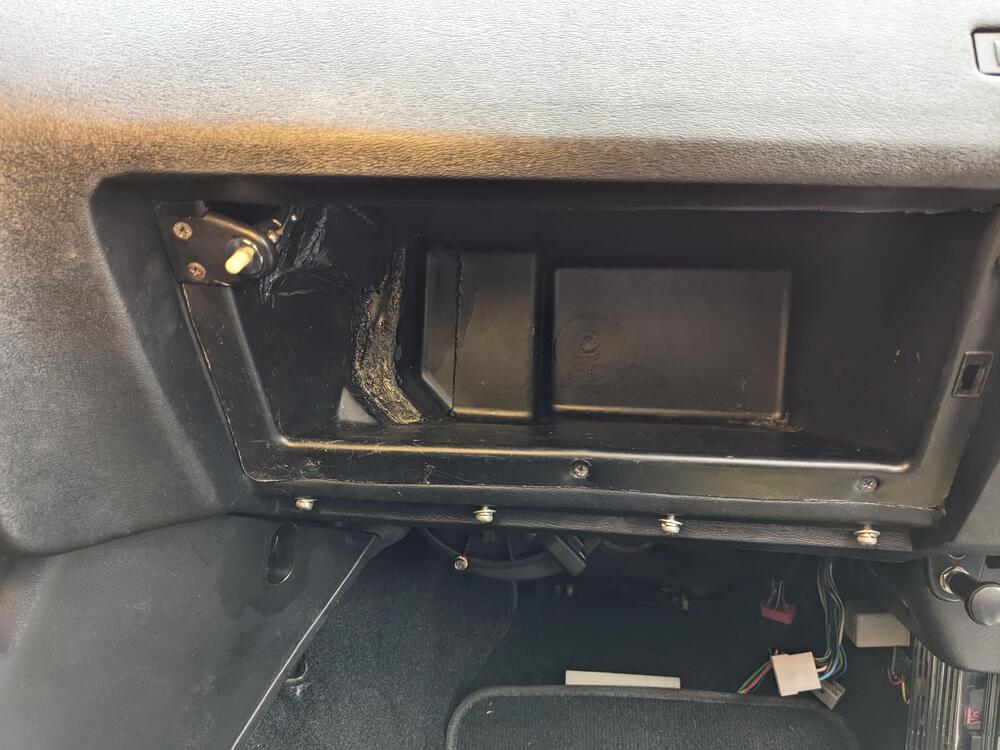
Installed the vent, and cut & welded the glovebox. Not perfect by any means, but functional

PXL_20231021_192822047.jpg

repurpose the cut sections to clear the ducting

PXL_20231021_182106651.jpg

test fit to check clearance before adding additional fill section
PXL_20231021_184555253.jpg

PXL_20231021_193932855.jpg
 
Last edited:
Put the new GM HEI module on a heatsink with heat sink compound, and made a strip to bypass the coil ballast (edit). I'll test it out soon. Trying to get the interior back together at the moment
PXL_20231020_205515534.jpg

.
 
Last edited:
Does ballast coil = ballast resistor? If yes, does coil have internal ballast resistor?

Yes, I meant ballast resistor. The HEI module uses a regular 12V coil, unlike the stock ignition system which requires the reduced voltage via the Ballast Resistor, similar to the X1/9.
I'm using a Volvo 12V coil in conjunction with the HEI module & ballast bypass
 
Mulling over a way to deal with the fact that the seat belts suck - for both Ann & I, the shoulder belt rides into our necks. I guess they are meant for ppl with taller torsos. I tried making a guide bracket that uses a hidden 12mm welded nut below the 1/4 glass, couldn't make that work. In any event, I realized I had the S2000 seat belt seat-mounted retainers in my Volvo pickup, and don't need them there, since the Volvo belts don't have this issue.

drilled 2 holes into the seat frame/tub
PXL_20231022_170450569.jpg


PXL_20231022_173509366.jpg

PXL_20231022_212133528.jpg


PXL_20231022_170438842.jpg
 
Started on the tail panels - they are fragile. Chrome bezels screw to the lamps, Tail lamps screw to the panels. I'm probably going to have to glue the chrome bezels to the panels. Put the lamps back in to keep water out until I'm done. New gaskets are also on the way

PXL_20231022_205202496.jpg


PXL_20231022_205159761.jpg


PXL_20231022_211314469.jpg
 
Back
Top