Woohoo!!

Back at it. I cleaned the stud holes with a wire brush in a Dremel Tool, blew them out with my compressor. None of the studs will screw into the block.:(
First of all the studs were in poor condition and most of them had bunged up threads. I then ran a #8 .125 di over the threads about 1/4" and was amazed as to how much metal the di removed. I tried the newly cut 1/4" of threads on the stud and it went in easily. I ran the die over the entire threaded area of one end of the stud and it went easily, to easily into the head. I wobble tested the stud and it wobbled until seated. This is not right and I'm afraid that when tightened, the threads would pull out.:(
I called Matt at Midwest Bayless and cried on his shoulder.
Mat told that sometimes aluminum heads shrink and I should try running a 8 .125 bolt into the holes using a socket. He also said that different manufacturers cut their taps and di's slightly different and that a bolt is enough to open up the threads. Thank you Matt. The bolt store is an hour round trip and when I returned I screwed the bolt in and out with little effort. I used the only stud that I have with good threads and it went in sans wiggle. New studs are on the way and when they arrive I'll get back to work.
 
Jim, I was going to say...

Just get a new set of studs. They're not expensive and should solve the issue. Also, It wouldn't hurt to run a propane torch back and forth across the surface to heat the aluminum up a bit.
Aluminum does indeed shrink some when it hits freezing and below.
 
Well, Bob as you recommended a propane torch is a good idea. Matt wasted no time in shipping the new studs and I received them yesterday. Today is the last day of good weather,if you can call 29 deg.f. good weather. In a few minutes, My wife, Annie and I are headed for the slopes for some cross country skiing. Tomorrow, the weather changes to snow and single digit temps for 5 days.:(
 
Sounds great Jim,

Let us know how you make out with the replacements.
(Pictures are highly recommended!) :excited:
 
It's not unheard-of when removing steel studs from an aluminum head for the studs to "take" some of the material with them, which would of course result in replacement studs fitting a bit more loosely in that threaded hole.

If you use a typical thread cutting tap to dress up the threads that were damaged by the removal of a stud, unfortunately it results in the loss of more material.

That's why thread chasers or restorers are better for this task than your typical thread cutting tap. Example: http://www.sears.com/craftsman-48-pc-sae-metric-thread-restorer-kit/p-00942275000P
 
Thank you Dan. I used a metric di on one of the studs and as you said, a lot of material was removed, making the stud wiggle until it bottomed out. I followed Matt's suggestion and used a bolt to chase the threads and the only good stud that I had screwed in with no wiggle. I'm hoping that the new studs will do the same when I get out in the shop tomorrow in -0 temps. Bob B suggested heating up the head and I will do just that.
It was a beautiful day on the mountain and we skied until my legs told me to stop.:)
 
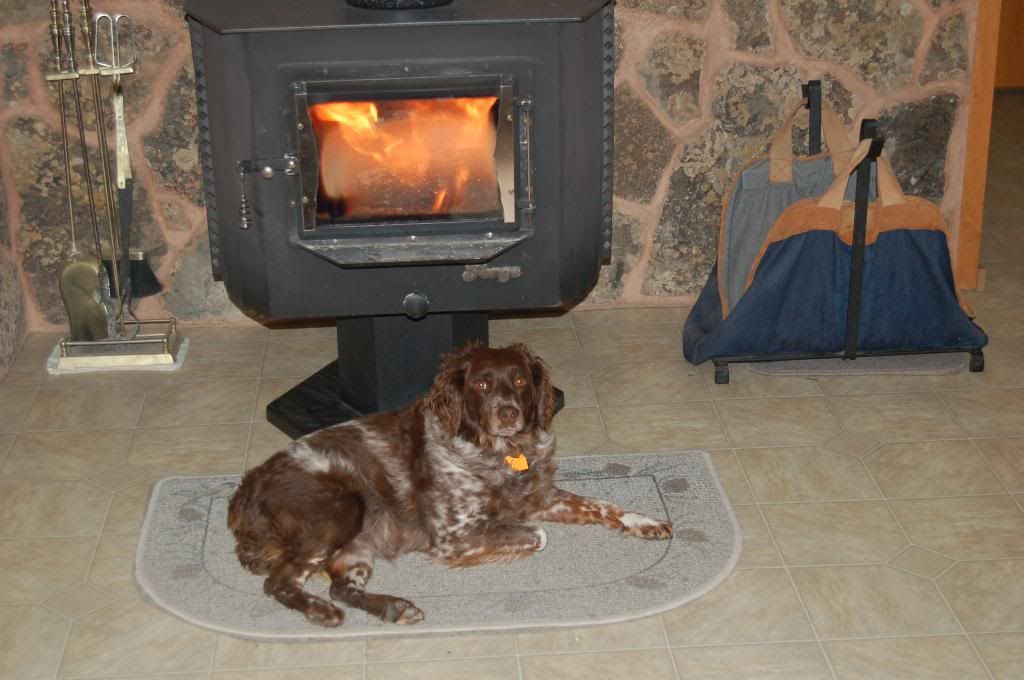
I'm wimping out today.:( -10 deg. f. and a blizzard. Did the chores this morning and was very happy to get back in the house and a warm fire. You know it's cold when Annie snuggles up to the stove.
DSC_0038_zpsac39d560.jpg
 
We're having a heat wave and the temp got up to 41 deg.f. Today, I went back to work on the Queen. Installed and connected the O2 sensor, installed the header and bolted up two of the bolts of the header flange to the flange on the head pipe/muffler. I say two because the third bolt would not go through and hung up on the gasket. I'll probably have to loosen up the the boots and and wiggle the gasket around to get enough clearance to get the bolt through. I'm working on axel stands and not a lift, so getting the exhaust in place was a trial. I finally padded my floor jack and balanced the muffler on the top and then slowly jacked it up until the flanges were close. Then I slipped two bolts in and should have put the third bolt through the last hole. The header does not allow for the heat shield to clear. I may have to disconnect a few things to get clearance. I'm sure that the second time I go through this process, I'll be a lot smarter. Fingers got cold and I gave it up until tomorrow.
 
Fingers got cold?

Minus 10 Deg. F here last night... Got up to 11 degrees today. :excited:
 
Yes, thank you! ...

I'm using that and photos to get the collection together for the build.
The stainless manifold flange arrived yesterday and I'm awaiting the 4 in 1 collector before I finish up with the tubing order.:excited:
 
The queen's new exhaust system is bolted up.:) I'll tackle the springs in the warm part of the day tomorrow. It is my plan to measure the required lengths of each spring position and then put one end of the spring in a vise and the other clamped in vice grips. I'll pull a little and insert pennies until I get the right length(s). When the spring is connected to muffler and bracket, I'll pull the pennies. Sounds simple, but so far nothing has been easy. Please bear in mind that I have never claim'd to be a mechanic.:innocent:
A new problem:
The heat shield that protects the two hard rubber lines between the Allison header and the runk won't fit. The area is hard to see, but I'm thinking that the problem is the flanges that connect the header to the head pipe.
It has also occurred to me that the coating on the inside of the header is supposed to reduce heat and might negate the need for the heat shield. I'll give Allison a call.
I'm either dropping something that never reaches the concrete and is nowhere to be seen and the mirror and magnet are very helpful if not my most indispensable tools.
The weather should be good enough for a few day to work a few hours each day.
 
Post and let us know what you come up with regarding the heat/heat shield. I've always liked the idea of headers, and Allison's pretty coated ones in particular. Now that I'll be running a car with cam and BVH, seems like improving the exhaust breathing would make even more sense then usual. So after rebuilding my budget I'll get more serious about following that route and any learnings will be appreciated...
 
I just got off of the phone with

Mark at Allison Automotive. Mark said that there should be enough space between the exhaust/header that heat would not be a problem for the AC lines or the runk bulkhead. He said that if I was concerned, I should wrap the AC lines with header tape. He also said that header tape is a much better heat barrier than the heat shield.
 
Not that'd I know but header tape has the reputation for trapping and holding moisture thus contributing to corrosion/rust.
 
After getting the header wrap and opening up the package I noticed the ads for their other products. One product is for heat protection of rubber lines that comes in different sizes. I'm going to return the header wrap and get the right size protection for the rubber lines. Should be perfect for the job.
 
Back
Top