Woohoo!!

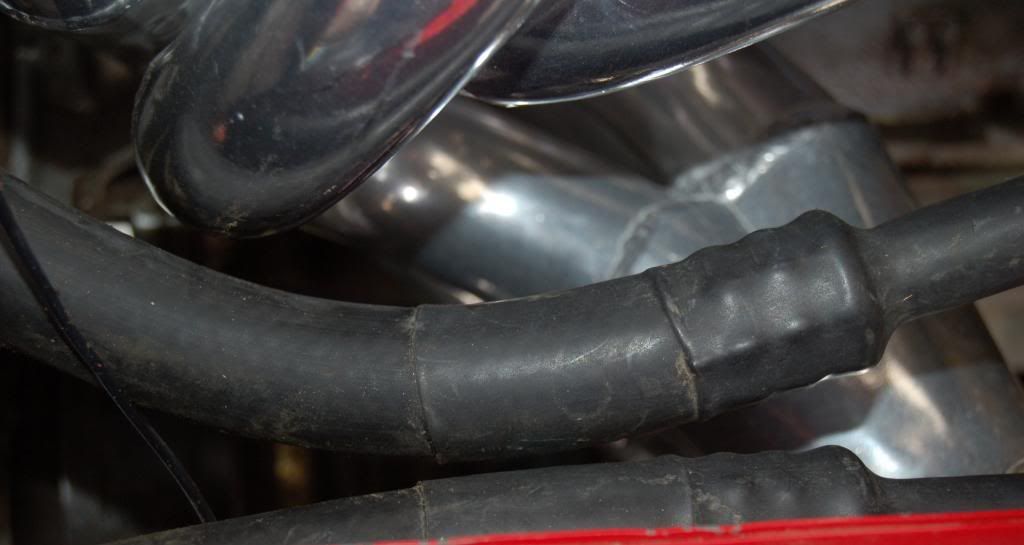
DEI heat wrap with Velcro?

I use that on my wastegate water cooling lines....

IMG_0787.jpg


If your cam box was powder or other coated from Bayless, I hope you made sure the bolt seat area was completely scraped free of any coating. I found that my Cambox came loose and leaked because of the coating that they apply.
 
Jim, it's good to see...

Good to see you going the extra mile to do things right.
I did a lot of that when I owned the queen. Though I must say it's a bit easier when you're not re-engineering.

As example, I could have "settled" on the 2 co-axial speakers in the rear deck, but I wanted more bass.
Took me $200 in "spare tire" sub bass systems to build up that "between the seat" bass speaker you now enjoy. A LOT of trial and error before it was right.
Another example, the LED headlights. Took a major amount of work to insure a proper fit while keeping the original mount hardware to the X.
(those headlights needed a bit of customization to fit properly)
I could give several examples but you've got your own log to fill. :)
Keep up the good work.

It also gives others the knowledge of what to do/not do - not having to reinvent the wheel..
Thanks Dr Brown...

John
 
No, but

Thanks for the tip Hussein.
Bob, The Queen deserves the best. Are these the lights?

The amber lights were custom built from "white" lights. I wanted amber for a more retro look (if that's even possible with LED's)
so the elements of each were replaced with "Cree" LED's

The white lights (as shown) look all white until you use your directionals.
Those also have hi-bright LED's in them and were customized with bulbs and special lenses made by Ricardo Borja.
Ricardo gave me those when I visited Tony N. (CA) in the summer of 2011.

Love the photo Jim! :love:


DSC_0001.jpg
 
Actually Jeff, it's snot... I mean it's not...

Its NOT cool, its actually HOT!

I don't recall having seen those amber lights before but I have EXPERIENCED the effect of mounting a tow-bar adapter that hung below the front bumper about an inch or two... and deflected the air DOWN and AROUND the BOTTOM of the radiator at speed... at 60 mph or so.

At lower speeds the air had time to collapse back around the fixture and flow though the radiator... but at freeway speeds it was running about 15 degrees hotter than normal. The next day, which was almost identical to the first, I removed the adapter and all was fine again.

The Personal Plate up front ain't helping a bit either.

It does look different and I know the quality is there... and its all "stock" as well!

Try it and see...
 
Those BB installed lights look good and the Queen's overheating problems were finally traced to the radiator cap and thermostat.
She now has another potential heating problem caused by the new headers and the fit problem of the existing heat shield. Fear not, the Queen's AC lines will be protected just as soon as this :censored: blizzard runs it course. Unfortunately, the next nice day won't be until Saturday.
 
I attempted to get a tubular protective wrap, but the company now longer provides the product. So it's back to "Header Wrap."
The first pic shows header wrap, wrapped between the header and black coolant lines. The clearance between the header and the coolant line is less than an 1/8” as seen between the green wire and the small black wire.

DSC_0038_zps8f67c379.jpg


The pic below shows a clearance of less than 1/2” between header an AC line.
DSC_0039_zps567c83da.jpg

The original heat shield barely fits but does not adequately cover the AC lines. I'm going to use Header Wrap to further protect the AC lines from the header. It feel as if I'm reinventing the wheel and I have spent some time considering my options and I think that the lines will be okay. If anyone has a better idea, I would appreciate hearing from you.
 
I've been driving mine for the past couple of years with no wrap on the AC lines

X19allisonHeader0003.jpg


X19allisonHeader0011.jpg


no problems with the lines, no deterioration or heat damage.
 
The main problem I see with letting the AC lines get hot

is the fact that that is heat that the condenser will have to shed. I covered mine with ThermoTek sleeves where they come closest to the downpipe.
 
Thanks Larry, I'm going to wrap the lines with Header Wrap at the points where they come close to the the header and head pipe.
 
glass blast beads

I received a bare head from Matt that had glass blast beads firmly packed into the stud holes. Compressed air and scraping with a wire did not dislodge them. When I scraped with a pointed scribe (using a bit of pressure) it broke them loose, then using compressed air, a tap and compressed air again was effective. One had a broken stud in it, that was a different story.

Paul Davock
 
Paul, I had similar problems and Matt suggested using a bolt instead of a tap to clean out the threads. I replaced all of the studs and bolted up the headers with no further problems.
 
Made some progress today. Those of you who have removed the head and replaced the stock muffler with a header and exhaust system know that there are many electrical, vacuum, and fuel lines to get back into their original configuration. Well ......... I did it. :happy: the header and exhaust are bolted up and in-place along with those :censored: springs. The entire engine is assembled.:happy: and there is only one AC line that still needs protection. Next, I'll fill the coolant tank with green stuff and the crankcase with break in oil. After that, only timing and the the re-torquing/break in cycle remains. We have had a lot of snow and I've plowed our road several times, but where it meets a neighbor's road, a spring ices up and floods the road. Trucks and tractors breaks through the ice and leaves ruts that will prove a problem for the Queen's 4" ground clearance.
 
Sounds great!

Send us some photos Jim, especially of the assembled engine / exhaust setup.
I'm interested! :excited:
 
Yes, I'm interested in

All angles of the header and anything around it.
I'm making one similar, but I want to give more clearance with things around it.
This would include the angle(s) that the pipe goes through the firewall to the exhaust compartment.

As you might guess, I'm making one up from stainless. :pimp:
 
I didn't do anything to the Queen yesterday because of ranch work. As I drove in from repairing a deer damaged fence, I noticed the shop door to the Queen's bay was open. My wife was dressed in her winter coveralls and bent over the runk. She had just finishing wrapping the AC lines with Header Wrap and was tightening the last clamp.:hug: Today, If I'm lucky and get through the necessary ranch work, I'll see to the timing and hopefully she will start. If nothing else, I'll take some pics for bbrown.
I bought a ski rack from JJ. The rack will not only be used for skis, but for my fly rods that are too long for the funk. When we go to Tacoma I plan on fishing Puget Sound for Sea Run Cutthroat and the various salmon species.:)
 
Back
Top