
You are using an out of date browser. It may not display this or other websites correctly.
You should upgrade or use an alternative browser.
You should upgrade or use an alternative browser.
Woohoo!!
- Thread starter WYOX19
- Start date
Double Woohoo
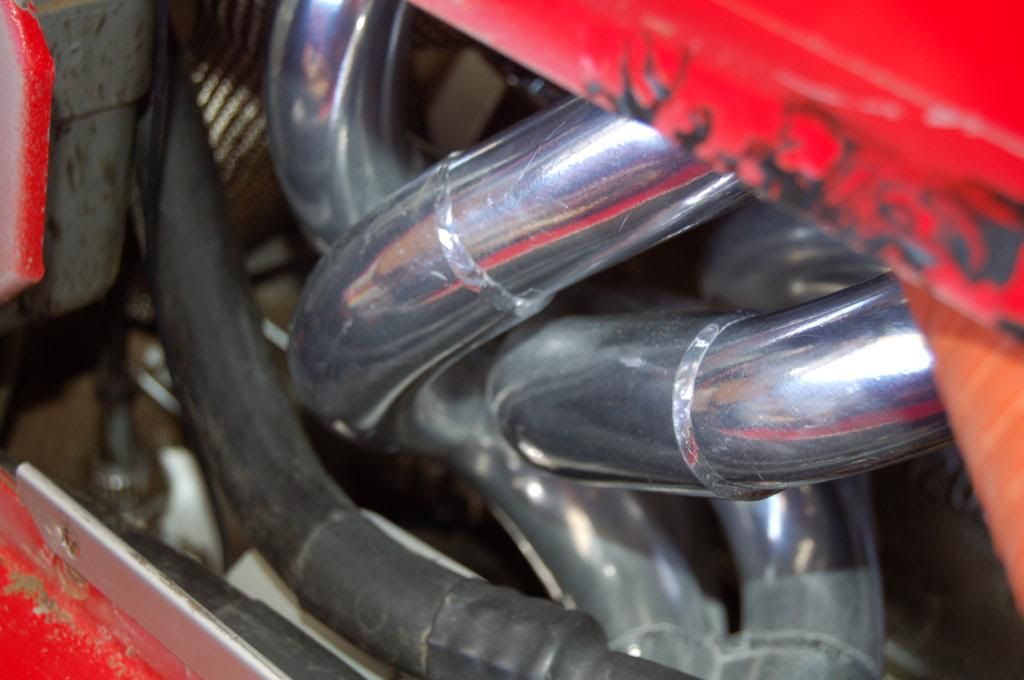
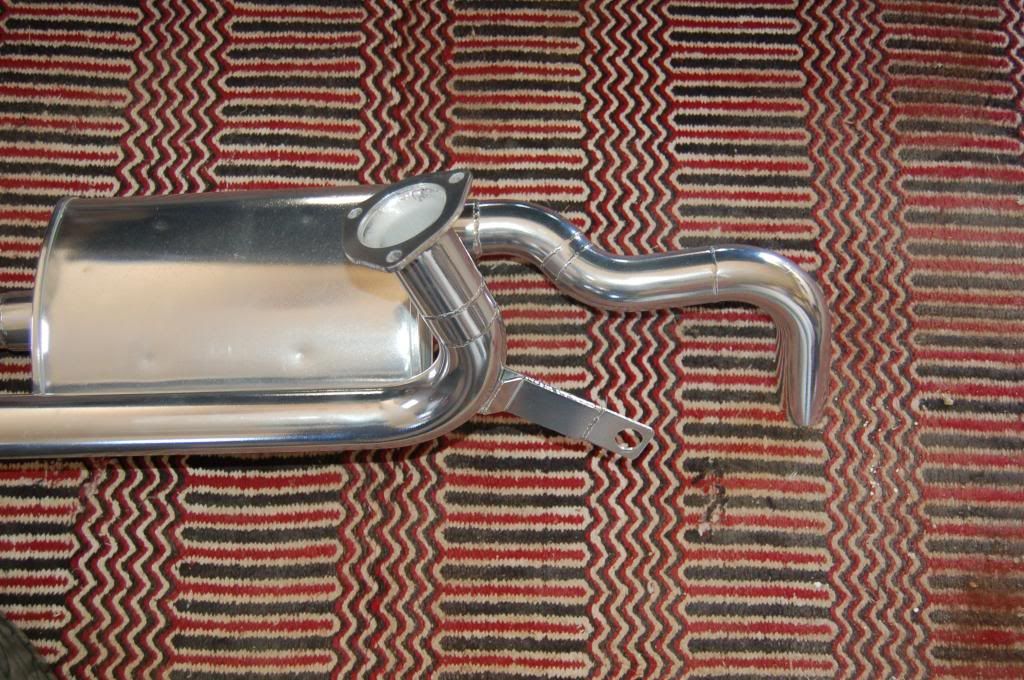
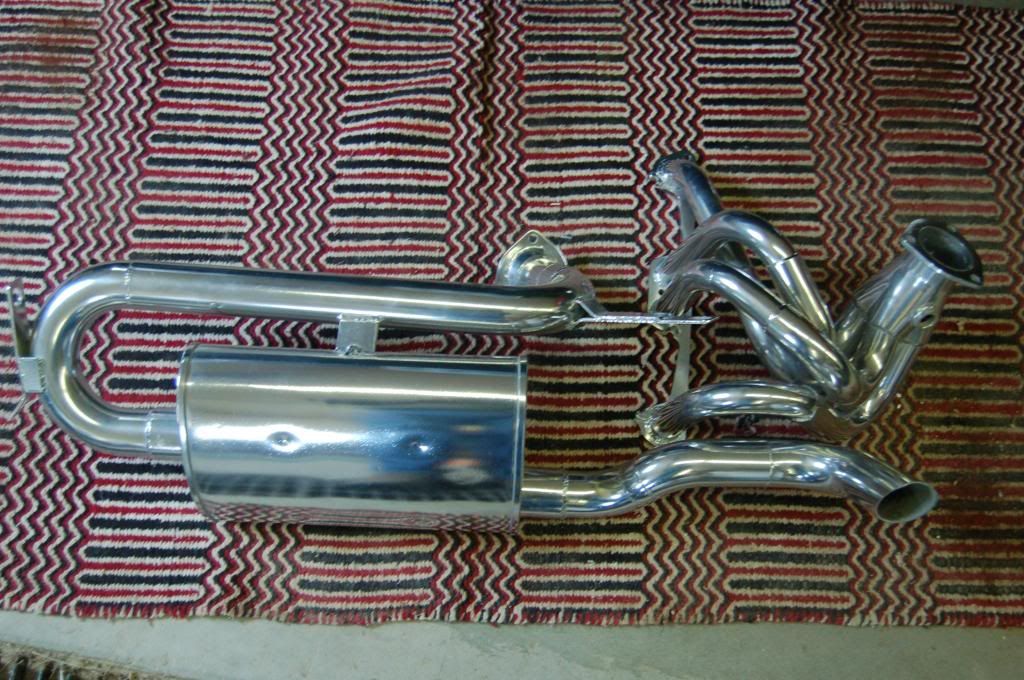
The Queen runs and the exhaust sounds great, at least in the shop.:woot::dance: Timing was in fact easy although I had to get some help and I think I'm still confused. She ran for the prescribed 20 minutes and the temp gauge indicated normal. We have a big storm on its way and so the 100 mile break-in run/re-torque will be delayed until I can get the car on dry ground. I still have to install the runk inspection panels,engine cover, re- tighten the header and head pipe, install the grill covering the muffler and get her down off of the axle stands before she can go for her maiden voyage. I did notice that the cam tension bearing was spitting grease, but after wiping the bearing and the timing belt the bearing appears okay and no more grease is coming out.
The Queen runs and the exhaust sounds great, at least in the shop.:woot::dance: Timing was in fact easy although I had to get some help and I think I'm still confused. She ran for the prescribed 20 minutes and the temp gauge indicated normal. We have a big storm on its way and so the 100 mile break-in run/re-torque will be delayed until I can get the car on dry ground.
I still have to install the runk inspection panels,engine cover, re- tighten the header and head pipe, install the grill covering the muffler and get her down off of the axle stands before she can go for her maiden voyage. I did notice that the cam tension bearing was spitting grease, but after wiping the bearing and the timing belt the bearing appears okay and no more grease is coming out.Nice to hear...
Nice to hear you're so close.
Now, that wife of yours is a keeper. Dr. Wifey won't even check her car's oil. Good thing she has a 320i, apparently it was designed to run on 1 qt. even though it holds 3.8 qts.
Storm?
Nice to hear you're so close.
Now, that wife of yours is a keeper. Dr. Wifey won't even check her car's oil. Good thing she has a 320i, apparently it was designed to run on 1 qt. even though it holds 3.8 qts.
Storm?
Thanks Greg, I'll tell her what you said.
I just finished up with all of the "button her up" jobs, except the rear grill because I decided to spiff up the grill and will install it in the AM. I don't know how I overlooked the fuel, but I was on running on fumes during the initial 20 minute run. I put in a few gallons of 87 octane and when I go for the test run, I'll fill it up with 91 octane, which is highest octane available in WY. It is my hope that I will be able to make the sub hundred mile run on Monday and re-torque the head when she cools down. I'm so close to completing the performance head and header installation that I'm having trouble taking my time to do things right.
I just finished up with all of the "button her up" jobs, except the rear grill because I decided to spiff up the grill and will install it in the AM. I don't know how I overlooked the fuel, but I was on running on fumes during the initial 20 minute run. I put in a few gallons of 87 octane and when I go for the test run, I'll fill it up with 91 octane, which is highest octane available in WY. It is my hope that I will be able to make the sub hundred mile run on Monday and re-torque the head when she cools down. I'm so close to completing the performance head and header installation that I'm having trouble taking my time to do things right.
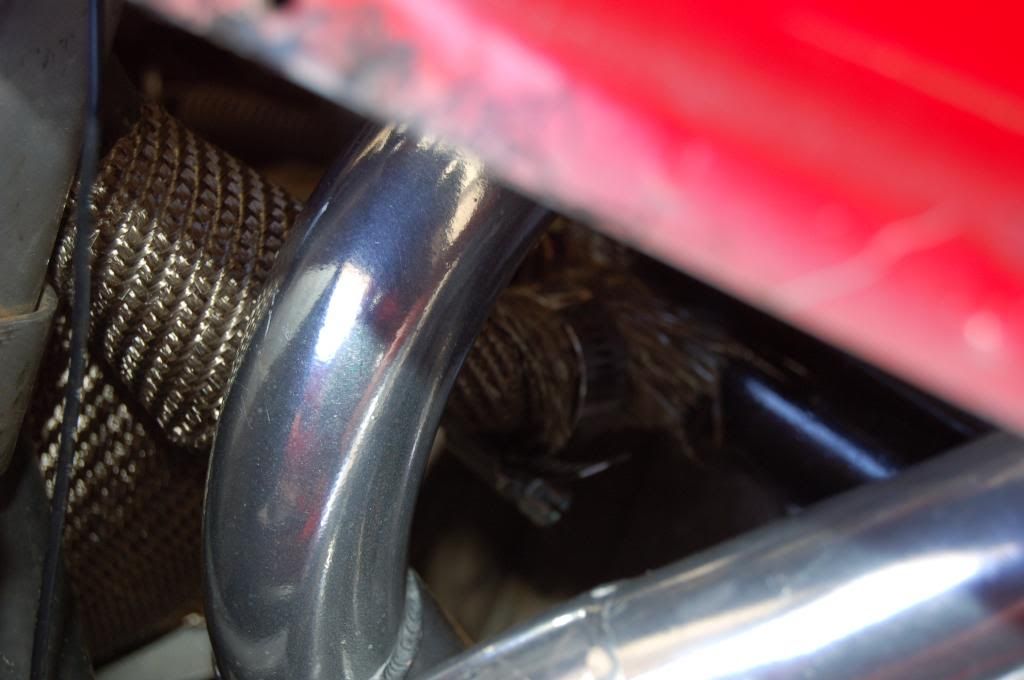
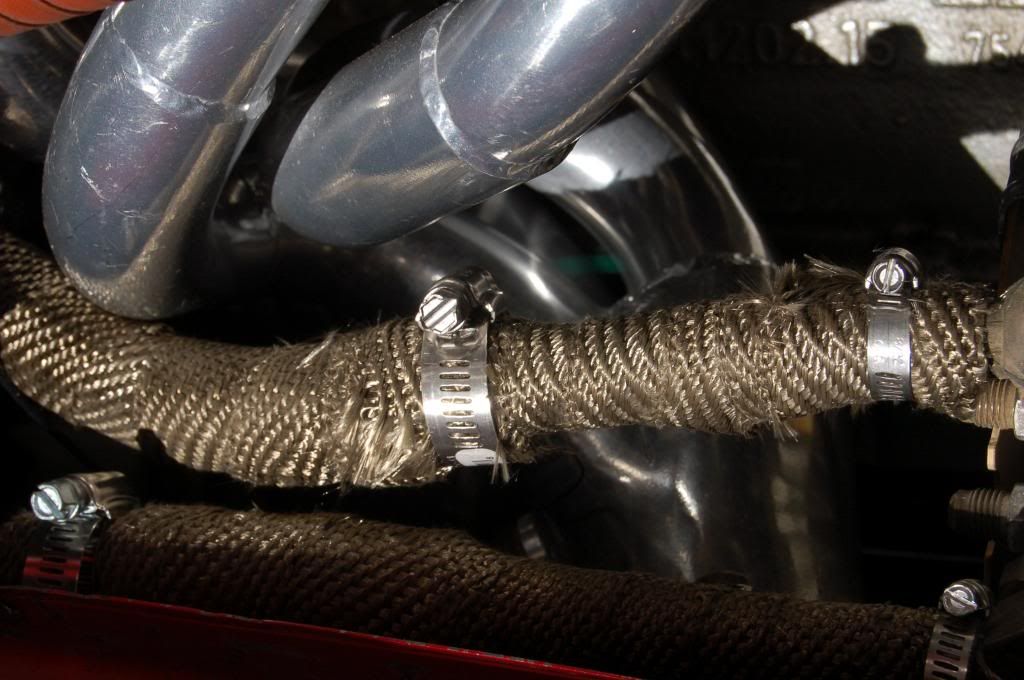
Today did not go as planned. I installed the rear metal grill, but could not get the AC heat shield in place as it bottomed out where the header flange and head pipe flanges join. Initially, I thought that I could bend the shield to clear the flanges, but when I did the shield would not clear the AC lines that it was supposed to protect. After some consideration, I decided to wrap the AC lines with Header Wrap in the area where the heat shield protects the AC lines. I wrapped the one nearest the header tubes but I couldn’t get my hand in the small spaces to wrap the AC line nearest the flanges. Little hands was not home and wouldn’t be until near dark. I’m still hoping to meet my Tuesday drive/re-torque goals. Speaking of re-torqueing, on a FI car and the Queen is FI, I will have to remove the plenum and much of the associated lines in addition to the motor stabilizer bracket before there is enough room to get the "C" shaped tool in place.
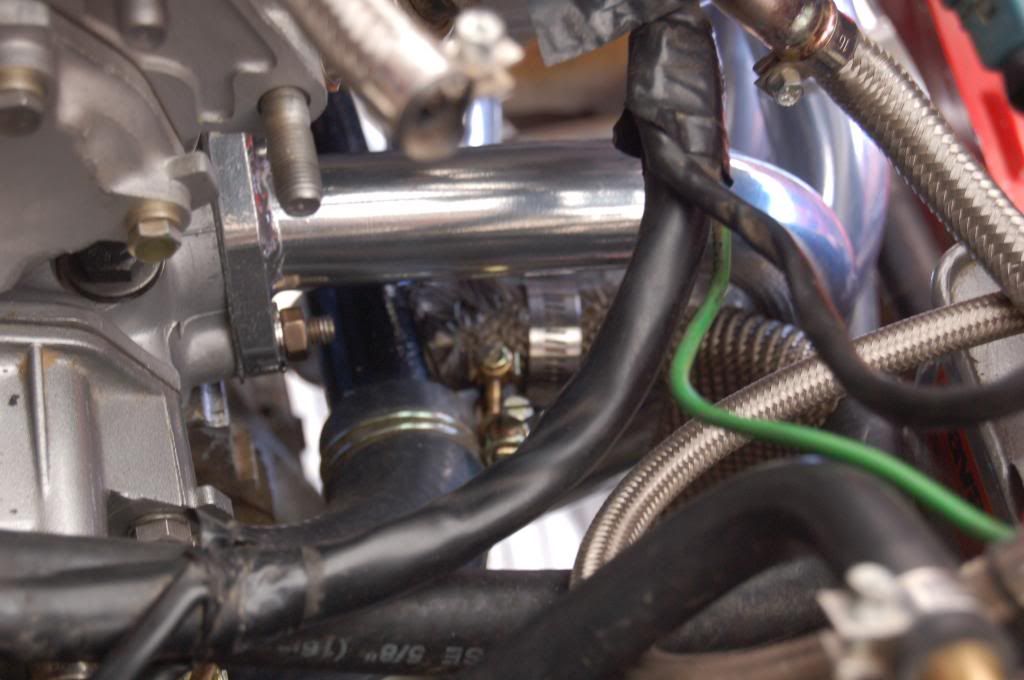
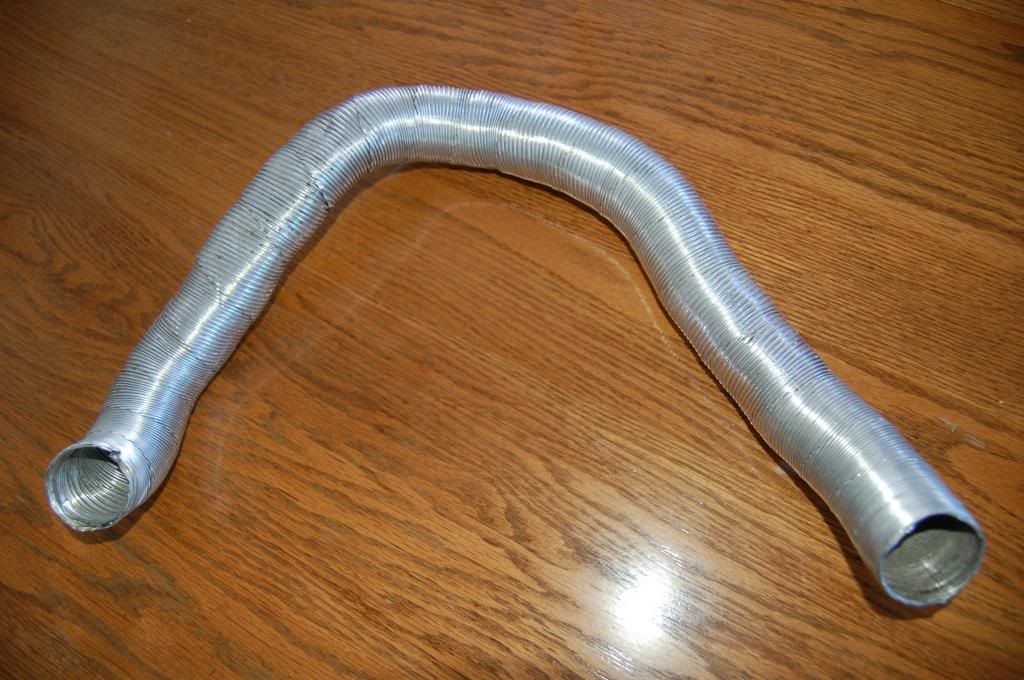
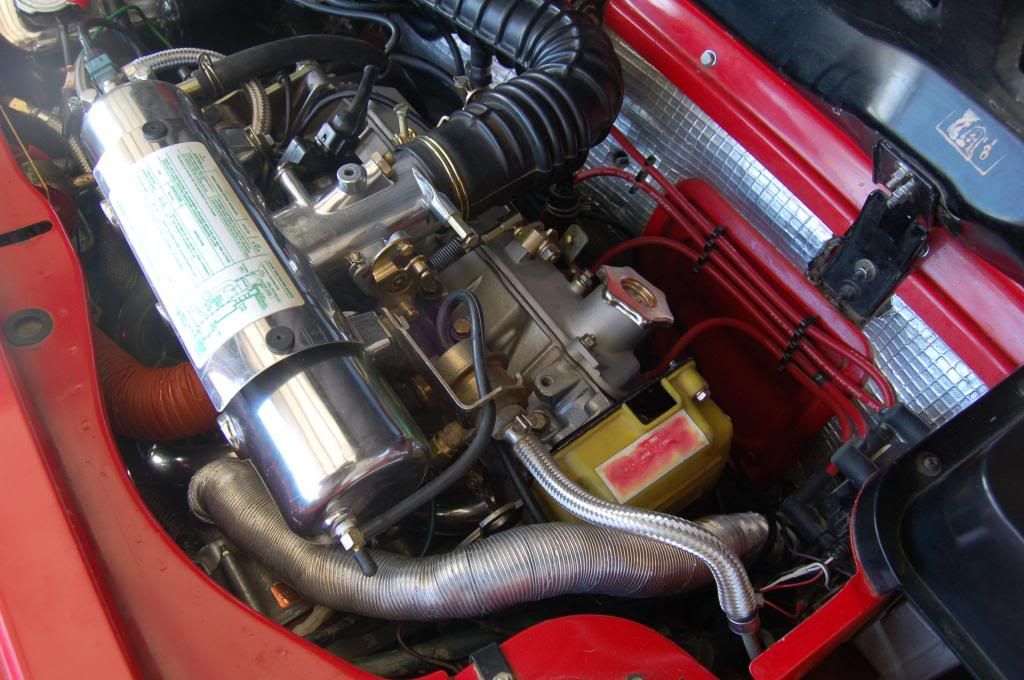
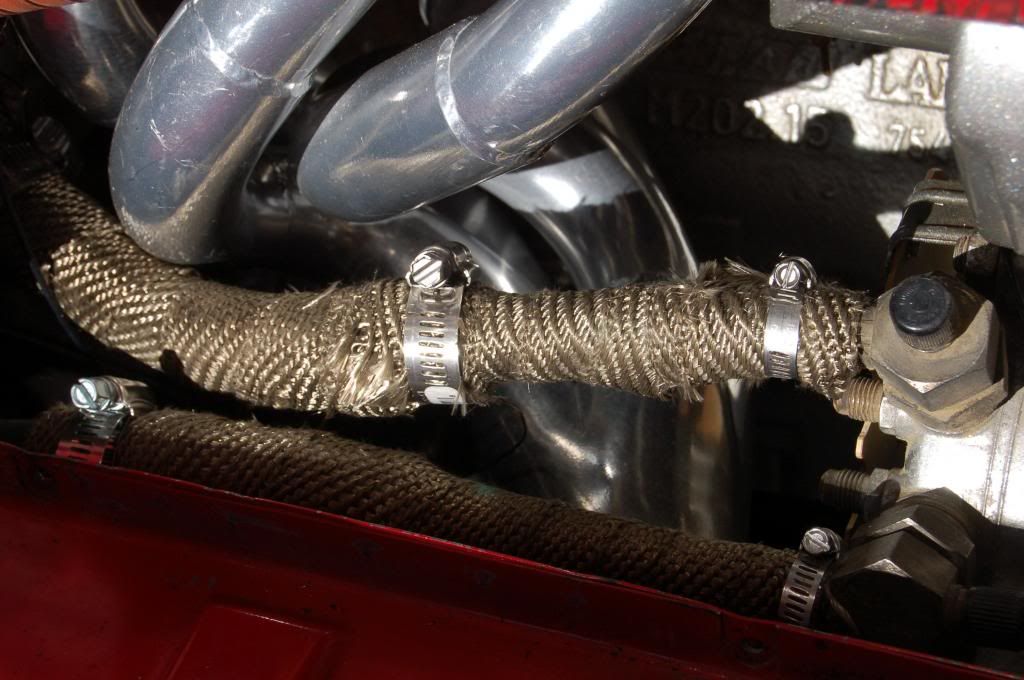
The pics below show a metal tube that may or may not be original equipment. Anyone know where I might get a new tube?
The existing tube is not Queen worthy. The 2nd pic shows just how out of place it looks in the engine compartment. Well …. It’s a little bent and dirty looking even though I scrubbed it.
After some consideration, I decided to wrap the AC lines with Header Wrap in the area where the heat shield protects the AC lines. I wrapped the one nearest the header tubes but I couldn’t get my hand in the small spaces to wrap the AC line nearest the flanges. Little hands was not home and wouldn’t be until near dark. I’m still hoping to meet my Tuesday drive/re-torque goals. Speaking of re-torqueing, on a FI car and the Queen is FI, I will have to remove the plenum and much of the associated lines in addition to the motor stabilizer bracket before there is enough room to get the "C" shaped tool in place.The pics below show a metal tube that may or may not be original equipment. Anyone know where I might get a new tube?
The existing tube is not Queen worthy. The 2nd pic shows just how out of place it looks in the engine compartment. Well …. It’s a little bent and dirty looking even though I scrubbed it.
strangepod
1987 Bertone X1/9
36" 1 1/2 diameter is what you need. I think Napa carriers them.. I found mine on ebay..
There are two head tools
Hi Jim,
Sounds like you are making great progress. I admit I have not kept up with everything in this thread, but I just wanted to point out that there are two special wrenches in the head torquing set. One is the "C shaped" you mention, but the other is more of a simpler offset head without a lot of curve to it. Perhaps that is the wrench the would fit on the plenum side? Just a thought.

Speaking of re-torqueing, on a FI car and the Queen is FI, I will have to remove the plenum and much of the associated lines in addition to the motor stabilizer bracket before there is enough room to get the "C" shaped tool in place.
Hi Jim,
Sounds like you are making great progress. I admit I have not kept up with everything in this thread, but I just wanted to point out that there are two special wrenches in the head torquing set. One is the "C shaped" you mention, but the other is more of a simpler offset head without a lot of curve to it. Perhaps that is the wrench the would fit on the plenum side? Just a thought.
Retorquing...
Retorquing... No harm in doing it, potential harm in not doing it.:2c:
Retorquing... No harm in doing it, potential harm in not doing it.:2c:
lookforjoe
True Classic
Everyone knows I'm the WORST source for info on how to do a head gasket, perhaps the BEST source on how NOT to do it?
Anyway. Like most things, there's a camp that says don't bother to retorque. Not saying that's a camp you should be in, just saying. Some don't retorque.
I didn't. I believed it was required of original Fiat gaskets. Don't see any reason to do it with a new (modern) head gasket. It's been over two years and reasonable amounts of driving for a problem to have presented itself, were it going to, IMO.
Bob and strangepod, thanks for the tube sources.
Jim D, thanks for the pic of the other tool. I was aware of the other tool, but had not considered it necessary when making the C tool because with the plenum off, the C tool worked great. I’m pretty sure that there is not enough clearance for the tool with the less radical angle with the plenum and motor support in place.
Part of Matt’s instructions were to re-torque and because he machined the head, I’m compelled to follow his instructions.
My wife has agreed to wrap the rest of the exposed AC lines with Header Wrap before we go skiing in the AM.:hug:
I confused myself after reading the shop manual about torquing and called Matt at Midwest Bayless. In addition to straightening me out, Mat told me not to reassemble the frunk inspection panel because I would have to remove it to gain access again.
I have called Matt many times over the course of trying to get the Queen's new head/cam/header installed :help: and each time he has been patient with me and gracious with his knowledge.:nod: Thanks Matt.
I have called Matt many times over the course of trying to get the Queen's new head/cam/header installed :help: and each time he has been patient with me and gracious with his knowledge.:nod: Thanks Matt.
lookforjoe
True Classic
Part of Matt’s instructions were to re-torque and because he machined the head, I’m compelled to follow his instructions.:
Makes sense. If he specifies a re-torque for you, then re-torque it should be.
The Queen is ready to roll, but unfortunately I'm not. I've got some kind of bug. I could handle the drive but not the tear down and re-torque in 27 deg. f. weather. I have been looking forward to experiencing the drive with the extra hp and torque and the disappointment is major. We are leaving for Tacoma this Friday so the Queen will sit for the 10 days that we are gone and you know what I'll be obsessed with:nod:.
My wife is a flower/garden lover and she will attend the Seattle Flower and Garden Show with her sister. We both fly fish and will attend the fly fishing show in Lynnwood.
I've got some kind of bug. I could handle the drive but not the tear down and re-torque in 27 deg. f. weather. I have been looking forward to experiencing the drive with the extra hp and torque and the disappointment is major. We are leaving for Tacoma this Friday so the Queen will sit for the 10 days that we are gone and you know what I'll be obsessed with:nod:.My wife is a flower/garden lover and she will attend the Seattle Flower and Garden Show with her sister. We both fly fish and will attend the fly fishing show in Lynnwood.
Last edited:
Hope you get better soon Jim,
If it's the cold bug that's been going around, you're looking at about 3 weeks. I never thought my el-factory could work that hard. :laugh:
Might be in your best interest to test the running for a while, especially if you haven't re-torqued the head down yet.
Let us know how it performs as compared to previous. :woot:
I'll post some photos when...
When I get all the pieces gathered together.
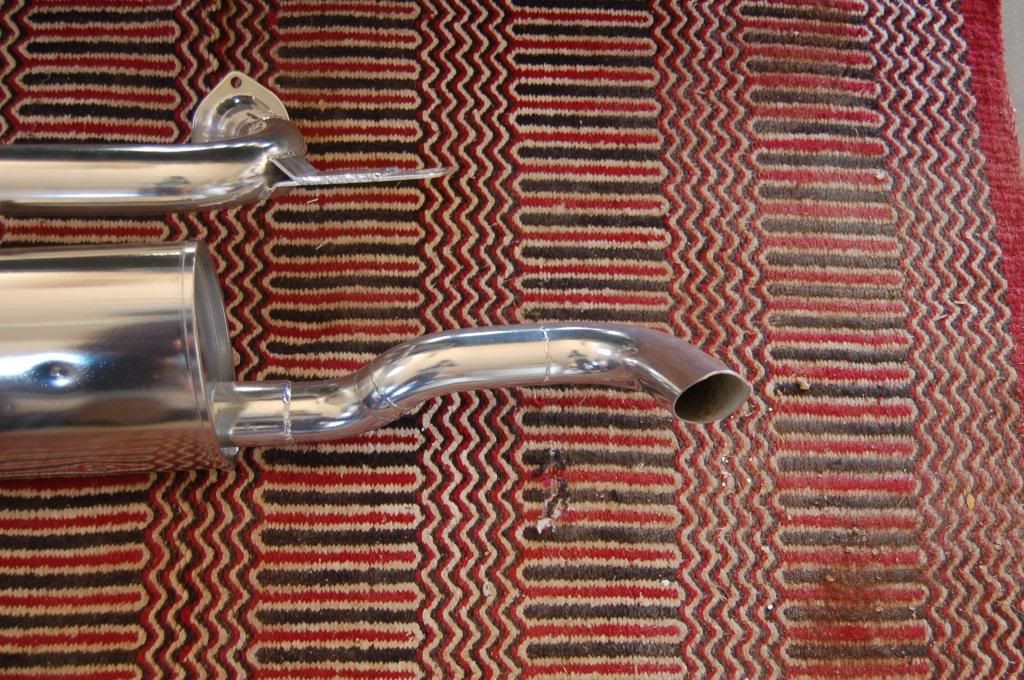
I've still got to order a bunch of stainless mandrel bends and decide the muffler of choice.
I'm looking for a quiet muffler that's stainless and polish-able. Any ideas or recommendations?
Again, looking for a quiet ride...
When I get all the pieces gathered together.
I've still got to order a bunch of stainless mandrel bends and decide the muffler of choice.
I'm looking for a quiet muffler that's stainless and polish-able. Any ideas or recommendations?
Again, looking for a quiet ride...