Working on the House....

Carpenter friend suggested double 9.5x12' LVL for the span, with double Jacks under each end, using the existing (100yr old) actual 2.5x4" studs I will be removing. Then hang the ridge beam with a proper joist hanger off the LVL


PXL_20240208_004546016.MP.jpg


Today I removed more of the siding and the old window rough opening

Tomorrow I'll remove the 4' x8" of the sheathing on the left, which will be leaving 2' of existing supports at each end.

PXL_20240207_224007383.jpg


PXL_20240207_224022755.jpg


PXL_20240207_224029245.jpg
 
Still in Garage Mode.

Supported the outside wall & removed the studs that fall between the (just under) 12' opening. I started on the left - I jacked the post until I heard the top plate/beam creak & stopped. With that I was able to sawsall the nails & the studs came out with no effort.

PXL_20240208_194904125.jpg

I checked the king & added jack for level. 2nd jack will go in after I get the 2nd LVL header up. I have fastenmasters 3.5" structural screws to tie the two plates once they are situated.

PXL_20240208_214244829.jpg

Added a support on the right, and removed the one stud there. Cut 3" off the ridge beam so it will sit flush with the LVL header

PXL_20240208_214221245.MP.jpg

PXL_20240208_214302190.jpg

PXL_20240208_214255245.jpg

PXL_20240208_223423438.jpg

The conundrum here is how to get the 2nd plate up. If you look at the above pic, there is only room to pivot the 2nd plate straight between the beam & existing new header. That doesn't work when both jacks are in place, as the header had to be angled to navigate into the space. I guess I can screw the 1st header temporarily to the support poles, then move the left king & jack over enough to swing the 2nd in place. Can't really see any other way of accomplishing this, working by myself. I don't have anyone around at the moment that can assist me, and the space issue would still be the same problem.

PXL_20240208_223415675.MP.jpg

Just enough room for the Z

PXL_20240208_223844163.jpg
 
Got the second ply in after work. One issue I missed yesterday was that I only cut 2.75" off the beam, instead of the 3" required for the two plates to squeeze in. Fixed that, then got the ply up in the ballpark, and used a pry bar to get the ply started behind the beam. After that I was able to see-saw the ply up level, then I walloped the left end in until it was flush on the right side king - put the left side jack back in, and just added some screws to hold the header in place & level. Tomorrow I'll wrap that up & add the secondary jacks on either side

PXL_20240209_205455227.jpg

PXL_20240209_210104010.MP.jpg

PXL_20240209_205627513.jpg

Since I don't have any g clamps deep enough to reach over halfway up the ply, I'm using the long pry bar leveraged through the g clamps to push the two firmly together at the top, and I will screw the beams together this way, working my way along the top first, then the middle & bottom

PXL_20240209_215251485.jpg
 
Finished up the header, added the double jacks. I went 2 row 16" OC for the structural screws, based on the advice from the local lumber yard I bought the LVL from. I don't think my drill would have liked 3 rows, I had to stop halfway & let the drill cool down, even with lubricating the screws.

PXL_20240210_163131396.jpg

PXL_20240210_164703253.jpg

Joist hanger placed on the ridge beam. Started putting up foam insulation for the walls & roof

PXL_20240210_174829231.jpg

PXL_20240210_193603154.jpg

PXL_20240210_193559479.jpg

PXL_20240210_205020931.jpg

PXL_20240210_214456593.jpg
 
Odds & ends today. Finished up the roof insulation , just have to add some foam to some seams where there is gappage.
PXL_20240211_160146654.jpg

Put another 3/4 ply on the floor on the left
PXL_20240211_211633597.jpg

Finished the sealing of the window exterior, and the sheathing up to the edge of the rough opening. We have 5-7" or maybe more snow coming Tuesday, so I need to stow the new siding, etc , tomorrow after school.
PXL_20240211_220731357.jpg

Have to make sure the Fiat is not being left outside the bodyshop, if they are not finished tomorrow.
 
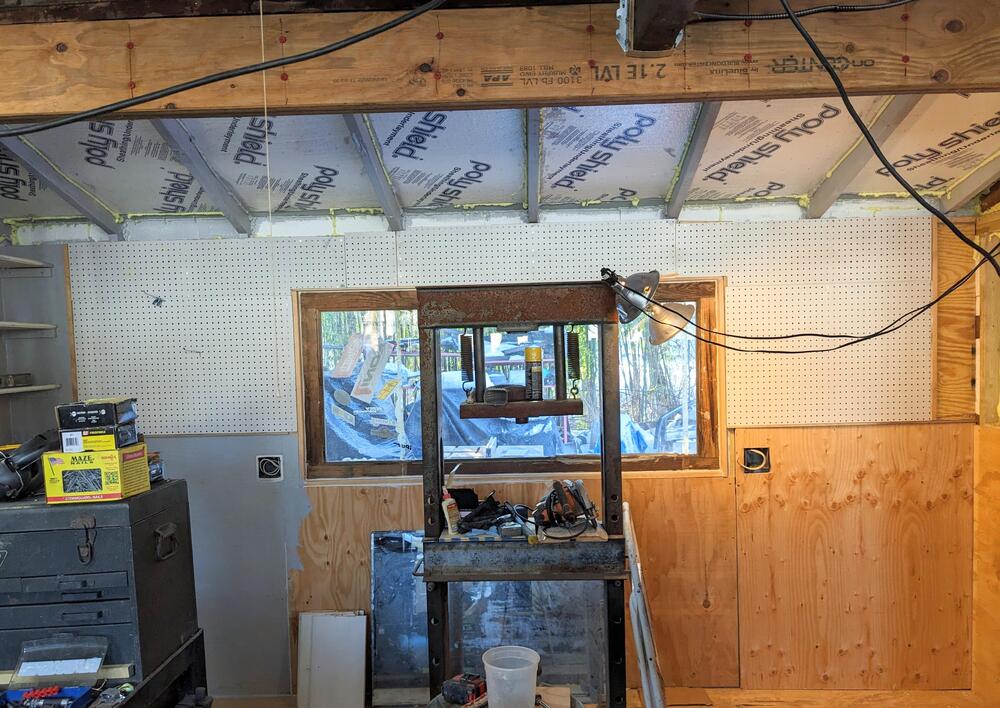
Started clearing the back wall yesterday. The enclosed awning will definitely make life easier, I will move the benches & tool box back there, which adds about 5' behind the Fiat. That will be enough to have the Datsun or even the pickup truck inside & be able to work on it in the dead of winter.
I found out from the meeting with one of the town building inspectors that I would be most unlikely to get approval for an additional structure of the size I wanted added to the existing garage, due to both current zoning codes and the fact that I'm in a hamlet, which apparently means any plans have top go before an architectural review board, not just the building inspectors. Reviewing my property survey, he intimated that would be a significant issue, given all the variances that would have to be factored. Apparently even a shed over 12x12' has to have a permit in our town. However, he told me that what doesn't need any kind of permit is a 'patio'. Basically, I can have a slab off the garage, just has to be 10' from the side & back. I can easily add a 16x18 concrete pad without it sticking out more than about 6' from the existing side of the garage facing the house. I'd rather have an enclosed space, but a pad would still work for me.


View attachment 81257

View attachment 81258

View attachment 81259

Started framing the enclosure yesterday also - the end wall is approx 14'. Add the first top plate with the rafters cut with 'birdsmouths', or chocks on the ones that didn't align well enough.
View attachment 81260

Today I added the 2nd top plate & started placing the studs 16" OC across the span. Had to make drawings to figure out the lumber & the placement of the large fixed window that I will move from the existing back wall. Calculating the cut lengths needed from the lumber lengths available is always a challenge for me, so this at least helps me mostly get it close. The window is actually 75x36. I also found my local lumber yard (vs. the box store) had the period correct 1x6 'clapboard/ lap siding' that matches the existing siding. It's now called Novelty Siding. Hopefully I'll finish the framing & sheath the walls tomorrow, and maybe get some of the siding up. The short end wall I will side with cut pieces from the old wall, there is enough length to cut off the 54" length I need for that. That will also help make it look more original from the street, since that's the only part that is really visible without entering my yard.

View attachment 81261

View attachment 81262
This is why I like Sketchup. I am making my in-house storage room a formal space and extending the finished space at my house.

IMG_3012.png
 
This is why I like Sketchup. I am making my in-house storage room a formal space and extending the finished space at my house.
I like that! I'm thinking now I should add on to the north face, where I can potentially add another 5-6ft without getting too close to the house. That would give me enough room to move much of my clutter/equipment out of the main floor space. It would be similar to what I've done on the back, just a touch deeper & wider. I really don't want to pay an architect to develop plans for me to submit, I'd rather do it myself. With Sketchup, you can plug in the existing framework, and then move things around?
 
There are three versions of Sketchup. A free online version accessed using your browser. The Pro version which runs standalone and comes with a secondary drawing management/creation software called Layout. There is a third version, which I have but don’t use much, which runs on an iPad.

I use the Pro version. I would be happy to take your model and create a submittal package using Layout for you.

There are many videos available through Trimble on how to use the software which is fundamentally simple but can do a great deal, I use it for work everyday. There are a huge number of Youtube videos by many users.s

I may have a copy of the old “Make“ version which is standalone on your computer and free to use, it works very well.

The base pointers I will give is group elements as you make them to make objects. When you need multiple identical objects, like studs, turn those into a component which will speed performance and make it easy to count the number of them.
Thank you Karl, I would certainly like to take you up on that once I get the basics figured out.
I'm going to have to do some research on how to construct basic elements such as the studs in the web version - looking online at videos of "constructing wooden framing" - the palette has many more options than the web version.

Screenshot 2024-02-14 at 8.27.25 PM.png


Screenshot 2024-02-14 at 8.36.53 PM.png
 
Last edited:
  • Like
Reactions: 86X
Thank you Karl, I would certainly like to take you up on that once I get the basics figured out.
I'm going to have to do some research on how to construct basic elements such as the studs in the web version - looking online at videos of "constructing wooden framing" - the palette has many more options than the web version.
Yeah the two versions are massively different. The old stand alone Make is very much like the modern shipping version of Pro just without all the bells and whistles in terms of export and Layout..

I could do a Teams call with you and give you a one on one tutorial. Teams can run on an iPad or computer and is a free download.
Thank you Karl, I appreciate your assistance immensely!
I played around with it today, and kind of figured out how to make a stud, but seems tricky to set dimensional parameters at the standard viewing scale. I tried zooming in, without much success. Anyhoo...
I am off school next week, so if there is a day/time that is better for you, I will work around that. I'll pm you a little later so we can figure that out. Again, much appreciated!
 
There were two 40+ ft pines behind my garage, on my neighbor's property - one came down yesterday while I was in the garage around 4:30 - I heard the ripping and crash where it came down alongside the front of my neighbor's home. Just missed wiping the whole front off. He wasn't home - so I called to prep him for the mess he would have to face.

I was working on repurposing the old siding & facia trim on the short edge of the addition. I have new siding for the West face.

PXL_20240215_221957448.jpg

The remaining pine (to the right in my pic, behind the bamboo) is mostly dead, so he is getting it removed ASAP

PXL_20240215_223220396.jpg
 
Last edited:
Thank you Karl, I appreciate your assistance immensely!
I played around with it today, and kind of figured out how to make a stud, but seems tricky to set dimensional parameters at the standard viewing scale. I tried zooming in, without much success. Anyhoo...
I am off school next week, so if there is a day/time that is better for you, I will work around that. I'll pm you a little later so we can figure that out. Again, much appreciated!

The offer to assist is open to others as well :)

The web based free version isn’t nearly as easy to deal with as the computer based version but it can still get the job done.

Happy to help.
 
I've got a fair amount of my basement covered with that stuff. Works great for organizing tools and keeping them in plain sight. I used the thicker version of the board since I already had all the fixtures for the heavier board from my last house.
 
I've got a fair amount of my basement covered with that stuff. Works great for organizing tools and keeping them in plain sight. I used the thicker version of the board since I already had all the fixtures for the heavier board from my last house.
Nice. The available stuff here is only 1/8 in, but the hardware says it works with one eighth inch or one quarter inch. Feels a little bit floppy to me, so I may have to snug the back side of them.
 
Had almost 2 hours after Pilates with the Mrs. this afternoon, so I managed to get the 9" deep shelving up on the end wall, about 10-in inside spacing between them, except for the bottom one that is a little over a foot to allow for gallons of coolant etc
PXL_20240217_220805023.jpg
 
Last edited:
Primed the end wall. It's was about 20° in the garage at that time, so I'm not expecting it to dry anytime soon. I think I'm going to look for a light gray paint for the top coat.

PXL_20240218_155713872.jpg

Added more foam and sealing foam behind where the pegboard is going, since it can't have that layer of sheathing like the bottom half. I did do the same on the left side.

PXL_20240218_202903229.jpg

Cutting all the large pieces of wood outside, it was up to about 25°, so not absolutely frigid for short durations. Pegboard on the right is also done now. The panel below it is not secured yet, I still have to do some more wiring. I forgot to add an outlet to the outside wall. So I will run that through that North wall, behind that lower sheathing.

PXL_20240218_205249238.jpg

Did a little more priming here and there to even it out. Have to do the inside facia for the window trim - I'm using 1x3, the old stuff was that size, so can I reuse some of it, and I bought two 8 ft lengths to do the top and bottom

PXL_20240218_205258740.thumb.jpg.5270347e187e576f1d44d01bcc599332.jpg
 
Last edited:
Added some more trim to the exterior framing

PXL_20240219_163423755.jpg

Started on making the bench. setting it at 32", so that the added vice height will be around 40" or so

PXL_20240219_191319739.jpg

framing for the window trim, sill cut, side sections cut from old 1x3

PXL_20240219_211606226.jpg

1x3 top plate installed

PXL_20240219_212813966.PORTRAIT.jpg

cut & fitted the north end wall plywood. I'll make shelves for this side, 9" deep to edge of pegboard

PXL_20240219_222442361.jpg

new wiring box (next to power strip) for power supply & switch that feeds the new outlets and ceiling light fixture, have to decide where to tie it into existing circuitry. At some point I need to install a new mains panel, with 240v supply.

PXL_20240219_222749716.jpg
 
  • Like
Reactions: 86X
Back
Top