87 Dash / Binnacle Modification

Looks like it's coming along nicely.

I know what you mean about adhesives, I have a collection of them as well. Most don't work all that well in my opinion. And the claims made by many are simply false. There is a lot of chemistry to it, and as much as I had to learn about chemistry in my training, I still don't know that much in this regard. But some of the two part products like the SEM bumper adhesive you pictured seem promising.

What you did was what I meant earlier - for the mounting of the 3-gauge center panel to match the mounts for the main cluster. But I still like Bjorn's idea of a 1-piece cover for the center section. And yes, it is very easy to suggest more work for other people. :p

I agree, many of the bonding claims are pure BS. I test them on scraps if I'm not sure, that's how I figured out only the cyanoacrylate worked on the binnacle material.

The idea of a single panel had crossed my mind. The issues are several - the AC control cover is not a simple affair - not the least of which is that the openings are sleeves with a guide channel to prevent the buttons from binding. If I made it one panel, I would have to remove the entire thing for servicing, not ideal. I also like having the two areas offset, I think it looks better than one plane, even with the angled center.
 
Drilled the indicator light positions. Rearranged somewhat.

IMG_20201223_104231.jpg


Thin coat of UPOL gold filler to smooth the irregularities from my cutting work - using the old dash from the parts car for support.

IMG_20201223_153515.jpg
IMG_20201223_153531.jpg


Finished up the center panel support

IMG_20201223_192004.jpg


Looks pretty good, I think. Instead of covering the lip with the vinyl I used on the binnacle, I glued the lip on top, to give the edge definition. Without the means to stitch a seam in the vinyl I didn't want a folded edge.

IMG_20201223_200128.jpg
IMG_20201223_200207.jpg


Happy with the reduced offset from the dash to the binnacle lip, and the step reduction of the top

IMG_20201223_201846.jpg


My dash has one crack to repair on the right of the center vent.

IMG_20201223_200158.jpg
IMG_20201223_200141.jpg


AlpineTech 8mm indicators - with these I don't need the stickers I had for the generic fittings used on the earlier version

IMG_20201223_195550.jpg
IMG_20201223_195703.jpg
IMG_20201223_195721.jpg
IMG_20201223_195738.jpg
 
Last edited:
You work quickly. Gluing the front edge back on without covering it looks a lot cleaner that I imagined it might; I thought for sure the whole thing would need to be recovered to make it appear decent, but it turned out great. ;)

I found similar indicator LED's with "icons" (symbols) on them in a few sizes and styles, and a lot of options to choose from for the image, on AliExpress. But I'm waiting until I decide how I want to design my dash layout before I buy them, so I can't report how they look yet.

Now that we know these dashes are a solid material, I'm surprised how badly they crack. Maybe it doesn't make much difference but I'd imagine being a thick chunk of molded material would make them pretty resilient to that. Mine has the same crack but on both sides of the center vent, which seams to be very common. So perhaps there is something about the design that made this area more stressed.
 
Drilled the indicator light positions. Rearranged somewhat.

View attachment 40307

Thin coat of UPOL gold filler to smooth the irregularities from my cutting work - using the old dash from the parts car for support.

View attachment 40308View attachment 40309

Finished up the center panel support

View attachment 40310

Looks pretty good, I think. Instead of covering the lip, I glued that on top, to give the edge definition. Without the means to stitch a seam I didn't want a folded edge.

View attachment 40311View attachment 40314

Happy with the reduced offset from the dash to the binnacle lip, and the step reduction of the top

View attachment 40322

My dash has one crack to repair on the right of the center vent.

View attachment 40320View attachment 40321

AlpineTech 8mm indicators - with these I don't need the stickers I had for the generic fittings used on the earlier version

View attachment 40316View attachment 40317View attachment 40318View attachment 40319
I suppose you’ve heard more than once that Marshall gauges should go ‘one number more’, right?
 
You work quickly. Gluing the front edge back on without covering it looks a lot cleaner that I imagined it might; I thought for sure the whole thing would need to be recovered to make it appear decent, but it turned out great. ;)

I found similar indicator LED's with "icons" (symbols) on them in a few sizes and styles, and a lot of options to choose from for the image, on AliExpress. But I'm waiting until I decide how I want to design my dash layout before I buy them, so I can't report how they look yet.

Now that we know these dashes are a solid material, I'm surprised how badly they crack. Maybe it doesn't make much difference but I'd imagine being a thick chunk of molded material would make them pretty resilient to that. Mine has the same crack but on both sides of the center vent, which seams to be very common. So perhaps there is something about the design that made this area more stressed.

Jeff - the dash itself is steel frame, covered in foam, then the hard vinyl . Only the binnacle is rubber. I'm pretty sure the dashes crack cos they don't install them properly at the factory - both of mine were jammed onto the mount tabs rather than inserted between the tongue and outer tabs, so the panel is stressed from the get-go 😡 I think the glovebox hinge support bracket also puts a load on the right side of the vent - it's right under the crack.

If it wasn't clear I covered the binnacle in vinyl, just glued the lip on top of the facing edge.
 
I suppose you’ve heard more than once that Marshall gauges should go ‘one number more’, right?

Is that like Spinal Tap's dial going to eleven? 😁

I'm not familiar with any history of Marshall gauges, I only bought them because MWB recommended them with K-conversions.
 
Cut off stock DS vent, bonded a section of 2" ABS plumbing pipe, set the angle to clear the deep bulb socket on the gas gauge. Shrink wrap makes the heater/vent hose a good fit

IMG_20201224_110013.jpg


Snug against the brackets now - ovalled the hose

IMG_20201224_112229.jpg


IMG_20201224_112240.jpg


Cut back the PS vent - hose fits OK over remains

IMG_20201224_141319.jpg


IMG_20201224_141324.jpg


Shrink-wrap over repaired neck , dremeled out the 1.5" holesaw to fit the tweeters - driver's side

IMG_20201224_163919.jpg


grilles are 44mm ID, 49mm OD - will finish the opening once I have them in hand, to be safe

IMG_20201224_164029.jpg


passenger side

IMG_20201224_165924.jpg


IMG_20201224_170208.jpg
 
Merry Christmas to all.

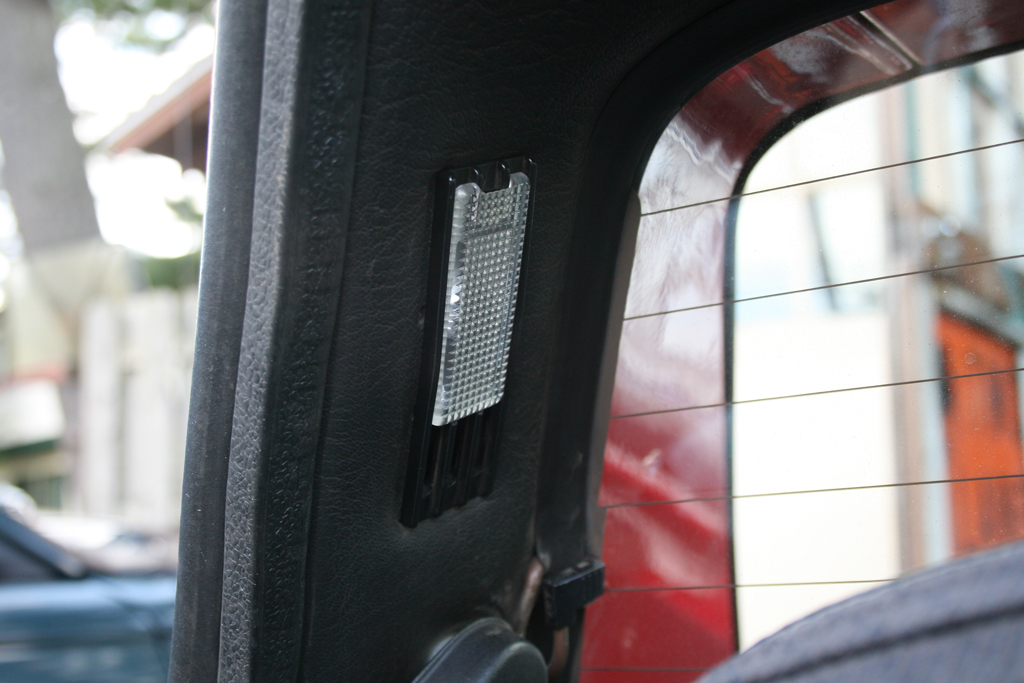
Added "puddle" illumination - under dash lights from a V70 - put them at the lowest point, so they should point at the floor, rather than at passengers. Don't know about anyone else, but I can't see **** under there in partial light.
IMG_20201225_150349.jpg
IMG_20201225_150353.jpg


Markup for the recess for the speedo GPS , to not have to have it on top...

IMG-20200219-153812.jpg


IMG_20201225_141257.jpg


IMG_20201225_150408.jpg


Have to deal with some sort or surround/trim. I really don't want to vinyl cover this dash.

IMG_20201225_150455.jpg
 
Last edited:
dded "puddle" illumination - under dash lights from a V70 - put them at the lowest point, so they should point at the floor, rather than at passengers. Don't know about anyone else, but I can't see **** under there in partial light.
Great minds....that's what I am doing also. Except not Volvo items. I have some basic small LED's that I'll stick through the underside of the dash from below - aiming down as you say. I'm hoping they'll provide enough light to eliminate the stock interior lights. One of mine has it on the targa bar and another has them on the door panels. I don't care for either too much.

No idea if this might work as a means of finishing your dash, but it looks like it might be promising. I think someone here on Xweb posted this of their dash? Can't remember. But basically a textured finish and then a top coat...
IMG_20191222_153301-L.jpg

IMG_20191222_153751-L.jpg


I'm not sure how much the texture will hide under it, but it can be built up with a couple coats. I'll experiment with something like this on one of my cars at some point.
 
You apparently have nice shoes which are worth seeing. What do you expect to find down there? :p

I have been thinking the same thing, lighting in an X is abysmal. I was thinking LED strips but you can’t beat a Volvo part in a Fiat.
 
One of mine has it on the targa bar and another has them on the door panels. I don't care for either too much.
I thought the light on my targa bar was pretty useless until I replaced the bulb with a really bright 39mm 380 lumen LED festoon. The difference is quite impressive. I noticed that the Wheeler Dealer's X had a really dim bulb on the targa bar as well. I don't know if those bulbs have got dimmer over time but with the original it was hard to tell if the light was even on unless it was pitch dark out.
 
Last edited:
Great minds....that's what I am doing also. Except not Volvo items. I have some basic small LED's that I'll stick through the underside of the dash from below - aiming down as you say. I'm hoping they'll provide enough light to eliminate the stock interior lights. One of mine has it on the targa bar and another has them on the door panels. I don't care for either too much.

No idea if this might work as a means of finishing your dash, but it looks like it might be promising. I think someone here on Xweb posted this of their dash? Can't remember. But basically a textured finish and then a top coat...

I'm not sure how much the texture will hide under it, but it can be built up with a couple coats. I'll experiment with something like this on one of my cars at some point.

I looked at that approach as it would be easier than dealing with wrapping all the compound curves. It's the same as the one I linked from the Bimmer forum - I don't think I care for the rough texture - I prefer the faux leather grain.

cut back the edges of the crack & filled it with a foamcore bond, then covered with a thin bead of a different silicone that works with vinyl

IMG_20201225_182701.jpg


experimenting with a thin vinyl (non-backed) that I may use to cover the dash top

IMG_20201225_182638.jpg
 
Last edited:
I looked at that approach .... It's the same as the one I linked from the Bimmer forum
If you posted it earlier then that's probably where I got it from, I thought it was somewhere on Xweb that I saw it.

If that "grained" covering works then it would be better, it certainly seems to be thin. What is "non backed" vinyl?

And what adhesive are you referring to as "foam core bond"? I'll need to fill the cracks on mine too. Typically I see that most people use body filler, but to me that doesn't seem the best product for this application.
 
Decided I had to cover the dash top - I introduced new cracks when I cut the tweeter & GPS openings.
I covered it first with 1/16" neoprene foam, to balance out some of the imperfections in the surface then an adhesive backed vinyl.
Not sure about covering the glovebox door, it's already too heavy

IMG_20201226_141325.jpg


The repair ridge us still visible though

IMG_20201226_161945.jpg
IMG_20201226_164406.jpg
IMG_20201226_164426.jpg
IMG_20201226_172839.jpg
IMG_20201226_172850.jpg
 
Last edited:
Back
Top