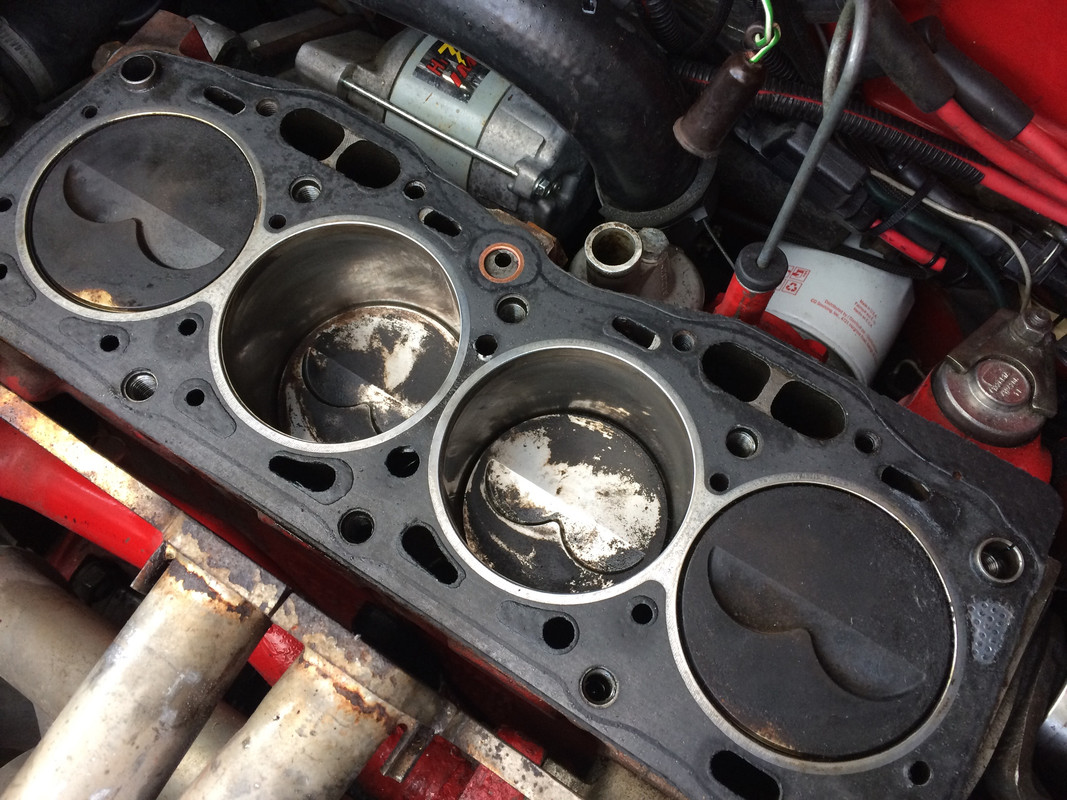
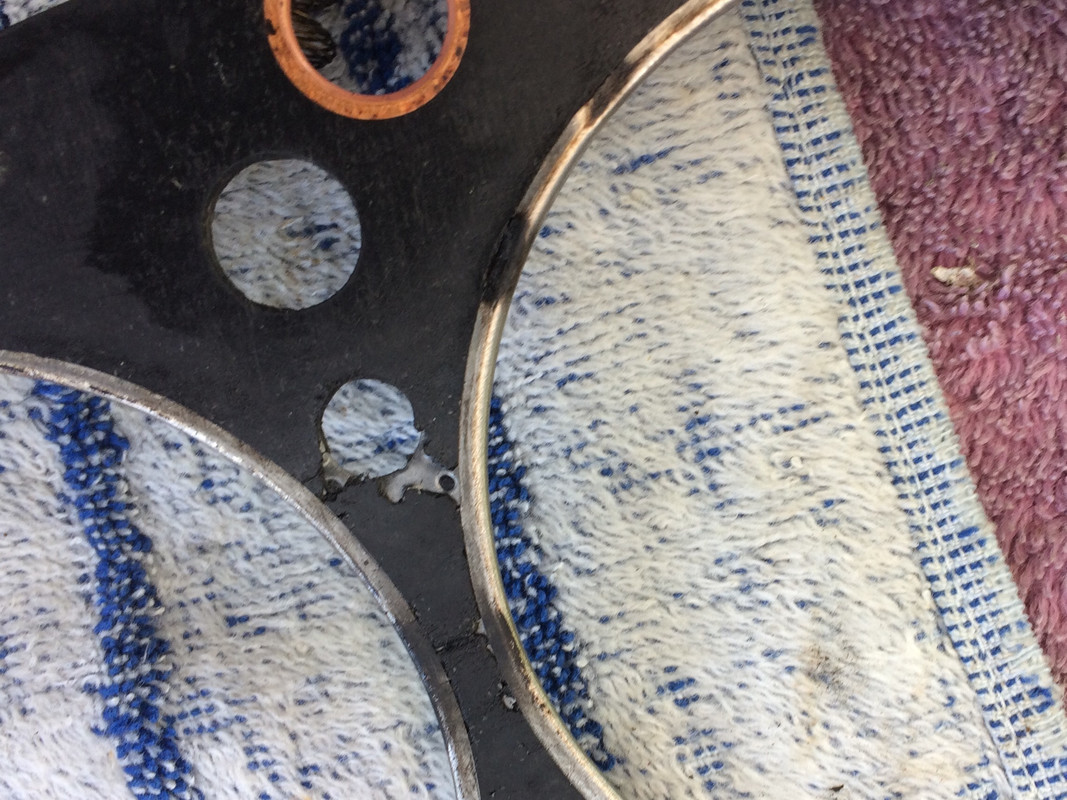
Someone will certainly correct me if I am wrong, but I believe the "4th" hole you need to worry about would be in the head, not the t-stat housing. The early carbed 1500 engines (79-80) still had the EGR circuit with the 4th hole in the head. There were 2 t-stat gaskets and you had to be careful to get the correct gasket for what you were trying to accomplish with the EGR circuit. If you were eliminating it, you wanted the gasket that blocked the hole, if you were keeping the EGR circuit you wanted the gasket that allowed coolant to flow thru the hole. These pictures were made by AnthonyG many years ago when he was trying to get the proper gasket for his desmogged 79 1500.
View attachment 27807 View attachment 27808 View attachment 27806
Having said all that, I believe your head doesn't have 4th hole necessary for the EGR circuit. I notice you didn't provide a picture of the gasket you have in hand. What does it look like? I am curious, even though I think the later heads didn't have the EGR circuit and the gasket type issue is moot. You can read the
MWB description on the "open" t-stat gasket and see the "not for EGR equipped cars" mentioned.