
Tavalin
Florida Mike (again)
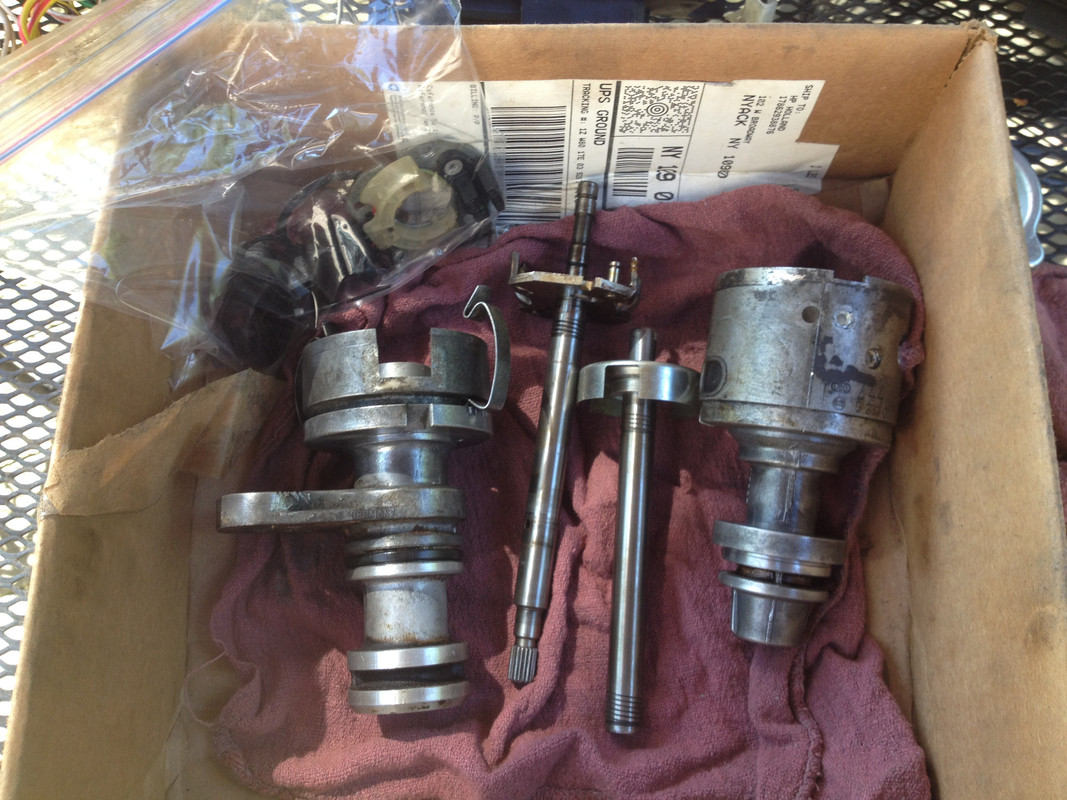
When I put the cap back on from verifying that the rotor was still pointing at number four plug I must have not put the clips all the was on. When I attempted to start the engine the one clip failed and the cap popped up and the clip fell into the distributor. I heard a crackling noise and stopped trying to start the engine. Now, the engine just turns over and tries to start with a small sputter here and there but nothing is really getting to the plugs.It is not obvious to me how you could burn up the distributor. I don't think even connecting the pickup coil across the battery would do that since it is a very high impedance. Can you describe what you did so the rest of us can avoid doing the same in the future?
I should have taken a break but I am stubborn and wanted it finished.
I don’t really know if it is burned up or just plain broken but something is wrong with the distributor.
Dumb mistake that could have been avoided.
Mike

![001[1].JPG](https://xwebforums.com/forum/data/attachments/25/25233-51ffc9d510c057e36bfa83ec3e0396ed.jpg "001[1].JPG")
![996E9BB4-F362-40BB-8289-AC489961FAC2[1].jpeg](https://xwebforums.com/forum/data/attachments/25/25234-38bbc7dd2a2c48edb78cdd57a4988bce.jpg "996E9BB4-F362-40BB-8289-AC489961FAC2[1].jpeg")