Performing Honda K24a3/AST5 6spd Conversion

You forgot the picture of the long IKEA shoehorn to guide it out…

Painful.

Definitely looks like soot up the back of the valve cover or at least a lot of heat.
That's from the old header - leaked like a sieve back there

Got the motor apart today.

Looks like I dodged the bullet on the valves - no apparent damage, no marks in pistons. Having the machine shop check the valves anyway

PXL_20220727_175727424.jpg


PXL_20220727_173357959.jpg
PXL_20220727_173343218.jpg


no sign of trash in the motor - only scored guides

PXL_20220727_164848441.jpg


PXL_20220727_164858498.jpg


PXL_20220727_164852898.jpg


On the #4 cylinder oil consumption front - #4 piston, no sign of damage to it or rings

PXL_20220727_224359708.jpg


PXL_20220727_224430023.jpg


Bore is a another story - pretty sure my problems stem from the rust area seen below

PXL_20220727_173434619.jpg


PXL_20220727_220830757.jpg


PXL_20220727_220859520.jpg


Started transferring parts to the replacement short block

oil baffle, RSX oil pump, Blox baffle - note 7/27 - still have to tighten the one forward baffle nut

PXL_20220727_213752021.jpg


PXL_20220727_213807593.jpg


Oil pump chain, crank gear, tensioner, guide

PXL_20220727_213801885.jpg


Oil cooler, oil pressure sender gauge adaptor

PXL_20220727_224416999.jpg


PXL_20220727_224619162.jpg
 
Last edited:
That's from the old header - leaked like a sieve back there

Got the motor apart today.

Looks like I dodged the bullet on the valves - no apparent damage, no marks in pistons. Having the machine shop check the valves anyway

View attachment 64257

View attachment 64255View attachment 64254

no sign of trash in the motor - only scored guides

View attachment 64250

View attachment 64252

View attachment 64251

On the #4 cylinder oil consumption front - #4 piston, no sign of damage to it or rings

View attachment 64263

View attachment 64265

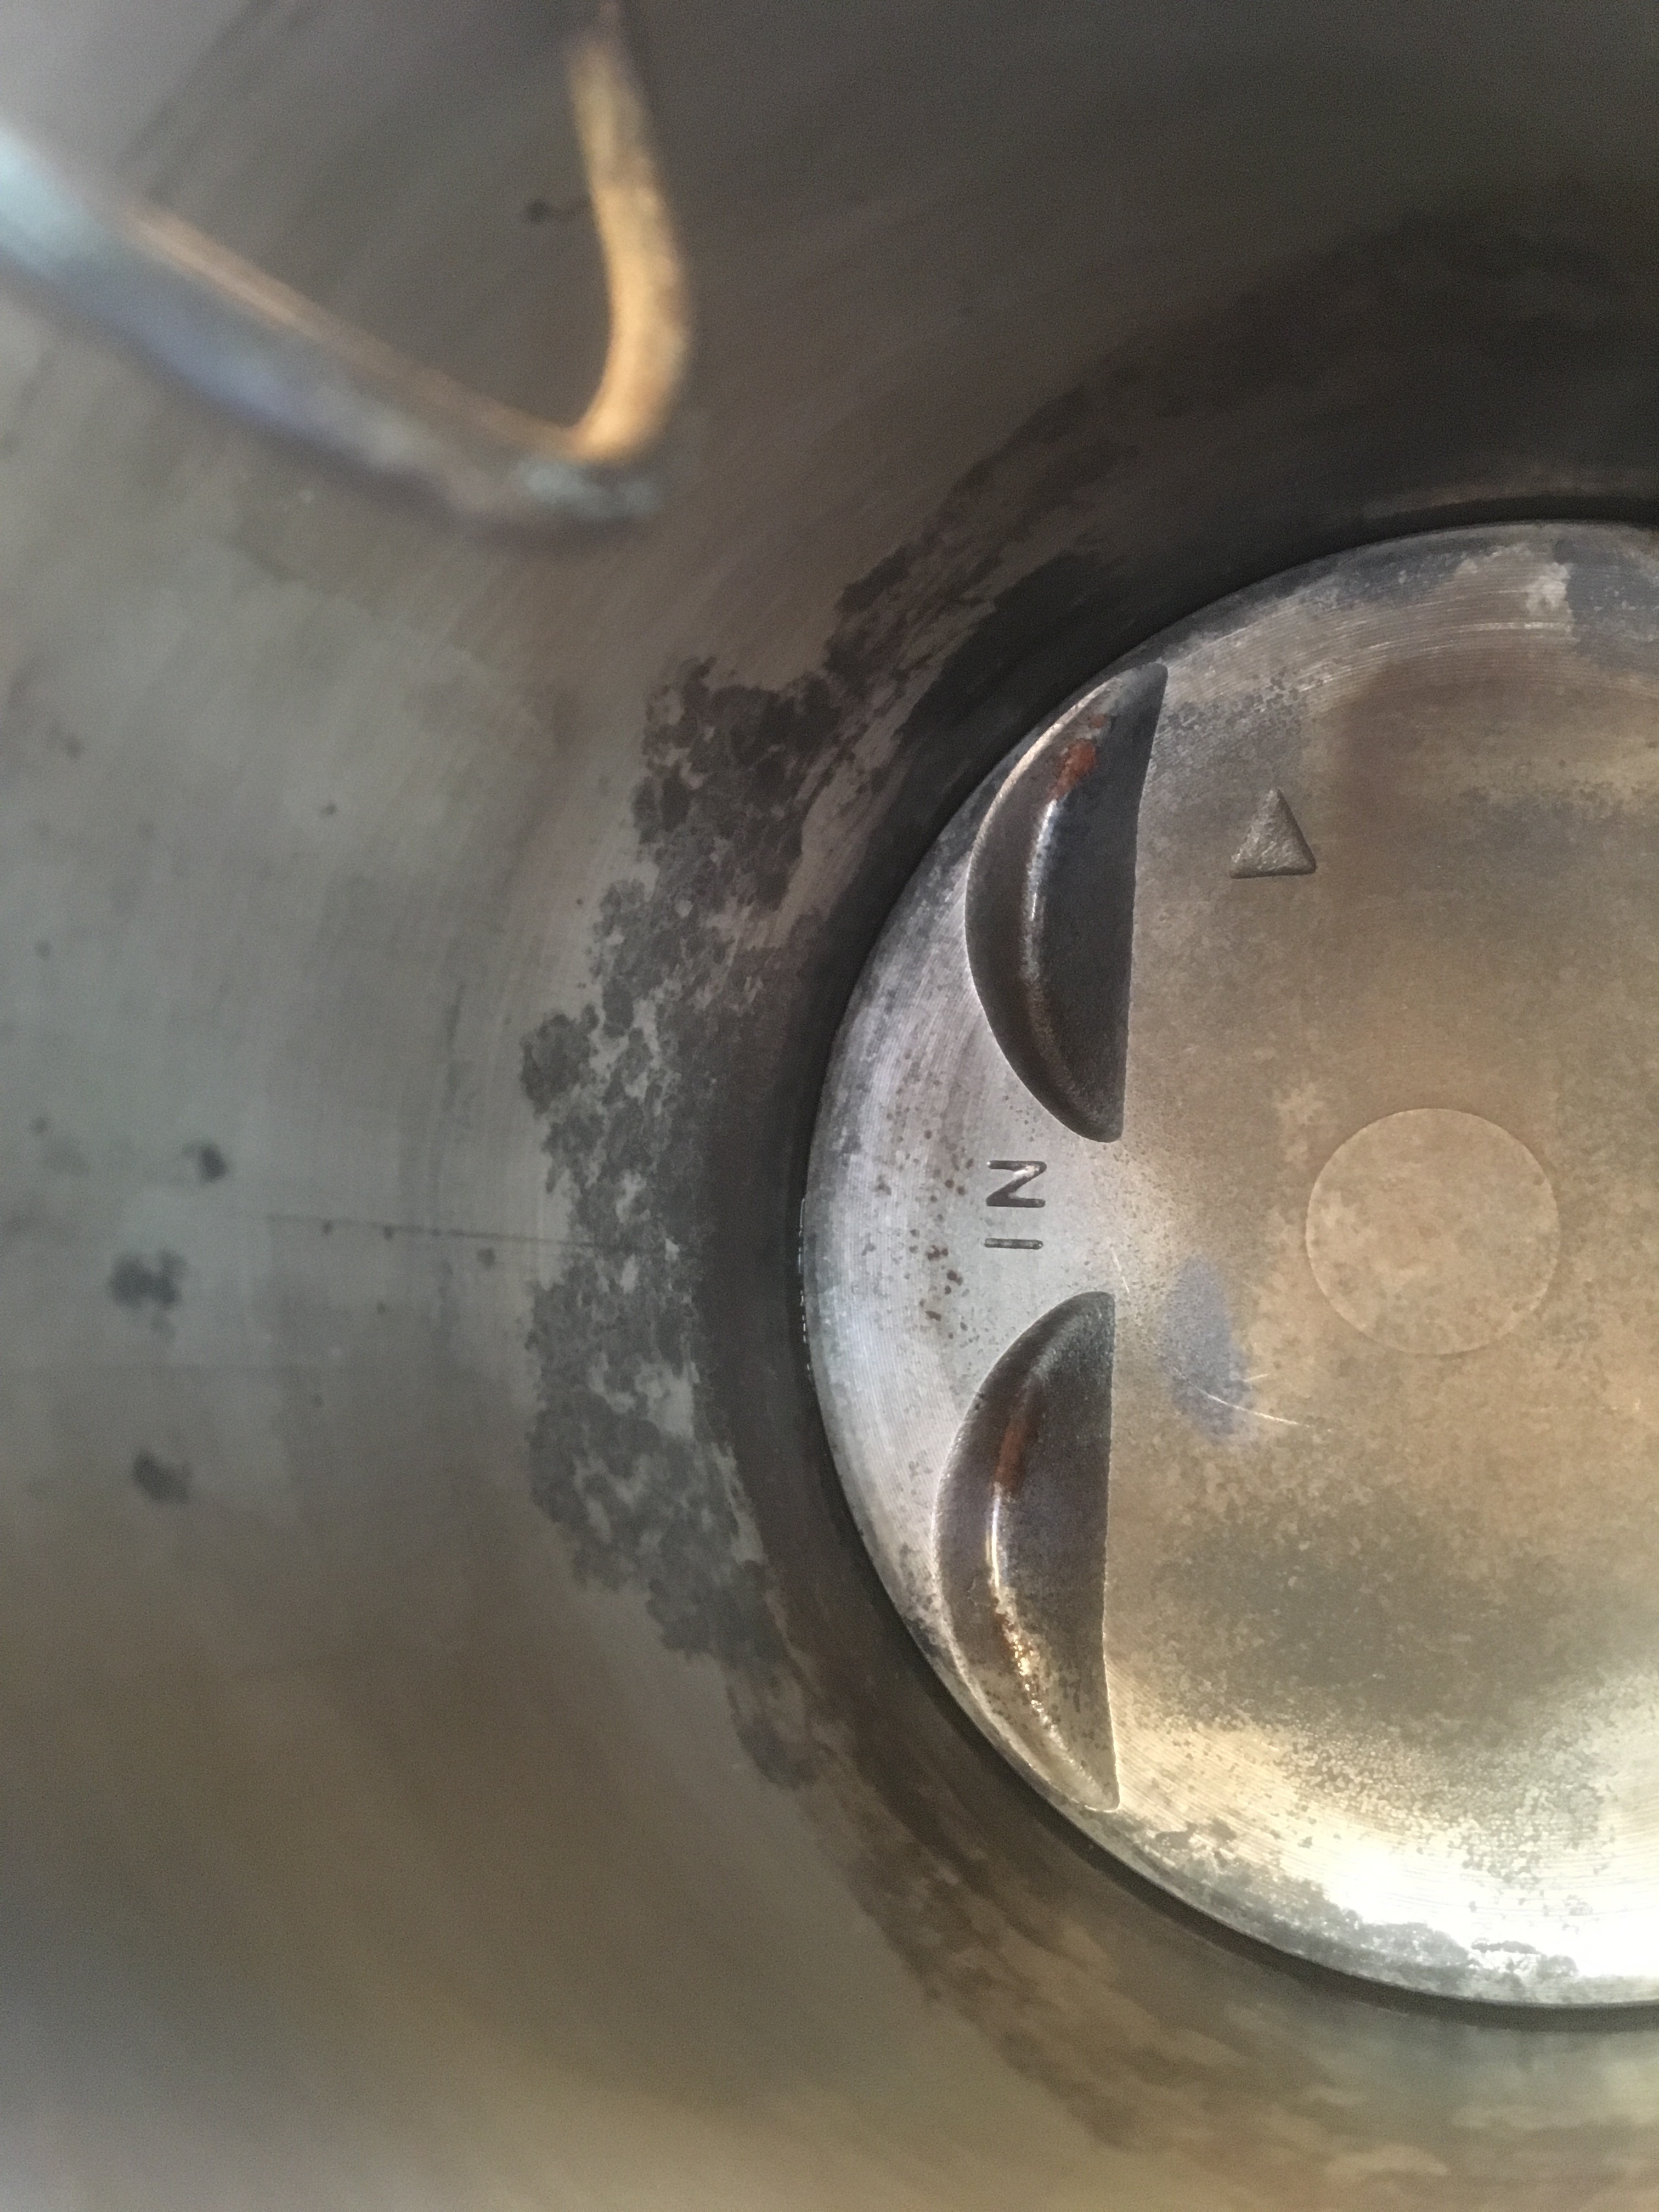
Bore is a another story - pretty sure my problems stem from the rust area seen below

View attachment 64256

View attachment 64261

View attachment 64262

Started transferring parts to the replacement short block

oil baffle, RSX oil pump, Blox baffle - note 7/27 - still have to tighten the one forward baffle nut

View attachment 64258

View attachment 64260

Oil pump chain, crank gear, tensioner, guide

View attachment 64259

Oil cooler, oil pressure sender gauge adaptor

View attachment 64264

View attachment 64267
Nice to be just moving parts and not engineering the solution as you apply them.

That bore looks like additional wear up above the rust damage as you can see the hone marks worn away and vertical scoring.

New pistons and rings for the new block I presume?
 
Looks like I dodged the bullet on the valves - no apparent damage, no marks in pistons. Having the machine shop check the valves anyway

View attachment 64261

First, super duper congrats on no valve damage. I am shocked, but happy for you.

You mentioned rust in #4. Am I seeing this wrong, or does this cylinder have a nasty gouge? It almost looks like somebody took a die grinder and cut into the cylinder.
 
First, super duper congrats on no valve damage. I am shocked, but happy for you.

You mentioned rust in #4. Am I seeing this wrong, or does this cylinder have a nasty gouge? It almost looks like somebody took a die grinder and cut into the cylinder.
I am very surprised at the lack of valve/piston contact. I can only assume the fact it happened at low rpm/load gave that infinitesimal window for the valves to close before any pistons hit TDC. Remarkable, for sure.

Back in 2019 when I was working on the JDM drivetrain to prep for the K-swap, I decided to pull the head after looking in the bores. #4 had rust. The machine shop bored oversize to 87.5, and left it at that. He pointed it out & felt it shouldn't be a concern. It didn't start consuming oil for a few thousand miles, if I'm recalling correctly, it may have started after I went offload & ripped through the pan, but I'm not sure at this point. It seems Darton sleeves are available (300-020), so maybe that's an option. I'd like to fix it to have a spare.

IMG-8263.jpg
 
Hussein,

I am speaking of this area, which looks like a deep gouge into the cylinder. Is it an illusion?
 

Attachments

  • Hussein Cylinder.jpg
    Hussein Cylinder.jpg
    183.7 KB · Views: 92
Hussein,

I am speaking of this area, which looks like a deep gouge into the cylinder. Is it an illusion?
Sorry, I wasn't clear in my previous reply - yes, that is from the rust, he cleaned it up at the time. You can still see rust marks in the deeper area of the "gouge". He wasn't at the shop today, I needed to talk to him about that
 
Last edited:
Not much done today. Started with pulling the other 3 pistons from the old block, and drilled out the repair to the oil drain plug on my old pan. It will need a welded aluminum insert, then a 14x1.5 time-sert. That will be a spare pan.

Took me forever to get this broken 6mm stud out of the block carrier, and then I had to put a helicoil in it. It's so hot & humid again, I went through 4 tee shirts and about a gallon of water over 4 hours out there

broken stud.jpg


Once that was repaired, I did the top two helicoils in the intake runner (on left)

PXL_20220727_224510398.jpg


Then I cleaned & installed the oil pan (Hondabond), had to find 16 longer M6x1 bolts than the ones I used previously. 12nm torque

PXL_20220728_172931897.jpg


Then I cleaned & installed the ancillary/water/breather housing (new oring required, + Hondabond) (4xM10, 39ft/lb)

(pic later)

That's as far as I got.
 
Stripped the old block & took it to the machine shop. He seemed perplexed as to why he did that in the first place. I dunno. In any event, he could sleeve the one cylinder & bore to match the others @ 87.5mm, it's just going to be a question of whether he can do that before he closes up shop. We'll see.
Nice to be just moving parts and not engineering the solution as you apply them.

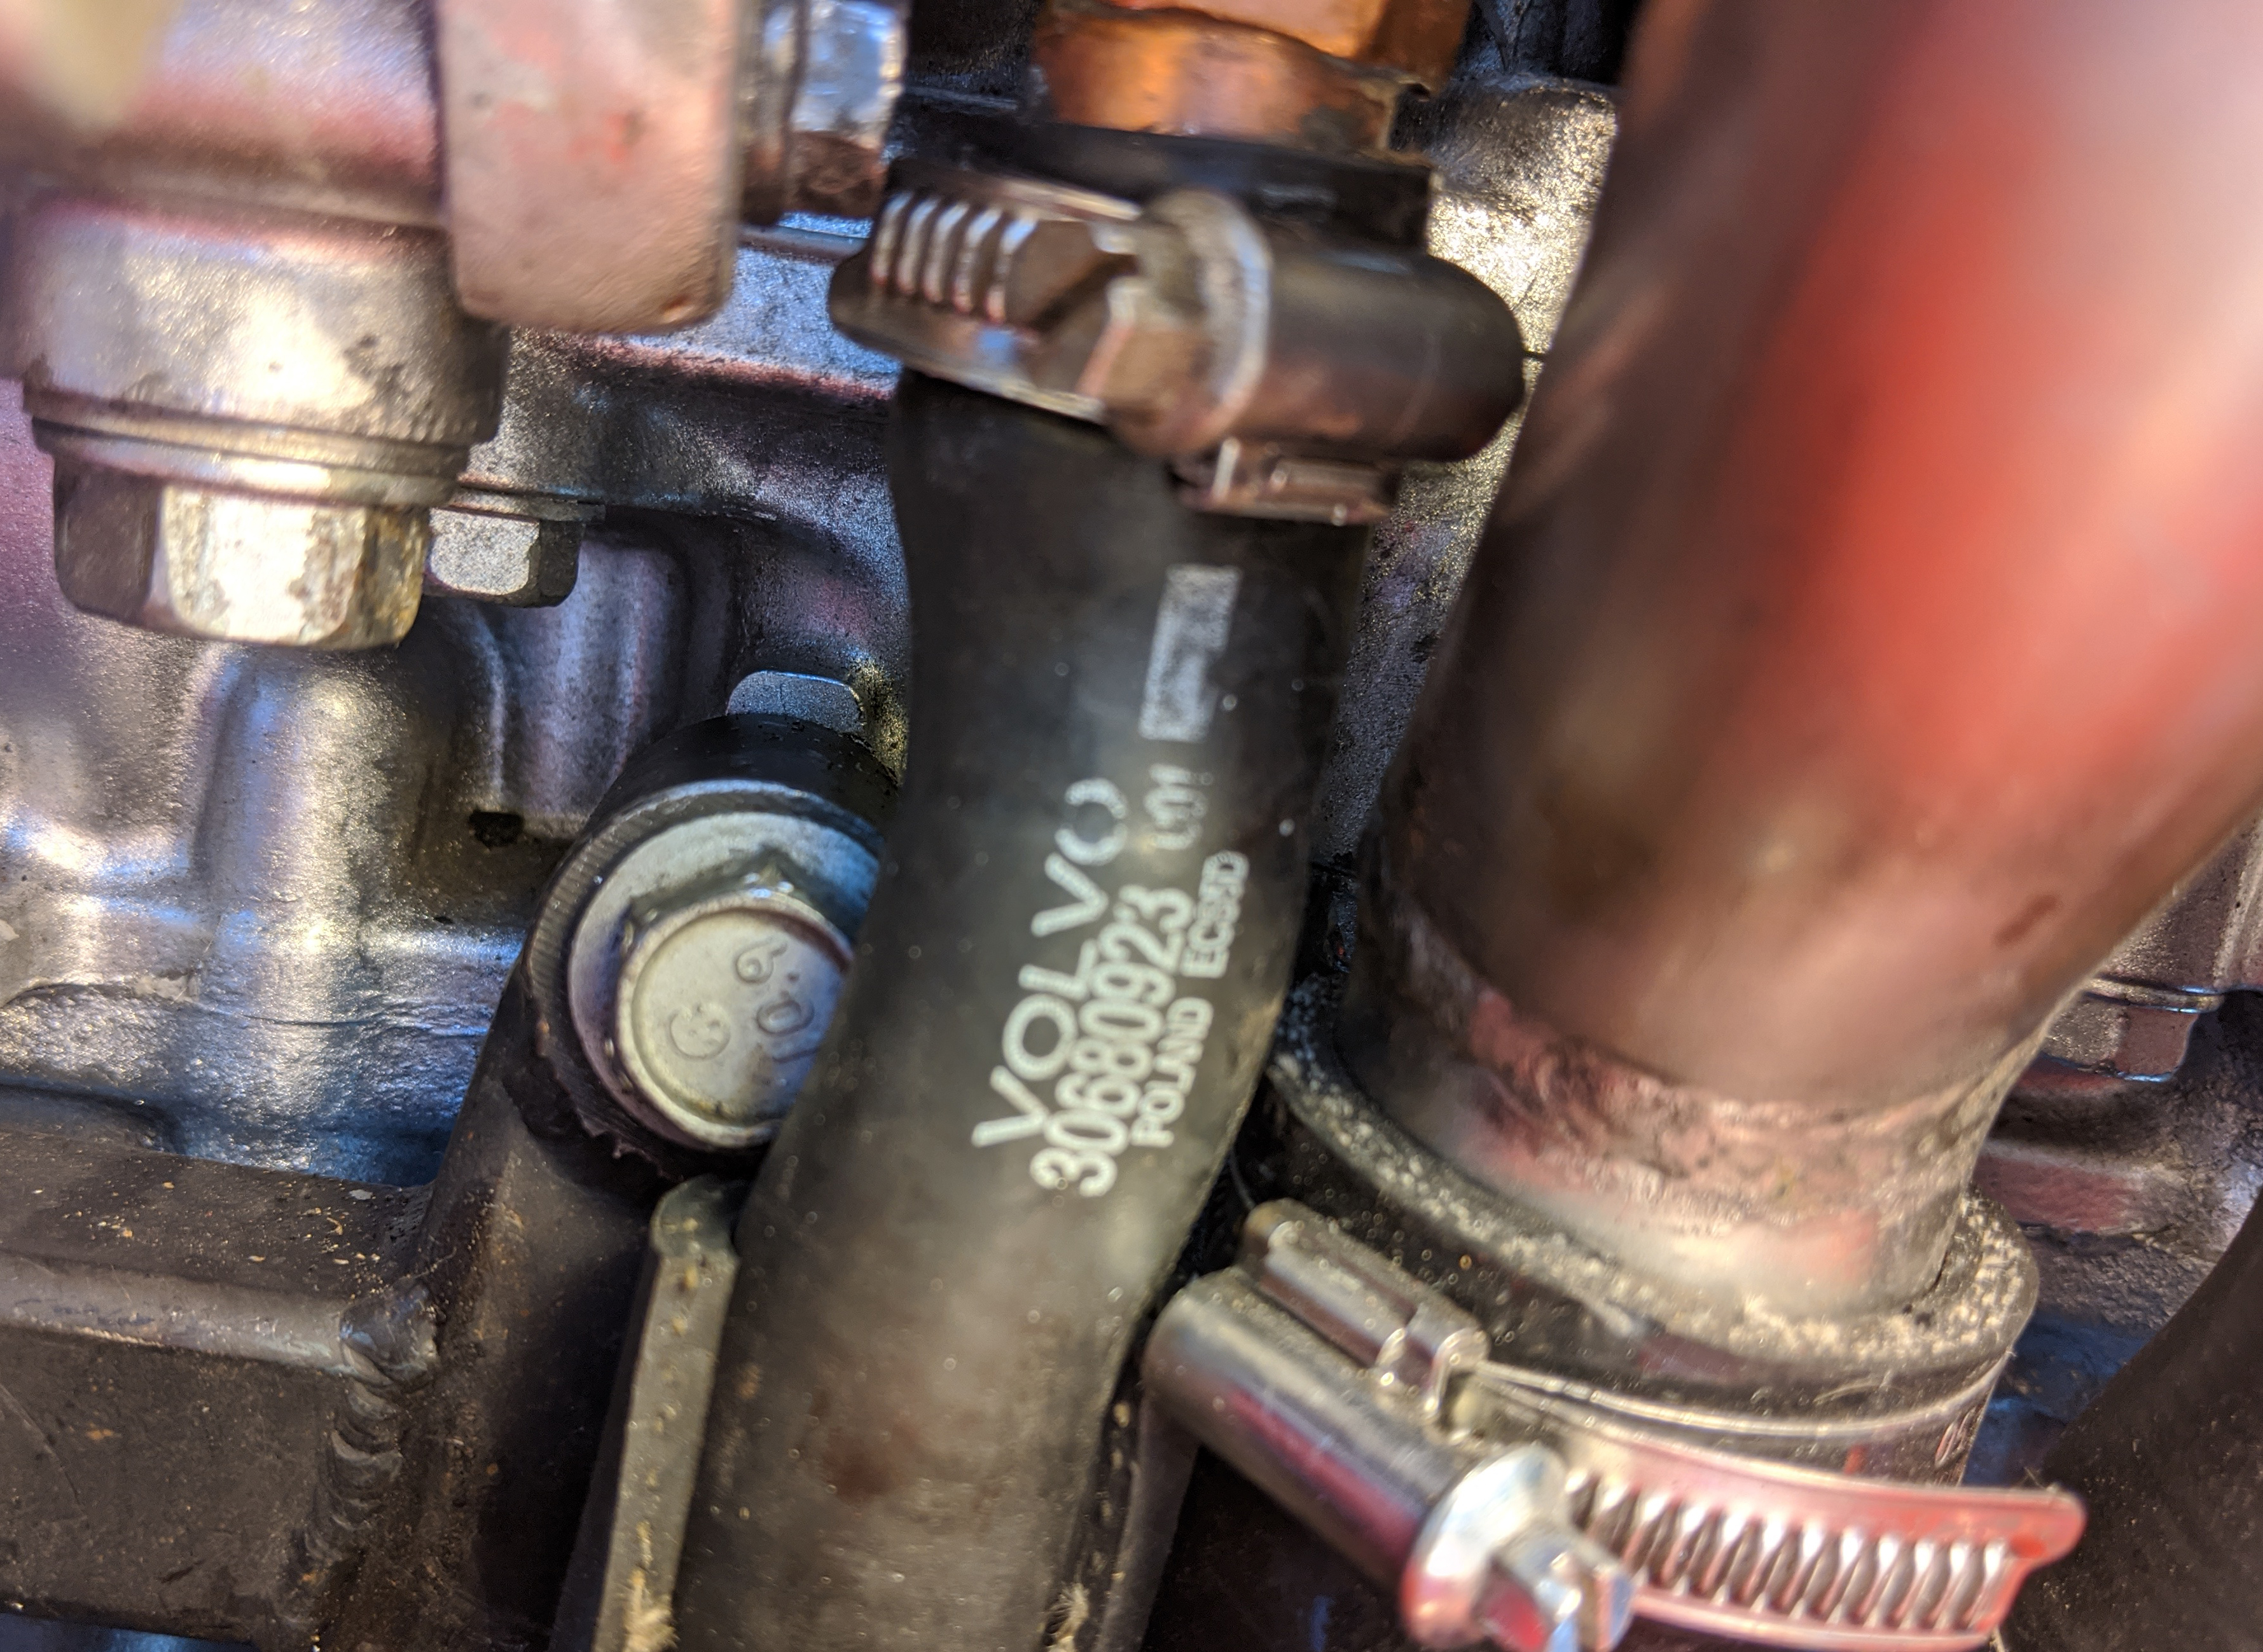
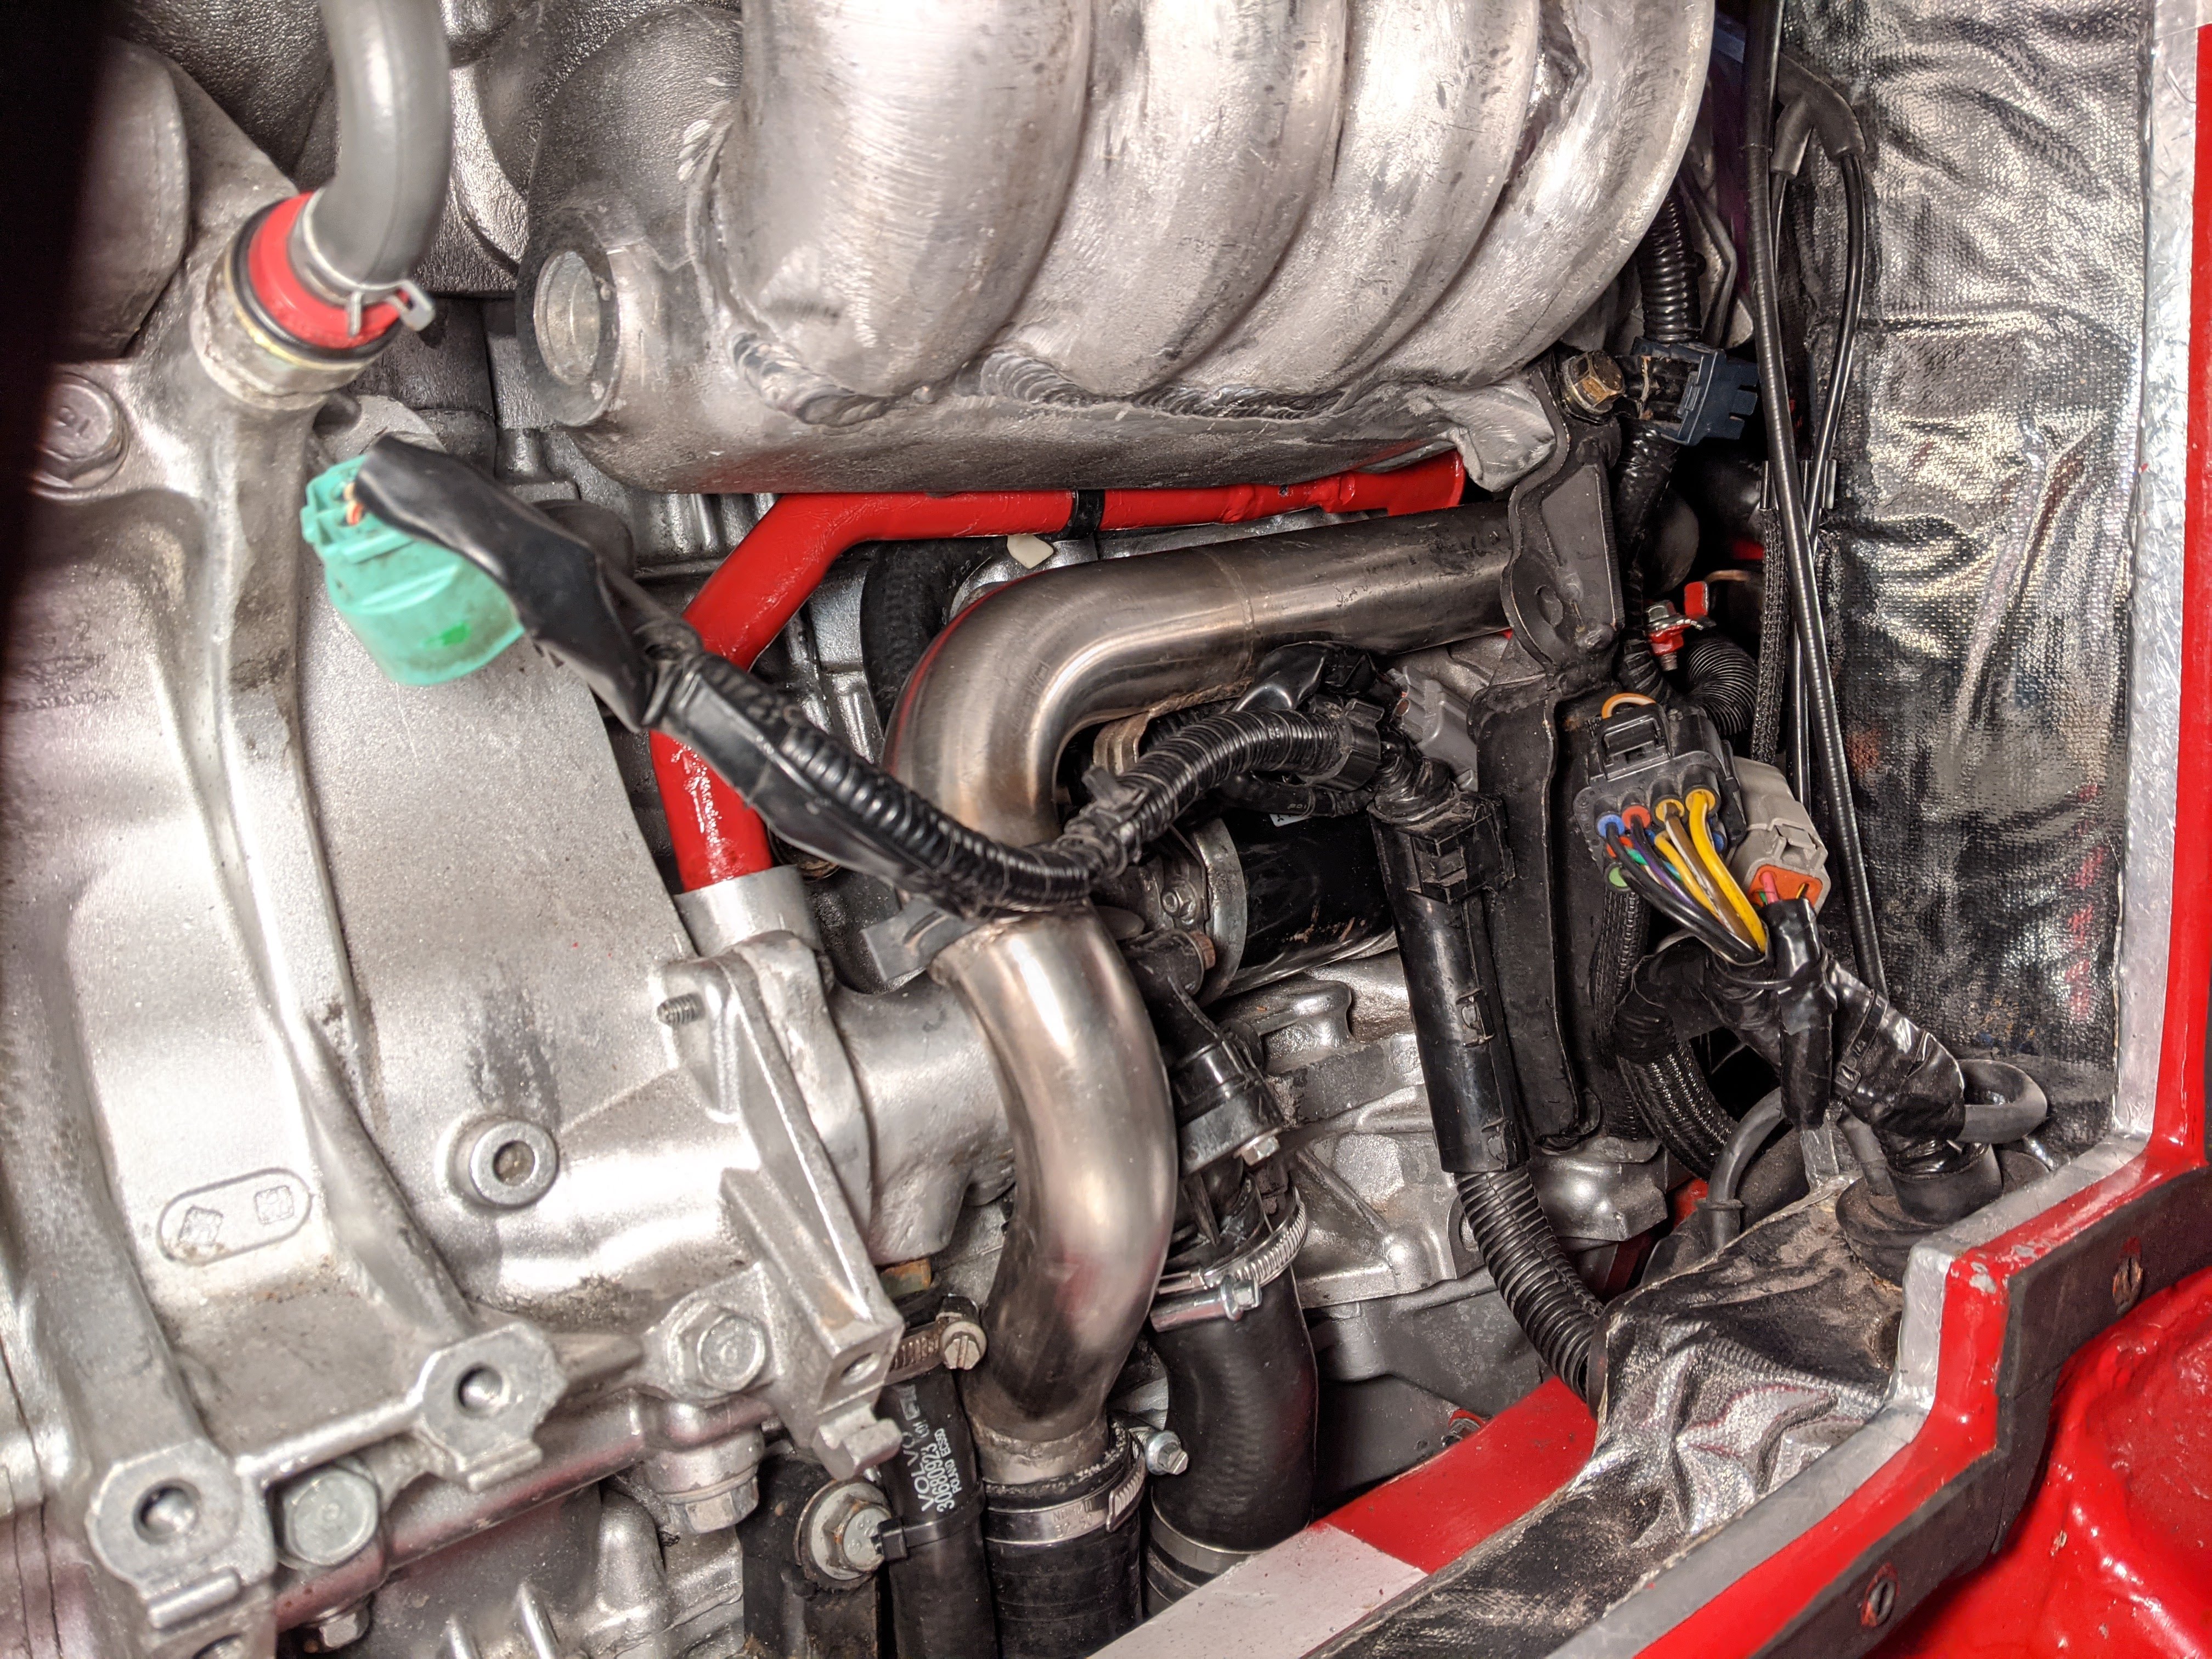
yeah.... I decided I needed to revisit the heater return pipe in the water extension housing. They way I had it, I needed a convoluted hose to make it work.

IMG-20200326-122514.jpg


Difficult to access the clamp, the hose has been squished between the engine mount bracket & the rad feed hose. It's held up, but I'm not happy with the layout.

PXL-20201124-220114570.jpg


I made a copper section that allows for a basically straight section of heater hose to go from the body pipe to the engine. Took several go-arounds to get the offset just right so it could screw into the water extension without hitting the block. Silver soldered, not plumbing solder. The mount bracket has to be removed IF the pipe is being removed independent of the extension housing.

PXL_20220729_170630837.jpg


much better fit overall

PXL_20220729_170648879.jpg


sleeved the piping with thick shrink wrap, made a support bracket, just so when yanking on the heater hose, the pipe itself is not stressed. Had to use a flush bolt, to clear the rad feed pipe

PXL_20220729_180735254.jpg


PXL_20220729_221356776.jpg


The other thing that has been an issue from the start is the AC compressor intake mount, and stress on the lines. I decided to beef up the main plate to make it more rigid, and add small shoulders on the outside that the compressor ears will sit on when bolted up. Still have to add some reinforcement to the bracket that goes on the intake ear.

PXL_20220729_220858496.jpg


PXL_20220729_220939558.jpg
 
Just a cauution, quote from google:

Aluminum will be very susceptible to galvanic corrosion in contact with copper, assuming that the two metals are also in contact with a common electrolyte (such as water with some ionic content.) Almost any text or handbook on corrosion will have galvanic series table.
Thanks for the heads up - I actually use Evans, so no water content in my cooling system. The previous short pipe was also all copper, and no sign of corrosion to the fitting, or housing that I can discern thankfully.
 
Couple minor things today. Added two 1/8" NPT ports to the plenum.

PXL_20220730_162731339.jpg


removed the steel pipe that feed the coolant into the intake & tapped 1/8" NPT & plugged it, I had rubber caps previously, but they don't seem to hold up

PXL_20220730_165313068.jpg


Added a ground spade to the fuel sender rail, previously I had just clamped the ground line to it - when I originally wired this, I didn't think about the fact that the assembly is not grounded in any way

PXL_20220730_161330230.jpg
 
Odds & ends again today. Bought a new OEM T/O brg 22810-PPT-003 & new boot 22841-PPP-000. I tore the old boot by installing it backwards, and the aftermarket T/O had too loose a fit on the sleeve, along with smaller contact area for the PP fingers.

PXL_20220731_142706783.jpg


painted the AC plate

PXL_20220731_153137750.jpg


Stripped the spare engine harness that came with the replacement motor, so spare pigtails for everything on the motor, should I ever need them.

PXL_20220731_183023865.jpg


they use a nice buss for all the 5v stuff on the motor. Need to figure out which type/brand female terminal is required (bottom right).

PXL_20220731_183101969.jpg

EDIT: above are Sumi HX040 series

Screen Shot 2022-08-02 at 1.40.04 PM.png

Sumitomo HW 090 series - ordering some extra terminals for this - I need to make a new harness to run from the spare well back to the trunk

PXL_20220731_190210750.jpg


going to be adding (RSX) cruise control. Gathering parts now, so I'm going to make the harness. I can figure out component placement more easily with the drivetrain out. Actuator will likely go over in the right side pocket of the bay. Module in spare well (I have constant, switched & ground rails there already) - actuator harness (4 wires, Denso 11150 housing) ) can pass through over there easily. I'll need to run a harness in the tunnel for brake switch (3 wires, ?? housing) control head (3 wires, Sumi HD 090 housing) Cruise on warning indicator (2 wires) Clutch pedal switch (1 wires). Acura includes a separate switch to turn the system on, I'm going to eliminate that. 1 wire to ECU for vss (E26). Brake signal to EMS is already wired (E22)

Control goes on steering wheel - they make a plate for it for RSX's using Momo/Personal wheels ( pic is from eBay listing, they just happened to display an a Personal wheel like mine).
Screen Shot 2022-07-31 at 10.48.41 PM.png


PXL_20220731_152957720.jpg


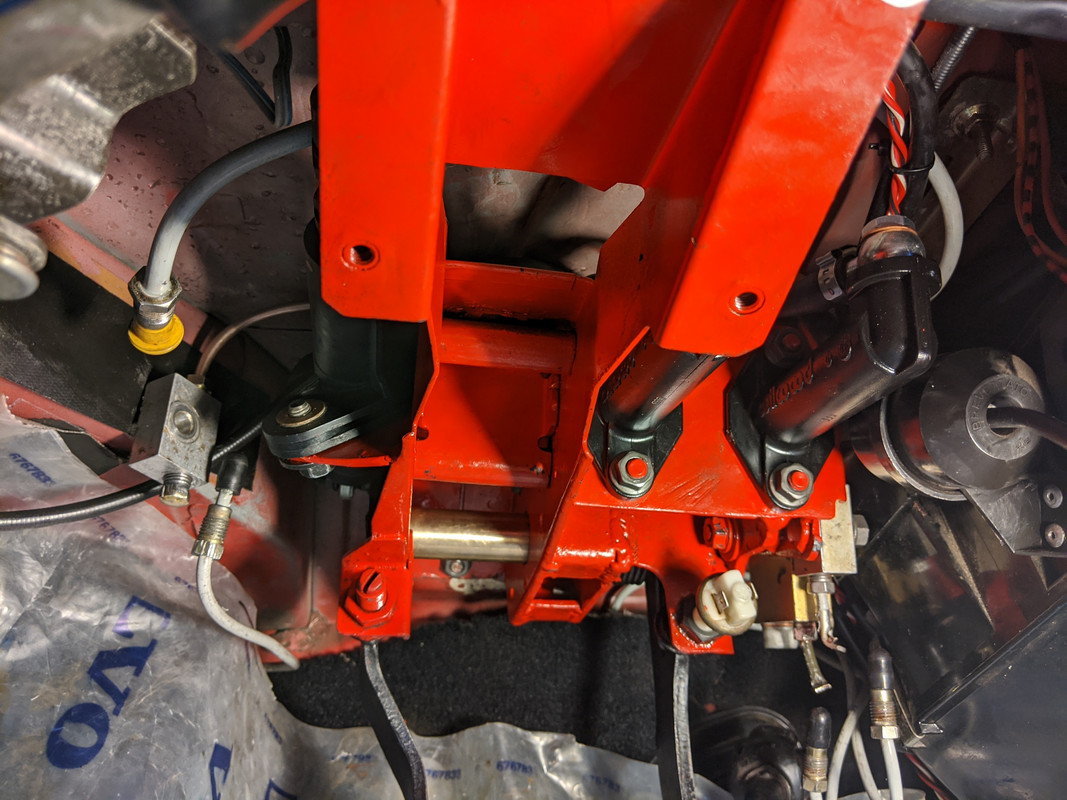
Have to figure out if I can put the Honda 4 wire switch in the stock location. Should be able to install the clutch switch in place of the pedal stop adjuster. Have to figure out what thread/pitch the Fiat is.

IMG-20200222-142356.jpg


Putting together the 20-22awg wires to make the loom - trying to match the factory diagram colors

PXL_20220731_224722429.jpg


schematic:

PXL_20220731_153302595.jpg


In doing this, I ended up spending a bunch of time tidying up my spare wiring - this pile is left to do - I organized all the longer (smaller gauge, 18-22) lengths by color (yellows, greens, blues, red/orange/brown, white&grey). Always takes me forever to find the gauge, colors & lengths I need, so I figured it's about time. Like most things, I don't have a good filing/organization system...

PXL_20220731_224909916.jpg


PXL_20220801_022125641.jpg
 
Last edited:
Odds & ends again today. Bought a new OEM T/O brg 22810-PPT-003 & new boot 22841-PPP-000. I tore the old boot by installing it backwards, and the aftermarket T/O had too lo

In doing this, I ended up spending a bunch of time tidying up my spare wiring - this pile is left to do - I organized all the longer (smaller gauge, 18-22) lengths by color (yellows, greens, blues, red/orange/brown, white&grey). Always takes me forever to find the gauge, colors & lengths I need, so I figured it's about time. Like most things, I don't have a good filing/organization system...

View attachment 64376

View attachment 64383
I have been buying translucent bins at Costco which my label maker labels stick to and organizing all the ’smalls’

It is making my life much easier. Takes a little extra time but it ensures I can find things and I can send someone to go get a bin of stuff unlike now where I need to wrack my brain to remember where something is and get it myself.
 
In wait mode for the cylinder head - hopefully I'll have it back on Wednesday. I really want to keep the RBC-1 (K20Z3) head on it.

In the meantime, I'm just futzing with odds & ends.

Pretty sure I can fit the cruise actuator next to the AC accumulator - I thought like this at first, with the cable coming across the top, however the cable is way to long for that, so I'd have to make a modded one.

PXL_20220801_182221326.jpg


With the unit pointed down, the cable would loop along the lateral rail, and up & over to the throttle bobbin - pretty much perfect lentgh

I have a pass through grommet to the right of the AC hose - that I can use for the 4-wire harness from the module to the actuator
PXL_20220801_182614815.jpg


PXL_20220801_182624201.jpg


figured out what grommet to use to add additional wiring to/from the cabin

PXL_20220801_190358647.jpg


Taking apart the main harness to add a few wires (and a few extras for DTR) & clean up the stuff I added over the past couple years

PXL_20220801_230059978.jpg
 
Last edited:
Still tidying the EMS harness & adding bridges from bulkhead side to trunk side. Every time I've thought I was done in the past, I found I was missing or needed wires for something I forgot. I'm adding 10 wires that travel from the cabin side, through the EMS harness to the trunk, with bridges for 4 of them over the drivetrain. This way I can add devices that need wiring at any given point, I hope that does it.

in center of harness : 4pole (gn,r,bl-r,y-vio) spare connector, 2pole 5v (y-blk - from main 5V buss) , and grounds 2 pole (bn, blk - to intake)
PXL_20220802_222750080.jpg


10 wires here - will be in a 4pole & 6 pole connector to connect to cabin as needed

1 is needed for E12 Efan control ground (gn-wh)
1 needed for E26 VSS signal to cruise module (bl-y)
PXL_20220802_222816681.jpg


(11 total) 8 spare at the trunk end - will go in a 10 pole connector. 2 are going to C201 ECU bridge (one is for vss, the other will be spare). Y-bl is going to 14pole YZ housing pin 4 for eFan control

PXL_20220802_222828205.jpg


lastly I drilled & tapped a new oil drain plug (14x1.5) for the VDO oil temp sender (1/8" NPT). The last one I made, the external threads got damaged when I drill & tapped it. Not worth risking damage to the oil pan threads (been there already), so this time I bought a plug that is hollow (had a magnet inside) & drilled out the end, and tapped it 1/8" NPT. Bore was already 21/64", so perfect for that.

PXL_20220802_165136967.jpg
 
Last edited:
Trying to keep track of the connector types and terminal variations - I have to remember to note all this this time - apparently I forgot to originally, made it a pita to figure out the terminals used & where I sourced them - typically Cycle Terminal, Corsa Technic, Eastern Beaver & Mouser.

Yazaki-Kaizen 2.8 unsealed version, these can now be had off Mouser, so much better pricing
PXL_20220803_133837090.jpg


Cabin side of EMS harness add ons - Sumi HW 090 4 pole & 6pole
PXL_20220803_144013254.jpg


Male side - numbered right to left
PXL_20220803_190043440.jpg


PXL_20220803_190119024.jpg


harness is all taped up ready to go back

PXL_20220803_153548229.jpg


one other wiring issue - the Vintage Air heater valve, it is intended to be mounted in the cabin, which ain't happening. The wiring socket is not water or even moisture proof. It really may not be a real concern, as it is well protected where it will be mounted, but still - I'll need to put a boot or something on it. That harness will have to be extended to run from the bay up to the dash.

PXL_20220803_144631534.jpg


Moving on from all that, the cylinder head was ready ($100 labor, confirmed no valve damage), so I got it back on the block

PXL_20220803_191237122.jpg


New Honda MLS gasket 12251-RBB-004, guide sleeves back in the block deck, pistons set to TDC marker

PXL_20220803_191519870.jpg


I bought new head bolts, just in case, however all the originals measure within spec at the critical points. I compared it with the new bolts, as the catalog measurement is wrong (says min. 10.6mm OD at two reference points (50mm & 45mm from tip), the new bolts are approx 10.3mm end to end of the threaded section

PXL_20220803_193520969.jpg


torqued the head down, 3 stages: 29ft/lb/90º/90º, then installed the valve train & cams, sealed the back end cap flange as per manual. Torqued to spec (can't recall the number now, edit later) M8 = ?? M6 = 110in/lb

PXL_20220803_211955668.jpg


Set the crank/cam timing & installed the chain & guides, lastly the tensioner. All bolts are M6, so 110in/lb

PXL_20220803_191810478.jpg


chain marker aligned with gear marker
PXL_20220803_212019522.jpg


Honda chains & tensioner this time 14401-R40-A01 chain. 14501-PRB-A01 tensioner

PXL_20220803_212035745.jpg


chain markers aligned with gear dimples
PXL_20220803_212004456.jpg


PXL_20220803_212015318.jpg


water bypass housing cleaned & new Hondabond applied. filter screen housing installed at front of head

PXL_20220803_220101444.jpg


valve solenoid & protector shield installed, new seal/filter screen

PXL_20220803_220109373.jpg


It was suggested (on K20a) that I stick with the stock MLS exhaust gasket - I'm a little concerned about the flange surface around #2.

PXL_20220803_220116777.jpg
 
Last edited:
Fantastic documentation - this all encourages me to move on with my K20 no cross member cut conversion.
Great work !
Doug
 
It was suggested (on K20a) that I stick with the stock MLS exhaust gasket - I'm a little concerned about the flange surface around #2.
The MLS gasket is definitely superior. You should be OK with that surface, but you could always remove the studs and sand with a rigid block if you're really nervous about it.
 
Fantastic documentation - this all encourages me to move on with my K20 no cross member cut conversion.
Great work !
Thank you. The first post has an index of the work. Good luck with your build
The MLS gasket is definitely superior. You should be OK with that surface, but you could always remove the studs and sand with a rigid block if you're really nervous about it.
Yes - I did give it a quick go over with a sanding block just to clean it up.

Cleaned the front cover seal area, installed front crank seal, applied sealant (and triangular seal ring), installed cover, solenoid, torque mount arm, crank pulley. All torqued to spec. Oil cooler hose installed after I took this pic

PXL_20220804_151100523.jpg


Runner ("injector base") gasket - I bought the RSX version ( water extension deleted), but I just cut down the new TSX one I had for this go around.

PXL_20220804_153546899.jpg


Installed the pilot bearing 22103-PNA-003 & rear main seal 91214-RNB-A01

PXL_20220804_173843577.jpg


made the installer tool using the old seal & a roll of duct tape, with a flat plate taped on the front. Pilot bearing went in with a 17mm socket

PXL_20220804_180352307.jpg


checked depth all around to ensure it's level

PXL_20220804_180124269.jpg

PXL_20220804_180400594.jpg


flywheel installed, bolts cleaned, thread sealer applied & torqued (89ft/lb)

PXL_20220804_182335358.jpg


cleaned the mating surface again, installed PP & disc, torqued (3 stages)

PXL_20220804_183406122.jpg


transaxle reunited with the motor, started putting all the sensors & ancillaries back on

PXL_20220804_190847935.jpg


PXL_20220804_195251284.jpg


intermediate axle installed

PXL_20220804_195302946.jpg


water housing going on
PXL_20220804_194507468.jpg
 
Last edited:
Back
Top