Preparing For Dallara Body Kit

Looking forward to seeing it in just primer even! Looks super clean and proper. Made more work for you but it's the details that complete the design. Hope you haven't run out of elbow grease!

Thank you.

Been sick this past week, so only getting a little done each day...

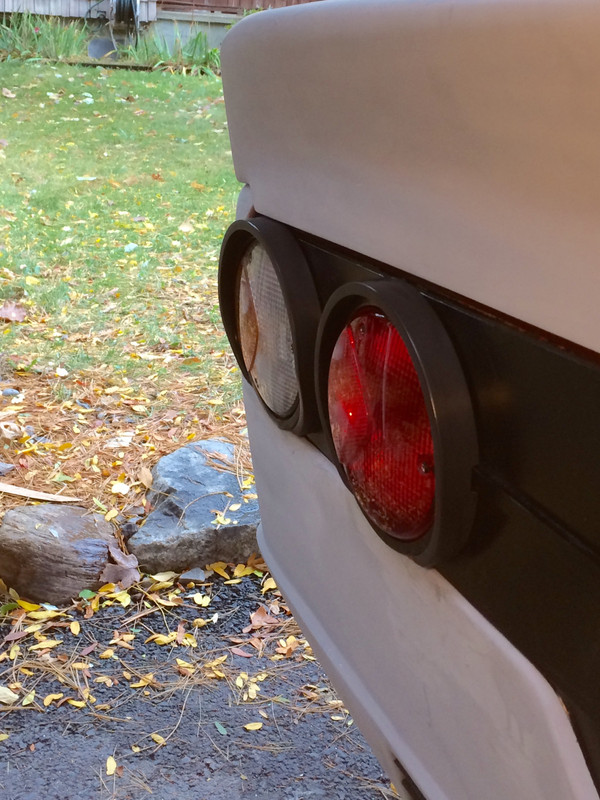
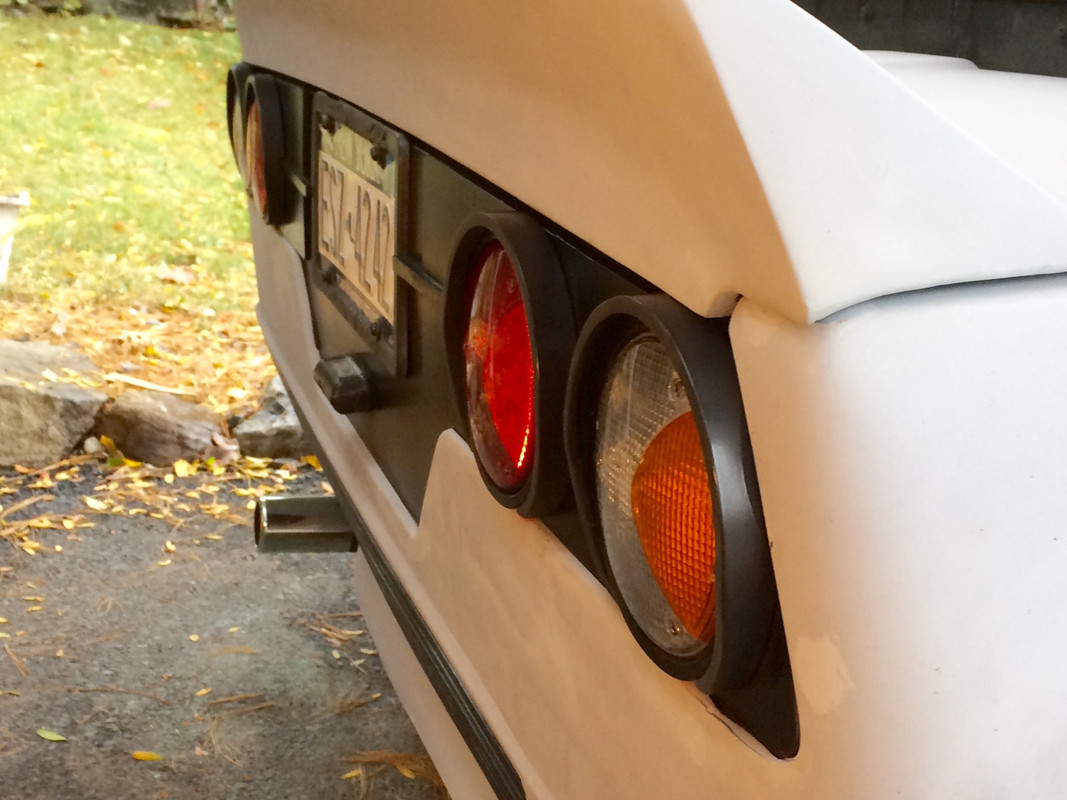
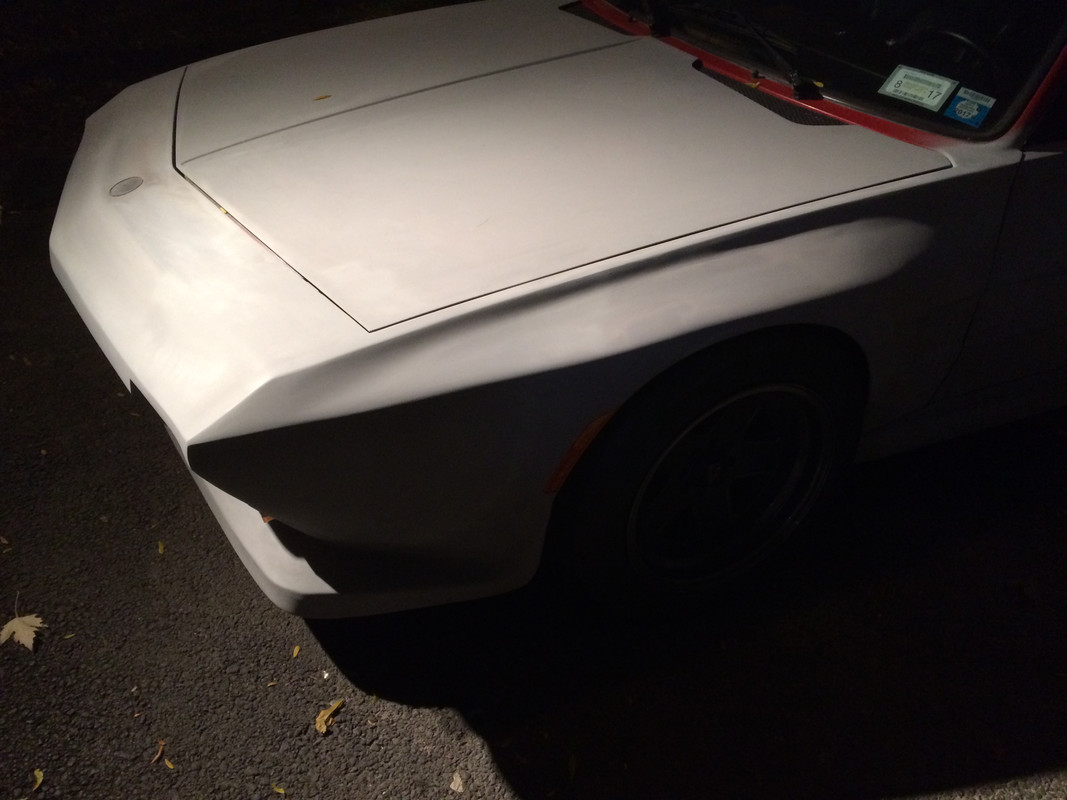
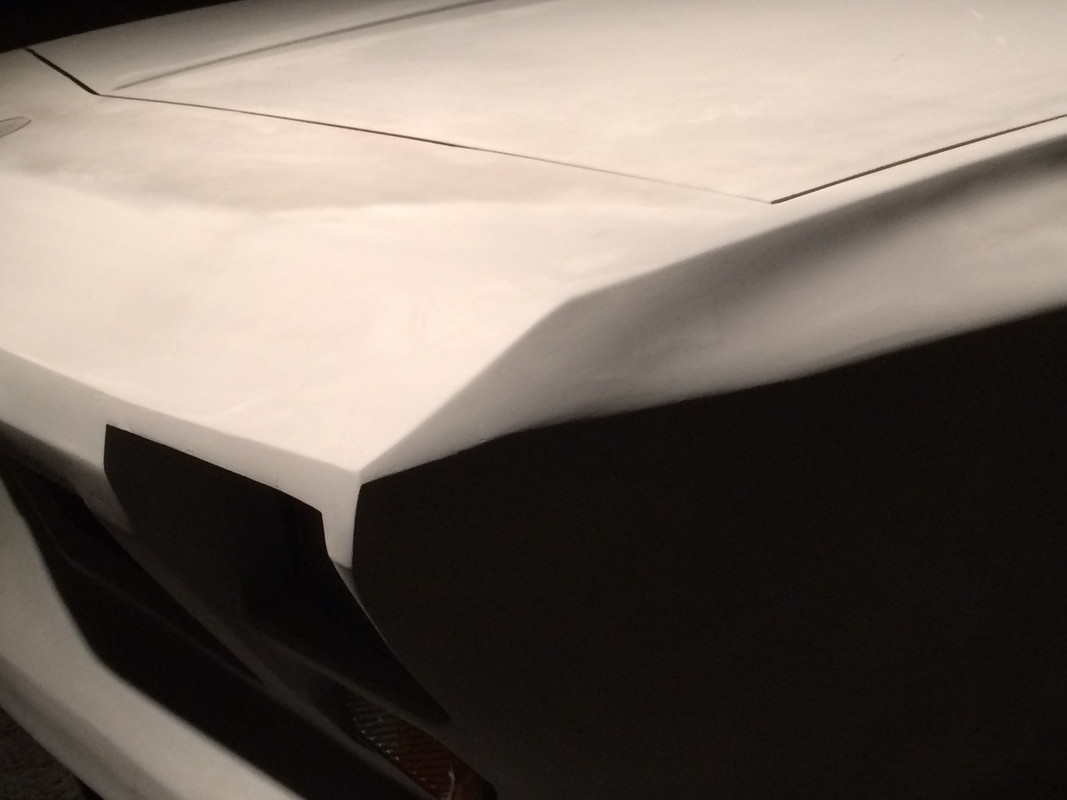
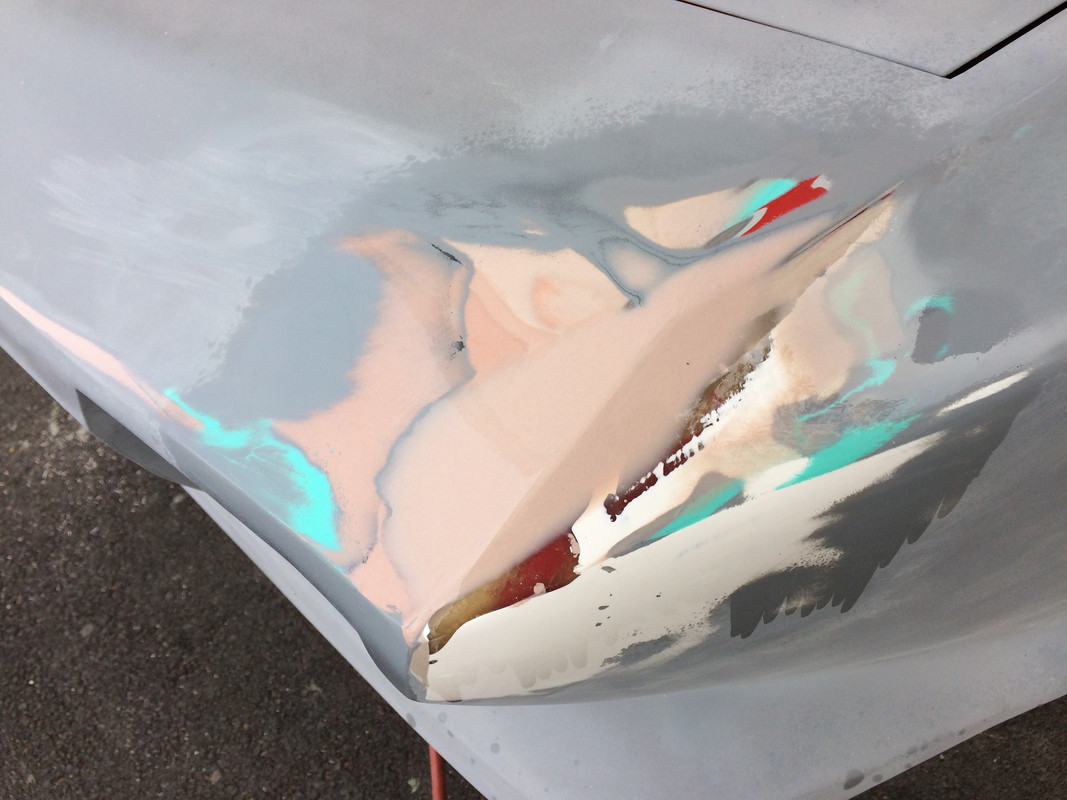
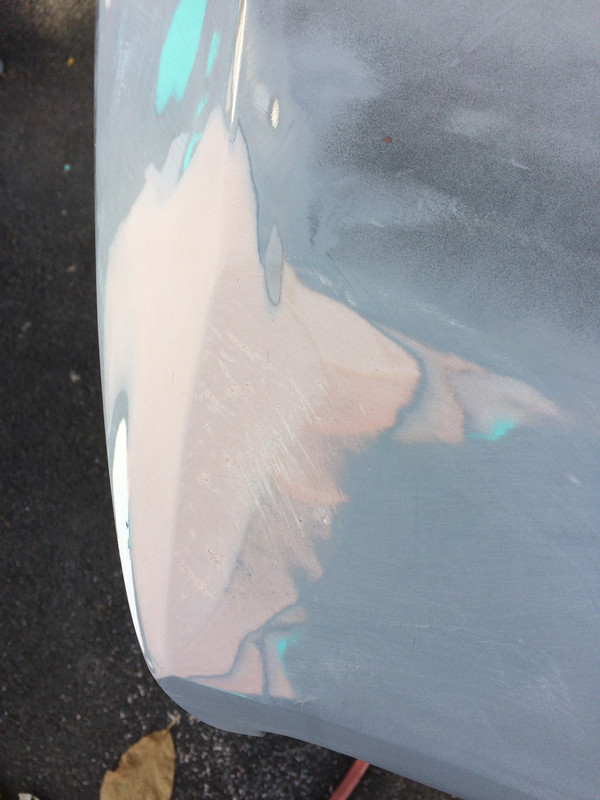
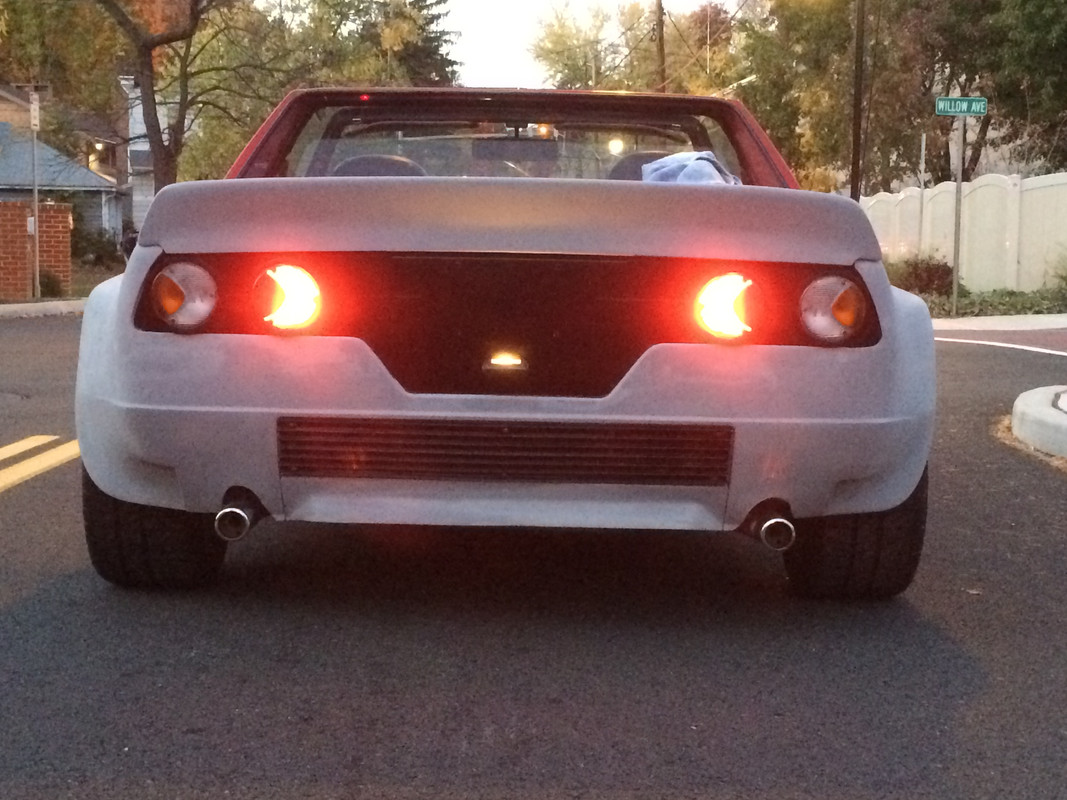
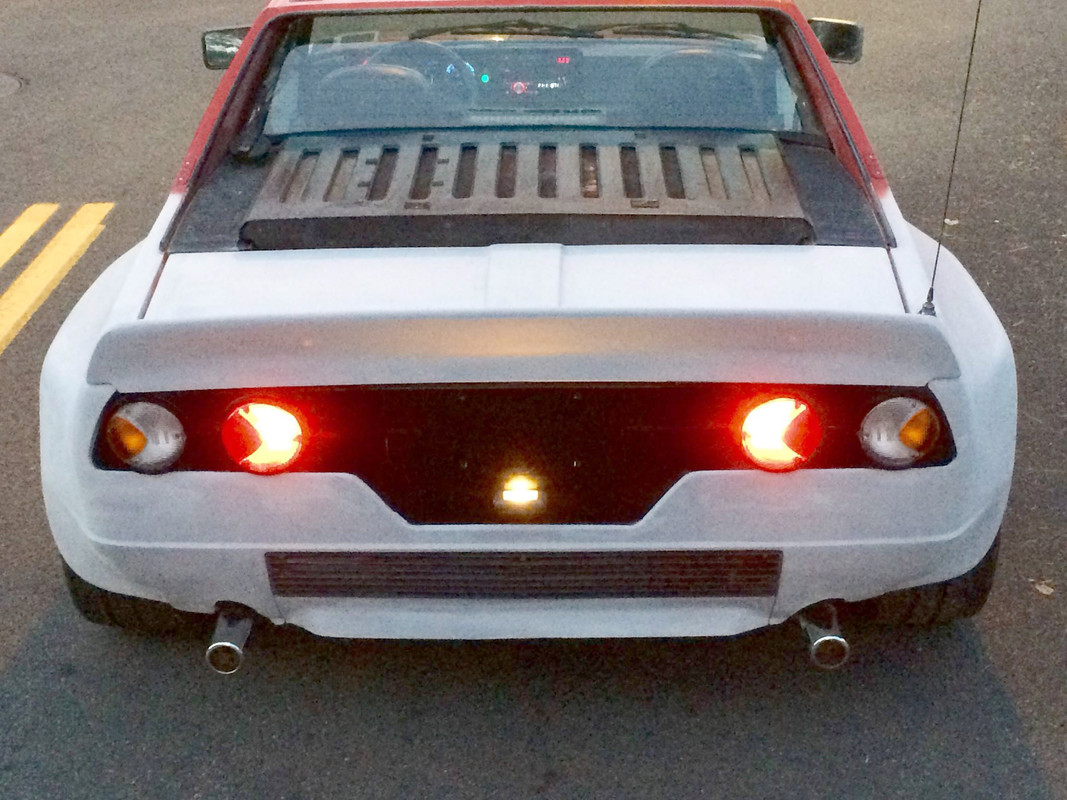
Back end mostly done, unless I decide to rework the tail lights or rear panel again. Not sure yet.

Dallara_Rear00044.jpg


DallaraRear00038.jpg


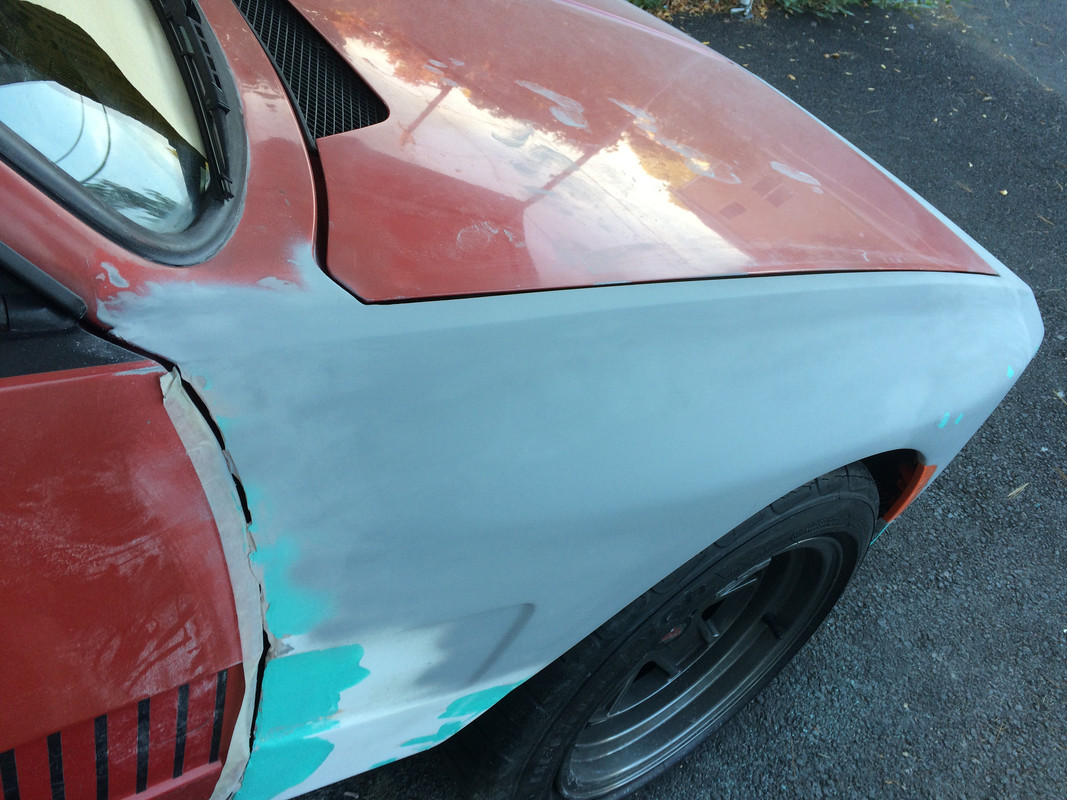
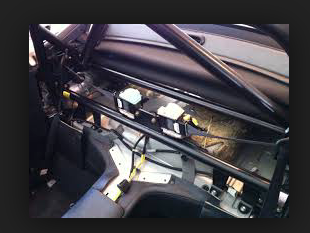
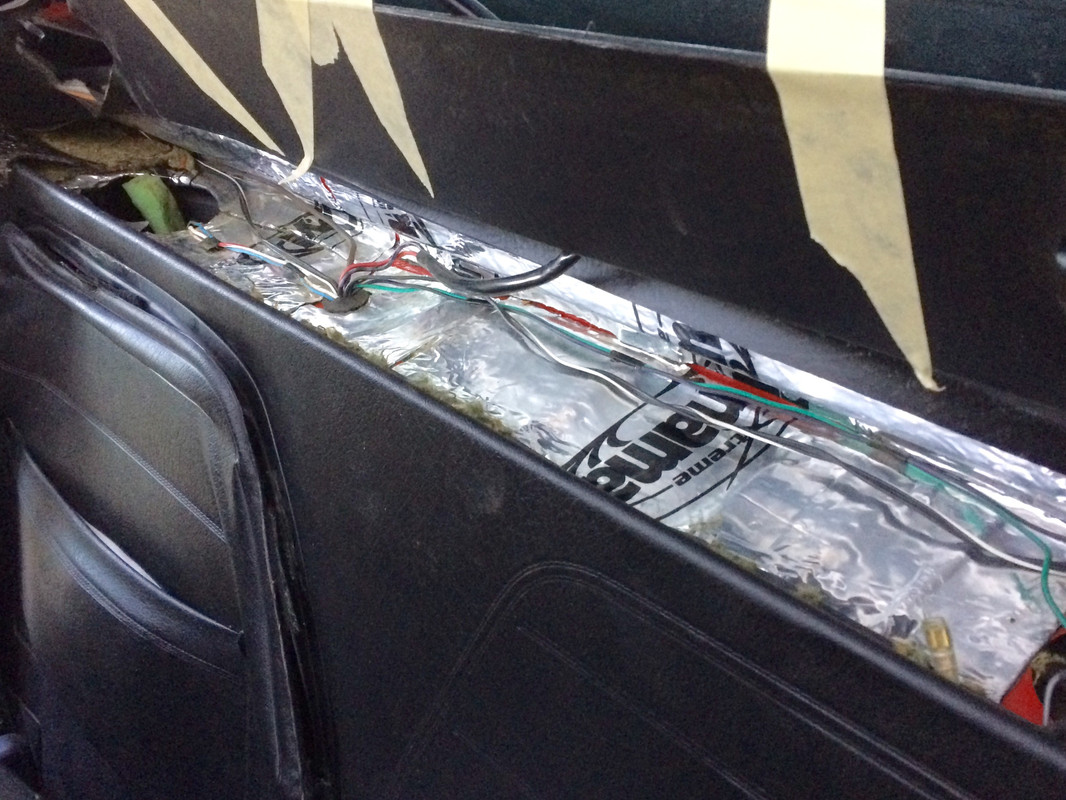
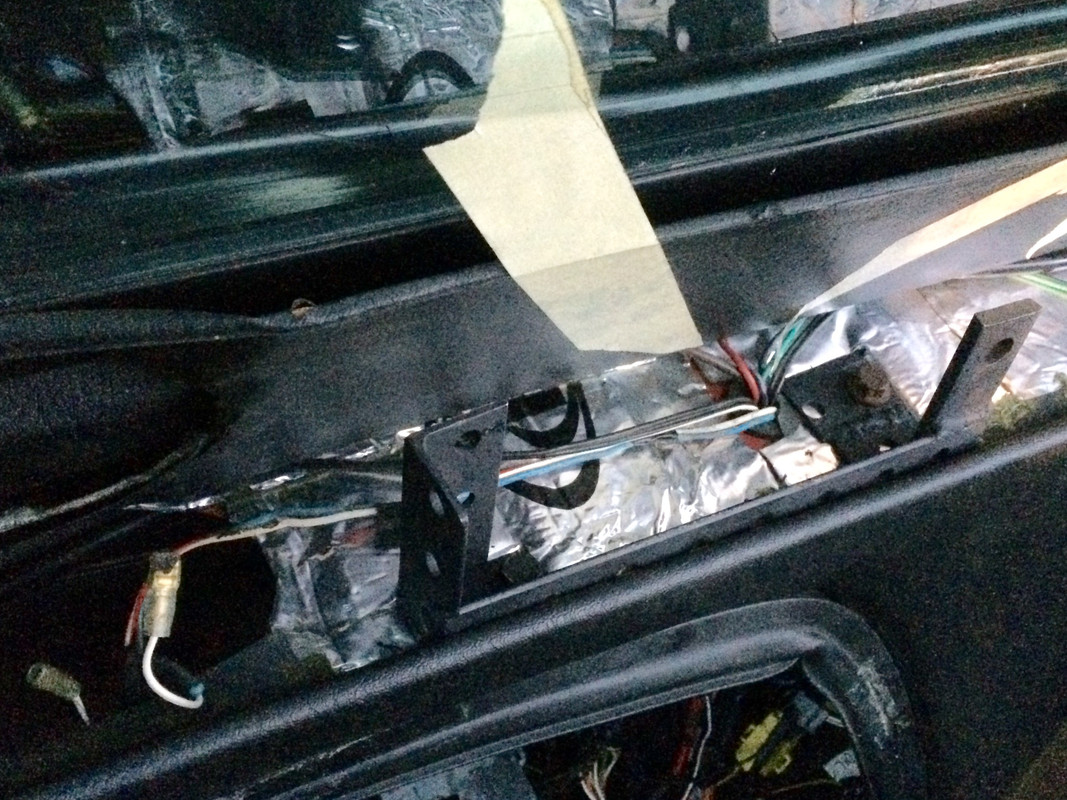
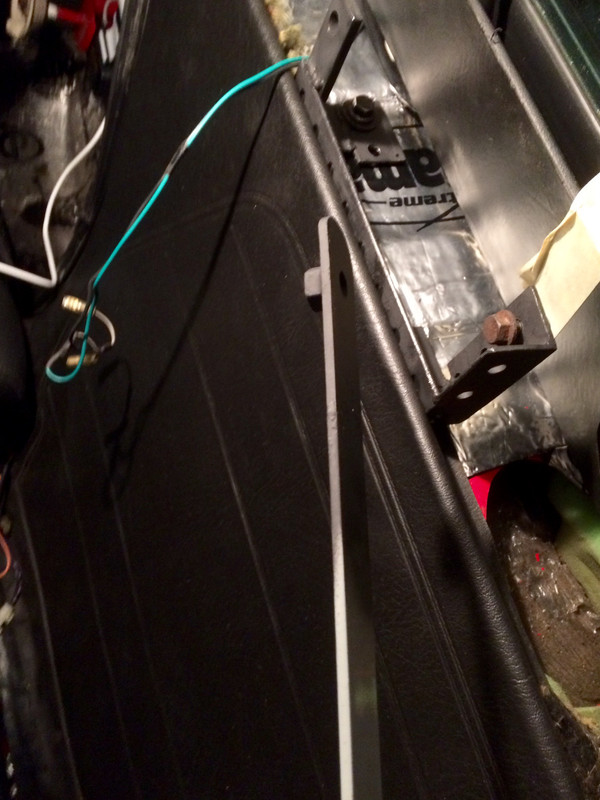
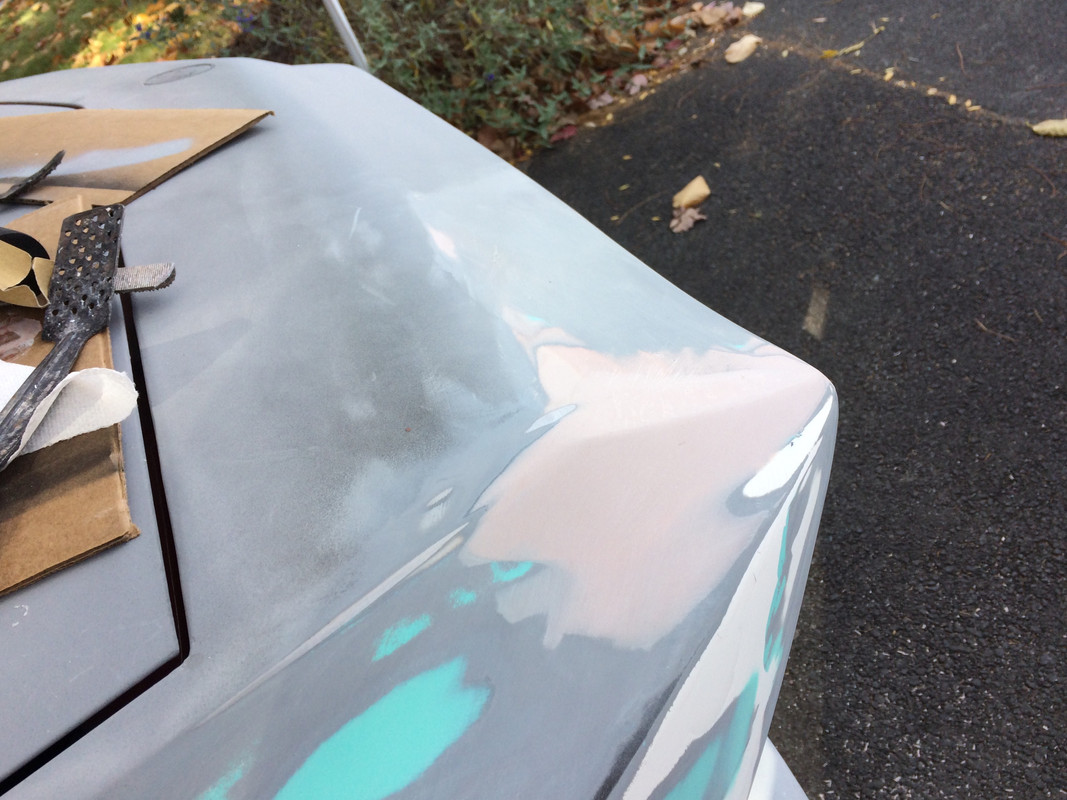
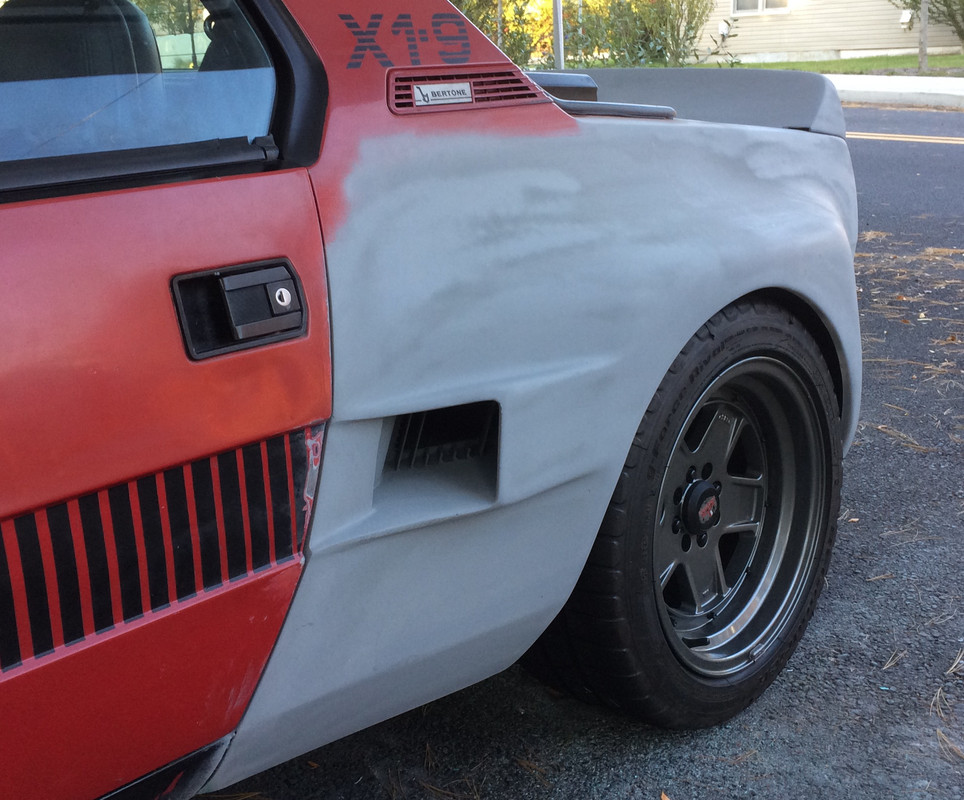
Driver's side air duct & B pillar work mostly done

Dallara_Rear_Fender00036.jpg
 
Last edited:
Rear end mostly done. "A" pillar fender edges mostly done.

Dallara_Front_Fender00036.jpg


Dallara_Nose00100.jpg


Dallara_Nose00098.jpg


Need to go back to the front nose blending next

New carpeting and mats from Henk will go in after paint
 
Last edited:
Sanded & rattle-can primed the hood, just to get the front end more uniform

Dallara_Nose00073.jpg


Dallara_Nose00026.jpg


When I'm done with the filler work, I'll be shooting the entire car with the 2K primer.
 
Last edited:
Worked on the taillamps. I wanted to do something to give a little protection to the lenses since I have no bumper at all.

I got more 5" acrylic tube & made bezels out of it

DallaraRear00039.jpg


Filed, sanded, painted. Decided after some deliberation to taper the lower half to align with original bezel I made. Would have been tricky to make a filler piece to complete the circle below overlapping the sheet metal.

DallaraRear00042.jpg


Fitted

Left side only

Dallara_Rear00057.jpg


All four

Dallara_Rear00002a.jpg
 
Last edited:
This is really starting to take shape now... good job all around!

Thank you.

Worked on the nose again. Cut it back to the metal again, and then filled. This time, I tried to make a more gradual taper from the outer edge in across the front tip. Watched a couple of videos on using a 'guide' coat in contrasting color to properly indentify highs/lows in the surface. Shoudl have figured that one out awhile ago :rolleyes:


Dallara_Nose00025.jpg


Tomorrow I'll get some flat black on it to act as a guide coat, to figure out if I'm close now

Dallara_Nose00096.jpg
 
Last edited:
Great stuff.

Thanks, Jeff

Still working on the nose. Kinda feeling like it's never going to end. filled in the ridge a little more today, and fattened up the line over the headlamp cutouts. Still not happy with the line, I think I will have to add more meat coming further inward on that ridge. Trying to keep L & R the same is a serious PITA
 
Last edited:
Rear spoiler

jjay911
I like the high level rear spoiler is it a standard off the shelf part or is it a special
Cheers
Dave
 
jjay911
I like the high level rear spoiler is it a standard off the shelf part or is it a special
Cheers
Dave

Might want to message him about that, those pics are on page one.

Honda S2000 seats are in

Also bought the S2000 seat belts - to get rid of the old jammy belts & not have reels down in the way on the floor.

These belts mount horizontally:

X19_0081n.png


So, I removed the parcel shelf (thanks Jeff & geekdaddy) - completely forgot I did have it out some years ago...

X19_0081l.jpg


- and prepared two mount brackets for the reels

X19_0081m.jpg


drilled through the shelf metal & bolted the PS in place - nuts & support washers can be reached from the spare wheel well.

X19_0081k.jpg


For the DS I had to make an extended nut plate since there is no way to reach all the way inboard. the outer one (next to speaker opening) can be reached by putting a shouldered lock nut in a box wrench.

X19_0147.jpg


Passenger belt installed. Had to remove the card and insulation in the area directly below the reel, I miscalculated the depth. I'll need to make a pretty little cover for the reels, maybe.


Hopefully get the DS in tomorrow. Have to remove both seats and swap back the Honda receptacles.

EDIT: Note - seat belt anchorage bolts are SAE 7/16"x20 tpi - NOT metric... Had to get longer bolts for the B pillar belt pivots in order to place them in the correct orientation - on an S2000, they are mounted inboard on the rollover bars.
 
Last edited:
Spray the "guide" black in a speckled spray

My body shop uses a rattle can of a flat black paint that sprays in a speckled array.

This way they don't need to cover the panel with black paint and the low spots show up nicely in the dots of black paint while blocking.

Looking good and at a pretty quick pace at that!
 
Hey Hussein... its been awhile but since yur still...

working on the front end and keeping the FIAT badging...

Have you considered updating the badge to a late model?


I betcha it gets the younger 500 generation owners scrambling back to their dealers demanding one of their "new" X1/9 Sports Cars~!
 
Not a bad idea - I was looking around for a smaller emblem - one that matches the recess size rather than the oversized Bertone one that was there.
 
Well, two things... 1) getting that recess sized...

properly should be no problem for YOU and 2) staring at your rear-end, excuse the expression, that engine cover looks dwarfed.

Might not a late-model cover (and plastic corners) be a bit more appealing?
 
You must be a mind reader, I have been thinking about that engine cover for some weeks now. My original late cover has rusted corners, but probably salvageable without toooo much additional work.... :rolleyes2:
 
Rusted? In LA-LA-Land rust means ya gotta...

lightly sand, primer and paint.

I dunno where you are in NY... but that probably means ya gots NO corner at all.

Regardless, it'll give you an excuse to remove the rain-tray, prep and paint it in a contrasting color (I like "body color" peeking thru a Duplicolor TRIM BLACK outer... or toss the tray completely so folks can peek at all the chrome, polished, and painted components of your engine.

Ya see... I AM psychic... or psychotic, one of the two!

Yeah - looked at it again, all inner seams are rotted through. I had removed the rain tray as one of the very first mods I did after taking ownership of the car. Have to find an alternate cover.

Worked today on blending & filling the low spots I found in the rear quarter seams and spoiler rear surface.

After that, I decided to go again on the fender/nose junctions. Just wasn't happy with the contours. The main problem is where the old fender tip sheet metal ends & feeds down into the fiberglass -


So, I added more filler in that upper area to try to remove that inset & get the fender line to run more cleanly down to the nose corner

left side

DallaraNose00112.jpg


The shiny metal spot indicates where the original fender line tucked in - you can see how far out I had to bring the revised line off that


right side

Dallara_Nose00129.jpg


Dallara_Nose00099.jpg


2411C990-09C8-4543-8F45-2826DFFE3E95_zpskff18gwn.jpg


Feeling like I might actually be getting close to the end of it...

Dallara_Front_Spoiler00014.jpg


Dallara_Front_Fender00051.jpg
 
Last edited:
Looking superb! What happened with the rocker panels?

Still have to do those. I got another pair, so I could use my hacked up one as a template, and not need to make so many cuts. That's gonna take at least a few days, maybe a week. Also the spare (not rusted) doors have to be prepped, primed & installed. The DS has some accident damage to the forward lip that needs fixing. I also have some rust in the door sill lip that has to be cut out & repaired.

The way it's looking, I'll be very lucky if I get all this done & get the car primed before the temps drop too low for me to do bodywork. Still a bunch of detail work around the ducts and the headlamp/marker surrounds. Haven't yet block sanded the front fenders to see how badly they will need filling/blending along the top seams. I'd really like to get the whole car primed if not painted this year.
 
Back
Top