Preparing For Dallara Body Kit

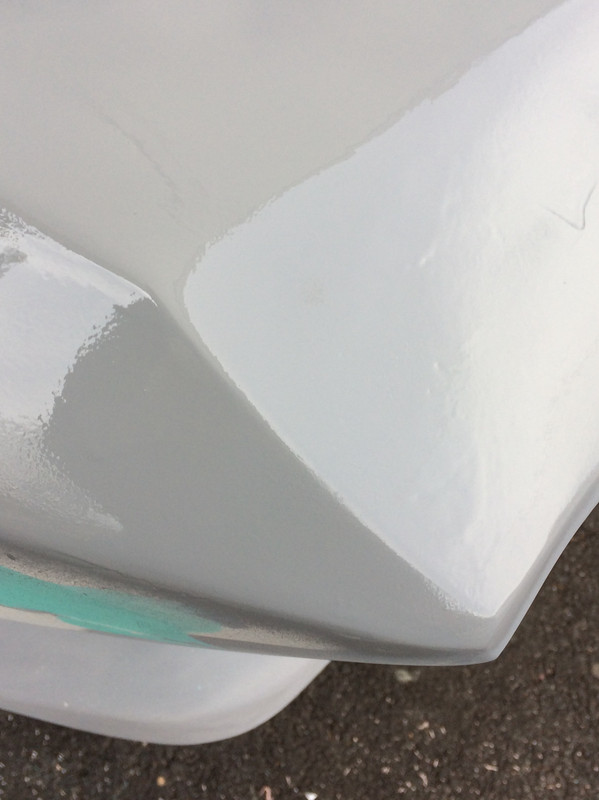
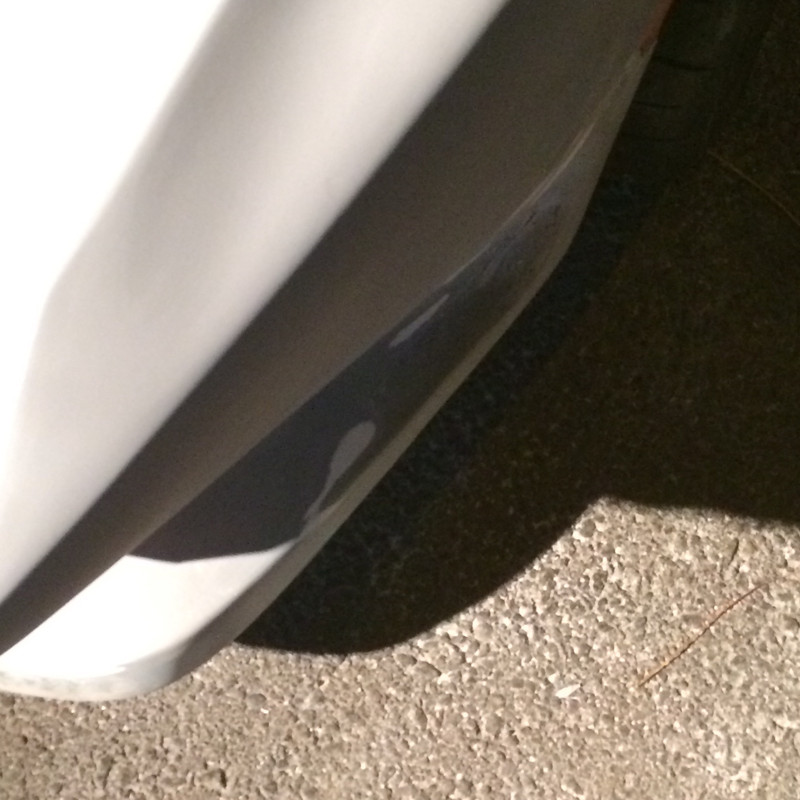
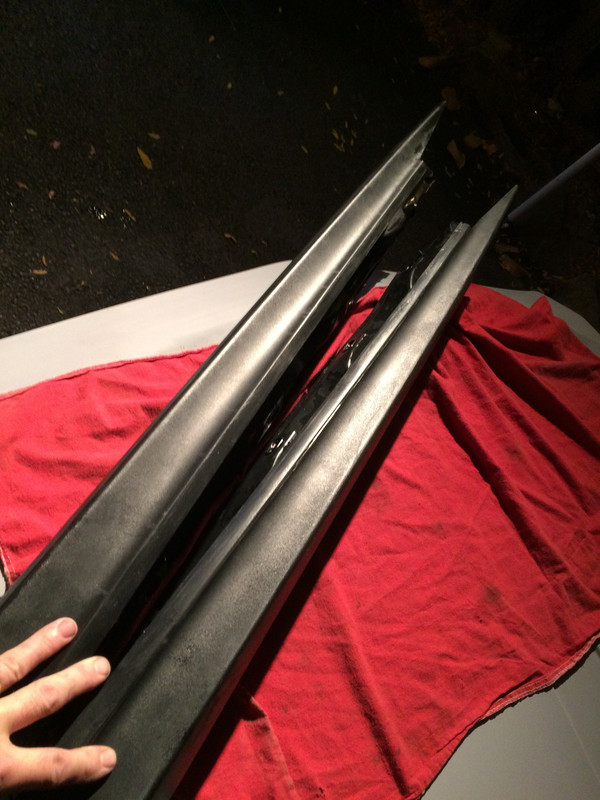
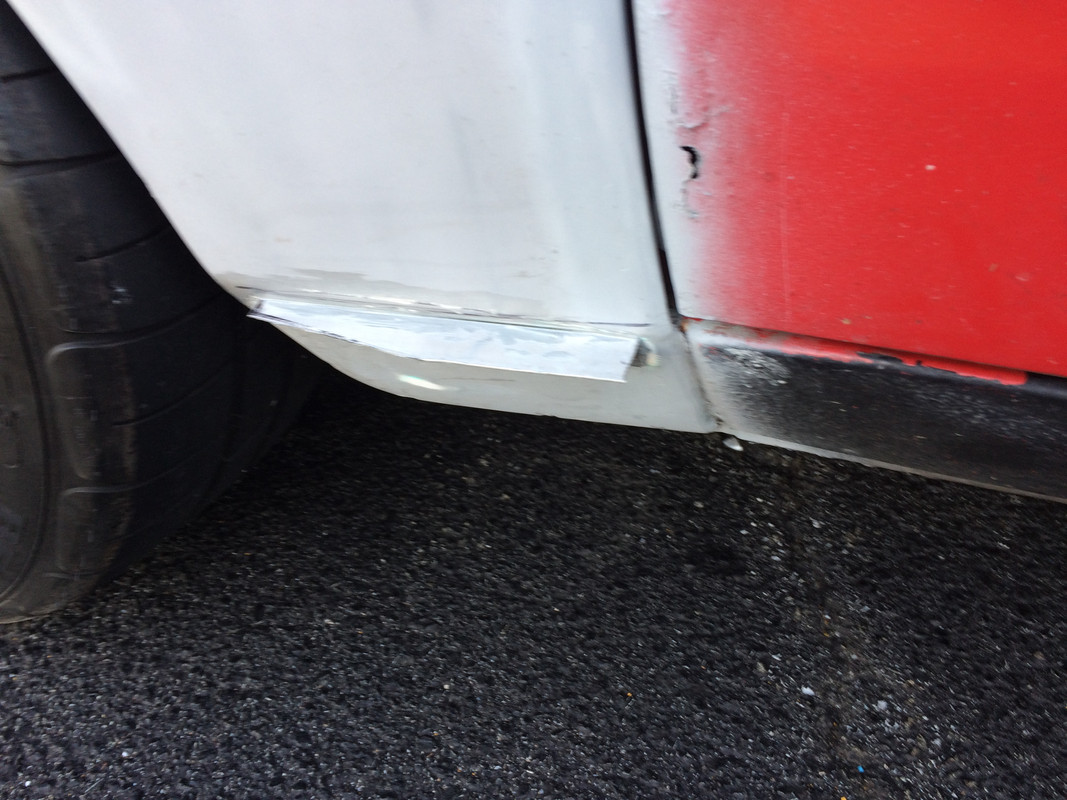
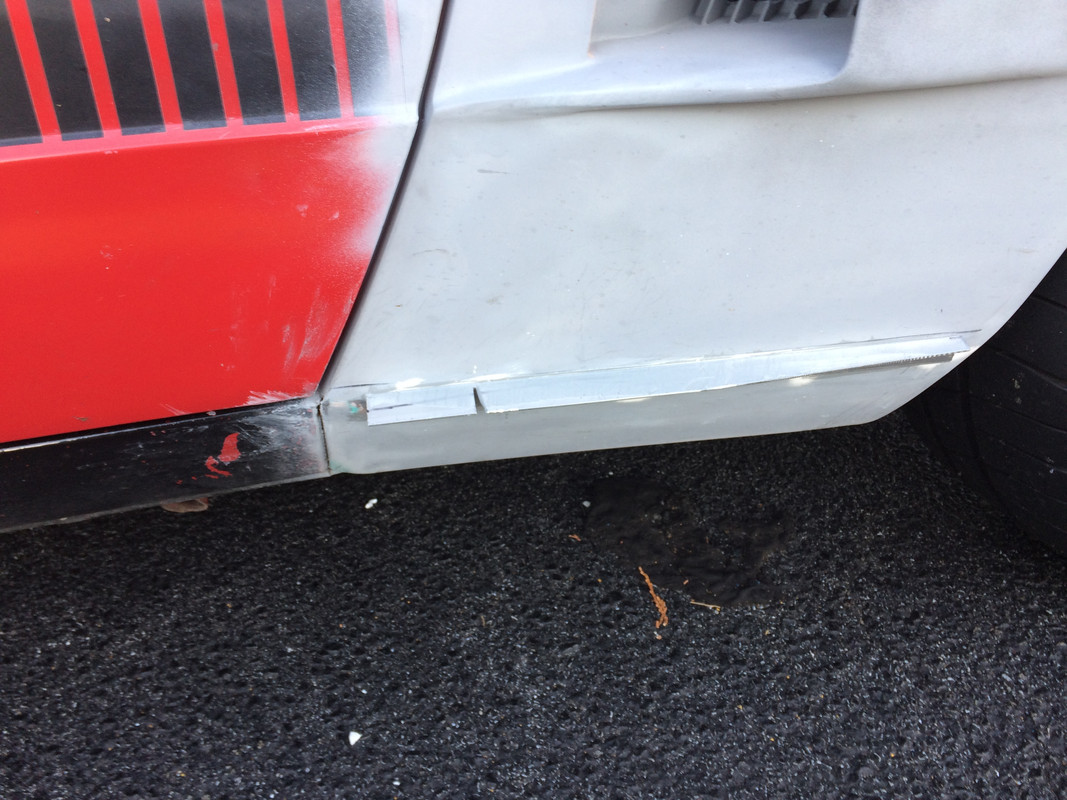
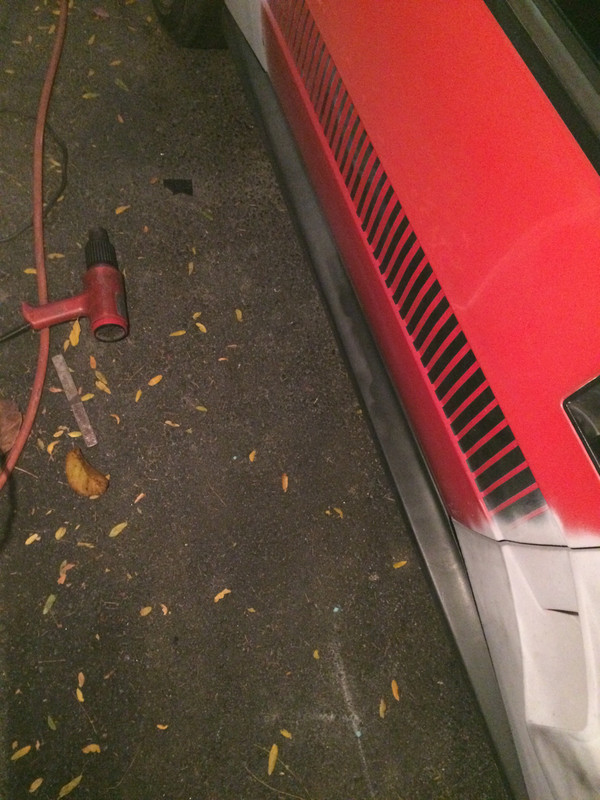
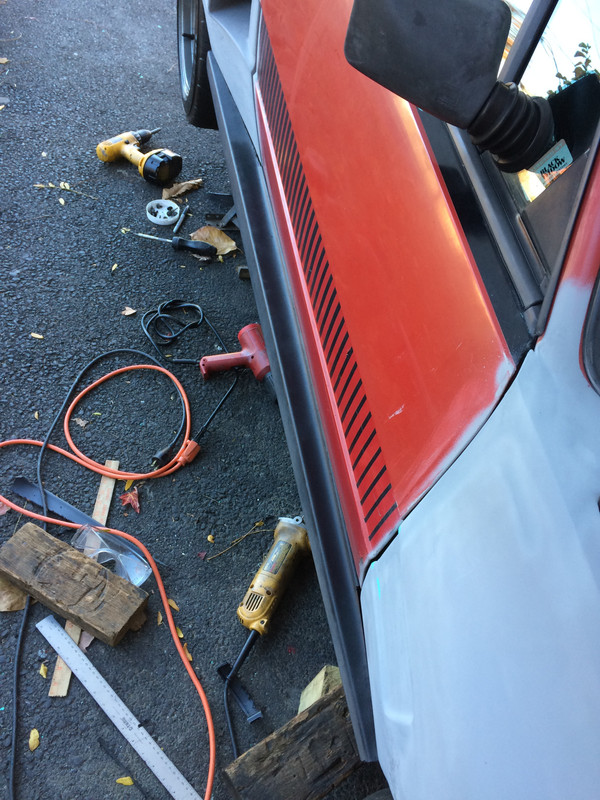
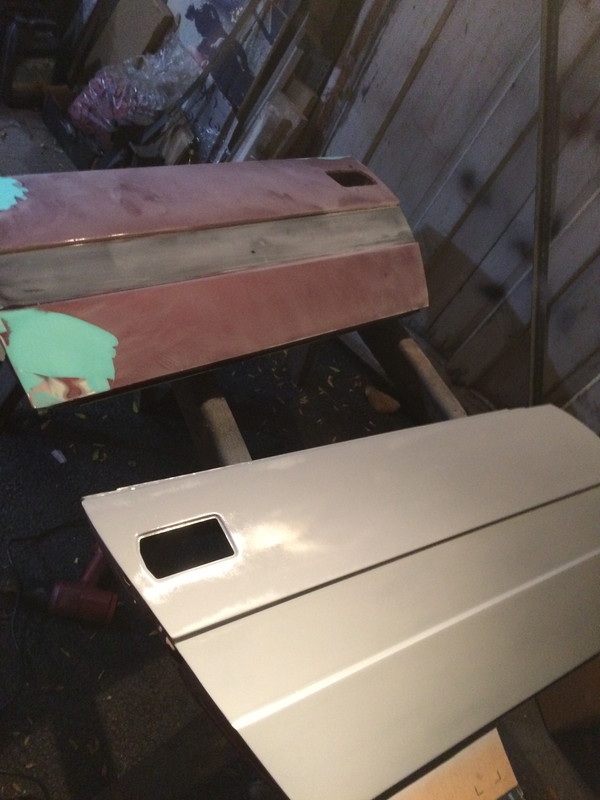
Had a couple hours to work on the rockers today - got the pair cut down & basic fitment sorted. Need to decide how I'm going to anchor them. I'm leaning towards attaching with plastic rivets, so I can remove as needed. Don't think I should permanently bond them to the rockers / fiberglass. So, I'll make support brackets to bond to the fenders, then I can figure out the clip placement. There is a lip that sits in on the sill, I will use double sided tape for that attachment. After that, I can decide how to deal with the lower edge.

DallaraSide00010.jpg


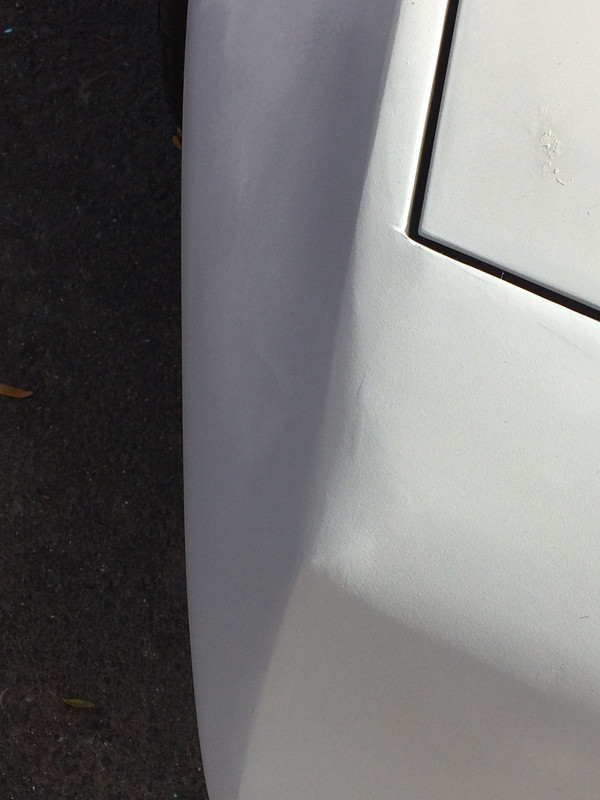
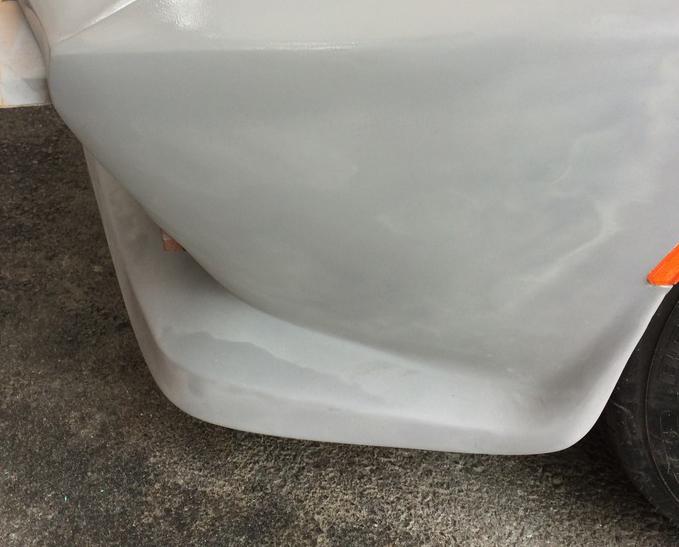
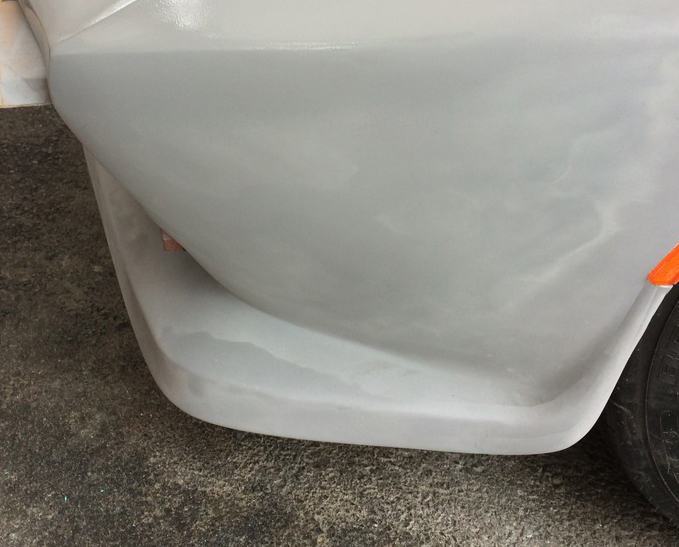
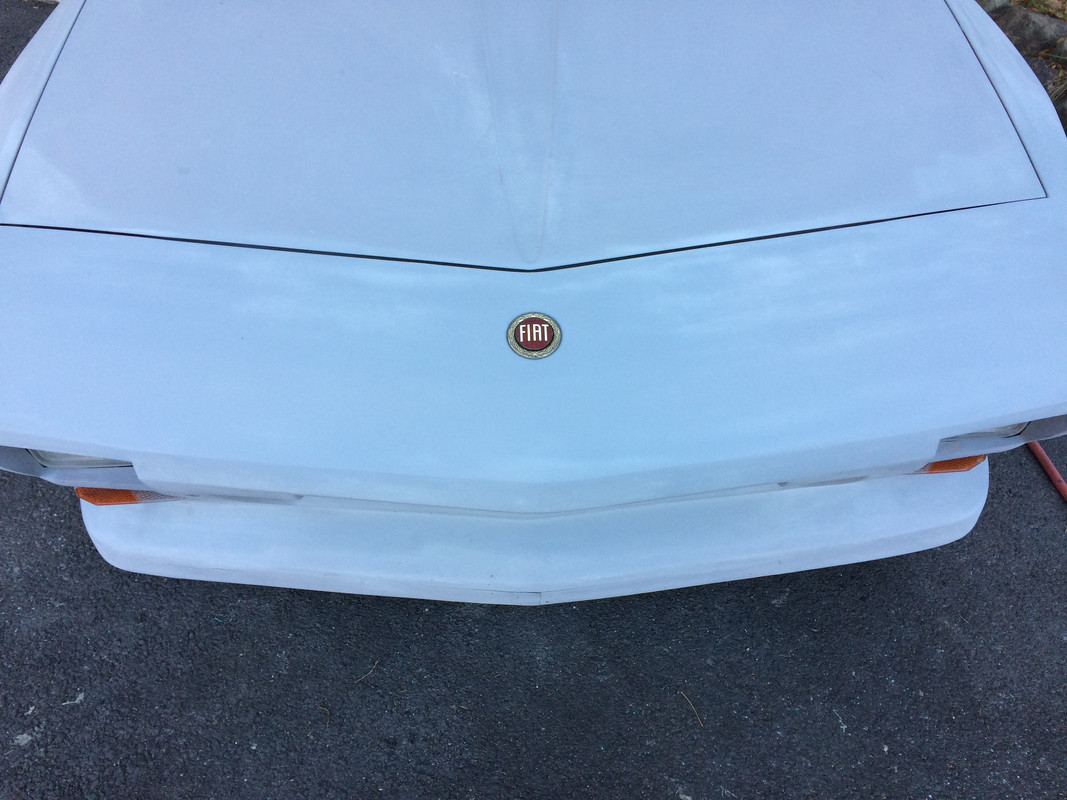
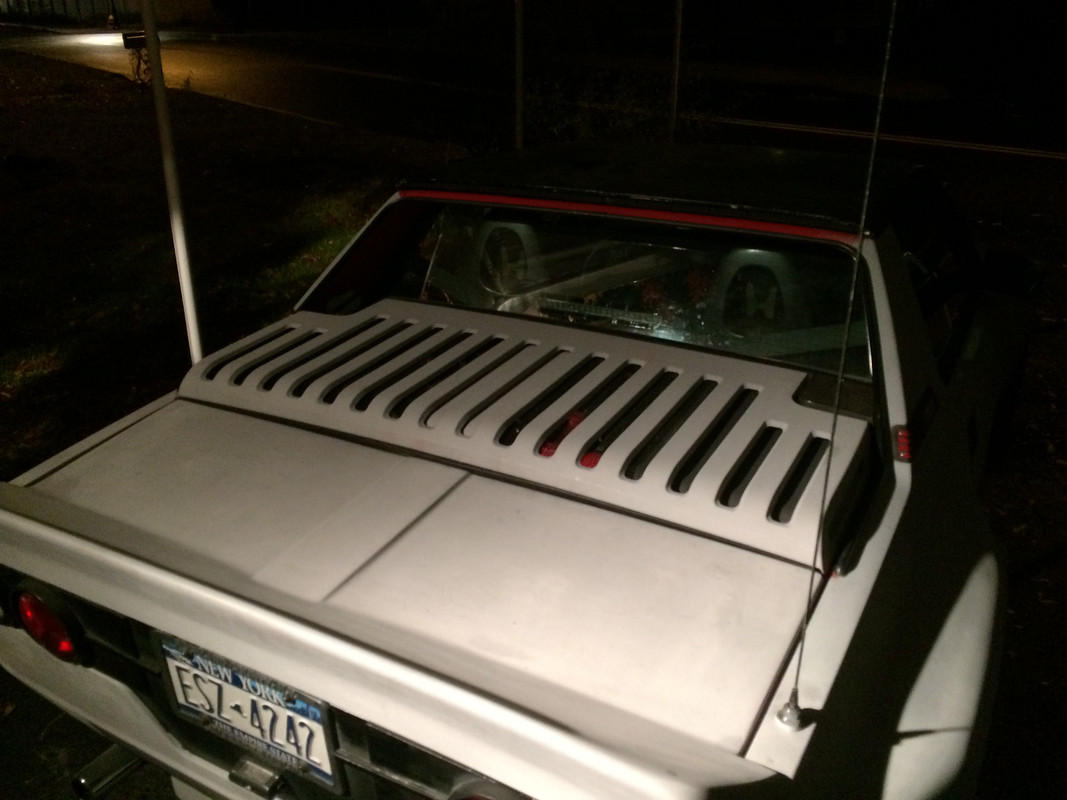
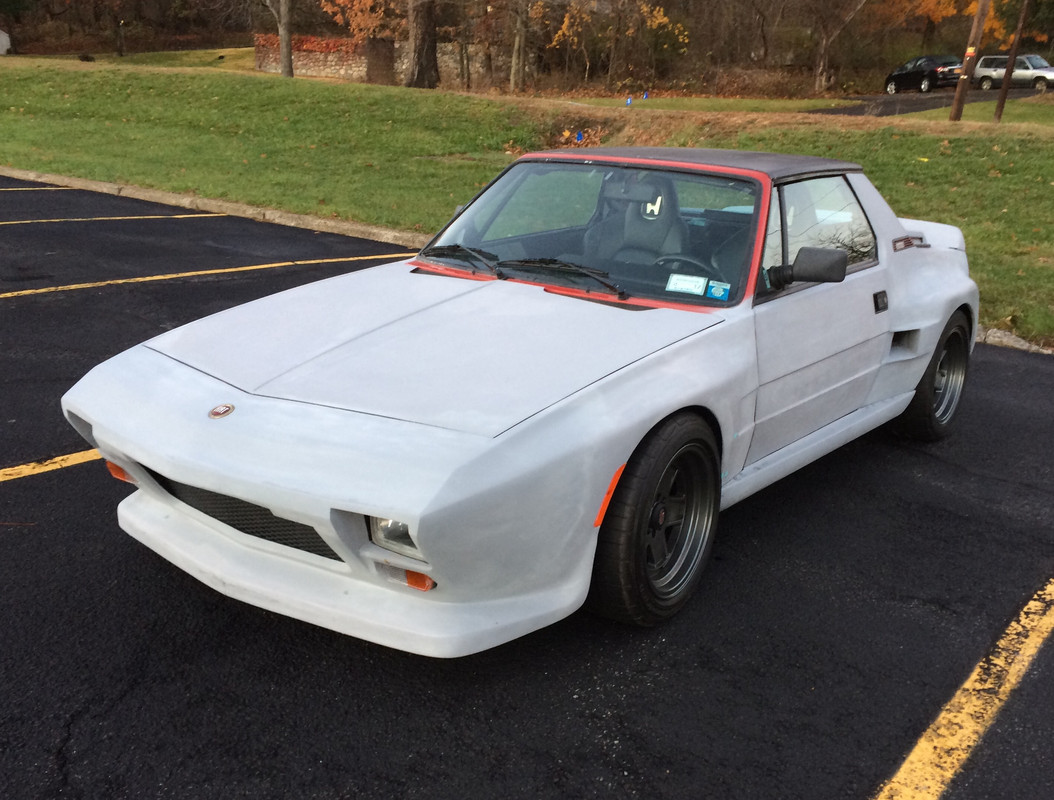
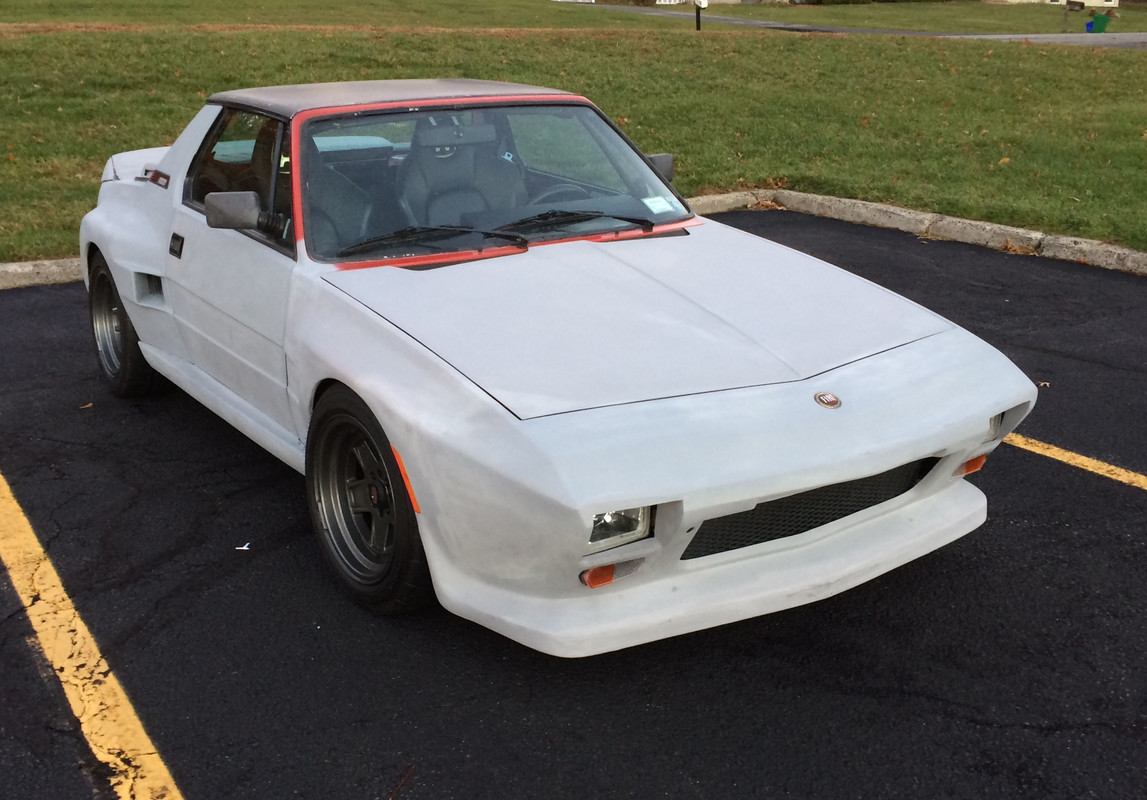
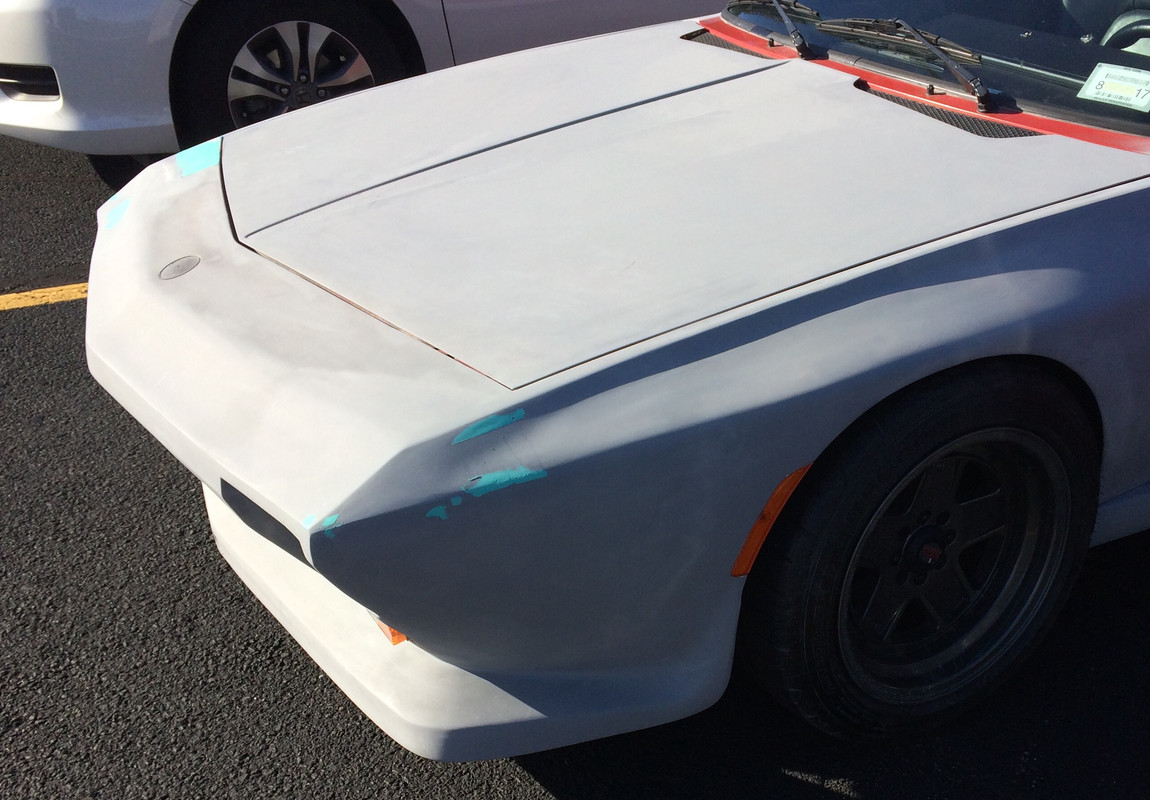
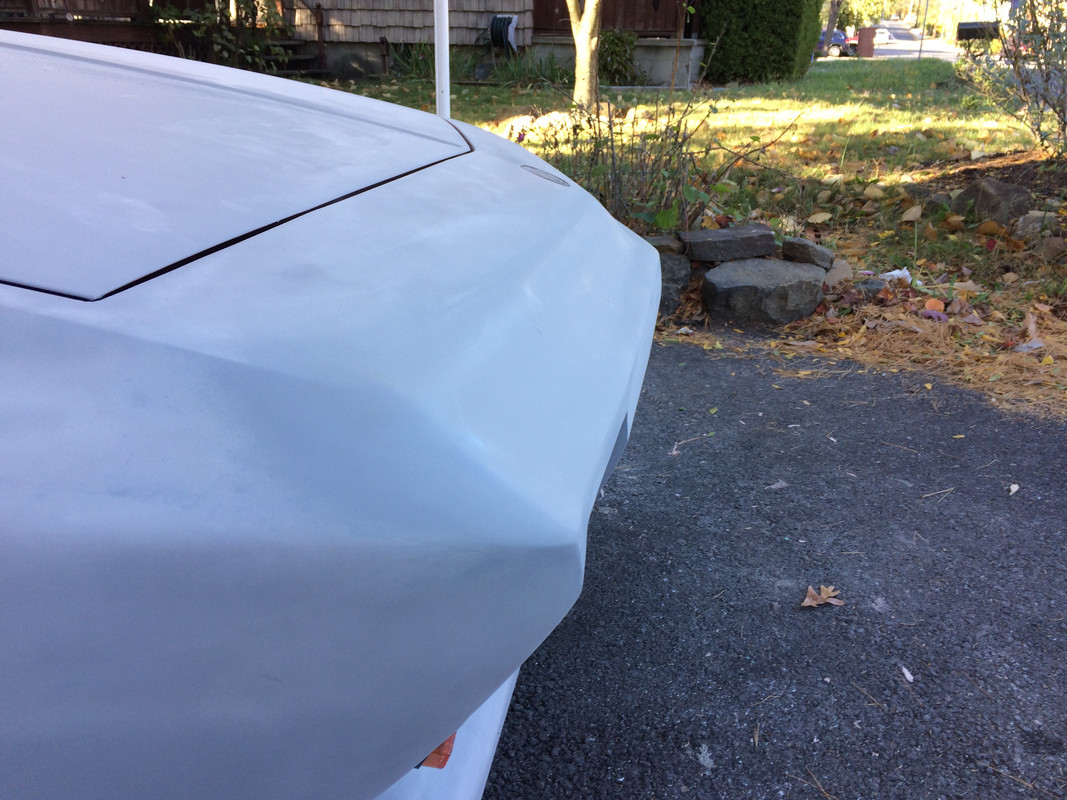
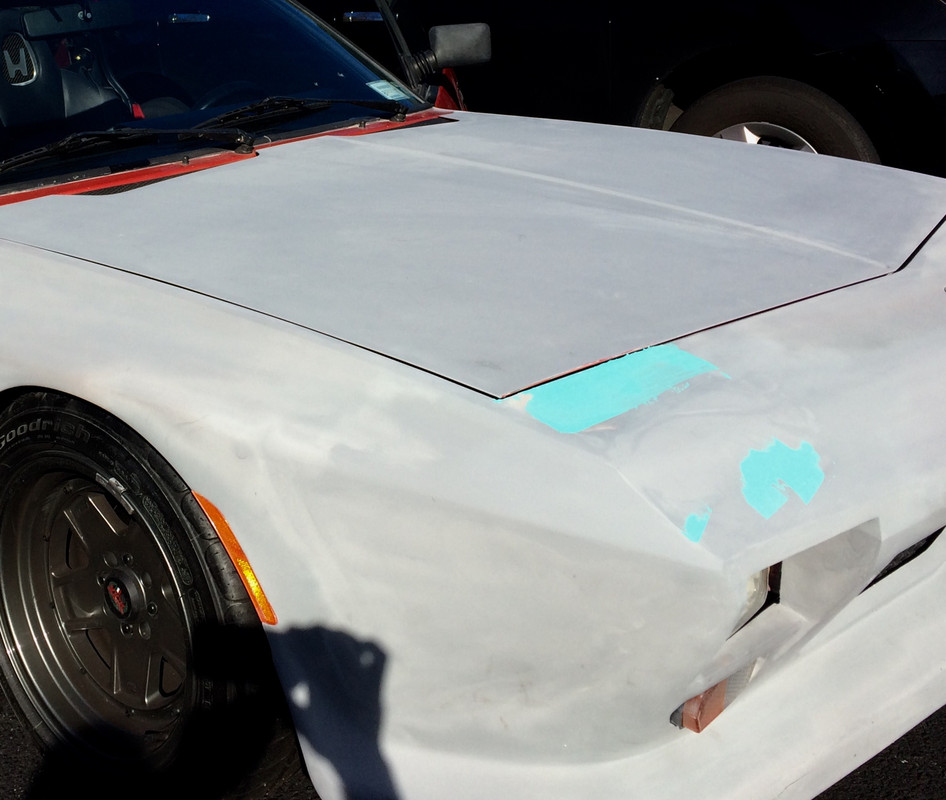
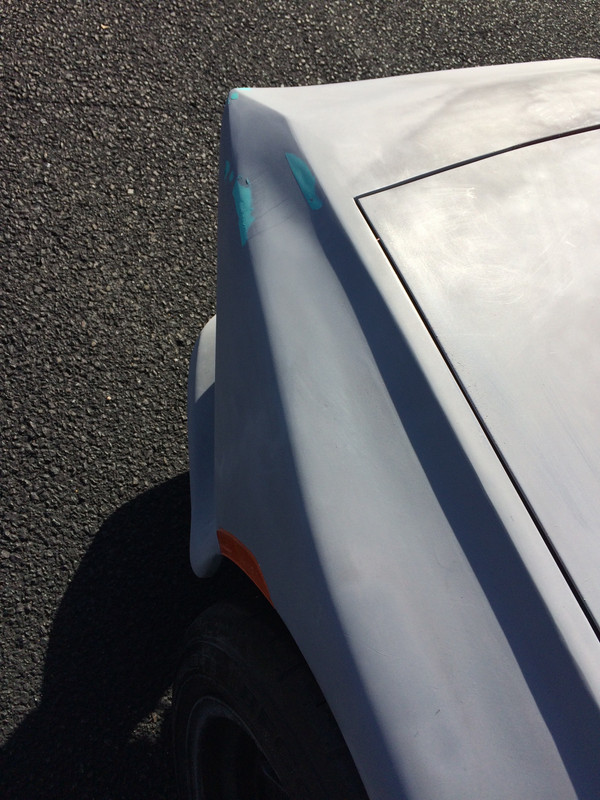
EDIT: still a problem with the nose - the left fender has a wobble in it up front that I will have to go back to:

Dallara_Nose00068.jpg
 
Last edited:
Made and bonded the front & rear support plates for the rockers, and worked on refining the panels where they align wiht the fenders, and thining the lip that bonds to the sill.

DallaraSide00014.jpg


DallaraRearFender00052.jpg


Dallara_Side00012.jpg


Tomorrow I'll work on the attachment along the top, and hopefully shaping the underside to match the Fiat rocker lip.

Ordered a Fiat emblem that will sit in the front panel recess - Allison Auto carries them (thanks JJ for pointing it out to me on FB)

s-l500.jpg
 
Last edited:
Put the rockers on this evening - plastic rivets along the top & bottom. Used the heat gun to relieve the form to match the Fiat sill & rocker lower lip. I will use flush rivets for the final install.

Dallara_Rocker00017.jpg


Dallara_Rocker000017a.jpg


Now I just have to make end caps, andplastic weld them in place.
 
Last edited:
More work in the nose. Left side still needs more to resolve the dip inbetween where I currently have the spot putty.

Dallara_Front_Fender00028.jpg


I'll have to cut it back again and add more fill to blend the fender tip into the side bulge. The ridge line is better than it was, at least


Dallara_Nose00068.jpg
 
Last edited:
Worked again on the left fender/nose. Think I might be done except for minor detail work.

C468DC87-BA95-4589-8B1B-CDB5926CC76A_zpseria2sgy.jpg


3AF79746-B75A-46AB-8C9A-4B98BF5945B5_zpsk9y72bza.jpg


The other problem was the dip visible on the right where the pod used to be.

Dallara_Nose00125.jpg


I fixed that also, hopefully. Have to take a pic in daylight to confirm.

DallaraNose00124.jpg

I started prepping the replacement doors for install

Dallara_Side00016.jpg


Hopefully finish the repairs to the DS door, and get them on the car tomorrow.
 
Last edited:
Detail by detail.

Looking good. Finding alternate lighting situations is working well for you :)
 
I missed this if you are using a high build primer

but are you? Like this?
http://www.mcr01.ch/images/N44BG/Paint/K38.Primer/K38.pdf

I saw you had used a rattle can at one point but I don't know if that was temporary or your permanent primer. For the amount of work you are doing it makes sense to use the most robust materials, the last thing you want is your base coat attacking your primer and bubbling. It looks good all coming together. At the point you are at now it took me another 4-5 summers of surface work before I finally had it OK enough to paint. As I mentioned my body panels were very very rough - very rough.

I remember doing similar surfacing and then temporary rattle can coat until ready for paint. I then cleaned up each panel with lacquer thinner and sand paper then used PPG high build, That worked out well for me.


Last edited:
but are you? Like this?
http://www.mcr01.ch/images/N44BG/Paint/K38.Primer/K38.pdf

I saw you had used a rattle can at one point but I don't know if that was temporary or your permanent primer. For the amount of work you are doing it makes sense to use the most robust materials, the last thing you want is your base coat attacking your primer and bubbling.

Thanks for your guidance :)

I ordered a gallon of 2K primer/activator from the same company I ordered the base and clear coats from - Scratchwizard - I don't know whose paint they use for their systems. I figured it was safer to use the same brand of paint for all three stages.

Everything on the car now is rattle-can Rustoleum primer. Once I have the whole car straight (or straight enough) I figured I would sand it back again, then shoot the whole car with the 2K primer. I don't have experience with mixing primers/paints for gun use,so I figured I'd wait to do the whole body vs. mixing batches to shoot individual panels/sections.
 
Detail by detail.

Looking good. Finding alternate lighting situations is working well for you :)

Yes - thank you - I've been trying to drive it as much as possible while the weather permits, and find parking spots where I can get good cast shadows to accentuate any issues :)
 
Fixed the dip, but the right edge was soft...

DallaraNose00066.jpg


pretty sure that's done now

Dallara_Nose00081.jpg


Pretty sure the left is good now


Took the driver's door off - also sealed the front fender inner seams while the door was off.

Dallara_Side00007.jpg


Took HOURS to fit the replacement. It has no rust, but it had accident damage that tweaked the entire frame. I had to tweak & finagle the door to get it close. Still doesn't close smoothly. May have to look for anothe door shell.

Gear reduction starter arrived, unfortunately ran out of time so that did;t get installed today.

Dallara00289.jpg
 
Last edited:
Worked on the pass door today.

Stripping the old door. Had to braise the bar that secures the motor to the winder mechanism.

Dallara_Side00028.jpg


Replacement door installed - much less drama than the driver's side. Sealed the fender seams also while it was accessible
.
DallaraSide00005.jpg


Primed the sail on the DS

Dallara_Rear_Fender00032.jpg


and a little work on low spots on the quarter

Dallara_Rocker00000.jpg
 
Last edited:
The front spoiler side-into-wheel arch is bothering me. I think I will need to add some meat to counter the downward taper & feed up into the directional

as it stands

Dallara_Front_Spoiler00010.jpg


quick PSD possible solution

DallaraFrontSpoiler00016.jpg
 
Last edited:
Worked on the right sail, the quarters, and installed the gear reduction starter today. Also put on the FIAT emblem

Dallara_Nose00101.jpg


I lost the barrel clip for the throttle cable during the starter install :(
 
Last edited:
Talk about attention to detail!

Thanks, Rachael. I'm trying to cover everything. I'm not really a patient person though, so at some point I'll just say enough. Not there yet :)

Took out my old engine cover & bead blasted the rusted seams & bonded the inner & outer panels.

Dallara_Rear00018a.jpg


Sanded & primed the outside, except the left corner than needs a little patch.

Dallara_Rear00018c.jpg


Car is mostly rough-primed now. Just have to do the windshield frame, the inner sails & check over the front fenders for high/low spots.


Installed the starter yesterday, and tightened the cable terminal today (after I took the pic) - that has to be accessed from underneath
 
Last edited:
Pouring rain all day & evening. Got a little work done on the engine cover.

preliminary fit

Dallara_Rear00018f.jpg


Decided to cut back the rain tray that I had removed many moons ago, and only expose the center areas. I cut down the screen I had made & used it to just cover the open areas.

DallaraRear00018a.jpg


screen in place - also transferred the strut over - drilled out the support plate & fitted that to the hinge plate.

Dallara_Rear00018b.jpg


rain tray back in place

DallaraRear00018c.jpg


lid in place

DallaraRear00018g.jpg
 
Last edited:
Very Nice Hussein!:headbang:

Thank you :)

Worked on the spoiler today. I had to repair the lip where it was damaged during the tow after the HG failure. The other thing was to level out the taper on the sides & leading up to the marker cutout. Got the rough fiberglass-reinforced bondo work done.

before

after

got rid of the 'wobble' in the lower lip where it fed back along the side also

before

DallaraNose00043.jpg


after
DallaraNose00086.jpg
 
Last edited:
Back
Top